How to Create a Sparkling Crystal Garden — Easy Step-by-Step Guide
Embark on a magical science adventure and grow your own dazzling crystal garden right at home! This screen-free activity is fun, educational, and results in a beautiful display. Perfect for curious minds of all ages, this project transforms simple household ingredients into a shimmering wonderland.

Quick answer
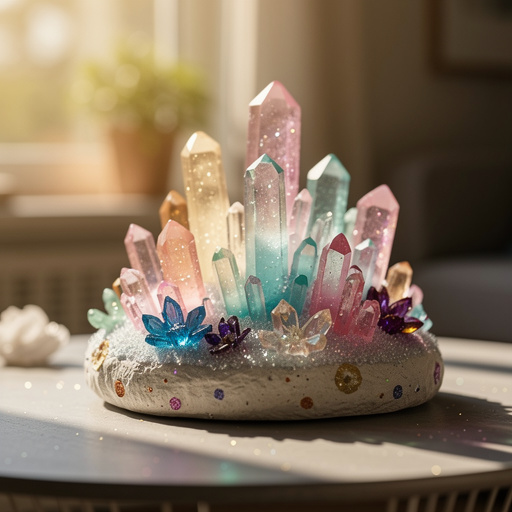
To make a sparkling crystal garden, you need a crystal growing kit, boiling water, and about 24 hours. Start by dissolving the crystal powder in hot water, then add the crystal seeds or bases. This beginner-friendly activity has 10 steps and is perfect for families with kids aged 8+, offering a fascinating glimpse into crystal formation.
What you need
Shop on Amazon · As an Amazon Associate we earn from qualifying purchases. Links above are affiliate links — we may earn a commission at no extra cost to you.
Unleash your inner scientist and create a breathtaking display with a DIY Sparkling Crystal Garden! This captivating project is more than just a craft; it's a hands-on exploration of chemistry that yields stunning, shimmering results. Ideal for families seeking engaging, screen-free activities, it provides a wonderful opportunity to learn about supersaturated solutions and crystal growth. Watch in awe as delicate, intricate crystals blossom before your eyes, transforming ordinary materials into a miniature, magical landscape that will spark wonder and conversation.
On this page
Step-by-Step Instructions
- 1
Read all instructions included with your crystal growing kit carefully. Familiarize yourself with the specific measurements, temperatures, and any unique steps recommended by the manufacturer, as kits can vary slightly in their composition and requirements.
- 2
Prepare your workspace by covering it with newspaper or a protective cloth. This is crucial because the growing solution, especially when hot, can be messy and may stain surfaces if spilled.
- 3
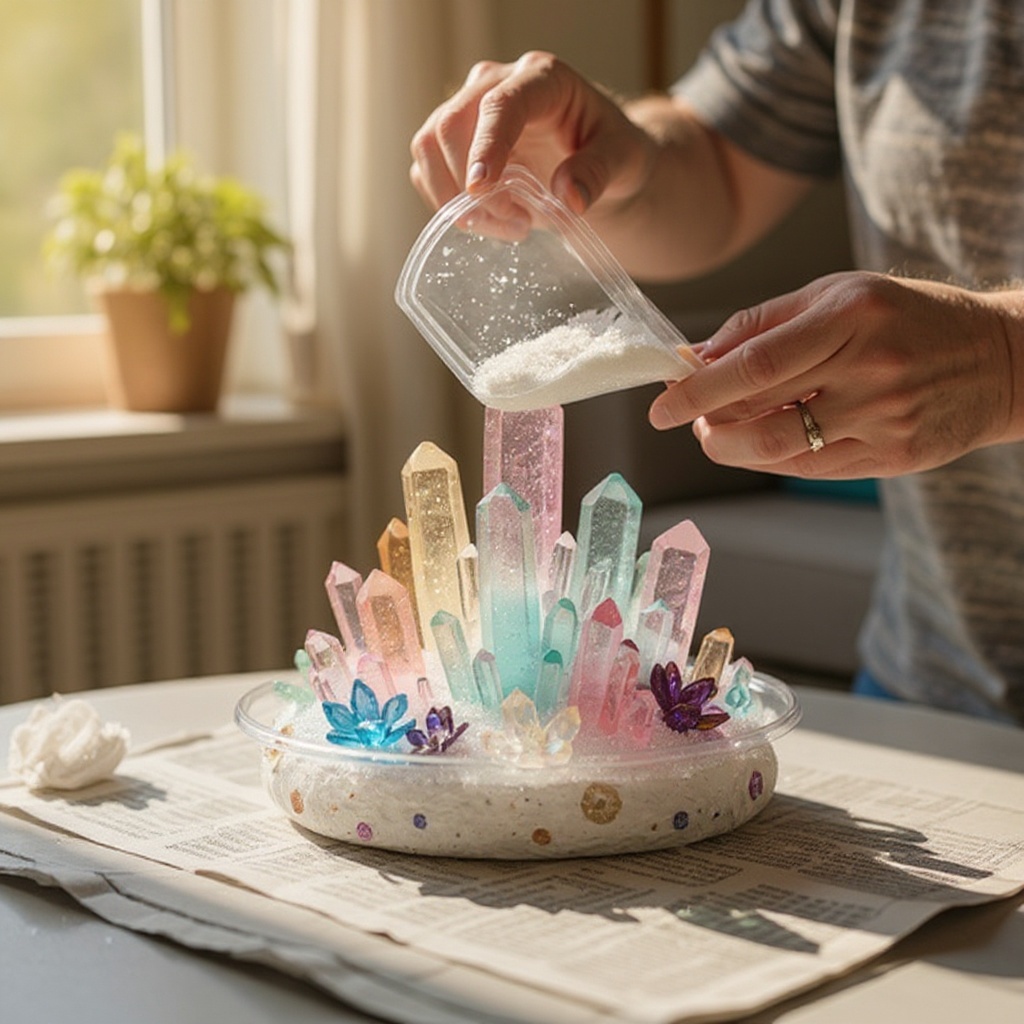
Carefully open the growing solution packet(s) and pour the contents into your designated growing container or tray. Ensure you are using the correct packet for the desired color or effect if your kit offers multiple options.
- 4
Measure and add the recommended amount of hot tap water to the container. The exact amount will be specified in your kit's instructions, but it's typically around 1 to 2 cups per packet. Using water that is too cool will prevent the solution from becoming supersaturated, hindering crystal growth.
- 5
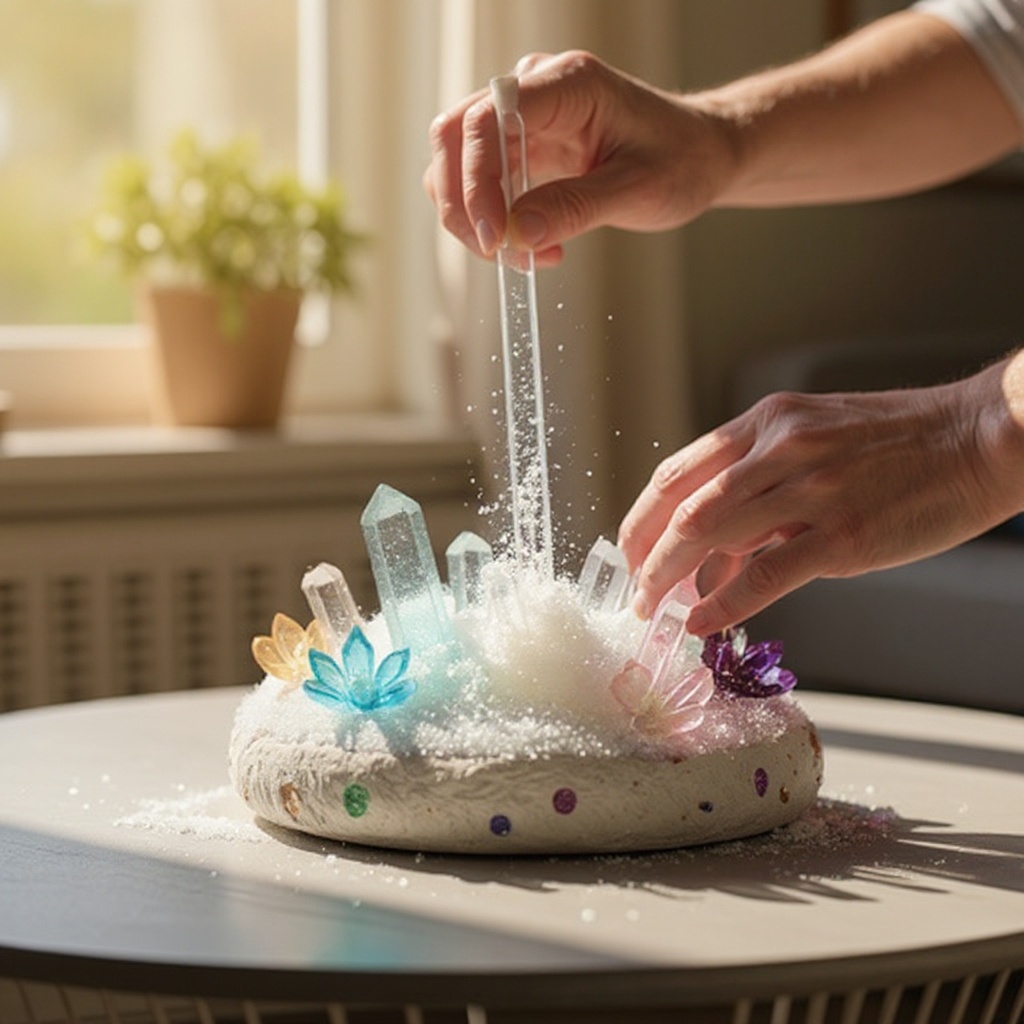
Gently stir the mixture with a stirring stick or spoon until all the powder is completely dissolved. This process is key to creating a supersaturated solution; continue stirring for a few minutes until the liquid is clear and no gritty residue remains at the bottom.
- 6
Allow the supersaturated solution to cool slightly for a few minutes. While hot water is necessary for dissolving, excessively hot temperatures can sometimes damage the crystal seeds or bases. Aim for a temperature that is warm to the touch but not scalding.
- 7
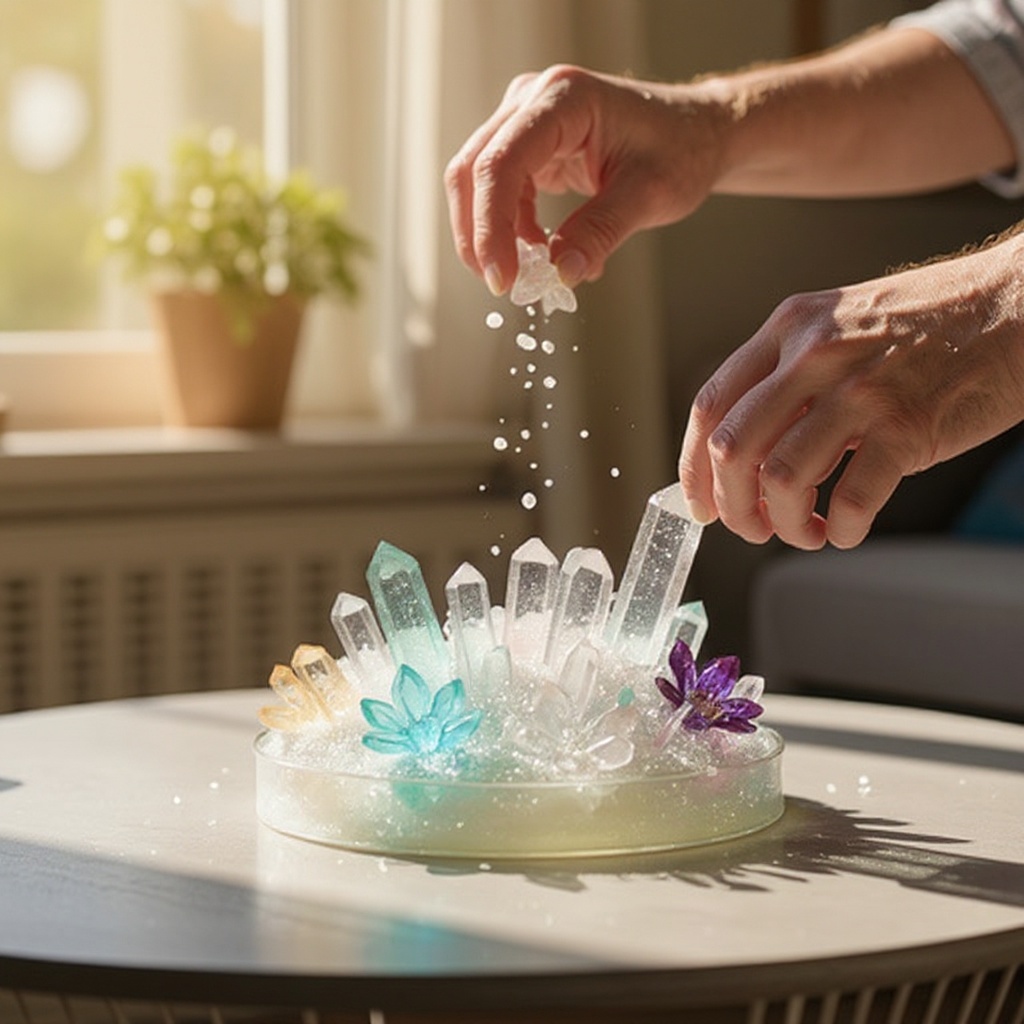
Once the solution has cooled slightly and is clear, carefully place the crystal seeds or growing bases into the solution. Use tweezers or a small brush to position them exactly where you want them to grow, ensuring they are fully submerged and not touching the sides or bottom of the container.
- 8
Observe the seeds or bases closely for any initial signs of crystal formation. Sometimes, tiny nucleation points will appear almost immediately, indicating that the supersaturated solution is ready to begin crystallizing.
- 9
Carefully move the container to a warm, stable location where it will not be disturbed. Avoid placing it near open windows, drafts, or in direct sunlight, as fluctuations in temperature can negatively impact crystal growth.
- 10
Allow the container to sit undisturbed for the recommended growing period, typically 12 to 24 hours. Resist the urge to touch, move, or shake the container, as this can disrupt the delicate crystal formation process and lead to smaller, less defined crystals.
- 11
Throughout the growing period, observe the magical transformation. You'll start to see crystals forming on the seeds and bases, gradually expanding and taking on intricate shapes. The solution will become cloudy as the crystals grow, which is a normal part of the process.
- 12
Once the crystal growth appears to have stopped, or after the recommended 24-hour period, it's time to harvest your creation. Carefully remove the crystal garden from the solution, allowing any excess liquid to drip back into the container.
- 13
Gently place the crystal garden on a paper towel or absorbent cloth to air dry. Avoid touching the delicate crystals directly to prevent breakage or smudging.
- 14
Once completely dry, your Sparkling Crystal Garden is ready for display. You can leave it in the original container or carefully transfer it to a more decorative dish or box.
Tips & Troubleshooting
- 1If your crystals aren't growing well, ensure the water was hot enough when you mixed the solution and that the container is in a warm, draft-free location. The ideal temperature for crystal growth is a stable, warm environment, so avoid placing it near air conditioning vents or in a chilly room.
- 2For more vibrant colors, some kits allow you to add food coloring to the solution before adding the seeds. Experiment with different shades by adding a few drops of food coloring to the hot water before dissolving the crystal powder, or add it to the solution after dissolving but before adding the seeds.
- 3To prolong the life of your crystal garden, you can carefully remove it from the solution once fully grown and let it dry completely before displaying it in a dry place. This prevents further dissolution and helps maintain its structure, though it will eventually degrade over time.
- 4Always handle hot water with extreme caution and ensure adult supervision during the mixing stage. The water used for dissolving the crystal powder is very hot, and accidental spills can cause serious burns, so it's essential to have a responsible adult present.
- 5Some growing solutions can be irritating to skin, so wearing gloves is a good idea, especially if you have sensitive skin or are handling the solution for an extended period. This is a simple precaution that can prevent minor skin irritation.
- 6If you find that your seeds are not fully submerged or are floating, you can gently nudge them into place with a stirring stick or toothpick before the crystals begin to form. Ensuring they are completely immersed is vital for even crystal growth.
- 7Don't be discouraged if your first attempt isn't perfect. Crystal growing is a science, and sometimes environmental factors or slight variations in technique can affect the outcome. Each attempt is a learning experience, and you'll get better with practice.
- 8For a truly dazzling effect, consider using a small LED light base to illuminate your crystal garden from below. This will highlight the intricate facets and sparkle of the crystals, making your display even more magical, especially in low light conditions.
Related Activities You Might Enjoy
Frequently Asked Questions
How long does it take for crystals to grow in a crystal growing kit?
Crystal growth typically begins within a few hours of setting up the kit, often appearing as a fine dusting or small formations on the seeds or bases. However, for significant development and for the crystals to reach their full size and impressive sparkle, it can take up to 24 hours. The exact duration can vary depending on the specific kit, the temperature of the environment, and how undisturbed the setup remains. Patience is key; avoid moving the container during this critical growth period to ensure the best results.
What are the main ingredients in a crystal growing kit?
Most crystal growing kits contain a chemical compound that, when dissolved in water and then allowed to cool and evaporate, forms crystals. Common ingredients include monopotassium phosphate (MKP) or ammonium dihydrogen phosphate (ADP), which are salts that readily form crystals. The kits also include specially designed 'seeds' or bases, which are porous materials or pre-formed shapes that provide a surface for the crystals to nucleate and grow upon. Some kits may also include dyes for colored crystals and other additives to influence crystal shape or growth rate.
Can I reuse the solution from a crystal growing kit?
Generally, the solution from a crystal growing kit is a one-time use. Once the crystals have grown, the solution has undergone a chemical change; the dissolved salts have crystallized out, leaving behind a less concentrated or depleted solution. This means it is no longer supersaturated and will not effectively support further crystal formation. While you might be able to dissolve more powder in it, the resulting crystals are unlikely to be as impressive or well-formed as those from a freshly prepared solution.
Why aren't my crystals growing?
Several factors can affect crystal growth. Ensure the water was hot enough when mixing the solution, as this is crucial for creating a supersaturated state. The container must be in a warm location away from drafts, as temperature fluctuations can disrupt crystallization. Also, confirm that the seeds are fully submerged in the solution; if they are partially exposed, crystals will only form where they are in contact with the liquid. Finally, avoid disturbing the setup during the growth period, as vibrations can break nascent crystals.
Can I eat the crystals from a crystal growing kit?
Absolutely not. The crystals grown in these kits are made from chemical compounds that are not intended for consumption. While some ingredients like monopotassium phosphate are used in fertilizers and food additives, the purity and concentration in a crystal growing kit are not guaranteed for safe ingestion. The primary purpose of these kits is for scientific observation and display, not for culinary use. Always keep the grown crystals out of reach of young children and pets who might be tempted to taste them.
How can I make my crystal garden sparkle more?
To enhance the sparkle of your crystal garden, ensure you are using a kit that is known for producing shiny crystals. Some kits use additives that promote a more lustrous finish. Additionally, the clarity of the water used to mix the solution plays a role; using distilled water can sometimes lead to clearer, more reflective crystals. Once grown, gently drying the crystals thoroughly and displaying them under good lighting, perhaps with a small spotlight or LED base, will significantly amplify their sparkle and visual appeal.
What Next?
Your Sparkling Crystal Garden is now complete and ready to be admired! Consider creating multiple gardens with different colored solutions or even different types of crystal kits for a varied display. To preserve your creation, allow it to dry thoroughly before gently dusting it. For a more permanent exhibit, you might consider sealing it with a clear acrylic spray (test on a small area first). This project is a fantastic springboard for further scientific exploration, perhaps delving into the world of geology or different types of crystal structures. Enjoy your shimmering, homemade masterpiece!
Free: 10 Paper Crafts Anyone Can Make in 5 Minutes
Get our beginner guide + new craft ideas weekly.
No spam. Unsubscribe anytime.
Did you complete this activity?
Related
You might also like
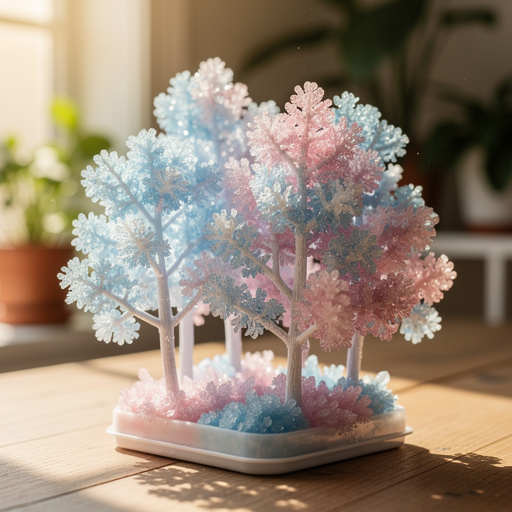
National Geographic Crystal Garden
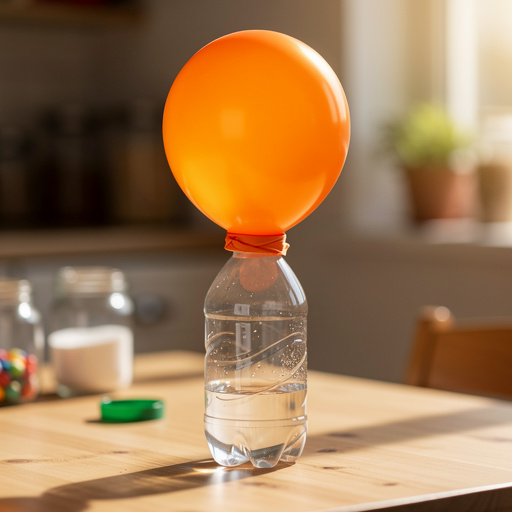
Balloon Inflating Science Fun
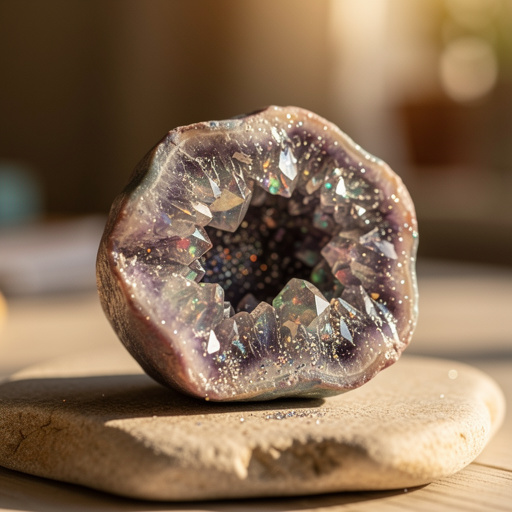
Sparkling Geode Gems
Super Fluffy Cloud Slime
Grape to Raisin Density Change