How to Build a Cozy Corner Fort — Easy Step-by-Step Guide
Transform any room into a magical retreat with this easy-to-assemble adult fort building kit. Perfect for cozy reading nooks or imaginative play. This beginner-friendly activity has 7 steps and is perfect for families and adults seeking screen-free fun.

Quick answer
To build a cozy corner fort, you'll need blankets, pillows, clothespins, and optional fairy lights, taking about 30 minutes. Start by draping blankets over furniture. This beginner-friendly activity has 7 steps and is perfect for families and adults seeking screen-free fun.
What you need
Shop on Amazon · As an Amazon Associate we earn from qualifying purchases. Links above are affiliate links — we may earn a commission at no extra cost to you.
Escape the everyday and dive into a world of imagination with your very own Cozy Corner Fort! This isn't just about building a structure; it's about crafting a personal sanctuary, a haven for relaxation, and a launchpad for adventure. Whether you're an adult seeking a quiet reading nook away from distractions, a parent looking for a delightful way to connect with your children, or simply someone who cherishes the simple joys of childhood, this fort building project is designed for you. It’s a wonderfully accessible, screen-free activity that fosters creativity, encourages bonding, and transforms ordinary spaces into extraordinary experiences, all with minimal effort and maximum charm.
On this page
Step-by-Step Instructions
- 1
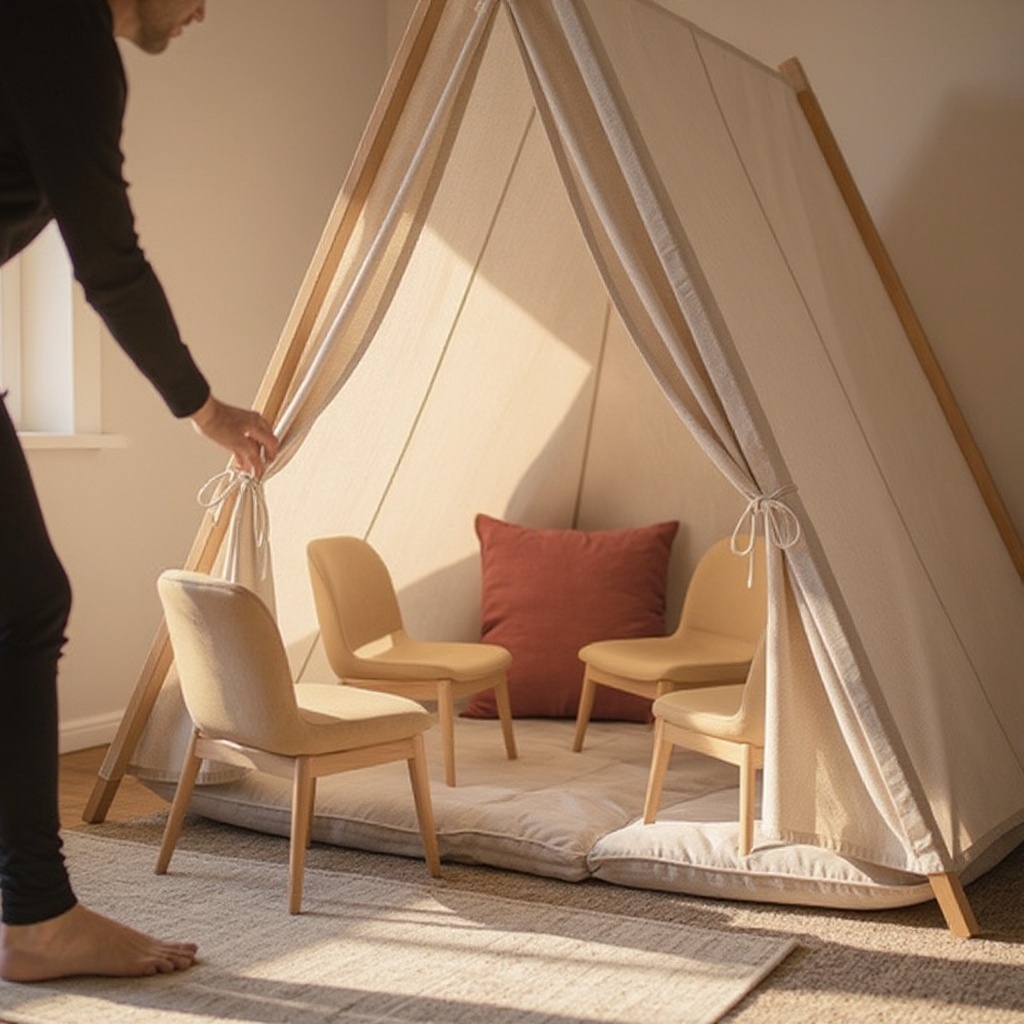
Choose a corner of a room with existing furniture like a sofa, chairs, or a bed that can serve as the fort's structure. Look for pieces that are sturdy and offer good anchor points, such as the back of a sofa or the headboard of a bed, as these will bear the primary weight of your fort.
- 2
Drape the largest blankets or sheets over the furniture, creating the main walls and ceiling of your fort. Start with the biggest pieces to establish the overall shape and coverage, ensuring they hang down far enough to create enclosed spaces.
- 3
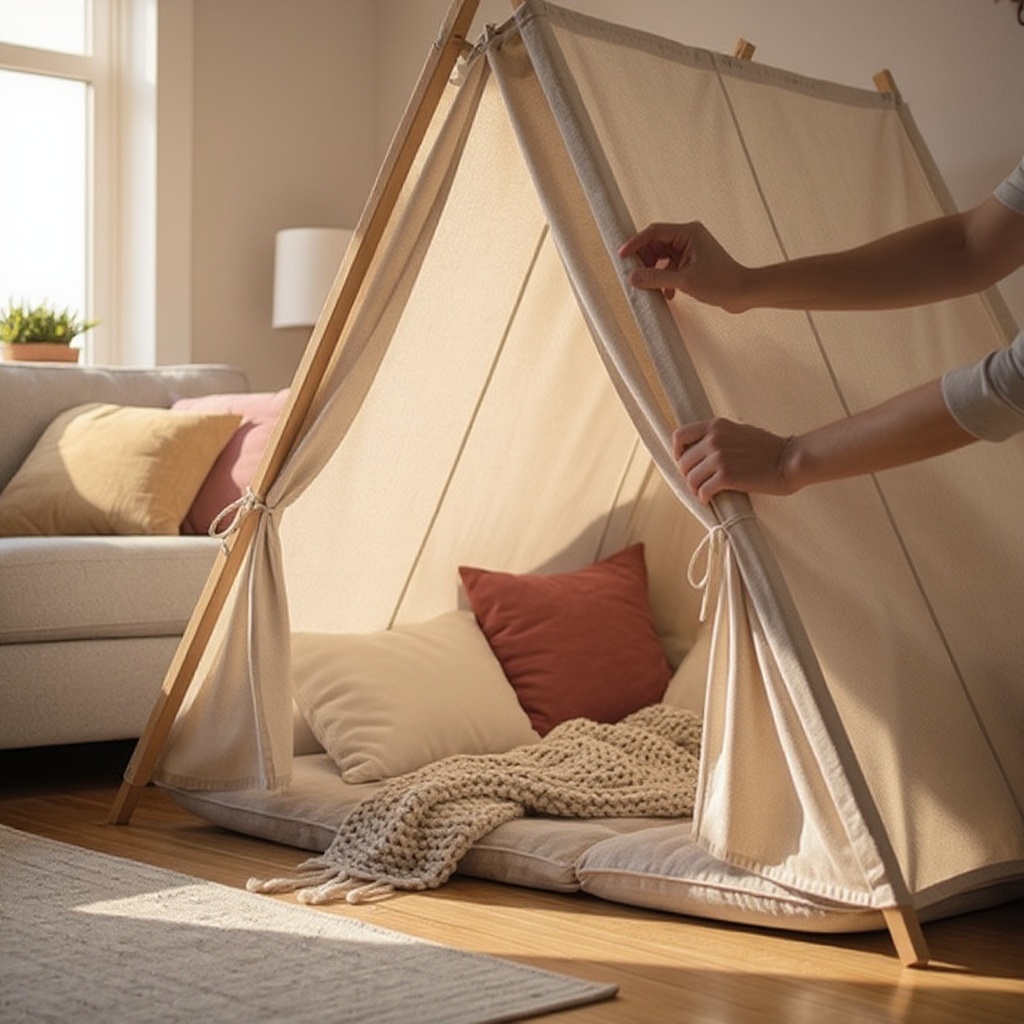
Overlap the edges of the blankets to prevent light from escaping and to create a more enclosed space. This is crucial for achieving that cozy, secluded feel; pay attention to seams and gaps, tucking and layering to minimize any unwanted light or drafts.
- 4
Use clothespins or binder clips to secure the blankets to the furniture and to each other, ensuring stability. Distribute clips evenly along the edges where blankets meet furniture or other blankets, giving them a firm grip to prevent sagging or collapse.
- 5
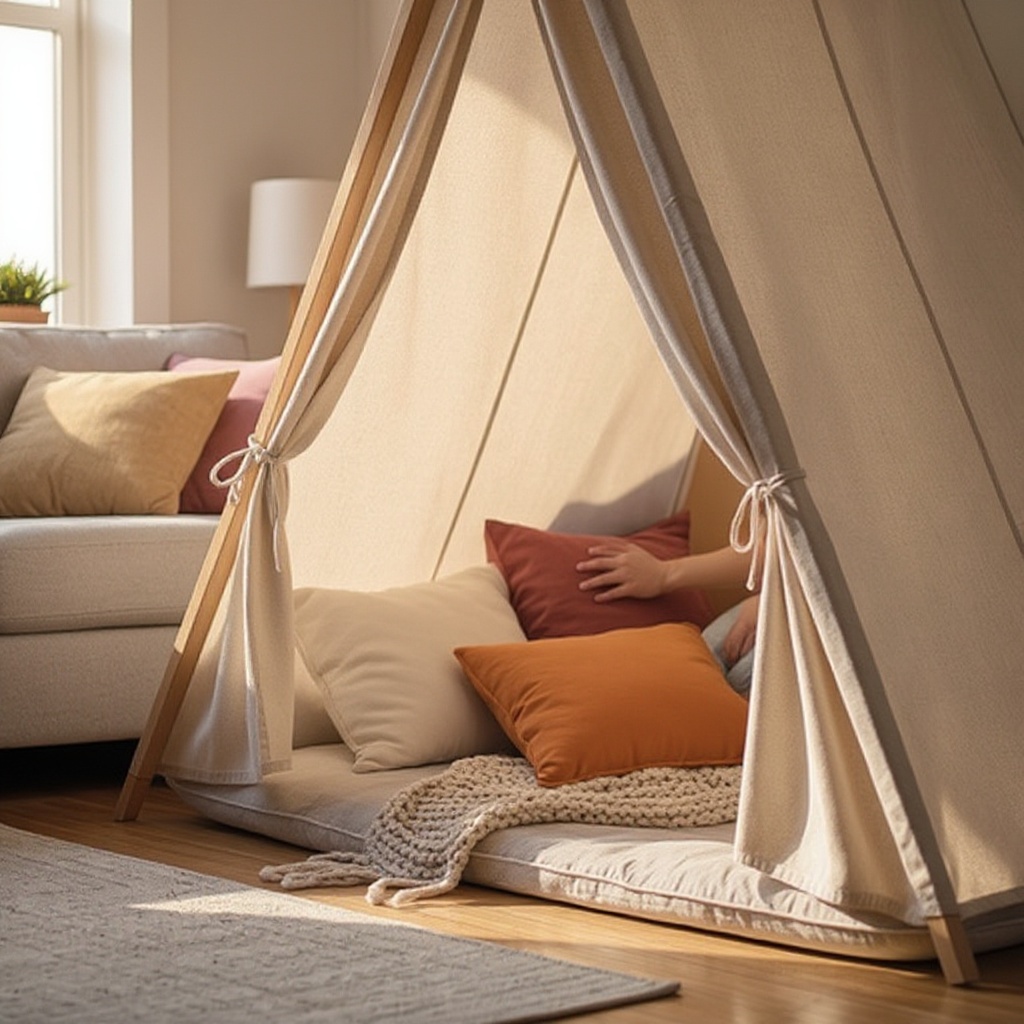
Layer additional blankets or sheets to reinforce walls or create a softer, more insulated interior. Thicker blankets can be used for the outer layer for better light blocking, while softer, lighter ones can be added inside for comfort and warmth.
- 6
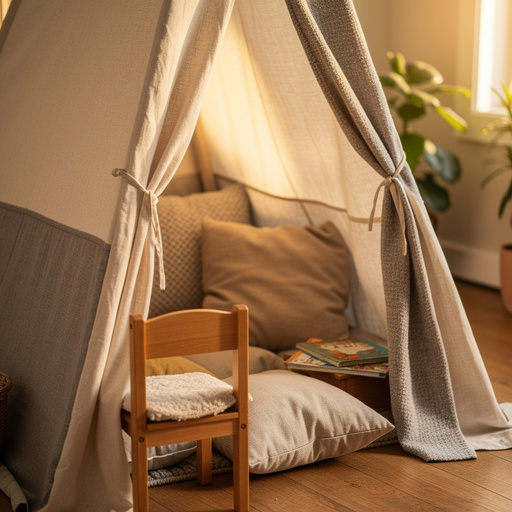
Arrange pillows inside the fort to create a comfortable and inviting seating or lounging area. Stack them against the walls for back support, or create a plush floor cushion area for ultimate relaxation.
- 7
If using fairy lights, string them around the interior or exterior of the fort for a magical ambiance. Ensure they are battery-operated for safety, and consider tucking the battery pack discreetly behind a pillow or blanket edge.
- 8
Assess the structure for any weak points or potential collapses. Gently tug on the blankets to test their security and add more clips or adjust the draping as needed to ensure a stable and safe fort.
- 9
Consider the entrance to your fort. You can leave a section of a blanket unclipped to act as a natural doorway, or use a smaller, lighter sheet as a flap that can be easily pushed aside.
- 10
If you have a rug or mat, place it on the floor inside the fort to add an extra layer of comfort and define the space. This also helps to absorb sound and make the fort feel even more soundproof and cozy.
- 11
Test the fort's coziness by sitting inside. Are there any drafts? Is it dark enough? Adjust the blankets and clips until you achieve your desired level of comfort and seclusion.
- 12
Add your personal touches! This is where the fort truly becomes yours. Arrange books, place stuffed animals, or set up a small table for snacks and drinks to make it your ultimate retreat.
Tips & Troubleshooting
- 1For extra stability, you can use heavy books or small weights to hold down blanket edges on the floor, especially if your fort extends beyond the furniture's footprint. This prevents the bottom edges from lifting and creating unwanted openings.
- 2Experiment with different blanket textures and colors to create a unique fort atmosphere. A mix of smooth satin, fuzzy fleece, and textured cotton can add visual interest and tactile comfort, enhancing the sensory experience of your fort.
- 3Consider adding a 'door' by leaving one section of a blanket unclipped or by using a smaller sheet as a flap that can be easily opened and closed. This gives you control over your entry and exit, adding to the sense of a private space.
- 4If your fort feels a bit dark, use lighter-colored blankets or add more fairy lights. Alternatively, strategically place a small, battery-operated LED lantern inside for a brighter, more functional light source without compromising safety.
- 5Once built, personalize your fort with books, games, or snacks for the ultimate cozy experience. Think about what makes you feel most relaxed and happy, and bring those elements into your fort.
- 6To create a more robust structure, consider using furniture that has natural anchor points, like chairs with high backs or sofas with arms. These provide excellent places to secure your blankets with clips.
- 7Don't be afraid to get creative with your blanket arrangement. You can create different 'rooms' within your fort by using furniture as dividers or by strategically draping blankets to create separate nooks.
- 8For a truly immersive experience, consider adding sound elements. A small portable speaker playing nature sounds or gentle music can enhance the tranquil atmosphere of your fort.
Related Activities You Might Enjoy
Frequently Asked Questions
What are the best materials for an adult fort building kit?
The best materials for an adult fort building kit prioritize comfort, stability, and ease of use. Large, lightweight blankets or sheets are ideal for creating spacious walls and ceilings that are easy to drape and secure. A generous assortment of comfortable pillows, ranging from plush couch cushions to firm bed pillows, ensures a cozy and inviting interior. Sturdy clothespins or binder clips are essential for holding everything together securely without damaging the fabric. For an added touch of magic and ambiance, battery-operated fairy lights are a wonderful addition, providing a warm glow without the hazard of heat. Finally, personal comfort items like books, stuffed animals, or even a small rug can elevate the fort from a simple structure to a personalized sanctuary.
How long does it take to build a fort with a kit?
Building a fort with a kit typically takes about 30 minutes, making it a quick and rewarding project. The time can vary depending on the complexity of the design you envision and the number of people involved in the construction. A solo builder might take a bit longer to strategize and secure everything, while a family or group of friends can often assemble a fort much faster through teamwork. The initial setup of draping the main blankets and securing them is usually the most time-consuming part, followed by the enjoyable process of arranging pillows and adding decorative touches. Ultimately, the goal is to create a relaxing space, so don't rush the process; enjoy the building as much as the lounging!
Is a fort building kit suitable for a family?
Absolutely! A fort building kit is an excellent screen-free activity for families, offering a fantastic opportunity for shared creativity and bonding. It encourages teamwork as family members collaborate on design and construction, fostering communication and problem-solving skills. The fort provides a dedicated, magical space for imaginative play, storytelling, or simply quiet relaxation together, away from the distractions of screens. Children can let their imaginations run wild, creating adventures within their new cozy hideaway, while adults can enjoy a moment of nostalgic fun or a peaceful retreat. It's a versatile activity that appeals to all ages, making it a perfect family project.
Can I use a fort building kit indoors?
Yes, fort building kits are designed specifically for indoor use. They are perfect for transforming ordinary living rooms, bedrooms, or playrooms into magical, cozy spaces without needing any outdoor elements or complex construction. The materials are lightweight and easy to manage within the confines of a home, and the focus is on creating a comfortable, enclosed area using existing furniture as a base. This makes them an ideal solution for creating a special retreat regardless of the weather outside, offering a fun and engaging activity that can be enjoyed year-round.
What are some creative ways to decorate my fort?
Decorating your fort is where your personality truly shines! Beyond the basic pillows and fairy lights, consider adding elements that enhance the theme or mood you're aiming for. For a 'starry night' effect, use dark blue or black blankets and strategically place glow-in-the-dark star stickers on the ceiling. A 'jungle' theme could incorporate green blankets, fake leaves, and stuffed animal critters. You can also hang lightweight fabric banners or streamers from the ceiling, or even use command hooks to attach small, decorative items. A small rug or mat on the floor adds a touch of luxury and warmth, making the space feel more complete and inviting. Don't forget to bring in your favorite books, art supplies, or a cozy throw blanket for ultimate comfort.
How do I ensure my fort is stable and safe?
Ensuring your fort's stability and safety is paramount for a worry-free experience. Start by choosing sturdy furniture that won't easily tip or shift. When draping blankets, ensure they are pulled taut and secured with plenty of clips, paying close attention to areas where blankets meet or hang from furniture. Overlapping edges not only blocks light but also adds structural integrity. For added security, especially on smooth floors, use heavy books or small weights to anchor the bottom edges of blankets. If using fairy lights, always opt for battery-operated, cool-to-the-touch LED strings to prevent any risk of overheating. Regularly check the fort for any signs of strain or looseness, and reinforce with additional clips as needed.
What Next?
Once your Cozy Corner Fort is complete, the real magic begins! Consider variations like a 'starry night' theme using dark blankets and strategically placed glow-in-the-dark stars, or a 'jungle canopy' with leafy green sheets and stuffed animal companions. When it's time to reclaim your space, carefully dismantle the fort, folding blankets and storing clips and lights in a designated bin for your next adventure. This fort is more than just a temporary structure; it's a memory-making machine. Think about hosting a fort movie night, a 'camp-in' with sleeping bags, or a themed tea party within its cozy confines. The possibilities are as endless as your imagination!
Free: 10 Paper Crafts Anyone Can Make in 5 Minutes
Get our beginner guide + new craft ideas weekly.
No spam. Unsubscribe anytime.
Did you complete this activity?
Related
You might also like

Cozy Canopy Creation
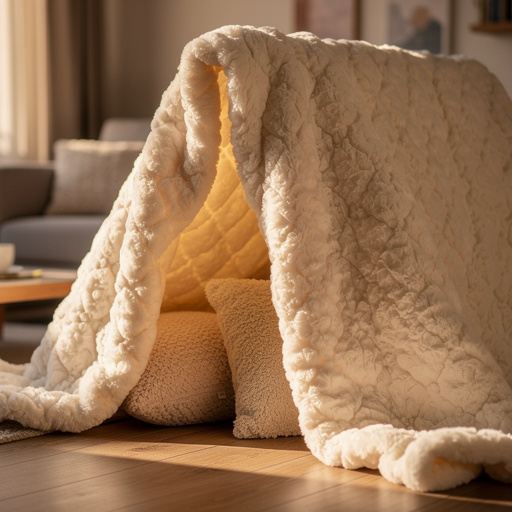
Cozy Cloud Blanket Fort
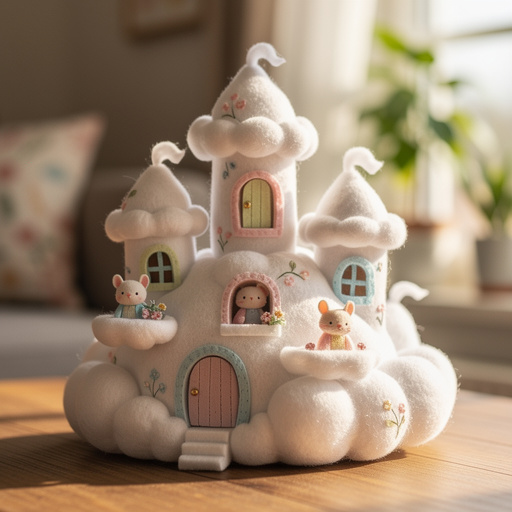
Cozy Critter Cloud Castle

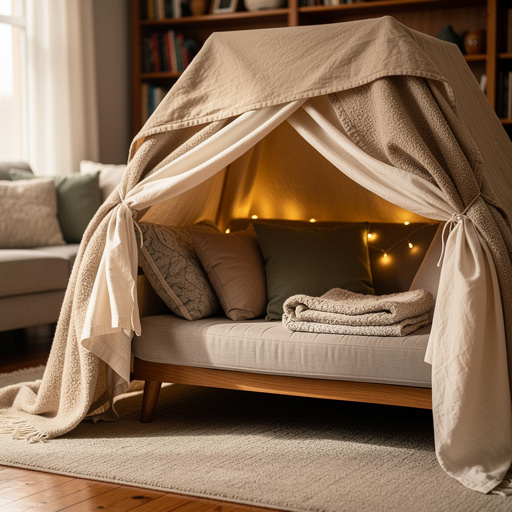
Cozy Blanket Hideaway
Epic Indoor Fort Building