How to Create a Simple Pencil Sketch — Easy Step-by-Step Guide
Discover the joy of drawing with this beginner-friendly pencil drawing tutorial. Create your own beautiful sketches with just a few basic supplies.

Quick answer
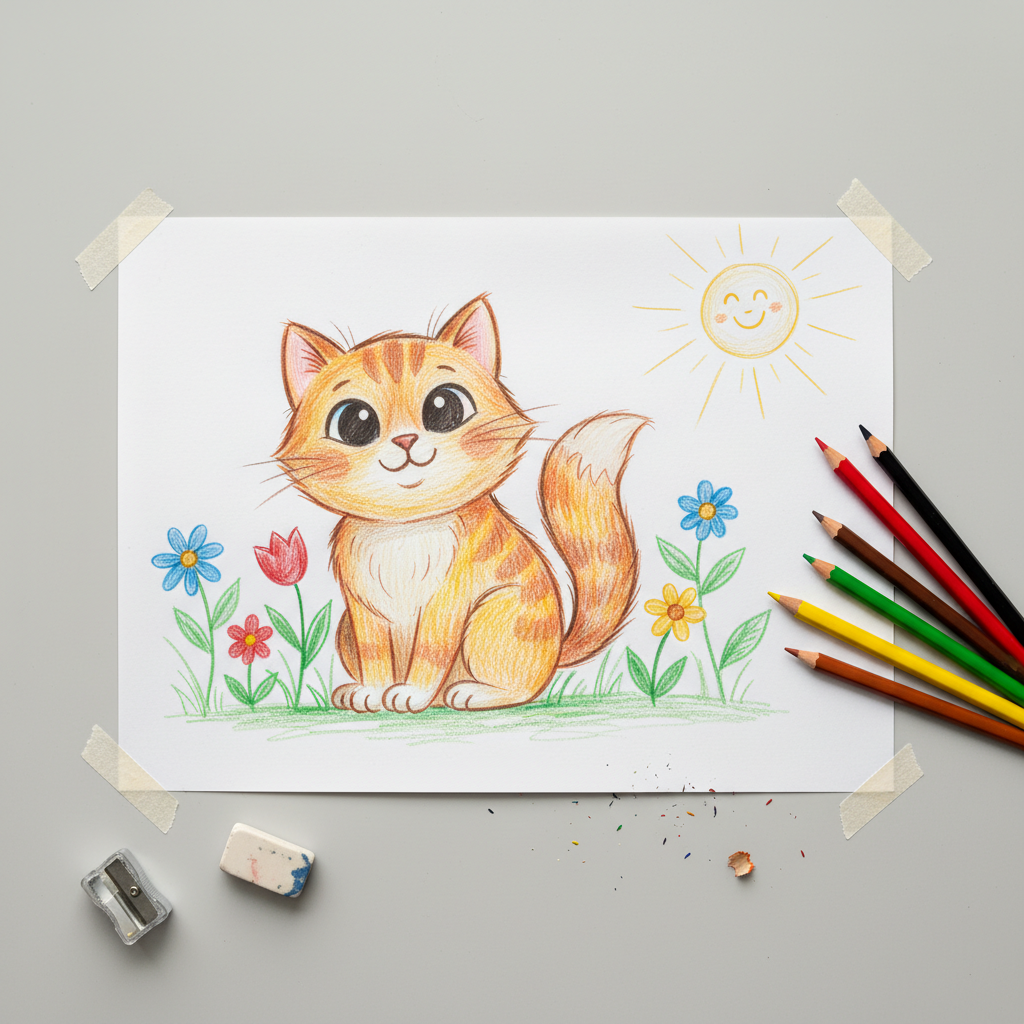
To make a simple pencil sketch, you need paper, pencils, and an eraser, taking about 30 minutes. Start by lightly sketching your subject. This beginner-friendly activity has 10 steps and is perfect for families and aspiring artists.
What you need
Shop on Amazon · As an Amazon Associate we earn from qualifying purchases. Links above are affiliate links — we may earn a commission at no extra cost to you.
Embarking on the journey of drawing can feel daunting, but it doesn't have to be! This simple pencil sketch tutorial is designed to demystify the process, making it accessible and enjoyable for everyone, regardless of prior experience. It’s a wonderful way to tap into your creativity, observe the world around you more closely, and create something tangible with your own hands. Perfect for a quiet afternoon, a fun family activity, or a first step towards artistic exploration, this project proves that beautiful art can be made with just a few fundamental tools.
On this page
Step-by-Step Instructions
- 1
**Step 1: Gather Your Simple Subject.** Find a simple object to draw, like a piece of fruit (an apple or banana), a plain mug, a small toy, or even a smooth stone. Choose something with clear, distinct shapes and not too many intricate details for your first attempt.
- 2
**Step 2: Prepare Your Workspace.** Ensure you have good lighting and a comfortable surface to work on. Place your paper flat and have your pencil and eraser within easy reach.
- 3
**Step 3: Lightly Sketch the Basic Outline.** Using your HB pencil, very lightly sketch the most basic, overarching shape of your object on the paper. Think of it as a ghost image – you want to be able to erase it easily if needed.
- 4
**Step 4: Focus on Main Shapes and Proportions.** At this stage, concentrate solely on capturing the general form and the relative size of different parts of your object. Don't get bogged down in tiny details; aim for accuracy in the overall structure and how the main components relate to each other.
- 5
**Step 5: Refine the Outline.** Once you're happy with the basic placement and proportions, begin to darken and refine your initial outline. Make the lines more confident and accurate, correcting any proportions that feel off. This is where your sketch starts to take on a more defined form.
- 6
**Step 6: Add Major Internal Lines and Shapes.** Identify and lightly sketch any significant internal lines or shapes that are crucial to defining your object's structure. For example, the handle of a mug, the stem of a fruit, or the seams on a toy should be added now.
- 7
**Step 7: Identify Light Source and Shadows.** Observe your subject closely and determine where the light is coming from. This will help you understand where the darkest shadows and brightest highlights will be on your drawing.
- 8
**Step 8: Begin Shading the Darkest Areas.** Using your HB pencil, or a softer pencil like a 2B if you have one, start to add shading to the areas that are the darkest. Apply light, controlled strokes in the direction of the object's form.
- 9
**Step 9: Build Up Tones Gradually.** Don't try to achieve the darkest shade in one go. Use light, overlapping strokes to gradually build up the darker tones. This layering technique allows for more control and a smoother transition of shades.
- 10
**Step 10: Add Lighter Shading for Contrast.** Now, move to the areas that are less dark but still have shadow. Use lighter pressure or a harder pencil (like an H or 2H) to add subtle shading, creating contrast between the different tonal values and giving your object a sense of volume.
- 11
**Step 11: Utilize Your Eraser for Highlights.** Your eraser is a powerful drawing tool! Use your kneaded eraser to gently lift out the brightest highlights where the light hits your object most directly. You can also use it to lighten areas that have become too dark or to create soft transitions.
- 12
**Step 12: Refine and Blend.** Gently blend some of your pencil strokes with your finger, a blending stump, or a tortillon to create smoother transitions between tones. Be careful not to over-blend, as this can make the drawing look muddy.
- 13
**Step 13: Add Texture Details.** Once the main shading is established, add finer details to suggest textures. For example, use short, broken lines for a rough surface or delicate curves for smooth skin. This step brings your sketch to life.
- 14
**Step 14: Final Touches and Adjustments.** Step back and look at your sketch from a distance. Make any final adjustments to shading, lines, or proportions to enhance the overall likeness and impact of your drawing.
- 15
**Step 15: Sign Your Work!** If you're happy with your sketch, take a moment to sign your name and perhaps the date. This marks the completion of your artwork.
Tips & Troubleshooting
- 1Don't press too hard with your pencil when sketching the initial outline; it's easier to erase and correct mistakes. Light, feathery strokes allow for maximum flexibility and prevent the paper from becoming damaged by excessive erasing.
- 2Experiment with different pencil grades if you have them, but an HB is perfectly fine to start. A 2B pencil is great for achieving deep shadows, while an H or 2H pencil can create delicate, light lines and subtle shading.
- 3Observe your subject closely, paying attention to how light hits it and creates shadows. Notice the subtle shifts in tone and the shape of the shadows, as these are key to creating a sense of three-dimensionality.
- 4If you're struggling with a specific part, try sketching it separately on a piece of scrap paper first. This allows you to focus on that element without the pressure of integrating it into the main drawing.
- 5Consider drawing your object from different angles to understand its form better. This practice helps you grasp its three-dimensional nature and how light and shadow play across its surfaces from various viewpoints.
- 6Don't be afraid to make mistakes; they are a natural part of the learning process. Embrace them as opportunities to learn and adjust your approach. The eraser is your friend in pencil drawing!
- 7Vary the direction of your pencil strokes to follow the contour of the object. This technique helps to describe the form and volume of the object, making it appear more rounded and realistic.
- 8Take breaks! Stepping away from your drawing for a few minutes can help you return with fresh eyes, allowing you to spot areas that need improvement more easily.
Related Activities You Might Enjoy
Frequently Asked Questions
What are the best pencils for beginner pencil drawing?
For beginners, an HB or #2 graphite pencil is ideal. It offers a good balance of hardness and darkness, making it versatile for sketching and shading without being too soft or too light. As you progress, you might want to explore a range of pencils. Softer pencils, like those with 'B' designations (e.g., 2B, 4B, 6B), are excellent for creating deep, rich shadows and smooth tonal gradations. Conversely, harder pencils, marked with 'H' (e.g., H, 2H, 4H), are perfect for light, precise lines and subtle shading that won't smudge easily. Having a few different grades can significantly enhance your ability to capture a wider range of tones and textures in your drawings.
How do I make my pencil drawings look more realistic?
To make drawings more realistic, focus on accurate proportions, observe light and shadow carefully, and practice smooth shading techniques. Gradually build up tones and use your eraser to create highlights. Pay close attention to the subtle nuances of your subject – the way light reflects off different surfaces, the texture of materials, and the precise shapes of shadows. Practicing observational skills is paramount; spend time really looking at your subject before you draw. Experimenting with different blending techniques and understanding how to create a full range of values from the lightest highlight to the darkest shadow will also contribute significantly to realism.
What is the easiest thing to draw for a beginner?
Simple geometric shapes like spheres, cubes, or cones are excellent starting points. Everyday objects like fruits (apples, bananas), mugs, or basic toys are also great for practicing outlines and shading. The key is to choose subjects with clear, defined forms and minimal complex details. For instance, a round apple is easier to capture than a detailed landscape. Focusing on these simpler objects allows you to concentrate on fundamental drawing techniques like proportion, line work, and basic shading without becoming overwhelmed. As your confidence grows, you can gradually introduce more complex subjects into your practice.
How can I improve my pencil drawing skills?
Consistent practice is key! Try drawing from life, study shading techniques, learn about perspective, and don't be afraid to experiment. Look at other artists' work for inspiration and learn from their methods. Dedicate regular time to drawing, even if it's just for 15-30 minutes a day. Actively seek out tutorials and resources that explain different shading methods, such as hatching, cross-hatching, and stippling. Understanding perspective will help you create more believable three-dimensional forms. Don't be afraid to try new things and push your boundaries; every drawing is a learning experience that contributes to your overall skill development.
What is a kneaded eraser and why is it useful?
A kneaded eraser is a pliable, putty-like eraser that doesn't wear down like a traditional rubber eraser. Instead of rubbing away graphite, it lifts it from the paper by absorbing it. This makes it incredibly useful for creating subtle highlights, softening harsh lines, and lifting graphite without damaging the paper's surface. You can shape it into a point for precise highlight work or use it to gently lighten large areas. Its ability to lift graphite without leaving behind eraser shavings makes it a favorite tool for many artists seeking delicate control over their shading and highlights.
How long does it typically take to complete a simple pencil sketch?
For a simple pencil sketch of an object, you can expect it to take anywhere from 30 minutes to an hour, depending on your pace and the level of detail you aim for. The initial outline and basic shading might take about 30 minutes, with an additional 15-30 minutes dedicated to refining details, adding textures, and perfecting highlights. This timeframe is ideal for beginners as it allows for focused practice without becoming overly tedious. As you become more proficient, you might find yourself completing similar sketches more quickly, or you may choose to spend more time on intricate details for a more polished result.
What Next?
Congratulations on creating your first simple pencil sketch! This foundational skill opens the door to countless artistic possibilities. You can explore drawing more complex objects, experiment with different shading techniques, or even try colored pencils. Consider framing your finished sketch to proudly display your accomplishment, or keep a sketchbook to track your progress. Remember, every artist started somewhere, and your journey has just begun. Keep practicing, keep observing, and most importantly, keep enjoying the creative process!
Free: 10 Paper Crafts Anyone Can Make in 5 Minutes
Get our beginner guide + new craft ideas weekly.
No spam. Unsubscribe anytime.
Did you complete this activity?