How to Make Beautiful Origami Paper Lanterns — Easy Step-by-Step Guide
Create stunning, illuminated decorations with these simple origami paper lanterns. A delightful screen-free activity for the whole family.
Quick answer
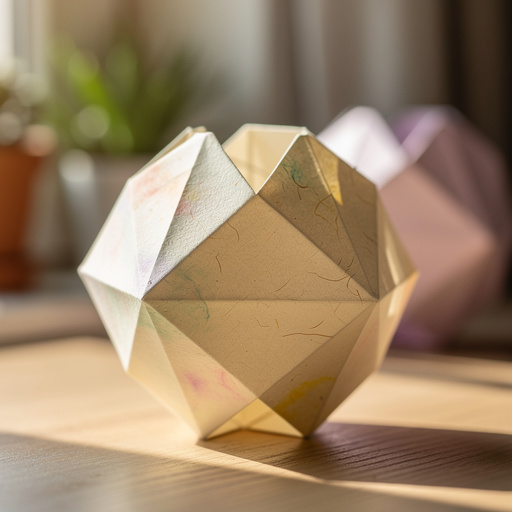
To make origami paper lanterns, you need square paper and scissors, taking about 30 minutes. Start by folding the paper in half. This beginner-friendly activity has 12 steps and is perfect for ages 8+.
What you need
Shop on Amazon · As an Amazon Associate we earn from qualifying purchases. Links above are affiliate links — we may earn a commission at no extra cost to you.
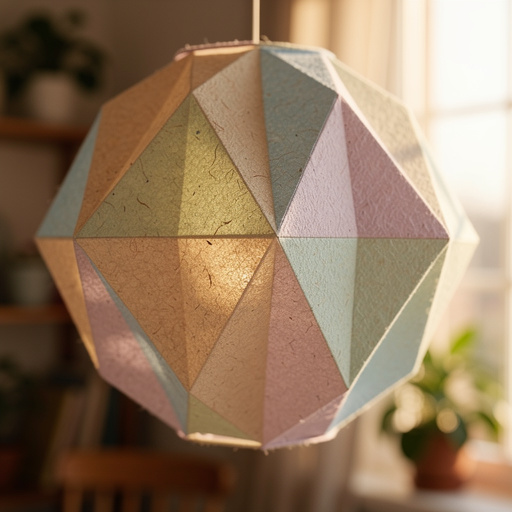
Transform ordinary paper into enchanting illuminated decorations with this delightful origami paper lantern project. Perfect for adding a warm, ambient glow to any space, these lanterns are surprisingly easy to create, making them an ideal activity for crafters of all ages. Gather your family, put away the screens, and enjoy a rewarding afternoon of folding, cutting, and creating beautiful, handmade decor that will impress your guests and bring a touch of handmade magic to your home.
On this page
Step-by-Step Instructions
- 1
Start with your square piece of paper, colored side down if applicable. Ensure your paper is perfectly square for the best results; if it's not, you can easily trim it to size by folding a corner to the opposite edge and cutting off the excess rectangle.
- 2
Fold the paper in half horizontally, creasing well, then unfold. This creates a central horizontal guideline that will be important for later steps, ensuring your cuts are evenly spaced.
- 3
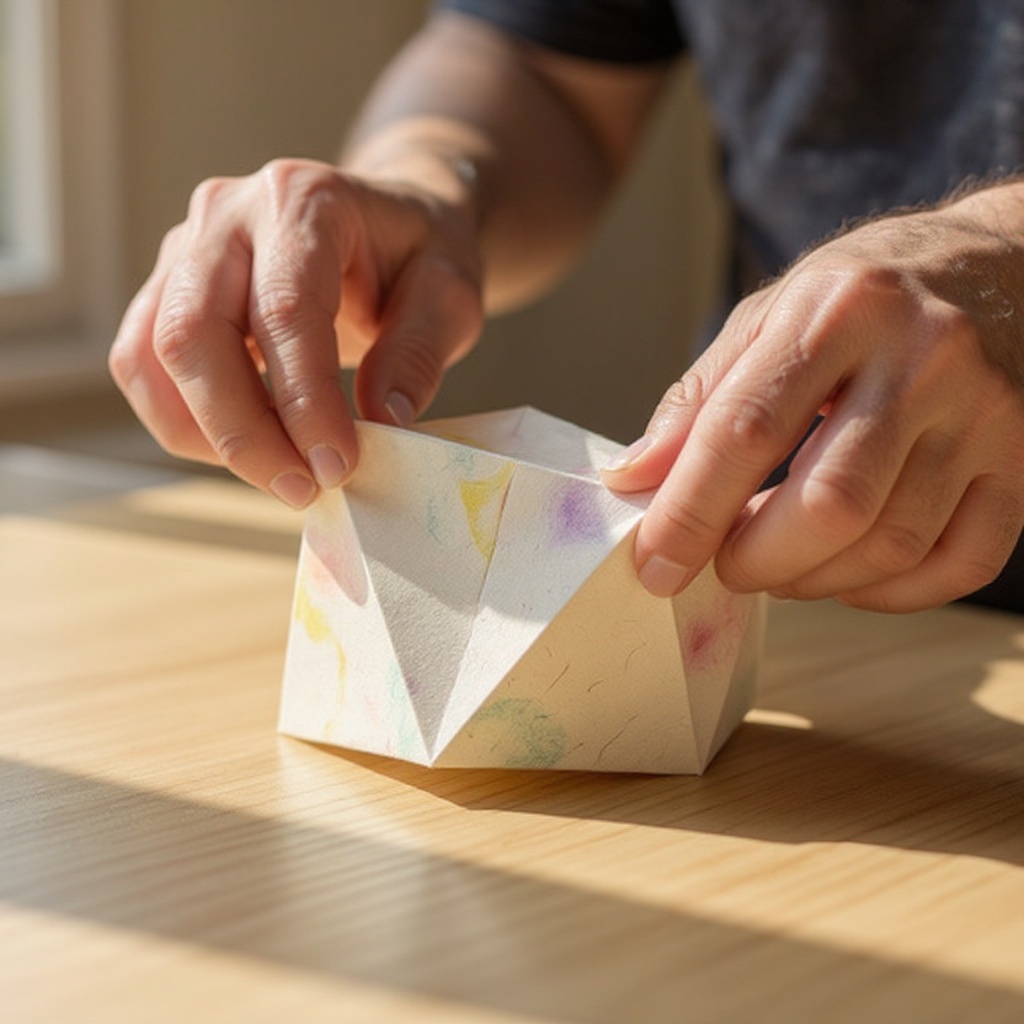
Fold the paper in half vertically, creasing well, then unfold. This establishes a central vertical guideline, dividing your paper into four equal quadrants and providing additional reference points for precise folding.
- 4
Fold the paper in half diagonally, creasing well, then unfold. This creates one diagonal crease across the paper, forming a triangle.
- 5
Fold the paper in half along the other diagonal, creasing well, then unfold. You should now have an 'X' shaped crease pattern on your paper, along with the horizontal and vertical creases, which will guide your cuts.
- 6
With the paper still flat, fold it in half horizontally again, ensuring the creases from the previous steps are still visible. This fold will bring the top edge down to meet the bottom edge, creating a long, narrow rectangle.
- 7
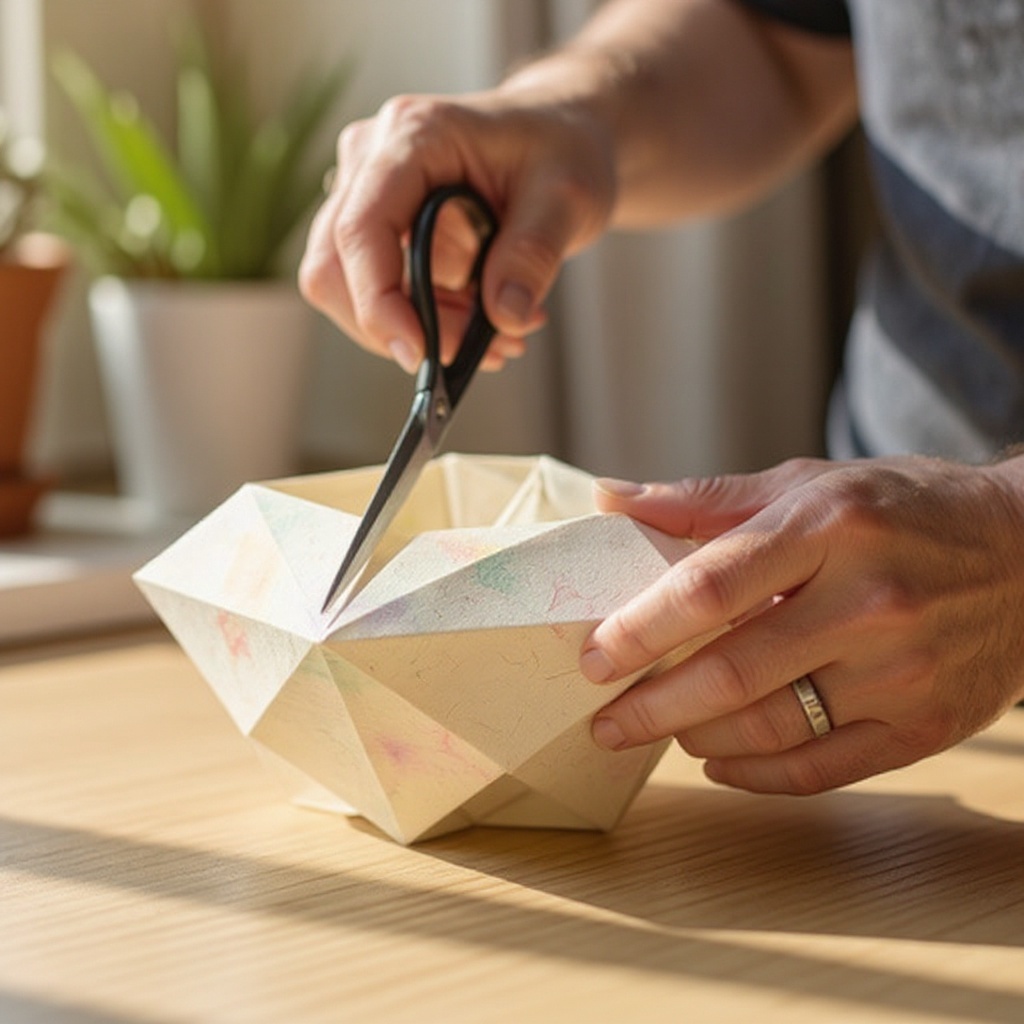
Now, carefully bring the two short edges of the paper together, forming a cylinder. The paper should naturally want to curve into this shape due to the previous folds, making assembly intuitive.
- 8
Overlap the edges by about 1/2 inch and secure them with a small piece of tape or a dab of glue. Ensure the seam is neat and lies flat for a smooth lantern appearance; a clean seam is crucial for a professional look.
- 9
Using your scissors, begin to cut along each of the horizontal creases you made earlier. Start from the folded edge (the edge that is now the top of your cylinder) and cut towards the open edge (the bottom of your cylinder), stopping about 1 inch from the open edge. Make sure your cuts are straight and go all the way through the paper.
- 10
Carefully unfold the paper completely. You should now have multiple parallel cuts running from the top edge down towards the bottom, creating a fringe effect that will allow the lantern to expand.

- 11
Gently bring the two short edges of the paper together again, forming a cylinder. This time, the cuts will allow the paper to expand outwards as you bring the edges together.
- 12
Overlap the edges by about 1/2 inch and secure them with a small piece of tape or a dab of glue. For a stronger bond, consider using craft glue and holding it in place until dry, or using double-sided tape along the entire seam for maximum adhesion.
- 13
Carefully bend the lantern outwards, allowing the cut strips to fan out. You can gently push the top and bottom edges inwards slightly to help the strips spread evenly and create a more rounded shape.
- 14
Adjust the fanned-out strips to create a symmetrical and pleasing shape. You can gently curl some of the strips outwards or inwards to add texture and visual interest, making each lantern unique.
- 15
Place an LED tea light or small string lights inside to illuminate your lantern. Ensure the lights are battery-operated and cool to the touch for safety, as paper is flammable.
- 16
For a more finished look and added durability, consider attaching a thin strip of cardstock around the top or bottom rim of the lantern. This can be secured with glue or double-sided tape and provides a sturdier edge for handling or hanging.
- 17
If you plan to hang your lantern, carefully attach fine fishing line or ribbon to the reinforced top edge. Ensure the attachment is secure so the lantern can be safely suspended.
- 18
Gently shape the lantern by slightly pressing the top and bottom rims inwards. This helps to distribute the fanned-out strips evenly and gives the lantern its characteristic rounded form.
Tips & Troubleshooting
- 1Use thinner paper for easier folding and a more delicate lantern. Origami paper is ideal, but lightweight craft paper or even tracing paper can also yield beautiful results, offering a softer diffusion of light. Thicker papers can be challenging to crease and cut cleanly, potentially hindering the final aesthetic.
- 2Experiment with different sizes of square paper to create lanterns of various dimensions. Larger paper will result in bigger lanterns, perfect for statement decor, while smaller pieces are great for creating a collection of mini lanterns. This allows for a versatile range of decorative applications.
- 3If you don't have square paper, you can easily make your own by folding a rectangular piece of paper diagonally and cutting off the excess. Ensure your cuts are precise to maintain the square shape for optimal folding, as even slight inaccuracies can affect the symmetry of the final lantern.
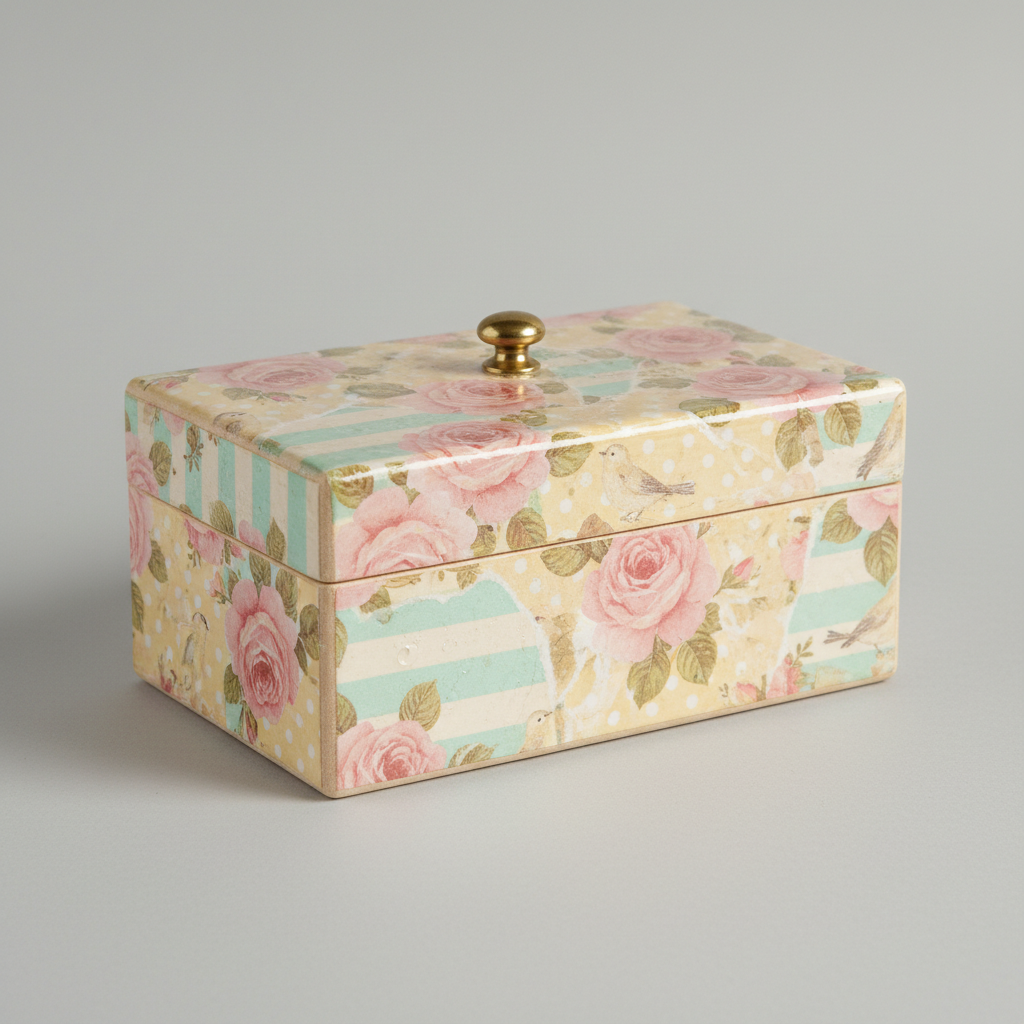
- 4For a more decorative touch, use patterned paper or decorate plain paper before folding. You can use stamps, markers, or even apply decoupage with tissue paper for unique and personalized designs. This allows for endless customization to match any theme or color scheme.
- 5Ensure your cuts are even and stop at the same point to create a symmetrical lantern. While slight variations can add charm, very uneven cuts might make the lantern appear lopsided. If you're struggling with straight cuts, using a ruler and pencil to lightly mark your cutting lines beforehand can be very helpful.
- 6Consider reinforcing the top and bottom edges of your lantern with a thin strip of cardstock glued or taped around the rim. This will add durability and make the lantern easier to handle and hang, especially if you plan to use them frequently or outdoors.
- 7When using string lights, opt for LED versions as they generate very little heat, making them safe to use with paper. Drape the lights inside the lantern, allowing them to cascade for a magical effect. Avoid using any lights that produce significant heat.
- 8To create a more robust lantern, especially if it will be handled frequently, use a stronger adhesive like craft glue or double-sided tape along the entire seam where the edges overlap. Allow the glue to dry completely before proceeding to ensure a strong and lasting bond.
Related Activities You Might Enjoy
Frequently Asked Questions
What kind of paper is best for origami lanterns?
Origami paper is ideal due to its thinness and crispness, which makes folding and cutting easier, resulting in clean lines and a delicate appearance. However, regular printer paper or even decorative scrapbook paper can work, though they might be slightly harder to fold and cut cleanly. For a more ethereal glow, consider using translucent papers like vellum or tracing paper. The key is to find a paper that holds a crease well but is not too thick, as this can make the cutting and fanning out process more challenging. Experimenting with different paper weights and textures can lead to unique visual effects.
Can I use real candles in these paper lanterns?
It is strongly recommended to use only LED tea lights or battery-operated string lights. Real candles pose a significant fire hazard with paper and should never be used. The paper is flammable, and the open flame can easily ignite it, leading to a dangerous situation. LED lights provide a safe and beautiful alternative, mimicking the warm glow of a candle without any risk of fire. Always prioritize safety when working with paper crafts and light sources.
How do I make the lantern stronger?
You can reinforce the lantern by adding a thin strip of cardstock around the top or bottom edge, or by using a stronger adhesive like craft glue instead of tape. Gluing the seam where the paper edges meet with a generous amount of craft glue and allowing it to dry thoroughly will create a very sturdy bond. Another option is to use double-sided tape along the entire length of the seam. For added rigidity, you could also create a simple paper ring to fit inside the top or bottom of the lantern, providing extra support.
What if my cuts aren't even?
Slightly uneven cuts will still result in a charming lantern. If they are very uneven, you can trim the edges slightly after folding to create a more uniform appearance. Don't worry too much about perfection; handmade items often have a unique character due to minor imperfections. If the unevenness is significant, you can try to gently adjust the fanned-out strips to balance the look, or even consider adding decorative elements like ribbon or beads to distract from any slight asymmetry. Embrace the handmade charm!
How long does it take to make one lantern?
On average, it takes about 30 minutes to create one origami paper lantern, especially once you've completed your first one and are familiar with the steps. The initial folding and creasing might take a few minutes, followed by the cutting, which requires some precision. Assembling the cylinder and fanning out the strips are the final stages. This timeframe can vary depending on your experience with origami and crafting, as well as the complexity of the paper you choose. It's a project that can easily be completed in a single sitting.
Can I make these lanterns in different shapes?
While this specific tutorial focuses on a cylindrical lantern, the principles of origami can be adapted to create lanterns in various shapes. For instance, starting with a different base fold or using a more complex origami base could lead to hexagonal or even more intricate geometric lantern forms. You can also experiment with different paper sizes and folding techniques to alter the proportions and overall silhouette of the lantern. For more advanced crafters, exploring modular origami techniques can lead to truly unique and multi-faceted lantern designs.
What are some other ways to decorate the lanterns?
Beyond using patterned paper, you can enhance your origami lanterns with a variety of decorative techniques. Consider using fine-tip markers to draw intricate designs on the paper before folding, or apply stencils for a more uniform pattern. Glitter glue can add a touch of sparkle, especially along the cut edges. For a more rustic feel, you could decoupage small pieces of tissue paper onto the lantern. Another idea is to attach small beads or charms to the bottom edge of the lantern for added visual interest and movement.
What Next?
Once your beautiful origami paper lanterns are complete, the possibilities for display are endless! Hang them in clusters from the ceiling for a festive party atmosphere, place them on shelves or mantels for a cozy ambiance, or even use them as unique table centerpieces. For variations, consider using patterned papers, adding decorative cutouts before folding, or even incorporating a small tassel at the bottom. For storage, gently flatten them and keep them in a dry place to preserve their shape. This project is a fantastic gateway to more intricate origami and papercraft, so don't hesitate to explore other folding techniques and decorative embellishments for your next creation!
Free: 10 Paper Crafts Anyone Can Make in 5 Minutes
Get our beginner guide + new craft ideas weekly.
No spam. Unsubscribe anytime.
Did you complete this activity?