How to Draw a Dog — Easy Step-by-Step Guide
Unleash your inner artist! This simple tutorial guides you through drawing a friendly dog, perfect for budding artists of all ages. Discover the joy of bringing a canine friend to life on paper with easy-to-follow steps.

Quick answer
To draw a dog, you need paper, a pencil, and an eraser, taking about 15-20 minutes. Start by drawing basic shapes for the head and body. This beginner-friendly activity has 10 steps and is perfect for families and kids aged 6+.
What you need
Shop on Amazon · As an Amazon Associate we earn from qualifying purchases. Links above are affiliate links — we may earn a commission at no extra cost to you.
Embarking on a drawing journey can be incredibly rewarding, and what better subject than a loyal canine companion? This tutorial is designed to make drawing a dog accessible and fun for everyone, regardless of prior artistic experience. We'll break down the process into simple, manageable steps, transforming basic shapes into a charming dog illustration. It's a fantastic activity for a rainy afternoon, a creative family project, or simply a way to unwind and express your artistic side. Get ready to discover how easy it is to create your own adorable dog!
On this page
Step-by-Step Instructions
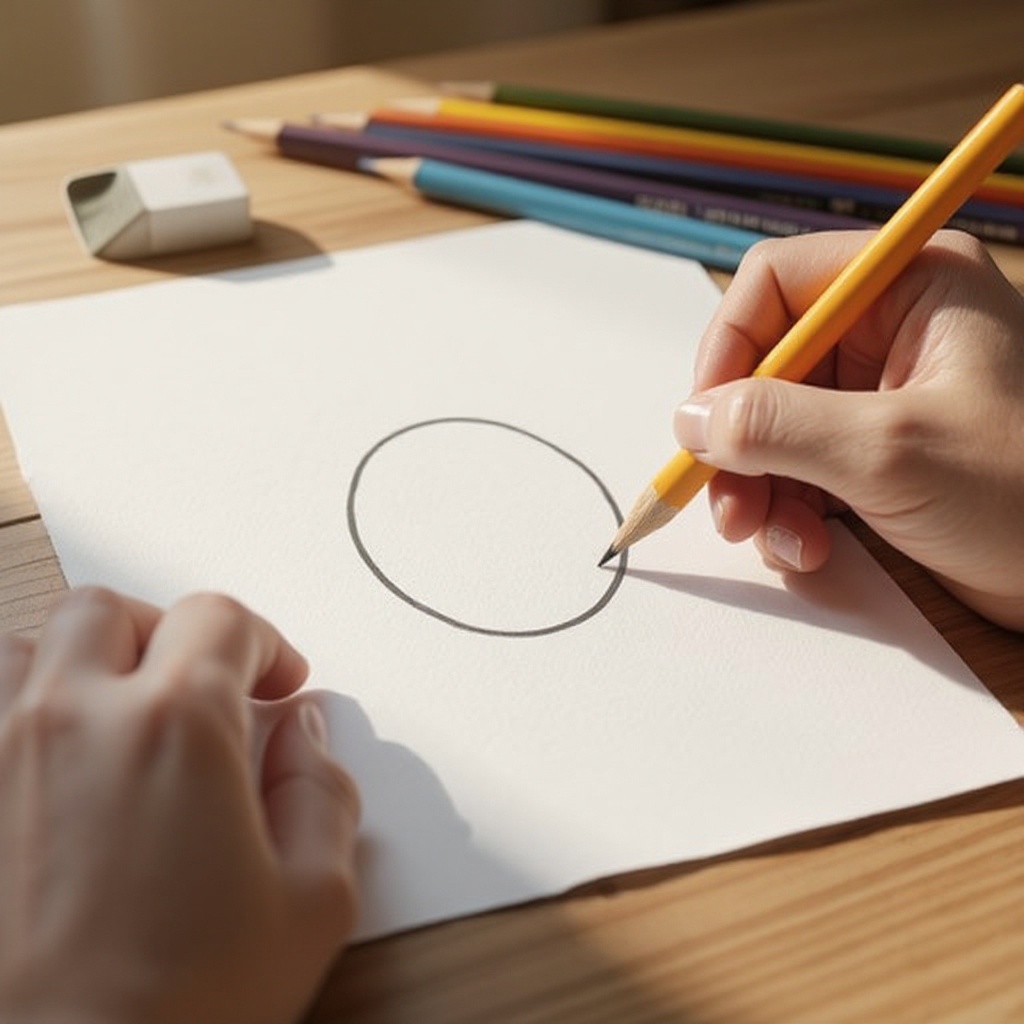
- 1
Lightly sketch an oval for the dog's head, slightly off-center on your paper. Aim for a size that feels balanced with the rest of the dog you envision; this initial oval is the foundation for your dog's face, so don't make it too small or too large. Remember to use a light touch so you can easily erase and refine it later.
- 2
Draw a larger, slightly elongated oval below and overlapping the head oval for the body. This body oval should be roughly twice the size of the head oval and positioned so that it connects naturally to the head. Think of it as the main torso of your dog, providing the structure for its limbs and tail.
- 3
Connect the head and body ovals with two curved lines to form the neck. These lines should be smooth and gently arching, creating a natural transition between the head and the body. The width of the neck will depend on the type of dog you're drawing; a thicker neck might suggest a sturdier breed, while a thinner one could be for a more slender dog.
- 4
Add two small circles on top of the head oval for the ears, letting them droop slightly. Position these circles towards the top edges of the head oval, allowing them to extend slightly beyond its boundary. The angle and size of these circles will greatly influence the dog's expression; slightly drooping ears often convey a friendly or relaxed demeanor.
- 5
Draw a small triangle for the nose at the bottom of the head oval. This triangle should be pointing downwards and centered within the lower half of the head oval. Make sure the base of the triangle aligns with the edge of the head oval, and keep it relatively small to maintain a balanced facial structure.
- 6
Add two small dots above the nose for the eyes. Place these dots slightly above and to the sides of the nose triangle, ensuring they are roughly equidistant from the center of the face. These simple dots will give your dog its gaze; you can adjust their placement slightly to convey different emotions.
- 7
Sketch a curved line below the nose for the mouth, curving upwards slightly. This line should start from the bottom point of the nose triangle and extend outwards, forming a gentle smile. A slight upward curve will give your dog a friendly and approachable look, making it instantly more endearing.
- 8
Draw four simple, slightly curved lines extending from the bottom of the body oval for the legs. These lines should be positioned at the lower edges of the body oval, two towards the front and two towards the back. Keep them relatively straight but with a slight bend to suggest joints, and ensure they are roughly the same length for a balanced stance.
- 9
Add a curved line extending from the back of the body oval for the tail. The tail can be positioned to wag, droop, or curl, depending on the personality you want to give your dog. A gentle upward curve often suggests happiness, while a downward curve might indicate a more subdued mood.
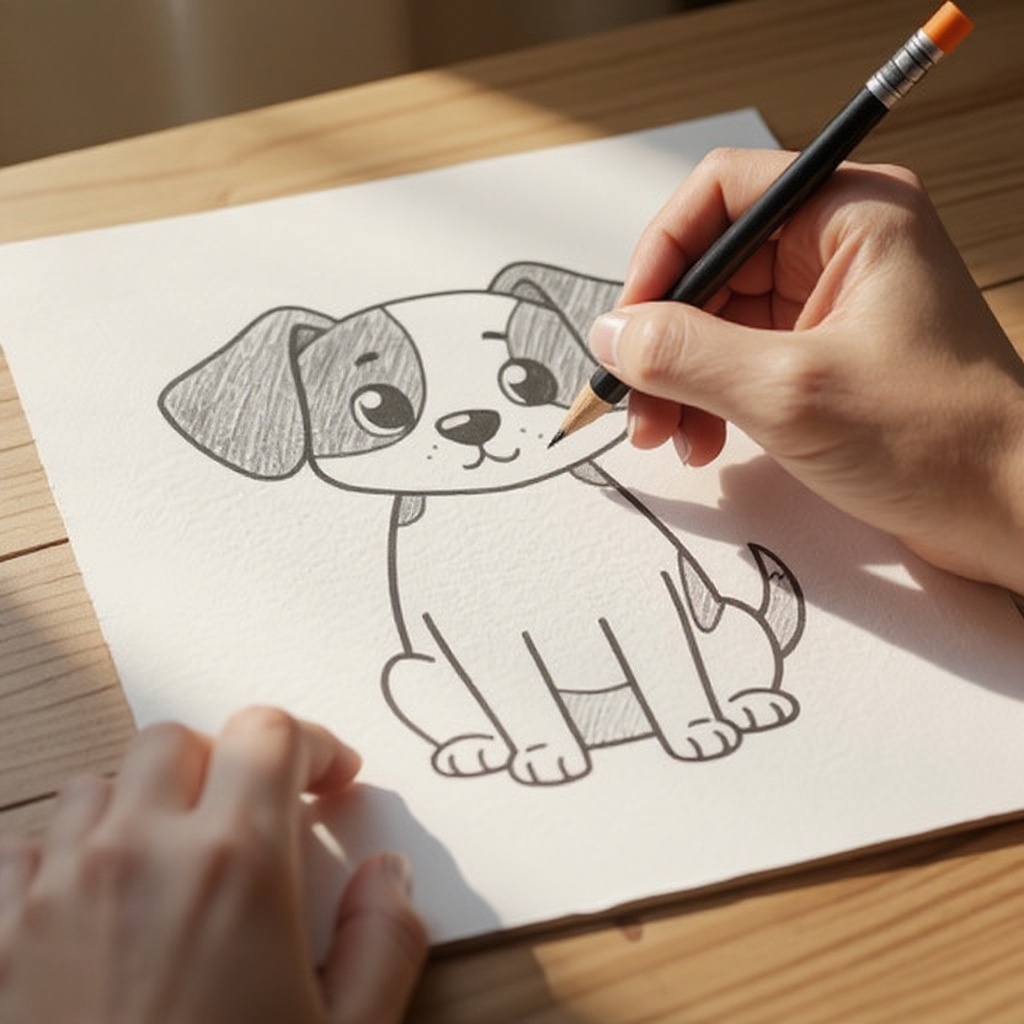
- 10
Go over your sketch lines with firmer pressure, refining the shapes and adding details like paws and fur texture. Now that the basic structure is in place, you can start to define the outlines more clearly. Add subtle curves to the legs to suggest paws, and consider adding short, feathery strokes along the edges of the body and tail to hint at fur. This is where your dog truly begins to take shape.
- 11
Refine the ear shapes by rounding off the corners and adding a bit more volume. Instead of just circles, think about how dog ears actually hang or stand. For floppy ears, you might want to add a slight curve to the bottom edge, making them look more natural. For perky ears, ensure they are standing upright and have a defined shape.
- 12
Add more definition to the muzzle area by gently curving the lines that form the sides of the head. The area where the nose meets the face isn't usually a sharp corner. Soften these transitions to create a more rounded and dog-like muzzle, making the face appear less flat.
- 13
Shape the legs to give them more form and suggest joints. Instead of just straight lines, add a slight bulge or curve where the 'knee' and 'elbow' would be. You can also add simple rounded shapes at the bottom of each leg to represent paws, giving your dog a more grounded appearance.
- 14
Enhance the tail by giving it a bit more thickness and a natural flow. A tail isn't just a thin line; it has volume. You can achieve this by drawing a second, parallel curved line to create a thicker tail shape, and then adding a few subtle strokes to suggest fur or movement.
- 15
Add a subtle curve to the top of the head to create a slight forehead. This small detail can make a big difference in the dog's expression, giving it a more rounded and less 'egg-like' head shape. It also provides a good area to later add details like eyebrows or a slight furrow.
- 16
Consider adding a collar around the neck area. This can be a simple band with a small circle for a tag, adding another layer of detail and personality to your dog. It also helps to visually anchor the head to the body.
- 17
Begin to add subtle fur texture by drawing short, overlapping strokes along the outlines and in areas where fur would naturally be thicker. Don't overdo it; a few well-placed strokes can suggest texture without making the drawing look messy. Think about the direction the fur grows.
- 18
Erase any overlapping construction lines that are no longer needed. Once you're happy with the refined outlines and added details, carefully go back and erase any of the initial oval or connecting lines that are now hidden or unnecessary. This will clean up your drawing and make the final form of the dog stand out.
- 19
Add a simple pupil to each eye by drawing a small, dark circle or oval within the eye dots. This gives the eyes more focus and depth, making your dog appear more alert and engaged. You can even add a tiny white dot to one side of the pupil to suggest a highlight, making the eyes look more alive.
- 20
Lightly sketch in the mouth line again, perhaps making it a bit more pronounced if you want a more expressive smile. You can also add a subtle line underneath the mouth to suggest the chin or jowl area, adding to the dog's facial structure.
Tips & Troubleshooting
- 1Don't press too hard with your pencil when sketching; this makes it easier to erase and refine your lines. Light, feathery strokes are your best friend during the initial stages, allowing for quick corrections and adjustments without damaging the paper. Think of your pencil as a whisper, not a shout, when you're laying down the foundational shapes.
- 2Experiment with different ear shapes (floppy, perky) and tail positions to create unique dog characters. A dog's ears and tail are key to conveying its personality. Try drawing a dog with long, velvety ears that hang low, or perhaps small, pointed ears that stand straight up. Similarly, a wagging tail versus a tucked tail tells a very different story.
- 3Add shading to give your dog more dimension. Lightly shade under the chin, belly, and legs. Shading is crucial for making your drawing look three-dimensional. Use your pencil to create soft shadows in areas where light wouldn't directly hit, such as under the dog's jaw, along its belly, and on the underside of its legs. This will create a sense of form and volume.
- 4If you make a mistake, don't worry! The eraser is your best friend. Gently lift away unwanted lines. Mistakes are a natural part of the learning process, so embrace them! A kneaded eraser is excellent for lifting graphite gently without smudging, while a standard eraser can be used for more precise corrections. Don't be afraid to use it liberally.
- 5Observe real dogs or photos for inspiration on proportions and anatomy. Looking at actual dogs or high-quality photographs will give you a better understanding of how their bodies are structured. Pay attention to the relationship between the head size and body size, the length of their legs, and the natural curves of their form. This observation will greatly improve the accuracy and believability of your drawings.
- 6Vary the pressure on your pencil to create different line weights. Thicker, darker lines can be used for the main outlines of your dog, giving it definition, while lighter, thinner lines can be used for internal details or fur texture. This variation in line weight adds visual interest and helps to guide the viewer's eye.
- 7Consider the dog's breed when adding details. Different breeds have distinct features. For example, a Dachshund will have a much longer body and shorter legs than a Great Dane. Researching specific breeds can help you create more accurate and recognizable dog drawings, adding another layer of depth to your artistic exploration.
- 8Practice drawing different dog poses. Once you're comfortable with this basic standing pose, try drawing your dog sitting, lying down, or even jumping. Each pose presents new challenges and opportunities for learning about canine anatomy and form. This will expand your repertoire and make your dog drawings more dynamic.
Related Activities You Might Enjoy
Frequently Asked Questions
What is the easiest way to draw a dog?
The easiest way to draw a dog is by breaking it down into simple geometric shapes like ovals and triangles. Start with a large oval for the body and a smaller oval for the head, then connect them with curved lines for the neck. From these basic forms, you can add smaller shapes for ears, a triangle for the nose, dots for eyes, and simple lines for legs and a tail. This method simplifies the complex anatomy of a dog into manageable components, making it incredibly accessible for beginners and children. By focusing on these foundational shapes first, you build a solid structure that can then be refined with more detail.
How do I make my dog drawing look more realistic?
To make your dog drawing look more realistic, focus on proportions and shading. Observe real dogs or photos to understand their anatomy, paying close attention to the relationship between different body parts and their natural curves. Adding subtle shading to create depth and texture will bring your drawing to life; think about where light would fall and where shadows would be cast. Experiment with different pencil grades to achieve smooth transitions in your shading, and consider adding fine details like individual fur strands or the glint in the eyes. Realistic drawings often benefit from careful observation and patient rendering.
What materials do I need to draw a dog?
For a basic dog drawing, you'll need drawing paper, a graphite pencil (like an HB or 2B), and an eraser. These simple materials are perfect for practicing and learning the fundamentals of dog illustration. The HB pencil is great for light sketching and initial outlines, while a softer 2B pencil can be used for darker lines and shading. A kneaded eraser is ideal for lifting graphite gently without smudging, and a standard eraser is useful for more precise corrections. If you want to add color, you can also use colored pencils, crayons, or markers.
Can a beginner learn how to draw a dog?
Absolutely! Learning how to draw a dog is a great starting point for beginners. By following step-by-step guides that use basic shapes, anyone can create a recognizable and charming dog drawing. This tutorial, in particular, is designed with beginners in mind, breaking down the process into simple, easy-to-follow steps. The key is to start with the fundamental shapes and gradually build upon them, rather than trying to draw complex details all at once. With a little practice and patience, even absolute beginners can achieve satisfying results.
How long does it typically take to draw a dog using this method?
This beginner-friendly method, focusing on simple shapes and clear steps, typically takes about 15 to 20 minutes to complete. This timeframe allows for careful sketching, refining lines, and adding basic details without feeling rushed. The exact duration can vary depending on your pace and how much detail you choose to add. For instance, if you decide to spend extra time on shading or fur texture, it might take a bit longer. However, the core drawing of a recognizable dog can certainly be achieved within this short window, making it an ideal activity for a quick creative session.
What age group is this dog drawing tutorial best suited for?
This simple dog drawing tutorial is perfect for a wide age range, but it's particularly well-suited for children aged 6 and up, as well as adults who are new to drawing. The use of basic shapes and straightforward instructions makes it easy for younger artists to follow along and achieve a successful outcome, boosting their confidence. For adults, it serves as an excellent introduction to drawing, demonstrating how to construct a subject from simple forms. Families can enjoy this as a collaborative activity, with everyone creating their own unique canine companions.
What Next?
Congratulations on drawing your very own dog! You've successfully transformed simple shapes into a delightful canine character. Don't stop here; experiment with different breeds by altering ear shapes, tail lengths, and body proportions. Consider adding a collar, a favorite toy, or even a simple background to further personalize your artwork. Once you're happy with your creation, you can frame it, use it as a greeting card, or even scan it to share online. Keep practicing, and soon you'll be drawing all sorts of wonderful animals!
Free: 10 Paper Crafts Anyone Can Make in 5 Minutes
Get our beginner guide + new craft ideas weekly.
No spam. Unsubscribe anytime.
Did you complete this activity?