How to Draw a Pencil — Easy Step-by-Step Guide
Master the art of drawing a classic pencil with this simple, step-by-step tutorial. Perfect for beginners looking to hone their observational drawing skills.

Quick answer
To draw a pencil, you need paper, a pencil, and an eraser, taking about 20 minutes. Start by drawing the main body. This beginner-friendly activity has 12 steps and is perfect for families and kids aged 6+.
What you need
Shop on Amazon · As an Amazon Associate we earn from qualifying purchases. Links above are affiliate links — we may earn a commission at no extra cost to you.
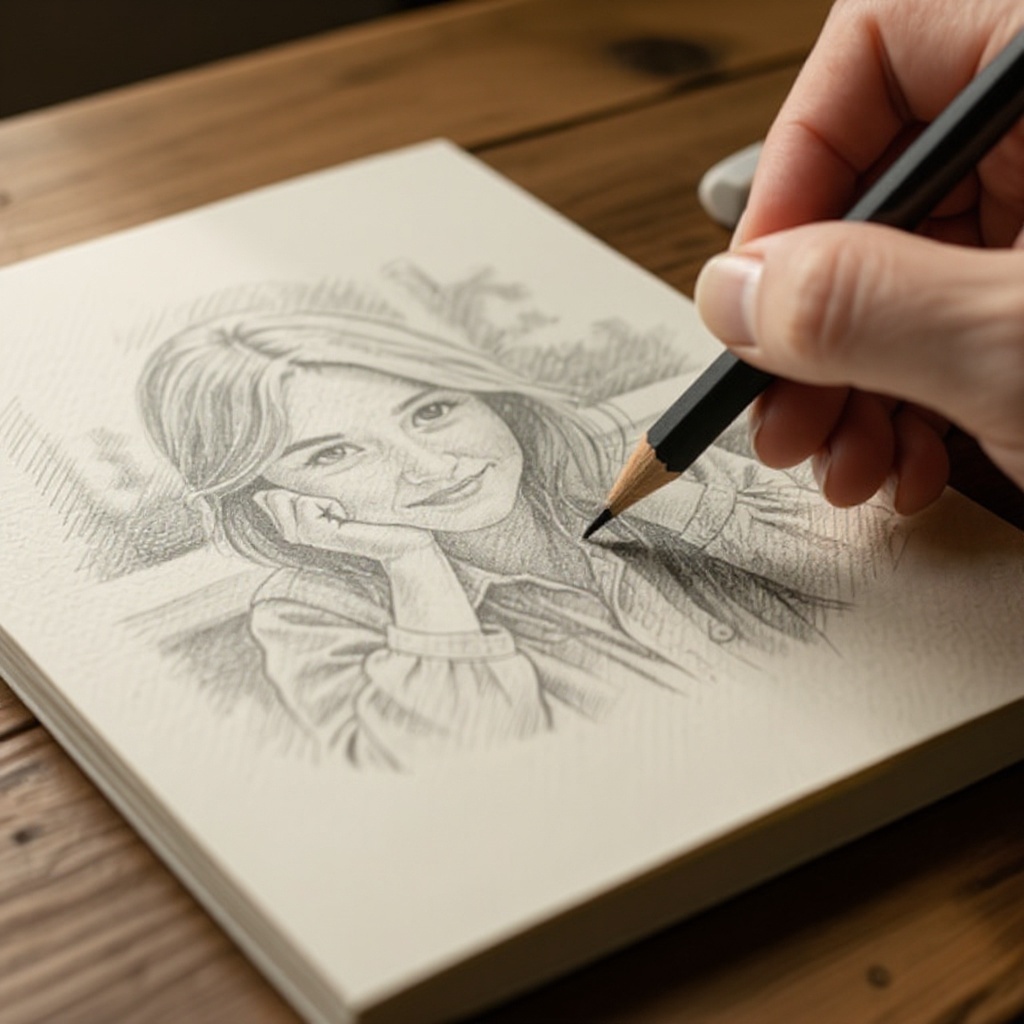
Embark on a creative journey and learn to draw a classic pencil, a fundamental tool for any artist. This tutorial is designed with absolute beginners in mind, offering a clear and accessible path to creating a recognizable sketch. Drawing a pencil is a fantastic exercise for developing observational skills, understanding basic shapes, and practicing foundational shading techniques. It's a rewarding project that requires minimal materials, making it perfect for a quick artistic session at home or in the classroom, suitable for artists of all ages, from young children to adults.
On this page
Step-by-Step Instructions
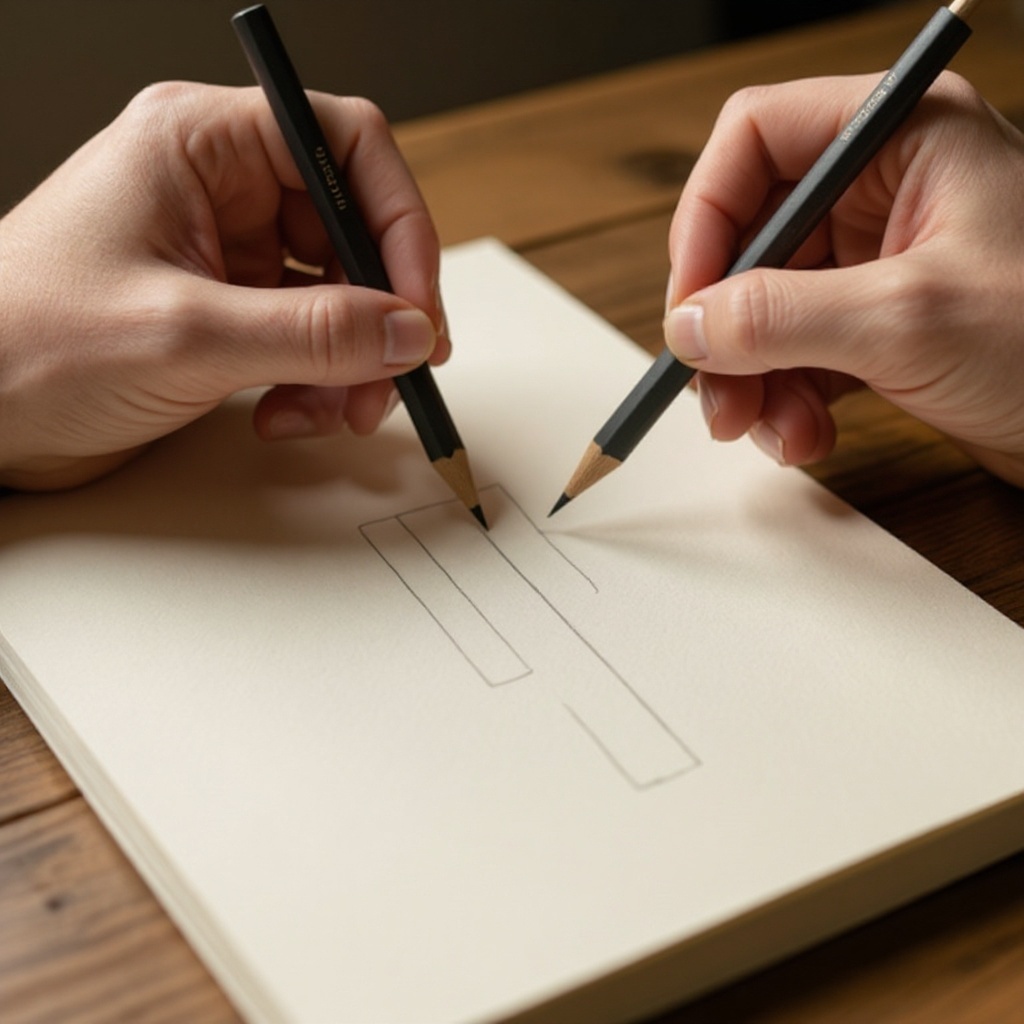
- 1
Lightly sketch a long, thin rectangle on your paper using your 2H pencil. This will serve as the main body of the pencil, establishing its length and width. Ensure the lines are faint enough to be easily erased later, acting as a guide for your drawing.
- 2
At one end of the main rectangle, draw a small trapezoid shape pointing inwards. This shape represents the ferrule, the metal band that holds the eraser in place. Make sure the top edge of the trapezoid is slightly narrower than the bottom edge where it meets the pencil body.
- 3
Inside the ferrule trapezoid, draw a slightly curved line to represent the top edge of the eraser. This curve should be gentle, mimicking the rounded top of a typical pencil eraser. Avoid making it too sharp or angular.
- 4
Now, draw the sharpened tip of the pencil. Extend two lines from the opposite end of the main rectangle, forming a point. These lines should converge at a sharp angle, indicating the sharpened wood and graphite lead. The length of this tip can vary depending on the desired look.
- 5
Refine the ferrule shape by adding a slightly thicker line around the outside of the trapezoid you initially drew. This creates a sense of depth and makes the metal band appear more solid and distinct from the pencil body.
- 6
Add a small, curved line to indicate the distinct edge of the eraser, connecting it to the ferrule. This line helps separate the eraser from the metal band and gives the eraser a more defined form.
- 7
Draw a few faint, curved lines within the sharpened tip to suggest the texture of the wood grain and the graphite lead. These subtle lines add realism and detail to the pointed end of the pencil.
- 8
Erase any overlapping or unnecessary construction lines, particularly around the ferrule and eraser areas. Carefully remove any stray marks from your initial sketch to ensure clean edges and a polished appearance.
- 9
Go over the main outline of the pencil with your HB or #2 pencil, applying slightly firmer pressure to define its shape. This step solidifies the primary form of the pencil, making it stand out from the background.
- 10
Add subtle shading to the body of the pencil using your softer graphite pencil (e.g., 2B). Imagine a light source and add darker tones on the side opposite the light, gradually lightening the tone as it approaches the light source. This creates a sense of roundness and volume.
- 11
Shade the ferrule, making it slightly darker than the pencil body to give it a metallic look. Use smooth, even strokes, and consider adding a small highlight on the ferrule where the light source would reflect most strongly.
- 12
Add a touch of shading to the eraser, making it slightly lighter than the ferrule but darker than the paper. Use gentle strokes and consider using your kneaded eraser to lift out small highlights, giving the eraser a soft, textured appearance.
- 13
Introduce subtle texture to the wood grain on the sharpened tip. Use very light, short strokes with your HB pencil, following the direction of the wood grain. This adds a touch of realism without overdoing it.
- 14
Refine the graphite lead at the very tip. Make this area slightly darker than the surrounding wood, using your softer pencil. A very light touch here is crucial to avoid making it look too harsh.
- 15
Consider adding a faint shadow beneath the pencil. This grounding shadow will make your drawing appear more three-dimensional and integrated with the surface it's resting on. The shadow should be darkest directly beneath the pencil and fade outwards.
- 16
Use your kneaded eraser to lift out subtle highlights on the pencil body, ferrule, and eraser. These small touches of light can significantly enhance the sense of form and realism, suggesting how light interacts with the object.
- 17
Review your drawing. Look for areas that could benefit from a little more shading or a touch more definition. Ensure the transitions between light and shadow are smooth and natural.
Tips & Troubleshooting
- 1Don't press too hard with your initial lines. Lighter sketching makes it easier to erase mistakes and refine your drawing, allowing for greater flexibility as you build your sketch.
- 2Experiment with different shading techniques. You can use hatching (parallel lines), cross-hatching (overlapping lines), or smudging with a finger or blending tool to create texture and depth, adding variety to your pencil's surface.
- 3Try drawing pencils of different colors by adding color after completing the sketch with colored pencils, markers, or watercolors, or by using colored pencils from the start for a vibrant interpretation.
- 4Observe real pencils around you to notice subtle details like the texture of the wood, the subtle imperfections in the paint, or the way light reflects off the ferrule and eraser. These observations will greatly enhance your drawing's realism.
- 5Pay attention to the perspective of your pencil. If it's angled, the shapes of the ferrule and the tip will appear slightly distorted, which is a key element in creating a convincing drawing.
- 6Use your eraser not just for removing lines, but also for creating highlights. Gently lifting graphite with a kneaded eraser can add a sense of shine and dimension to your drawing.
- 7Vary the pressure you apply with your pencils. Lighter pressure is ideal for initial sketches and subtle shading, while firmer pressure is useful for defining outlines and creating darker tones.
- 8Don't be afraid to make mistakes. Drawing is a process of learning and refinement. Every line and shade is an opportunity to improve your technique and understanding of form.
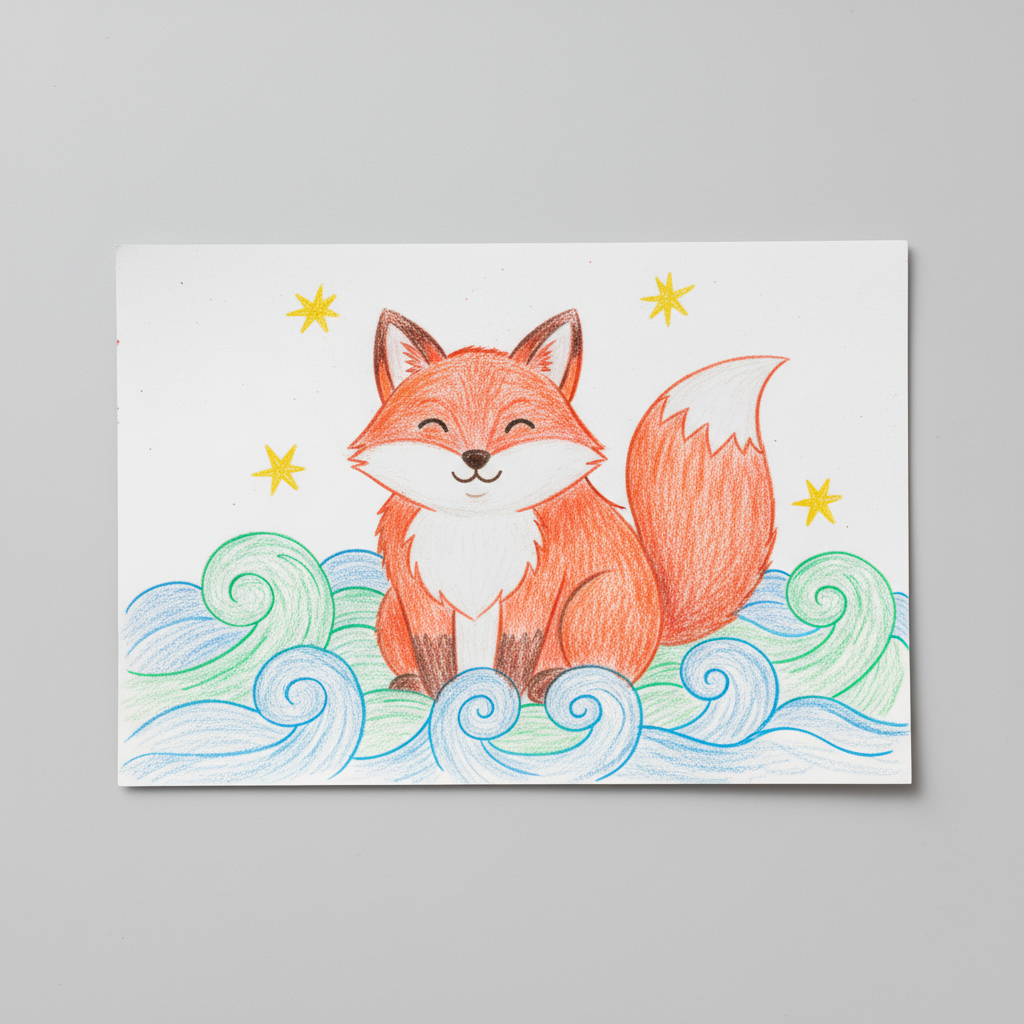
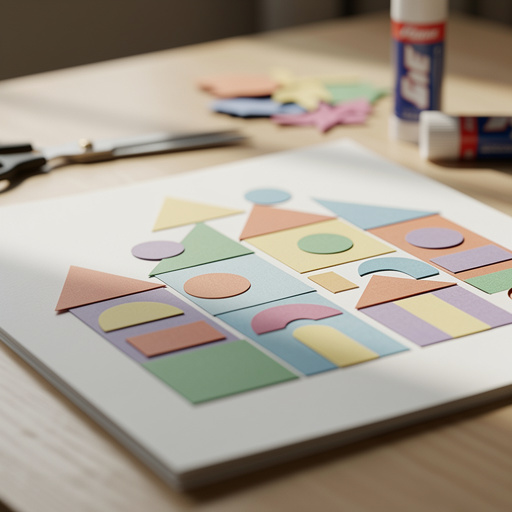
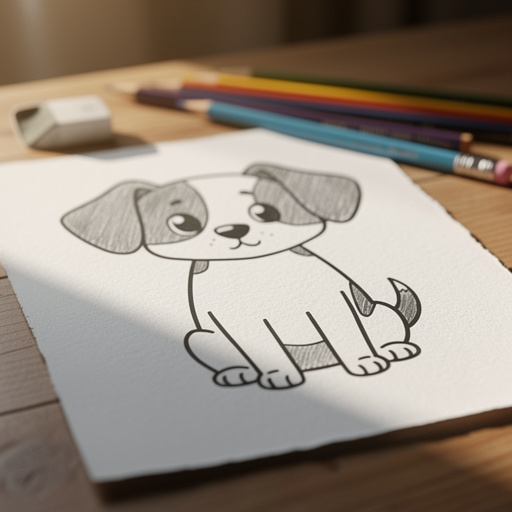
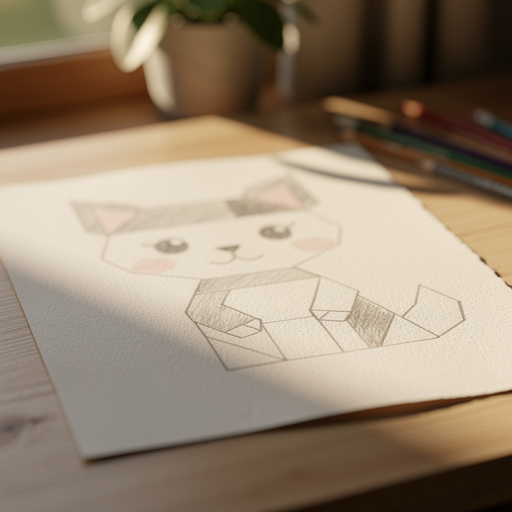
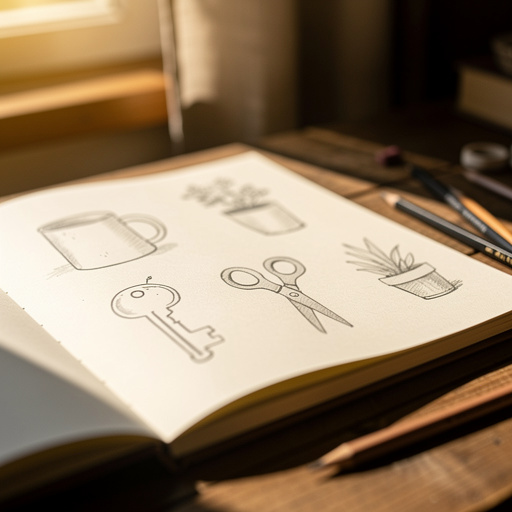
Related Activities You Might Enjoy
Frequently Asked Questions
What is the easiest way to draw a pencil?
The easiest way to draw a pencil is to start with a basic rectangular shape for the main body, then add a trapezoid for the ferrule at one end and a pointed tip at the other. Begin with light, sketchy lines using a harder pencil (like 2H) so you can easily adjust and erase. Once the basic structure is in place, you can refine the shapes, add details like the eraser and wood grain, and then build up shading with softer pencils. Remember to observe a real pencil for proportions and details to make your drawing more accurate and recognizable.
How do I make my pencil drawing look realistic?
To make your pencil drawing look realistic, focus on accurate proportions and paying close attention to how light interacts with the object. Observe real pencils to understand the subtle curves, the texture of the wood, and the reflectivity of the metal ferrule. Use a range of graphite pencils (from hard to soft) to create smooth transitions in shading, mimicking the way light falls on the pencil's form. Add subtle highlights with an eraser and consider a soft shadow beneath the pencil to ground it in space. Small details like wood grain and subtle smudges can also contribute significantly to realism.
What kind of pencil should I use to draw a pencil?
You can use any standard graphite pencil, like an HB or #2 pencil, to draw a pencil. For the initial sketching and outlining phase, a lighter pencil such as a 2H or H is recommended because its lines are faint and easy to erase, allowing for corrections without damaging the paper. For shading and adding darker tones, a softer pencil like a 2B or 4B will be more effective, providing richer blacks and smoother blending. Having a range of pencils will give you more control over the tonal values and textures in your drawing.
How do I shade a pencil drawing?
Shading a pencil drawing involves creating the illusion of light and shadow to give your drawing depth and form. First, imagine a light source and identify where the light hits the pencil and where the shadows will fall. Use your softer graphite pencils (like 2B or 4B) to apply darker tones on the sides opposite the light source. You can use light, even strokes for smooth gradients, or employ techniques like hatching and cross-hatching for textured areas. Blend the graphite with your finger, a blending stump, or a tortillon for smoother effects, and use your eraser to lift out highlights where the light is brightest.
What are the key components of a pencil that I should focus on when drawing?
When drawing a pencil, the key components to focus on are the main cylindrical body, the sharpened tip (which includes the wood casing and the graphite lead), and the ferrule (the metal band). You also need to represent the eraser. Pay attention to the proportions of each part – how long is the body compared to the tip? How wide is the ferrule? The ferrule is typically a trapezoidal shape when viewed from the side, and the eraser often has a slightly curved top. Capturing these distinct shapes and their relationships accurately is crucial for a recognizable pencil drawing.
How can I add texture to my pencil drawing?
Texture can be added to your pencil drawing through various shading techniques and by observing the real object. For the wood grain on the sharpened tip, use light, short strokes with your HB pencil, following the natural direction of the wood. For the metal ferrule, smooth, even shading with subtle variations in tone can suggest a metallic sheen, and a small, sharp highlight can enhance this effect. The eraser can be given a slightly softer, more porous texture with gentle shading and subtle lifting of graphite with a kneaded eraser. Experimenting with different pressures and blending methods will help you achieve diverse textures.
What Next?
Congratulations on completing your pencil drawing! You've successfully captured the essence of this essential art tool. Consider this your foundation for more complex still-life drawings or exploring different types of pencils, like colored pencils or charcoal. You can display your artwork by framing it or adding it to a sketchbook. For future practice, try drawing a set of pencils, a pencil sharpener, or even a collection of art supplies. Remember, consistent practice is key to improving your artistic abilities, so keep sketching and exploring your creativity!
Free: 10 Paper Crafts Anyone Can Make in 5 Minutes
Get our beginner guide + new craft ideas weekly.
No spam. Unsubscribe anytime.
Did you complete this activity?