How to Draw Basic Shapes for Beginners — Easy Step-by-Step Guide
Unlock your inner artist by learning to draw using simple geometric shapes! This beginner-friendly guide breaks down drawing into easy-to-follow steps, perfect for anyone starting their artistic journey. Discover the power of basic forms and how they build the foundation for all visual art.
Quick answer
To draw using basics, you need paper, pencils, and erasers, taking about 30 minutes. Start by practicing basic shapes like circles and squares. This beginner activity has 10 steps and is perfect for families and aspiring artists of all ages.
What you need
Shop on Amazon · As an Amazon Associate we earn from qualifying purchases. Links above are affiliate links — we may earn a commission at no extra cost to you.
Embarking on your artistic journey can feel daunting, but it doesn't have to be! This guide demystifies drawing by focusing on the building blocks of all visual art: basic geometric shapes. Learning to draw circles, squares, triangles, and rectangles is not just an exercise; it's the fundamental skill that underpins everything from simple sketches to complex masterpieces. This project is perfect for absolute beginners, children, families looking for a creative activity, or anyone wanting to refresh their foundational drawing skills. Prepare to see the world around you in a whole new way!
On this page
Step-by-Step Instructions
- 1
Step 1: Hold your pencil lightly, about an inch from the tip, for a relaxed grip. This grip allows for greater control and prevents hand fatigue, enabling you to draw longer and more fluidly. Avoid gripping the pencil too tightly, as this can lead to shaky lines and stiffness.
- 2
Step 2: On your paper, draw a large, light circle. Don't worry about perfection; just aim for roundness by making a continuous, sweeping motion. Think of it as drawing a halo or a loose 'O' shape, focusing on a smooth, unbroken line.
- 3
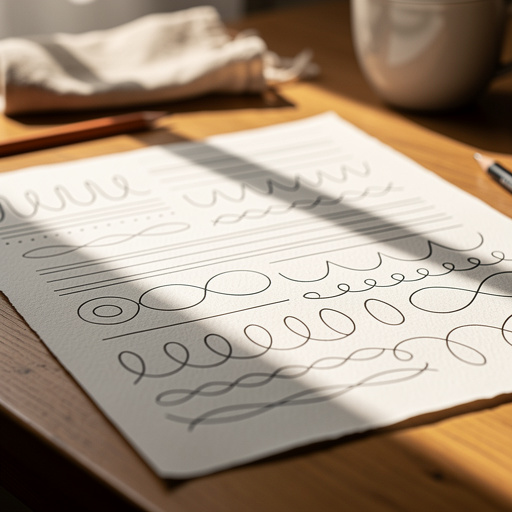
Step 3: Practice drawing several more circles of varying sizes, filling a section of your paper. Experiment with drawing them freehand, focusing on consistency in your circular motion. Try drawing them quickly and then slowly to see how your control changes.
- 4
Step 4: Now, draw a large, light square. Focus on making your lines as straight and parallel as possible, using light, overlapping strokes to build the form. Start with a vertical line, then a horizontal line, and connect them to form a corner, repeating for the other sides.
- 5
Step 5: Draw more squares, experimenting with different sizes and orientations. Try drawing them at slight angles or tilted to get a feel for perspective. Remember to keep your lines light so you can easily adjust them if they aren't perfectly straight or parallel.
- 6
Step 6: Next, draw a large, light triangle. Try drawing equilateral (all sides equal), isosceles (two sides equal), and scalene (no sides equal) triangles. For an equilateral triangle, start by drawing a horizontal base, then find the center and draw a line upwards to the apex.
- 7
Step 7: Practice drawing a variety of triangles, paying attention to the angles and proportions. Draw them in different orientations – pointing up, down, or to the side. Focus on the relationship between the base and the height, and the angles at each vertex.
- 8
Step 8: Draw a large, light rectangle, ensuring opposite sides are equal and parallel. Similar to drawing a square, use light, overlapping strokes. A rectangle is essentially a stretched square, so focus on maintaining those parallel lines and right angles.
- 9
Step 9: Draw several rectangles, including some that are wider than they are tall, and some that are taller than they are wide. Practice drawing them at different angles to prepare for drawing objects that are not perfectly aligned with the edge of your paper.
- 10
Step 10: Now, let's introduce the oval. Draw a large, light oval, which is essentially a stretched circle. Think of it as a squashed circle or an egg shape, focusing on smooth, curved lines.
- 11
Step 11: Practice drawing multiple ovals of various sizes and proportions. Some can be very elongated, while others are only slightly wider than they are tall. This shape is crucial for drawing things like eyes, fruits, and many organic forms.
- 12
Step 12: Introduce the concept of the cylinder. Draw a rectangle, then add two ovals at the top and bottom, connecting them to the sides of the rectangle. This simple combination creates the illusion of a 3D cylinder, like a can or a pipe.
- 13
Step 13: Practice drawing several cylinders in different orientations. Try drawing them standing upright, lying on their side, or even at an angle. This exercise helps you understand how to represent cylindrical forms in space.
- 14
Step 14: Let's explore the cone. Draw a triangle, then add a curved line at the base to represent the circular bottom. Connect the apex of the triangle to the ends of the curved base with straight lines.
- 15
Step 15: Practice drawing cones from different viewpoints. A cone can look like a simple triangle from the side, but adding the curved base helps convey its 3D form. This shape is fundamental for drawing ice cream cones, traffic cones, and pointed roofs.
- 16
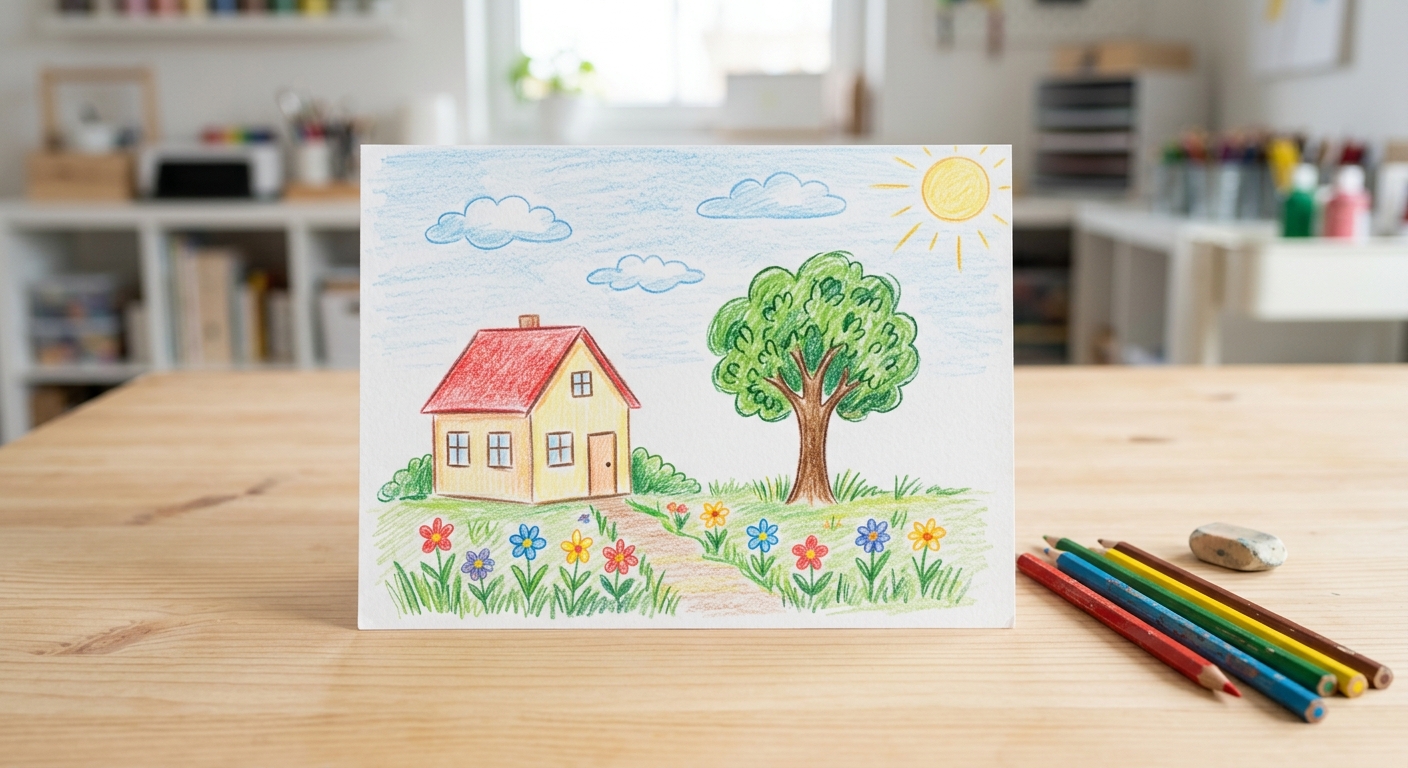
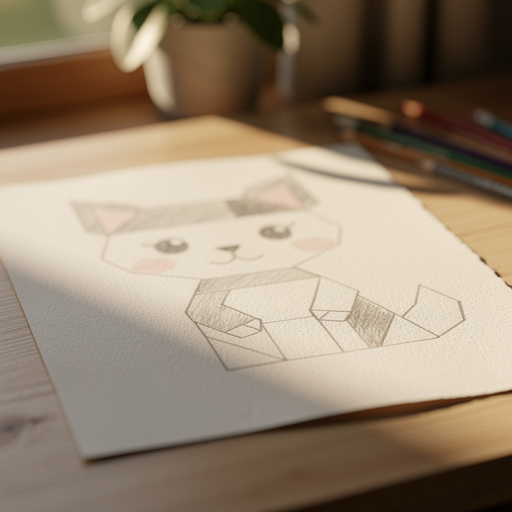
Step 16: Combine basic shapes to create more complex forms. For instance, a cylinder with a cone on top can form a simple rocket. A square with a triangle on top can be a basic house.
- 17
Step 17: Practice combining two or three basic shapes to sketch simple objects. Think about a cup (cylinder + handle), a car (rectangles + circles for wheels), or a tree (a few overlapping circles for the canopy and a rectangle for the trunk).
- 18
Step 18: Now, let's refine our shapes. Using your harder pencil (2H or 4H), lightly sketch the basic outline of a simple object, breaking it down into its fundamental shapes. For example, a ball can be a circle, a book a rectangle, and a hat a combination of shapes.
- 19
Step 19: Once you have your light construction lines, use your softer pencil (2B or 4B) to draw over the parts of the shapes that form the visible outline of the object. This is where you start to define the form and give it weight.
- 20
Step 20: Look at your collection of shapes and your initial object sketches. Notice how many everyday objects can be broken down into these basic forms. This is the foundation of all drawing, and you've just taken your first significant steps!
Tips & Troubleshooting
- 1Don't press too hard with your pencil. Light lines are easier to erase and adjust, allowing you to correct mistakes without leaving ghost marks. Using a harder pencil (like 2H) for initial sketches is ideal for this.
- 2If your lines are wobbly, try drawing with your whole arm, not just your wrist. Moving your shoulder and elbow allows for smoother, more controlled curves and straighter lines, especially for larger shapes.
- 3Combine shapes to start sketching simple objects. A circle on top of a rectangle can be a cup, or two circles can represent eyes. This is the core principle of 'constructive drawing' and will rapidly improve your ability to draw anything.
- 4Use your kneaded eraser to gently lift graphite and refine your shapes, rather than scrubbing. A kneaded eraser can be molded into a point for precise erasing or used to lighten areas without damaging the paper.
- 5Practice drawing shapes from different angles and perspectives. Even though you're drawing flat shapes on paper, thinking about how they would appear in 3D will help you develop a better understanding of form and space.
- 6Don't be afraid to make mistakes. Every artist makes them, and they are valuable learning opportunities. Erase and redraw, or even embrace a slightly imperfect line; sometimes, these add character to your drawing.
- 7Observe the world around you and actively look for basic shapes in everyday objects. Train your eye to see the underlying geometric structure of everything you encounter, from a coffee mug to a distant mountain.
Related Activities You Might Enjoy
Frequently Asked Questions
What are the most important drawing basics for beginners?
The most crucial drawing basics for beginners revolve around understanding and practicing fundamental geometric shapes: circles, squares, triangles, and rectangles. These forms are the building blocks of virtually everything we see and draw. Mastering how to draw them accurately and confidently provides a strong foundation for representing any object, character, or scene. Beyond just drawing the shapes themselves, it's important to learn how to combine them to create more complex forms and to understand how light interacts with them to create volume and depth. Consistent practice of these basics will accelerate your learning curve significantly.
How can I improve my drawing skills quickly?
To improve drawing skills quickly, consistent and focused practice is paramount. Dedicate time daily, even if it's just 15-30 minutes, to drawing basic shapes. Start by drawing them freehand, then try to draw them from memory or by observing objects around you. Gradually move to combining these shapes to represent simple objects, then more complex ones. Actively observe the world around you, breaking down what you see into these fundamental forms. Don't be afraid to experiment with different pencils and techniques. The key is regular, deliberate practice and a willingness to learn from each drawing session.
What materials do I need to start drawing?
For starting drawing, you primarily need just a few essential materials to get going. The most fundamental items are paper and a pencil. Opt for good quality drawing paper that can withstand erasing and layering without tearing easily. A graphite pencil is essential; an HB or #2 pencil is excellent for general sketching and beginners due to its balanced hardness and darkness. A kneaded eraser is highly recommended as it's pliable, can be shaped for detail work, and lifts graphite gently without damaging the paper. A standard vinyl or rubber eraser is also useful for more aggressive corrections. Lastly, a reliable pencil sharpener is crucial to keep your pencils in optimal drawing condition.
Is it hard to learn drawing basics?
Learning drawing basics is achievable for everyone, regardless of perceived talent! While some individuals may pick it up more quickly than others, the core principles of drawing are accessible through practice and understanding. By focusing on simple geometric shapes and consistently practicing their execution, you can build confidence and skill. The key is patience, persistence, and enjoying the process of learning. Don't get discouraged by initial imperfections; view them as stepping stones. With regular effort and a willingness to learn, anyone can develop a strong foundation in drawing.
How long does it typically take to learn to draw basic shapes?
The time it takes to learn to draw basic shapes proficiently can vary from person to person, but with focused practice, you can see significant improvement within a few sessions. For instance, dedicating about 30 minutes to an hour to practicing circles, squares, and triangles can yield noticeable results. Mastering the *feel* and consistency of these shapes might take a few days or weeks of regular practice. The goal isn't immediate perfection, but rather developing muscle memory and a visual understanding of form. Consistent, short practice sessions are far more effective than infrequent, long ones for building this foundational skill.
Can I use digital tools to practice drawing basic shapes?
Absolutely! Digital tools can be an excellent way to practice drawing basic shapes, especially if you're already comfortable with them or want to explore digital art. Most drawing software, like Procreate, Photoshop, or even free options like Krita, offer shape tools that can help you understand proportions and placement. However, for truly developing your freehand drawing skills, it's highly recommended to also practice with traditional pencil and paper. The tactile feedback and the way graphite behaves on paper are unique and contribute to a different kind of motor skill development that digital tools don't fully replicate.
What Next?
Congratulations on mastering the fundamentals of shape-based drawing! You've laid a crucial groundwork for your artistic future. To continue your growth, try combining these shapes to sketch everyday objects like cups, houses, or even simple characters. Experiment with different line weights and shading techniques to add depth and dimension to your shapes. Consider creating a dedicated sketchbook to store your practice drawings, or frame your favorite shape compositions to decorate your space. The possibilities are endless, and your artistic adventure has just begun!
Free: 10 Paper Crafts Anyone Can Make in 5 Minutes
Get our beginner guide + new craft ideas weekly.
No spam. Unsubscribe anytime.
Did you complete this activity?