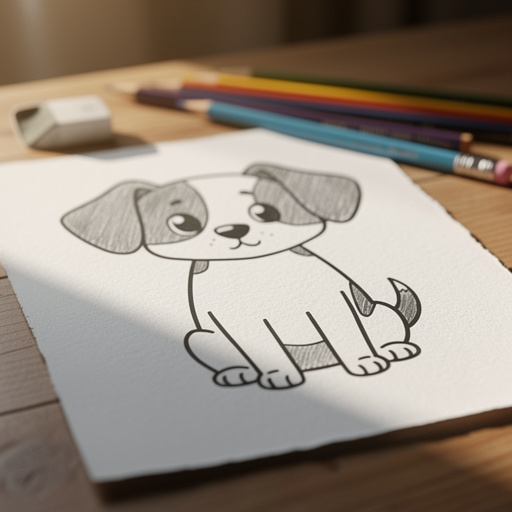
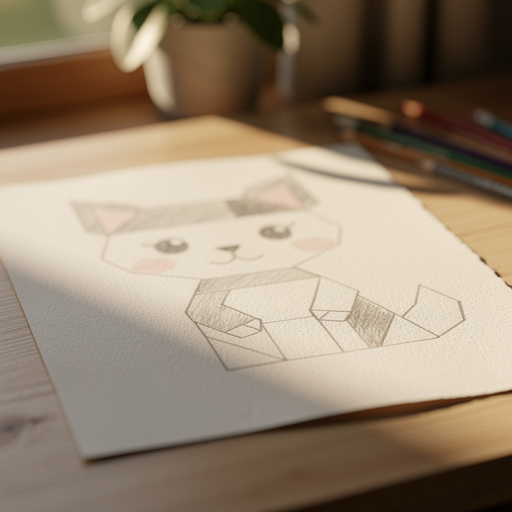
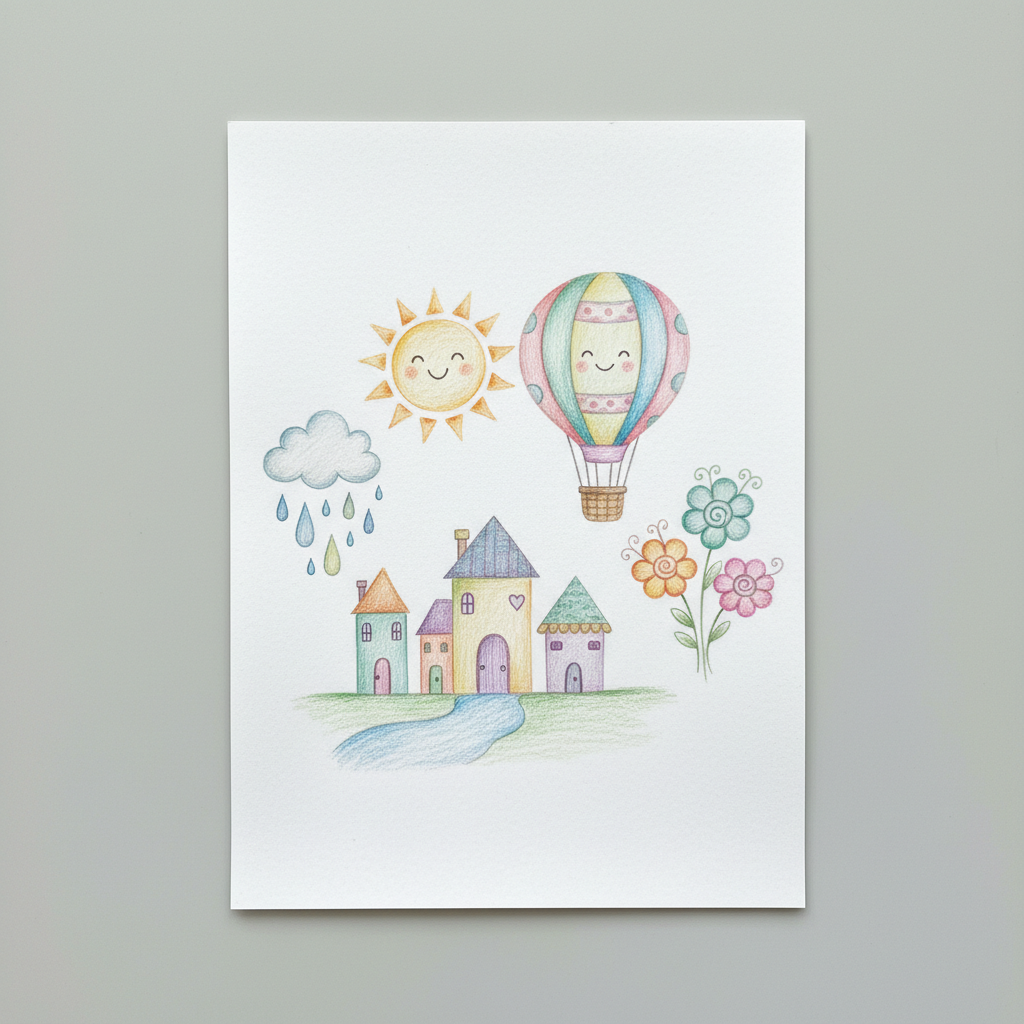
How to Draw Easy and Beautiful Woodland Creatures — Step-by-Step Guide
Discover the joy of drawing with this simple guide to creating adorable woodland creatures. Perfect for a screen-free family activity!
Quick answer
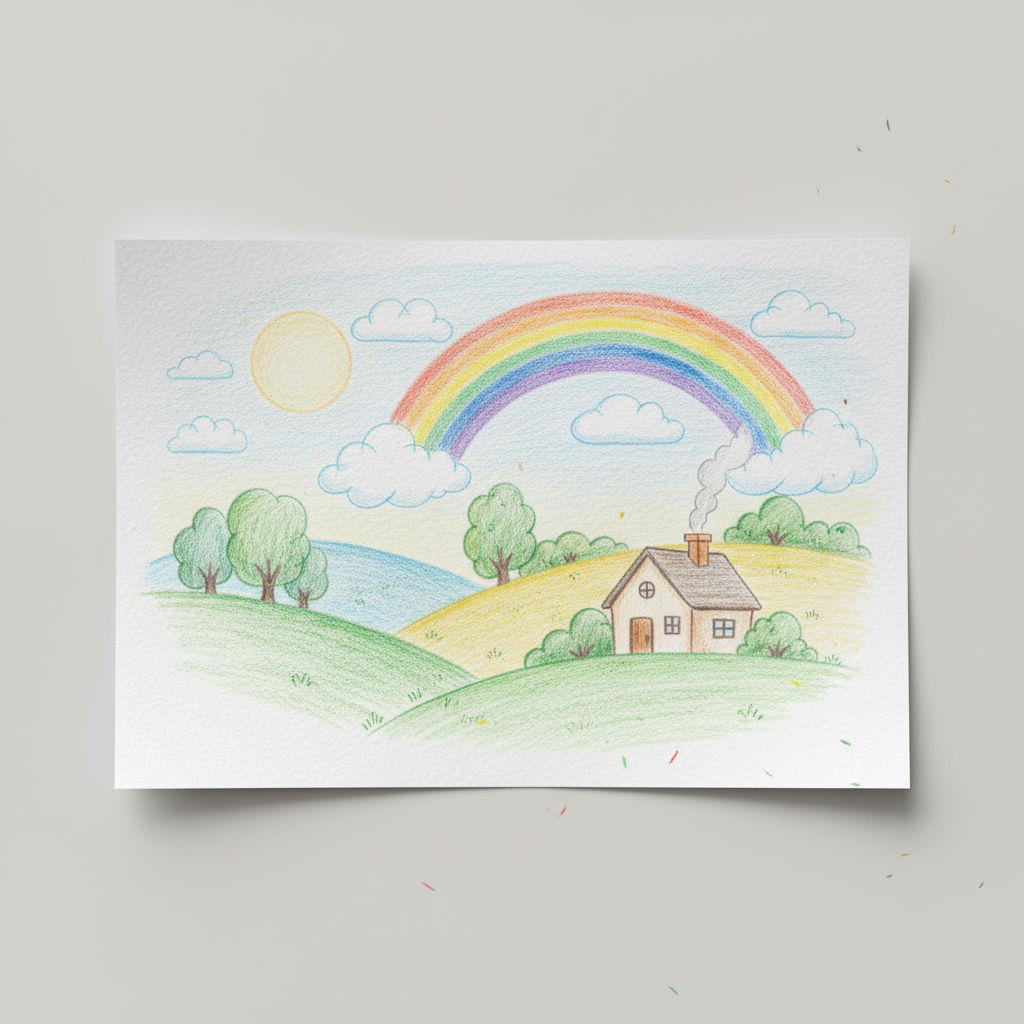
To draw easy and beautiful woodland creatures, you need pencils, paper, and an eraser, taking about 30 minutes. Start by sketching basic shapes like ovals and circles for the body and head, then add details like ears, paws, and tails. This beginner-friendly activity has 10 steps and is perfect for families with children aged 6 and up, offering a delightful way to create charming wildlife art.
What you need
Shop on Amazon · As an Amazon Associate we earn from qualifying purchases. Links above are affiliate links — we may earn a commission at no extra cost to you.
Embark on a delightful artistic journey into the heart of the forest with this beginner-friendly guide to drawing whimsical woodland creatures. In a world often dominated by screens, this project offers a refreshing, screen-free opportunity for families to connect and create together. Using just a few simple tools, you'll learn to transform basic shapes into charming bears, foxes, rabbits, and more. It's an accessible and rewarding activity that sparks creativity, builds confidence, and results in beautiful, hand-drawn art that you'll be proud to display.
On this page
Step-by-Step Instructions
- 1
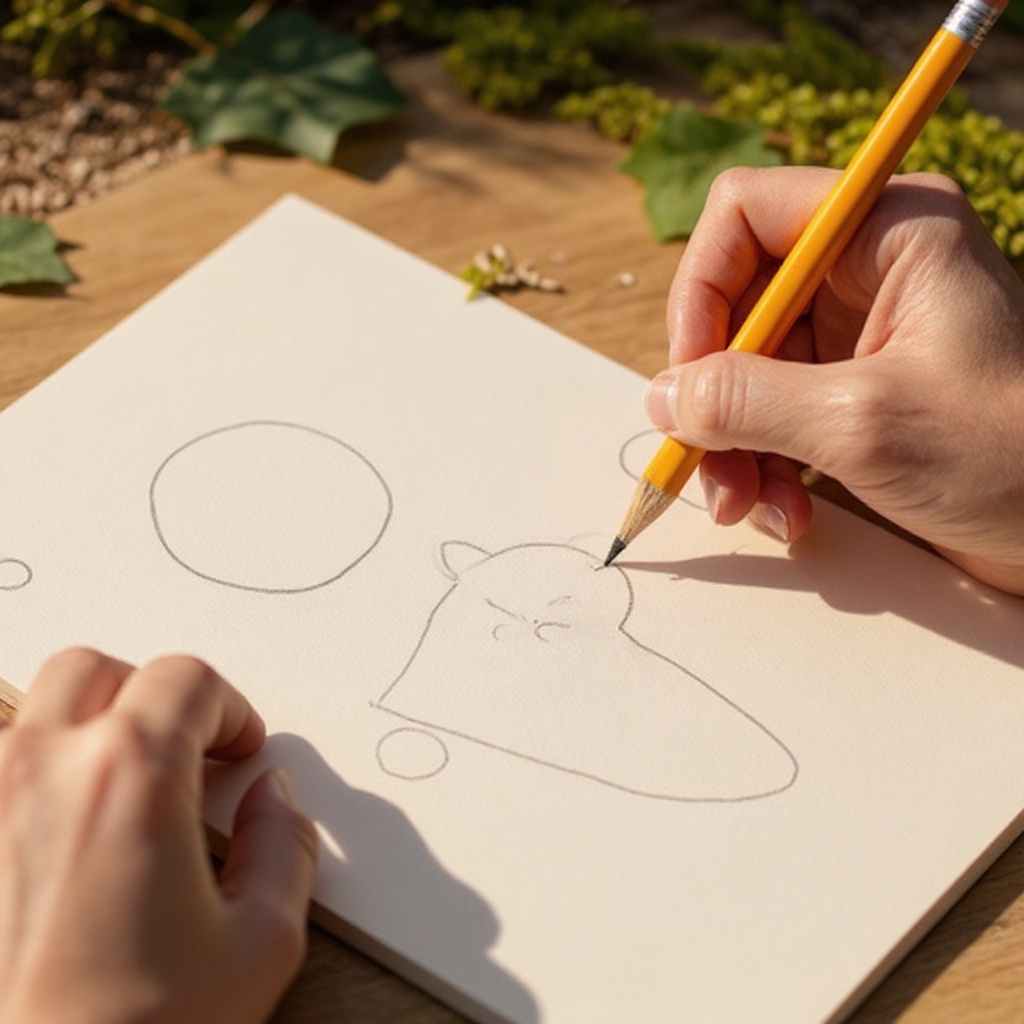
Lightly sketch a large oval for the body of your first creature, like a sleepy bear. This oval should be the largest shape on your paper, establishing the main mass of the animal. Ensure your lines are faint, as these are construction lines that will be erased or drawn over later.
- 2
Add a smaller circle overlapping the top of the oval for the head. Position this circle so it feels naturally connected to the body oval, perhaps slightly higher or to one side to give your creature a personality. The size of this circle relative to the body will influence the creature's proportions.
- 3
Draw two small, rounded triangles on top of the head for ears. These can be positioned slightly apart or closer together depending on the animal you're envisioning. For a bear, keep them relatively small and rounded; for a fox, they might be a bit pointier and larger.
- 4
Connect the head circle to the body oval with two gentle, curved lines for the neck. These lines should be smooth and flowing, creating a natural transition between the head and the body. Avoid making the neck too long or too short, aiming for a balanced look.
- 5
Sketch two simple paw shapes at the bottom of the body oval. These can be depicted as rounded rectangles or slightly flattened ovals, suggesting the base of the legs. For a sitting creature, these might be more tucked under the body.
- 6
Add a small, curved line for a tail on the back of the body. The size and shape of the tail will vary greatly depending on the animal. For a bear, a small, stubby tail is appropriate, while other animals might have longer, bushier tails.
- 7
Now, let's adapt these basic shapes for a different creature: for a fox, draw a more elongated oval for the body and a slightly narrower, more pointed head circle. This change in basic form immediately suggests a different animal's silhouette, making it more slender and agile.
- 8
Add a long, bushy tail shape for the fox, curving it gracefully. This tail is a key characteristic of a fox, so make it prominent and flowing, perhaps with a slight upward curve or a gentle sweep. You can add a hint of fluffiness with light, feathery strokes.
- 9
For a rabbit, draw a rounder body and a smaller head, with long, floppy ear shapes. Rabbits are often depicted with a more compact, rounded body. Their ears are a defining feature, so draw them long and expressive, perhaps one slightly drooped for added charm.
- 10
Refine the head shape for the rabbit, making it rounder and perhaps adding a slight protrusion for the muzzle. The ears can be drawn extending upwards or flopping to the sides, depending on the pose you desire. Ensure they are well-attached to the head.
- 11
Sketch the hind legs of the rabbit, which are typically larger and more powerful than the front legs. These can be drawn as slightly larger, curved shapes tucked beneath the body, giving the rabbit a ready-to-hop appearance.
- 12
For a hedgehog, start with a larger, more rounded oval for the body and a smaller, slightly pointed oval for the head. The body will be the dominant shape, giving it a plump, rounded appearance.
- 13
Add a small, pointed snout to the hedgehog's head, and then begin to sketch a series of short, spiky lines along the back and sides of the body to represent its quills. These lines should be varied in length and direction to create a natural texture.
- 14
Now, go over your light sketch lines with firmer pencil strokes to define the shapes of your chosen creatures. Focus on the outlines you want to keep, making them clear and confident. This is where your drawings start to take on a more finished look.
- 15
Erase any stray construction lines that are no longer needed. Use your eraser carefully to remove the faint pencil marks from your initial sketch, ensuring a clean and polished appearance for your woodland friends.
- 16
Add simple details like eyes, a nose, and a mouth to bring your creatures to life. For eyes, small circles or ovals work well; a simple dot or triangle can serve as a nose. A gentle curve can create a friendly smile. Place these features thoughtfully to convey expression.
- 17
Consider adding subtle shading to give your creatures dimension. Use light, parallel strokes or cross-hatching to add depth to areas like under the chin, the belly, or the underside of the tail. Vary the pressure of your pencil to create lighter and darker tones.
- 18
Add texture to your drawings by using light, short strokes for fur or feathers. For a bear, short, slightly curved strokes can suggest its coat. For a fox, longer, more flowing strokes can depict its fur. Vary the pressure of your pencil to create different shades and highlights, making the textures more realistic.
Tips & Troubleshooting
- 1Don't worry about perfection! The charm of these drawings comes from their simplicity and your unique touch. Embrace any 'imperfections' as part of your personal artistic style; they add character and make your drawings truly yours.
- 2Experiment with different animal shapes and combinations of basic forms. You can adapt these fundamental shapes to create a wide variety of woodland creatures, such as squirrels by adding a bushy tail and a more pointed snout, or even a friendly owl by using circles for the body and head with large, round eyes.
- 3Add texture by using light, short strokes for fur or feathers. Vary the pressure of your pencil to create different shades and highlights, making the textures more realistic and giving your creatures a more tactile quality.
- 4Consider adding a simple background element like a few blades of grass, a small mushroom, or a few scattered leaves to complete your scene. This will help to place your creatures in their natural habitat and make your drawing feel more complete.
- 5Practice drawing the basic shapes repeatedly. The more you practice drawing circles, ovals, and triangles, the more comfortable you will become with manipulating them to create different forms, which is the foundation of all drawing.
- 6Observe real woodland creatures or look at reference photos. Paying attention to their proportions, the way their fur lies, and their typical poses will help you to draw more accurate and lifelike, yet still whimsical, representations.
- 7Don't be afraid to experiment with different pencil grades. While an HB is great for sketching, a softer pencil like a 2B or 4B can be used for darker shading and richer tones, adding depth and contrast to your drawings.
- 8Think about the personality of each creature. Is your bear sleepy and content, or is your fox mischievous and alert? Small adjustments to the eyes, mouth, and posture can convey a wide range of emotions and characteristics.
Related Activities You Might Enjoy
Frequently Asked Questions
What are the easiest animals to draw with a pencil for beginners?
For beginners looking to draw with a pencil, the easiest animals to tackle are those with simple, recognizable shapes. Creatures like bears, rabbits, foxes, and even basic cats or dogs can be effectively drawn by breaking them down into fundamental geometric forms such as circles, ovals, and triangles. For instance, a bear's body can be a large oval, its head a smaller circle, and its ears rounded triangles. Similarly, a rabbit's round body and long, floppy ears are easily constructed from basic shapes. Focusing on these foundational forms allows you to build recognizable animal figures without getting bogged down in complex anatomy, making the process enjoyable and rewarding.
How can I make my simple pencil drawings of woodland creatures look more beautiful and appealing?
To elevate your simple pencil drawings of woodland creatures from basic sketches to beautiful artwork, focus on a few key elements. Firstly, ensure your lines are clean and confident; go over your initial sketch with firmer strokes once you're happy with the form. Secondly, introduce shading thoughtfully. Use light, consistent strokes to add depth and dimension, particularly in areas like under the chin, the belly, or the undersides of limbs. Varying the pressure of your pencil can create subtle gradients. Finally, adding expressive details like carefully placed eyes, a gentle mouth, and appropriate fur or feather textures will bring your creatures to life and give them personality, making them far more captivating.
What essential materials do I need for easy pencil drawing of woodland creatures?
For embarking on easy pencil drawing of woodland creatures, you primarily need a few fundamental tools that are readily available. A standard HB pencil is ideal for sketching and outlining, offering a good balance between hardness and darkness. A good quality eraser, such as a kneaded eraser, is crucial for lifting graphite gently without damaging the paper, allowing for corrections and refinements. A standard pink or white eraser is also useful for cleaner, more precise erasing. Lastly, a supply of plain sketch paper, ideally A4 size for comfortable working space, is essential. With these basic materials, you have everything you need to start creating charming drawings.
How long does it typically take to learn the basics of easy pencil drawing for woodland creatures?
Learning the basics of easy pencil drawing for woodland creatures can be a surprisingly quick and rewarding process. With focused practice, many beginners can start creating recognizable and charming drawings within a few hours. The key is to concentrate on understanding and manipulating basic shapes, as outlined in this guide. Dedicating even 30-60 minutes of practice a few times a week to sketching simple forms and then combining them into animal figures will lead to rapid improvement. The more you practice, the more intuitive drawing becomes, allowing you to create more complex and detailed creatures with confidence.
Can I use colored pencils or other mediums to enhance my woodland creature drawings?
Absolutely! Once you've mastered the pencil drawing basics, you can certainly enhance your woodland creature drawings with other mediums. Colored pencils are a fantastic next step, allowing you to add vibrant hues to your creatures' fur, eyes, and surroundings. Experiment with layering colors to create depth and subtle variations in tone. Alternatively, watercolors can provide a soft, blended effect, perfect for creating atmospheric forest scenes. Even simple markers can add bold color. The beauty of pencil drawings is their versatility; they serve as an excellent foundation for a wide range of artistic explorations and additions.
What are some common mistakes beginners make when drawing woodland creatures, and how can I avoid them?
Beginners often make a few common mistakes when drawing woodland creatures. One is pressing too hard with the pencil during the initial sketching phase, making it difficult to erase construction lines cleanly. To avoid this, always use light, feathery strokes for your initial shapes. Another mistake is drawing features like eyes and noses too small or too large relative to the head, which can distort the creature's appearance. Pay close attention to proportions by comparing the size of the head to the body and the placement of facial features. Finally, some beginners might rush the shading process, resulting in flat drawings. Take your time with shading, using light, layered strokes to build up form and dimension gradually.
What Next?
Congratulations on bringing your charming woodland creatures to life! You've successfully transformed simple shapes into adorable characters. Don't stop here; experiment with adding more forest friends like squirrels, hedgehogs, or even a wise owl by adapting these foundational techniques. Consider coloring your drawings with colored pencils or watercolors for an extra touch of magic. These creations make wonderful decorations for a child's room, personalized greeting cards, or even as part of a larger forest scene. Store your artwork in a portfolio or frame your favorites to cherish your newfound drawing skills.
Free: 10 Paper Crafts Anyone Can Make in 5 Minutes
Get our beginner guide + new craft ideas weekly.
No spam. Unsubscribe anytime.
Did you complete this activity?