How to Draw 40 Easy Everyday Objects — A Beginner's Guide
Unlock your creativity with 40 simple drawing ideas! This guide provides easy-to-follow steps for sketching common objects, perfect for beginners of all ages.
Quick answer
To start drawing everyday objects, you'll need pencils, paper, and an eraser. Begin by observing your chosen object and breaking it down into basic shapes. This beginner-friendly activity has 10-15 steps per object and is perfect for families and aspiring artists.
What you need
Shop on Amazon · As an Amazon Associate we earn from qualifying purchases. Links above are affiliate links — we may earn a commission at no extra cost to you.
Embarking on a drawing journey doesn't require grand subjects or advanced techniques. This guide celebrates the beauty of the ordinary, transforming everyday objects into accessible artistic subjects. Perfect for absolute beginners, families looking for a creative bonding activity, or anyone seeking to build foundational drawing skills, this project demystifies the drawing process. By focusing on common items, you'll build confidence and a keen eye for observation, proving that art is truly all around us, waiting to be captured on paper.
On this page
Step-by-Step Instructions
- 1
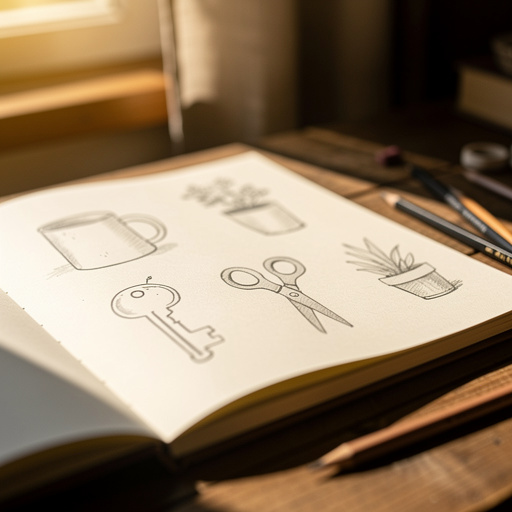
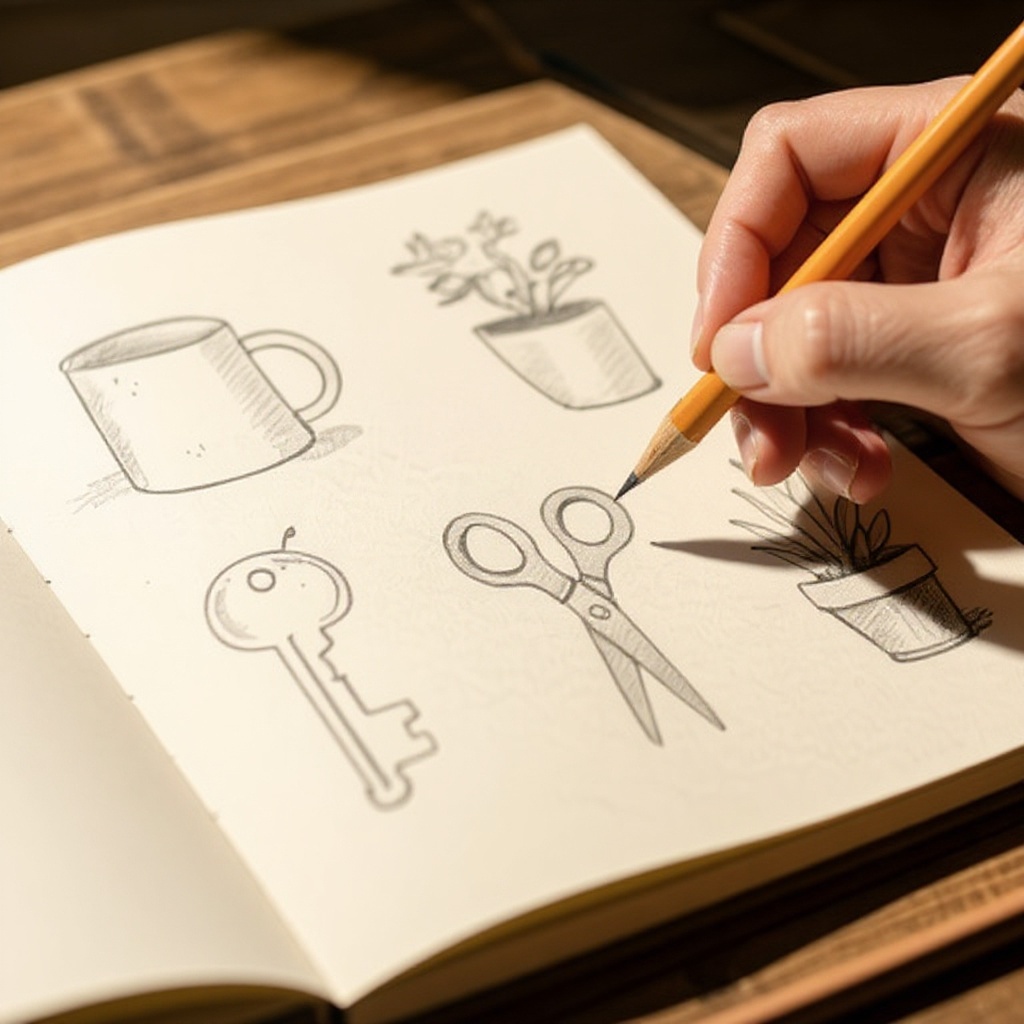
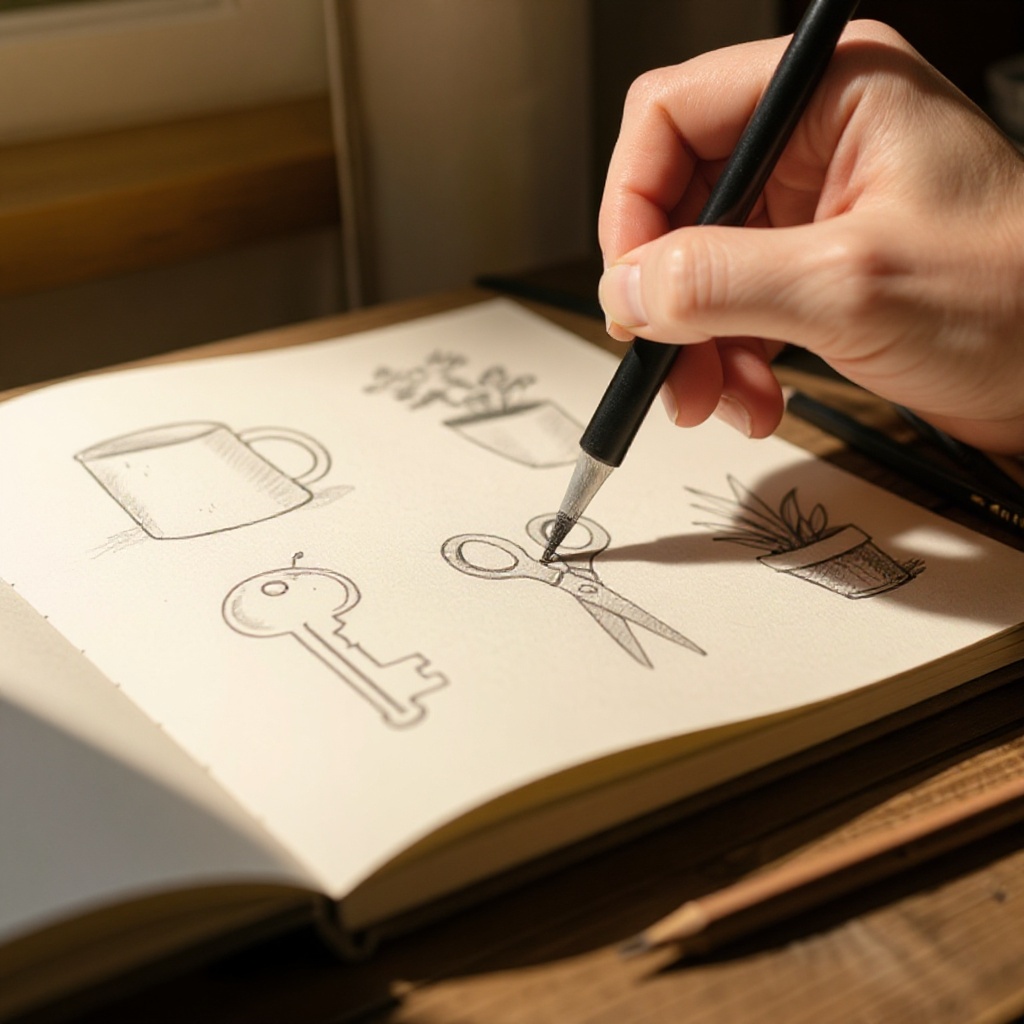
Choose an everyday object to draw (e.g., a mug, a book, a fruit). Select something with a clear, recognizable form that you can easily observe from your current position.
- 2
Observe the object's overall shape. Is it round, rectangular, or a combination of geometric forms? Take a moment to truly see its silhouette against its background.
- 3
Lightly sketch the basic geometric shape that best represents the object. Think of it as the object's 'skeleton'; for a mug, this might be a cylinder, for a book, a rectangle.

- 4
Add secondary shapes to define the object's features. For a mug, this would be the handle; for a book, the spine and cover edges. These shapes should be proportionate to the main form.
- 5
Refine the outlines, making them smoother and more accurate to the object's form. Start to connect your initial geometric shapes, softening any harsh lines and observing the subtle curves and angles of the real object.
- 6
Erase any unnecessary construction lines. Once the basic form is established and refined, carefully remove the initial geometric guidelines that are no longer needed, cleaning up your drawing.
- 7
Add details like textures, patterns, or specific markings on the object. Look for any unique characteristics, such as the grain on a wooden object, the texture of fabric, or any logos or designs present.
- 8
Begin shading to create depth and dimension. Start with lighter tones using your HB or 2B pencil, focusing on the areas that receive the most light.
- 9
Identify the light source. Observe where the light is hitting the object and where it is casting shadows. This understanding is crucial for creating a sense of volume.
- 10
Apply darker shades in areas where light would be blocked or where shadows are cast. Use your 2B or softer pencils to build up these darker areas, paying attention to the edges of the shadows.
- 11
Blend the shading gently with your finger or a blending stump for smoother transitions. This technique helps to create soft gradients and a more realistic appearance, mimicking how light falls on curved surfaces.
- 12
Add mid-tones to bridge the gap between your highlights and shadows. This involves applying lighter pressure with your pencil or using a lighter grade pencil to create a range of values.
- 13
Refine the edges of your shadows and highlights. Sharp edges can indicate a hard light source, while softer, diffused edges suggest a softer light. Observe your reference object closely.
- 14
Add subtle details to enhance realism. This could include small imperfections, reflections in shiny surfaces, or the way the object interacts with the surface it rests on.
- 15
Add highlights by lightly erasing or leaving areas of the paper white. These bright spots are where the light hits most intensely, making the object appear three-dimensional and giving it a sense of shine.
- 16
Review your drawing and make any final adjustments to proportions or shading. Step back and look at your artwork with fresh eyes, comparing it to your reference object and making any necessary corrections.
- 17
Consider adding a cast shadow. Observe the shadow the object casts on the surface it's on; this grounds the object and adds further depth to your drawing.
- 18
Sign your masterpiece! This is your creation, so take pride in it and add your signature to mark your accomplishment.
Tips & Troubleshooting
- 1Don't be afraid to make mistakes! Erasers are your best friend, not a sign of failure. Focus on learning from each line and mark you make; every line is a step in the learning process.
- 2Try drawing objects from different angles to understand their form better. Observing an object from the front, side, top, and even at a slight tilt will reveal its three-dimensional nature and how light interacts with it.
- 3Experiment with different pencil grades to achieve a wider range of shading tones. Softer leads (like 4B, 6B) create deep blacks, while harder leads (like H, 2H) produce lighter grays, offering a broad spectrum for your artwork.
- 4If you're struggling with a specific shape, break it down into even smaller, simpler shapes. Complex forms are often just a combination of basic geometric elements, so deconstructing them makes them manageable.
- 5Practice regularly! The more you draw, the more confident and skilled you'll become. Even short, consistent drawing sessions can yield significant improvements over time.
- 6Look for the negative space. The shapes of the areas *around* your object can be just as informative as the object itself, helping you to refine your outlines and proportions accurately.
- 7Don't aim for perfection on your first try. The goal is to learn and improve with each drawing. Embrace the process of observation and mark-making, and enjoy the journey of creating.
- 8Study the light and shadow. Understanding how light falls on an object is fundamental to creating realistic drawings. Pay attention to the direction of the light source and the resulting highlights and shadows.
Related Activities You Might Enjoy
Frequently Asked Questions
What are the best easy drawing ideas for absolute beginners?
For absolute beginners, focus on simple geometric shapes like circles, squares, and triangles. Everyday objects like mugs, fruits (apples, oranges), books, simple toys (like a basic block or ball), or even a simple houseplant are excellent starting points. These items can be easily broken down into these basic forms, making the initial sketching process less intimidating. The key is to choose objects with clear outlines and minimal complex details. As you gain confidence, you can gradually move on to more intricate items.
How can I make my beginner drawings look more realistic?
To make beginner drawings more realistic, pay close attention to observation. Break down objects into basic shapes, then refine outlines by observing the subtle curves and angles of the real object. Practice shading to create depth and form by understanding your light source and applying varying degrees of darkness. Don't forget to add highlights where the light hits most intensely and subtle cast shadows to ground your object. Observing the textures and patterns of the object and trying to replicate them with your pencil strokes will also significantly enhance realism.
What materials do I need to start drawing easy ideas?
You only need a few basic materials to start drawing easy everyday objects. Essential items include graphite pencils, such as an HB for general sketching and a 2B for darker lines and shading. Drawing paper or a sketchpad with a decent weight (around 70-90 gsm) is also necessary. A good eraser, like a kneaded eraser for lifting graphite gently or a plastic eraser for precision, is crucial. A pencil sharpener is also essential for keeping your pencils ready for clean lines and smooth shading. Optional but helpful additions include a blending stump for smoother transitions.
How long does it take to learn to draw easy objects?
The time it takes to learn to draw easy objects varies greatly per individual, depending on factors like natural aptitude, prior experience, and the amount of practice dedicated. Consistent practice, even for 15-30 minutes a day, will lead to noticeable improvement within a few weeks. Focus on the process of observation and application rather than solely on the outcome. With dedicated effort and regular drawing sessions, you'll find your ability to capture everyday objects with accuracy and confidence growing steadily over time.
What is the most important skill for drawing everyday objects?
The most important skill for drawing everyday objects is keen observation. Before you even pick up a pencil, take time to truly look at your subject. Notice its overall shape, its proportions, the way light falls on it, the textures present, and any unique details. Breaking down complex forms into simpler geometric shapes is a direct result of good observation. Developing your ability to see accurately, rather than just looking, will be the foundation for all your drawing endeavors and will significantly improve the likeness of your sketches.
Can I use colored pencils for drawing everyday objects?
While this guide focuses on graphite pencils for their versatility in creating a range of tones and shades, you can absolutely use colored pencils to draw everyday objects. Colored pencils offer the opportunity to capture the true colors of your subject, adding another layer of realism and artistic expression. The fundamental drawing principles of observation, breaking down shapes, and understanding light and shadow still apply. You might find it helpful to start with a monochromatic sketch using a light gray colored pencil before adding color, or to use colored pencils for shading by layering different hues.
What Next?
Congratulations on bringing these everyday objects to life through your drawings! Remember, this is just the beginning. Challenge yourself by drawing these same objects from different perspectives, or try combining them into a still life composition. Consider framing your favorite sketches to add a personal touch to your home decor, or create a sketchbook filled with your observations. The world is brimming with inspiration, and with these foundational skills, you're well-equipped to capture it all.
Free: 10 Paper Crafts Anyone Can Make in 5 Minutes
Get our beginner guide + new craft ideas weekly.
No spam. Unsubscribe anytime.
Did you complete this activity?