How to Draw a Whimsical Cloud — Easy Step-by-Step Guide
Create your own dreamy, whimsical cloud with this simple, step-by-step pencil drawing tutorial. Perfect for all ages!
Quick answer
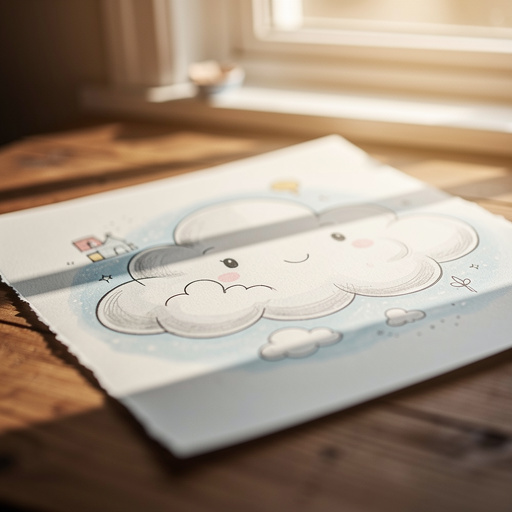
To draw a whimsical cloud, you need a pencil and paper. Start by sketching a loose, rounded shape. This easy activity has 7 steps and is perfect for families and kids looking for a screen-free creative outlet.
What you need
Shop on Amazon · As an Amazon Associate we earn from qualifying purchases. Links above are affiliate links — we may earn a commission at no extra cost to you.
Embark on a delightful artistic journey with this easy-to-follow guide to drawing a whimsical cloud. This project is perfect for sparking imagination and bringing a touch of dreamy wonder to your paper. Whether you're a complete beginner, a parent looking for a fun activity to share with your children, or simply seeking a moment of creative escape, this tutorial offers a rewarding and accessible experience. You'll discover how simple shapes and gentle shading can transform a blank page into a fluffy, ethereal masterpiece, proving that beautiful art is within everyone's reach.
On this page
Step-by-Step Instructions
- 1
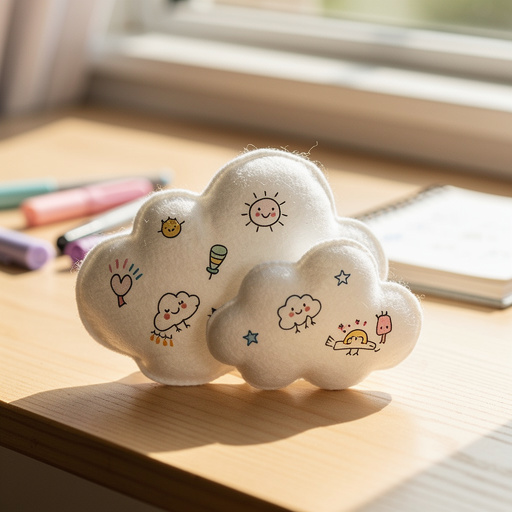
Lightly sketch a large, irregular oval shape on your paper. Don't make it perfectly round; think of a puffy cloud, with gentle curves and no sharp angles. This initial shape will be the foundation of your cloud.
- 2
Add a smaller, slightly overlapping oval shape to one side of your first oval. This secondary shape should also be irregular and rounded, creating a sense of depth and volume by suggesting that one part of the cloud is in front of another.
- 3
Draw a few more smaller, irregular bumps or curves along the bottom edge of your main cloud shape. These should look like soft, rounded scallops, adding to the fluffy, organic appearance of the cloud and breaking up any straight lines.
- 4
Refine the edges of your cloud by gently rounding off any sharp corners that may have formed during the initial sketching. Ensure that the curves flow smoothly into each other, creating a cohesive and natural-looking cloud silhouette.
- 5
Begin to add shading to give your cloud form and dimension. Lightly shade the underside of the cloud, focusing on the areas where one bump meets another or where the cloud appears to recede. Use gentle, consistent strokes.
- 6
Use your finger or a clean paper towel to gently smudge the shaded areas. This technique softens the pencil marks, creating a soft, diffused, and ethereal effect that mimics the way light scatters through clouds. Blend outwards from the shaded areas.
- 7
Add a few darker, more concentrated shaded areas on the very bottom of the cloud to give it more dimension and make it look like it's casting a shadow. This subtle darkening will enhance the illusion of light hitting the top of the cloud.
- 8
Introduce subtle highlights by gently erasing small areas on the top or sides of the cloud where light would naturally hit. This contrast between light and shadow will make your cloud appear more three-dimensional and luminous.
- 9
Consider adding a few very light, wispy lines extending from the edges of the cloud. These delicate strokes can give your cloud a more airy and ethereal quality, making it look like it's drifting in the sky.
- 10
Evaluate your shading. If some areas appear too dark, use your eraser to lift some graphite. If you want more depth, add another light layer of shading and smudge again. The key is to build up the tones gradually.
- 11
Step back and look at your drawing from a distance. This helps you assess the overall balance of light and shadow and identify any areas that might need further refinement to enhance the whimsical feel.
- 12
If you wish, you can add a very faint suggestion of a sky by lightly smudging a pale blue or grey tone around your cloud, being careful not to overpower the cloud itself. This can help to further define the cloud's form.
Tips & Troubleshooting
- 1Don't be afraid to make your cloud shapes imperfect! Whimsical clouds are all about organic, flowing lines, so embrace asymmetry and natural variations. The more unique and irregular the shape, the more character your cloud will have.
- 2Experiment with different pencil pressures. Lighter strokes are great for initial sketching and building up soft tones, while darker strokes add depth and definition to shadowed areas. Varying pressure is key to creating a dynamic drawing.
- 3Try adding a few small, wispy lines extending from the edges of your cloud to give it a more ethereal look. These delicate extensions can suggest movement and a sense of lightness, making your cloud appear to float effortlessly.
- 4You can add a subtle hint of color with colored pencils or crayons after you've finished the pencil drawing. Lightly layer soft blues, pinks, or purples to suggest sunrise or sunset, or keep it monochromatic for a classic look.
- 5Consider the direction of your light source when shading. Imagine where the light is coming from and apply darker tones to the opposite side and underside of the cloud. This consistent application of light and shadow will make your cloud look more believable.
- 6For a softer smudge, use a blending stump or a tortillon instead of your finger. These tools offer more control and can help you achieve smoother transitions between tones without smudging graphite onto other parts of your drawing.
- 7Don't overwork your drawing. Sometimes, less is more. A few well-placed shadows and highlights can be more effective than excessive shading. Trust your instincts and know when to stop.
Related Activities You Might Enjoy
Frequently Asked Questions
What is the easiest thing to draw with a pencil?
Simple shapes like clouds, stars, or basic geometric forms are very easy to draw with a pencil, making them ideal for beginners. Focusing on light sketching and soft shading techniques, as demonstrated in this whimsical cloud tutorial, makes these subjects approachable. The key is to start with a loose outline and gradually build up form through gentle shading and blending. Avoiding complex details and intricate lines allows new artists to build confidence and develop fundamental drawing skills without feeling overwhelmed. These simple subjects also provide a great canvas for practicing essential techniques like line control and tone variation.
How do I make my pencil drawings look more realistic?
To make pencil drawings look more realistic, focus on accurate proportions and careful observation of light and shadow. Study your subject closely, noting how light falls on its surfaces and creates highlights and shadows. Practice various shading techniques, such as smooth blending, cross-hatching, and stippling, to create a full range of tones from light to dark. Pay attention to the texture of your subject and try to replicate it with your pencil strokes. Building up layers of graphite gradually and using an eraser to lift highlights can also significantly enhance realism and depth in your drawings.
What kind of pencil is best for beginners?
An HB or 2B pencil is ideal for beginners due to their versatility. An HB pencil offers a good balance of hardness and darkness, making it suitable for both sketching light outlines and applying moderate shading without being too hard or too soft. A 2B pencil is slightly softer and produces darker lines, which is excellent for creating richer shadows and adding depth to your drawings. Having both an HB for initial sketching and a 2B for shading can provide a great starting point for exploring different effects and building your drawing skills effectively.
How many steps does it take to draw a simple cloud?
Drawing a simple, whimsical cloud can take around 7 to 12 easy steps, depending on the level of detail you aim for. This tutorial breaks down the process into manageable stages, starting with sketching the basic shape and then adding soft shading and smudging for a dreamy effect. Each step is designed to be intuitive and build upon the last, ensuring a smooth and enjoyable drawing experience. By following these steps, even a complete novice can create a charming cloud drawing in a relatively short amount of time.
Can I use different types of paper for this cloud drawing?
Yes, you can use different types of paper for this cloud drawing, each offering a slightly different experience and result. Standard printer paper is perfectly adequate for practice and experimentation, especially for younger artists or when you want to create many clouds quickly. However, drawing paper, particularly Bristol board or smooth-finish drawing paper, is recommended for a more refined outcome. These papers have a smoother surface that allows for easier blending of graphite and reduces the risk of the paper tearing or becoming overly textured from repeated erasing and shading, leading to a cleaner and more polished final piece.
What is the purpose of smudging the shaded areas?
The purpose of smudging the shaded areas in a pencil drawing, like this whimsical cloud, is to create a soft, diffused, and ethereal effect that mimics the way light interacts with real-world objects. Smudging helps to blend the graphite pencil marks, eliminating harsh lines and creating smooth tonal transitions. This technique is crucial for achieving a sense of volume, depth, and a dreamy, atmospheric quality, especially when drawing soft subjects like clouds. It allows the viewer's eye to perceive the form and texture more naturally, making the drawing appear less like a collection of lines and more like a solid, luminous object.
What Next?
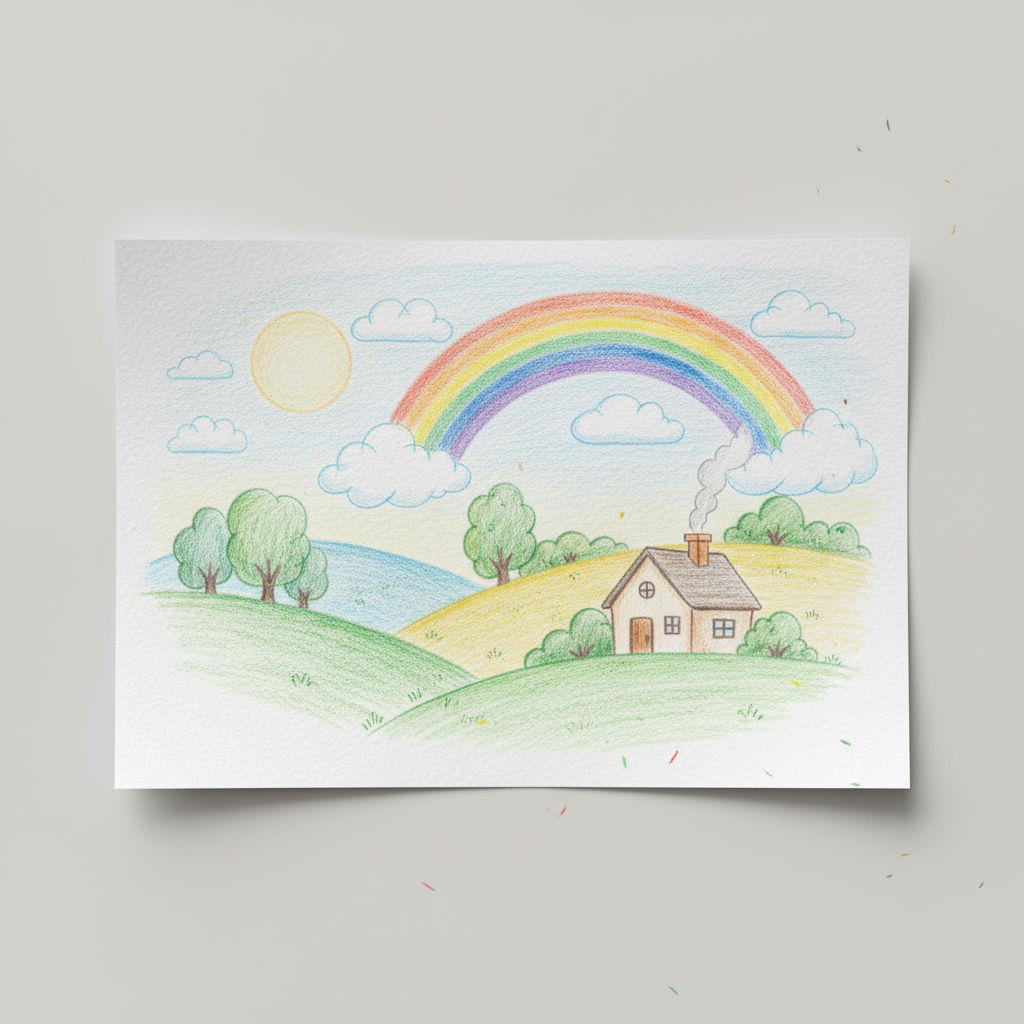
Congratulations on drawing your own whimsical cloud! You've successfully captured a piece of the sky's magic. Feel free to experiment further by adding more clouds to create a sky scene, or perhaps a rainbow peeking through. You could also try drawing different types of clouds, like stormy ones or wispy cirrus clouds, using similar techniques. Display your artwork proudly on your wall, use it as a bookmark, or incorporate it into a larger drawing or collage. Store your finished pieces in a portfolio or a simple folder to keep them safe and admired.
Free: 10 Paper Crafts Anyone Can Make in 5 Minutes
Get our beginner guide + new craft ideas weekly.
No spam. Unsubscribe anytime.
Did you complete this activity?