How to Create Whimsical Cloud Doodles — Easy Step-by-Step Guide
Discover the joy of screen-free creativity by learning to draw fluffy, whimsical clouds with just a pencil. This easy drawing tutorial is perfect for families and beginners, offering a relaxing and rewarding artistic experience. Unleash your imagination and create a sky full of charming cloud doodles in no time!
Quick answer
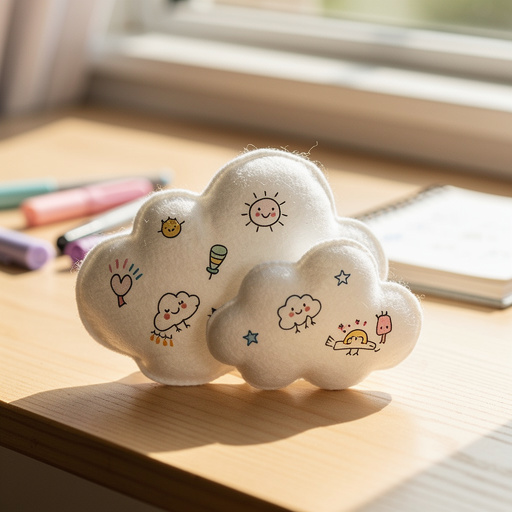
To make whimsical cloud doodles, you need a pencil and paper and about 15 minutes. Start by lightly sketching a basic cloud shape. This easy activity has 8 core steps and can be expanded with intermediate techniques for a total of 12-20 steps, making it perfect for families with kids aged 6+ and beginners of all ages.
What you need
Shop on Amazon · As an Amazon Associate we earn from qualifying purchases. Links above are affiliate links — we may earn a commission at no extra cost to you.
Escape the digital world and embrace the simple pleasure of drawing with this delightful tutorial on creating whimsical cloud doodles. Perfect for a quiet afternoon, a family bonding activity, or a moment of personal mindfulness, this project requires minimal materials and offers maximum creative freedom. You don't need to be an experienced artist to bring these charming clouds to life; the focus is on fun, imagination, and the joy of putting pencil to paper. Get ready to fill your pages with fluffy, dreamlike creations that are sure to bring a smile to your face.
On this page
Step-by-Step Instructions
- 1
Lightly sketch a large, irregular oval shape on your paper. This will be the base of your main cloud. Think of it as the general mass of your cloud, not a perfect circle or ellipse. Don't press too hard; this initial sketch is just a guide.

- 2
Add smaller, overlapping oval shapes around the edges of your main oval to create a fluffy, layered effect. These smaller shapes should vary in size and placement, mimicking the natural bulges and curves of a real cloud. Imagine building up the cloud's volume by adding more puffy sections.
- 3
Soften the edges of your ovals by drawing curved, bumpy lines instead of sharp, straight ones. Instead of a smooth, continuous line, break it up with small, rounded humps and dips. This technique is key to achieving that characteristic fluffy cloud texture and avoiding a 'cut-out' look.
- 4
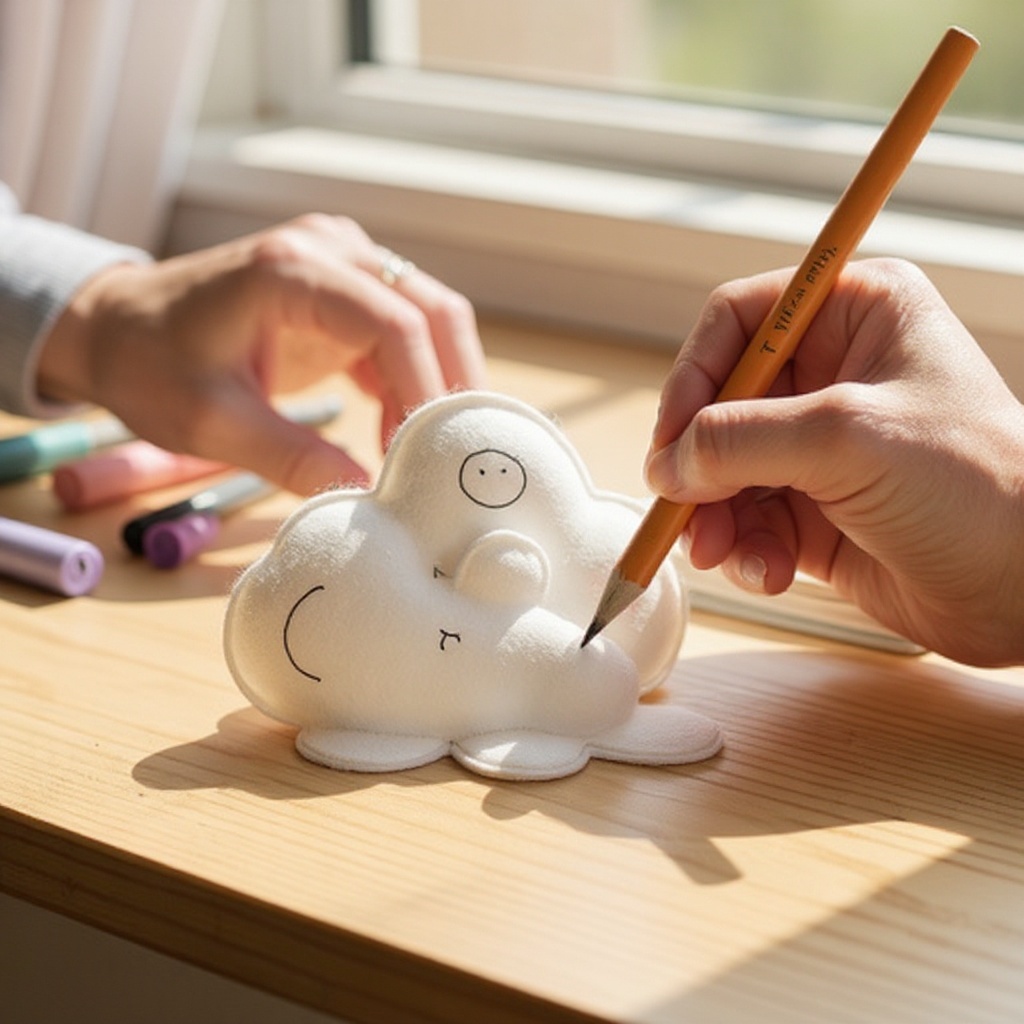
Refine the cloud's silhouette by adding more subtle bumps and indentations along the outer edges. Think about where the light would hit and where shadows might naturally form, creating a more organic and less uniform shape. This step adds depth and realism to your cloud's form.
- 5
Erase any overlapping lines that are inside the main cloud shape, leaving only the outer contours. Carefully use your eraser to remove the internal pencil marks where the smaller ovals intersected the larger one. This step cleans up the drawing and defines the cloud's distinct outer edge.
- 6
Add a few small, wispy lines extending from the edges of the cloud to give it a sense of movement and lightness. These delicate lines suggest the cloud is drifting or being gently blown by the wind. Keep them subtle so they don't overpower the main cloud shape.
- 7
Begin to lightly shade the underside of the cloud to create a sense of volume and depth. Using your pencil, apply gentle, even strokes in the areas that would naturally be in shadow. Think about where the light source is coming from and shade the opposite side.
- 8
Vary your pencil pressure to create a range of shading tones. Apply more pressure for darker areas, such as the deepest parts of the shadow, and less pressure for lighter areas. This gradient effect will make your cloud look more three-dimensional and less flat.
- 9
Introduce subtle highlights by leaving small areas of the cloud completely white or by gently lifting some of the graphite with your eraser. These bright spots represent where the light is hitting the cloud most directly. A kneaded eraser is excellent for this, as it can be molded to create precise highlights.
- 10
Add a few subtle, soft smudges to blend the shaded areas and create a smoother, more ethereal look. You can use your finger, a clean paper towel, or a blending stump for this. Be careful not to over-smudge, as you want to maintain some definition.
- 11
Draw a few tiny, scattered dots or short, delicate lines around the cloud to suggest light rain or sparkling moisture. These small details can add a touch of magic and whimsy to your drawing, hinting at the cloud's character.
- 12
Consider adding a gentle, soft shadow beneath your cloud if it appears to be floating above a surface. This will ground your cloud and enhance its three-dimensional appearance. Keep this shadow light and diffused, mirroring the softness of the cloud itself.
Tips & Troubleshooting
- 1Don't worry about making your cloud perfectly symmetrical; organic, irregular shapes look more natural and whimsical. Embrace the imperfections and let your hand move freely to create unique forms. Real clouds are never perfectly uniform, so your drawing shouldn't be either.
- 2Experiment with different pencil pressures to create a range of shading tones, from light and airy to deep and dramatic. Practice making smooth transitions between light and dark areas to build volume and give your cloud a realistic, yet artistic, feel. This is a fundamental skill in pencil drawing.
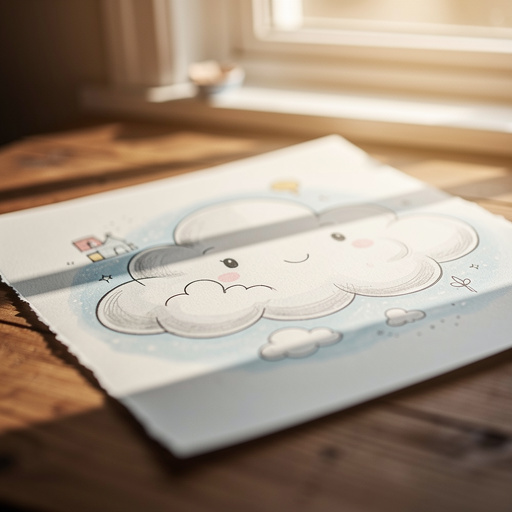
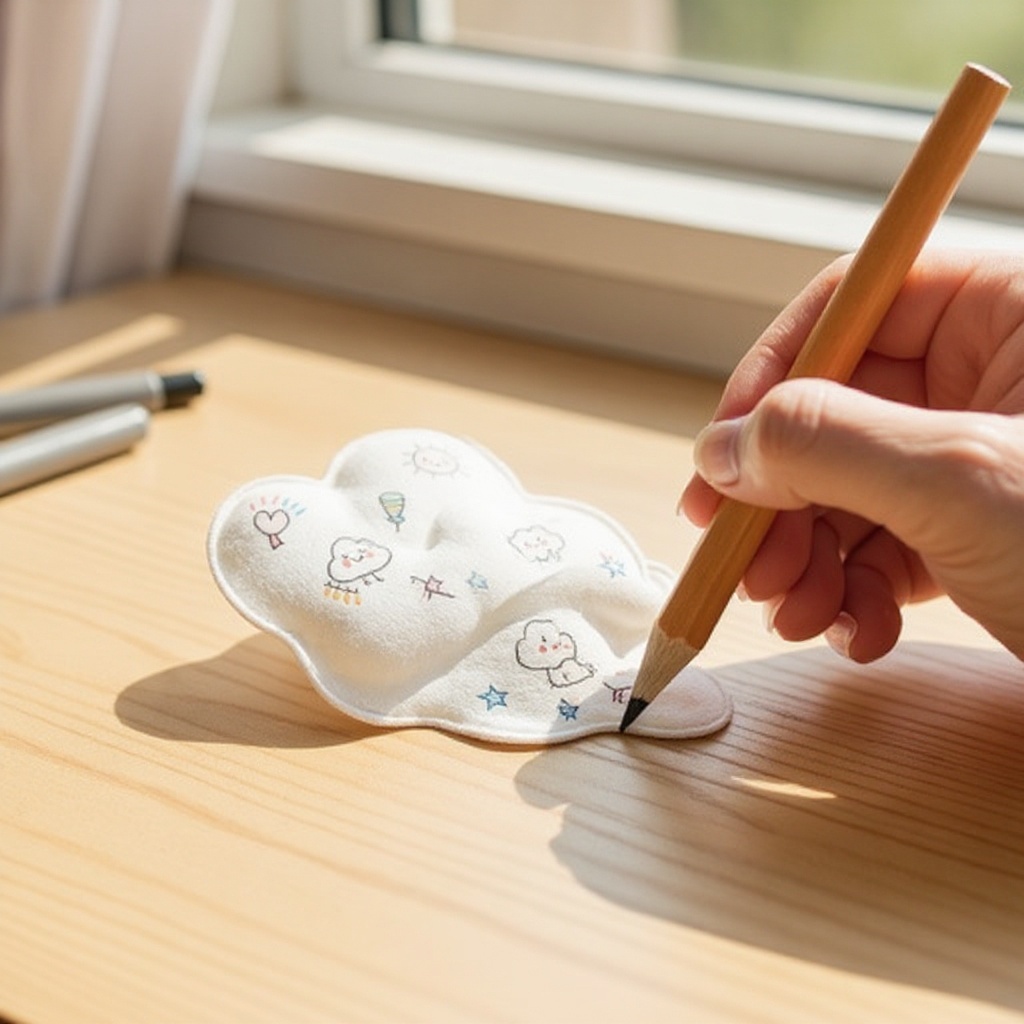
- 3Try adding different elements to your clouds, like tiny smiling faces, little birds flying through, or even miniature houses nestled within. This is where the 'whimsical' aspect truly shines, allowing you to imbue your clouds with personality and narrative. Let your imagination run wild!
- 4If you want a softer look, gently smudge the shaded areas with your finger or a clean paper towel. This technique can help blend the graphite and create a more diffused, atmospheric effect, making your clouds appear even more ethereal and dreamlike. Use a light touch to avoid muddying your drawing.
- 5Consider the direction of your pencil strokes when shading. Following the general curve of the cloud can help enhance its roundness and form. This subtle technique adds another layer of dimension and realism to your drawing.
- 6Don't be afraid to use your eraser as a drawing tool. Beyond correcting mistakes, erasers can be used to lift graphite and create highlights, adding sparkle and dimension to your clouds. Experiment with different eraser types for varied effects.
- 7Think about the 'personality' of your cloud. Is it a happy, puffy cloud? A wispy, melancholic one? Let this idea guide your sketching and shading choices. This approach can make your drawing process more engaging and the final result more expressive.
- 8Practice drawing clouds in different sizes and densities. Some can be large and imposing, while others are small and delicate. This variety will make your collection of cloud doodles more dynamic and interesting.
Related Activities You Might Enjoy
Frequently Asked Questions
What is the easiest thing to draw with a pencil for beginners?
For beginners, simple shapes like clouds, circles, or basic outlines of animals are often the easiest things to draw with a pencil. Focusing on light sketching and gradual shading makes these subjects approachable. The key is to start with forms that don't require complex perspective or intricate details. Practicing these fundamental shapes helps build confidence and develops essential pencil control, laying a strong foundation for more advanced drawing techniques. The goal is to enjoy the process and see progress, which these simple subjects readily provide.
How can I make my pencil drawings look more realistic?
To make pencil drawings more realistic, focus on observing light and shadow with great attention to detail. Use varying pencil pressures to create smooth gradients, mimicking how light falls and creates subtle transitions on surfaces. Add fine details like textures and imperfections, and pay close attention to the proportions and forms of your subject. Understanding how light interacts with different materials and shapes is crucial. Practice observing the world around you and translating those observations onto paper, focusing on capturing the nuances of tone and form.
What are the basic materials for easy pencil drawing?
For easy pencil drawing, you primarily need a good quality graphite pencil, such as an HB or #2, which offers a good balance of darkness and erasability. A smooth sheet of paper, like printer paper or a sketchpad, is also essential. An eraser is crucial for corrections and for creating highlights, with a kneaded eraser being particularly useful for subtle lifting of graphite. These basic materials are all you need to get started and explore the fundamentals of pencil sketching and shading.
How do I start drawing if I have no experience?
If you have no experience, start with very simple subjects and focus on basic shapes. Practice drawing lines, circles, and squares repeatedly to develop hand-eye coordination and control. Then, try combining these basic shapes to create simple objects like boxes, balls, or basic outlines of animals. Don't be afraid to make mistakes; they are an integral part of the learning process. Focus on enjoying the act of drawing and celebrating small victories as you build your skills gradually.
Can I use colored pencils for this cloud drawing tutorial?
While this tutorial is designed for graphite pencils to achieve a classic, soft cloud effect, you can certainly adapt it for colored pencils. If using colored pencils, you might opt for lighter shades of blue, grey, or even white to create your cloud shapes. You could then use a softer pencil or a blending tool to create the shaded areas. However, be mindful that colored pencils can be more opaque and harder to blend smoothly than graphite, so a lighter touch and careful layering will be key to maintaining that whimsical, fluffy appearance.
How long does it typically take to draw one whimsical cloud?
Drawing a single whimsical cloud doodle, following these steps, typically takes about 10-20 minutes, depending on your pace and the level of detail you choose to add. The initial sketching and shaping are quite quick, and the shading and highlighting might take a bit longer. This makes it an ideal activity for short bursts of creativity, perfect for fitting into a busy schedule or for a quick, relaxing break. You can create a whole sky of clouds in under an hour!
What Next?
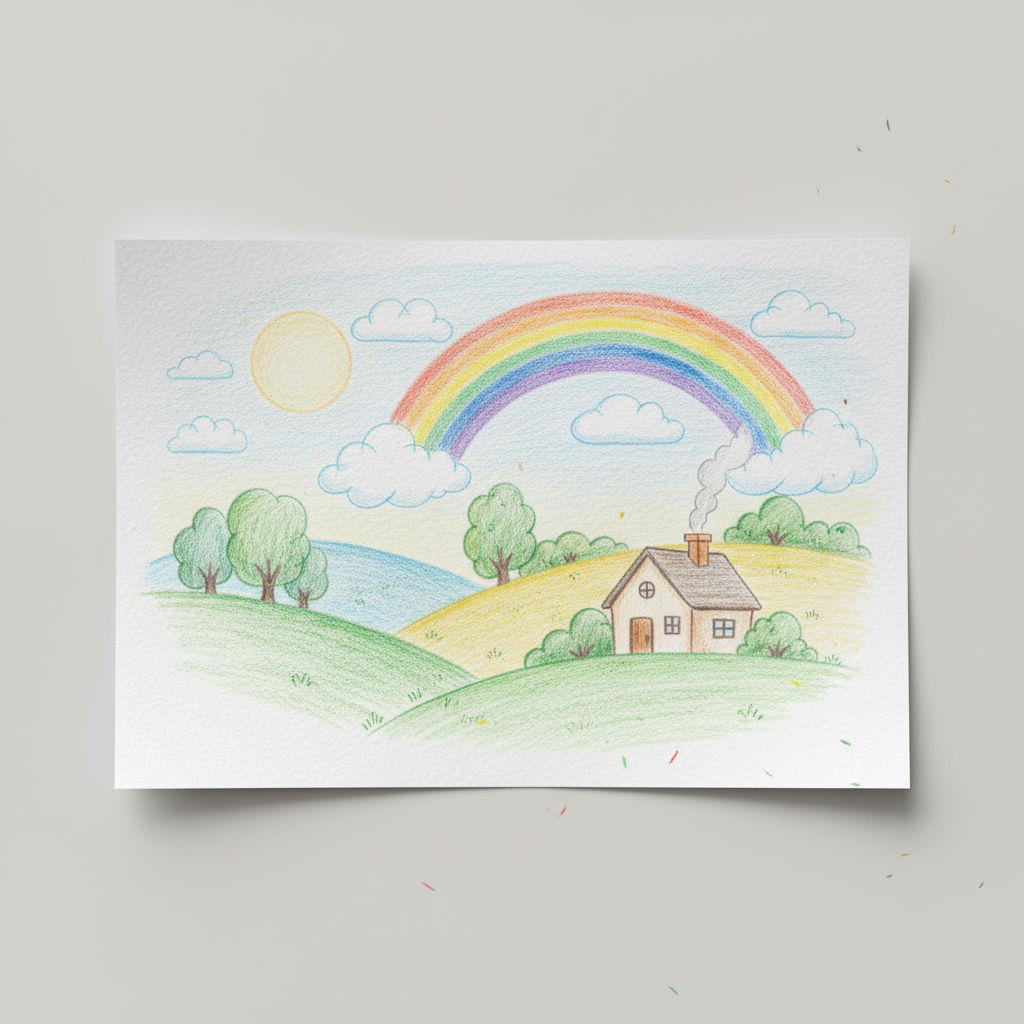
Congratulations on creating your own whimsical cloud doodles! You've successfully transformed a blank page into a dreamy sky. Feel free to experiment further by adding different weather elements like raindrops, lightning bolts, or even tiny rainbows. Consider creating a whole series of cloudscapes, or perhaps incorporating your clouds into larger scenes. These charming drawings can be displayed on your fridge, used as unique stationery, or even framed as delightful wall art. For your next project, try drawing other simple, whimsical shapes like stars, moons, or friendly animals to populate your imaginative world.
Free: 10 Paper Crafts Anyone Can Make in 5 Minutes
Get our beginner guide + new craft ideas weekly.
No spam. Unsubscribe anytime.
Did you complete this activity?