How to Create Whimsical Magazine Collage Creatures — Easy Step-by-Step Guide
Unleash your imagination and create unique creatures from magazine scraps! This fun collage activity is perfect for families looking for screen-free entertainment. Discover how to transform everyday magazines into fantastical beings with this beginner-friendly guide. Get ready for hours of creative fun!
Quick answer
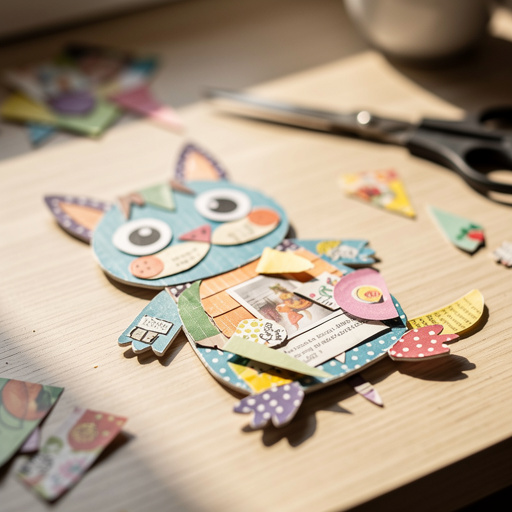
To make whimsical magazine collage creatures, you need old magazines (at least 5-10 for variety), cardstock or sturdy paper (around 10-20 sheets), child-safe scissors (1 pair), and glue sticks or liquid craft glue (2-3 sticks/bottles). This project takes about 45 minutes to an hour per creature. Start by cutting out interesting shapes and images from your magazines. This beginner-friendly activity has 15 steps and is perfect for families with children aged 6 and up.
What you need
Shop on Amazon · As an Amazon Associate we earn from qualifying purchases. Links above are affiliate links — we may earn a commission at no extra cost to you.
Embark on a delightful journey of imagination with our Whimsical Magazine Collage Creatures project! This engaging craft transforms discarded magazines into vibrant, one-of-a-kind beings, fostering creativity and resourcefulness. It's an ideal activity for families seeking a fun, screen-free way to bond and express themselves. Whether you're looking for a rainy-day project, a way to teach recycling, or simply a chance to let your artistic spirit soar, this easy-to-follow guide will help you bring your wildest creature dreams to life.
On this page
Step-by-Step Instructions
- 1
Gather a variety of old magazines. Flip through them and look for interesting colors, textures, patterns, and images that catch your eye. Don't be afraid to explore different types of magazines, from glossy fashion publications to informative nature journals, as each offers a unique visual vocabulary.
- 2
Prepare your workspace by laying down newspaper or scrap paper to protect your surfaces from glue and stray paper scraps. Ensure you have good lighting and enough space to spread out your materials and work comfortably.
- 3
Decide on the basic shape and form of your creature. Will it have a round, bulbous body, a long, serpentine neck, or perhaps multiple spindly legs? You can sketch a rough outline on your cardstock with a pencil if you have a specific idea in mind, or let the shapes you find inspire the form.
- 4
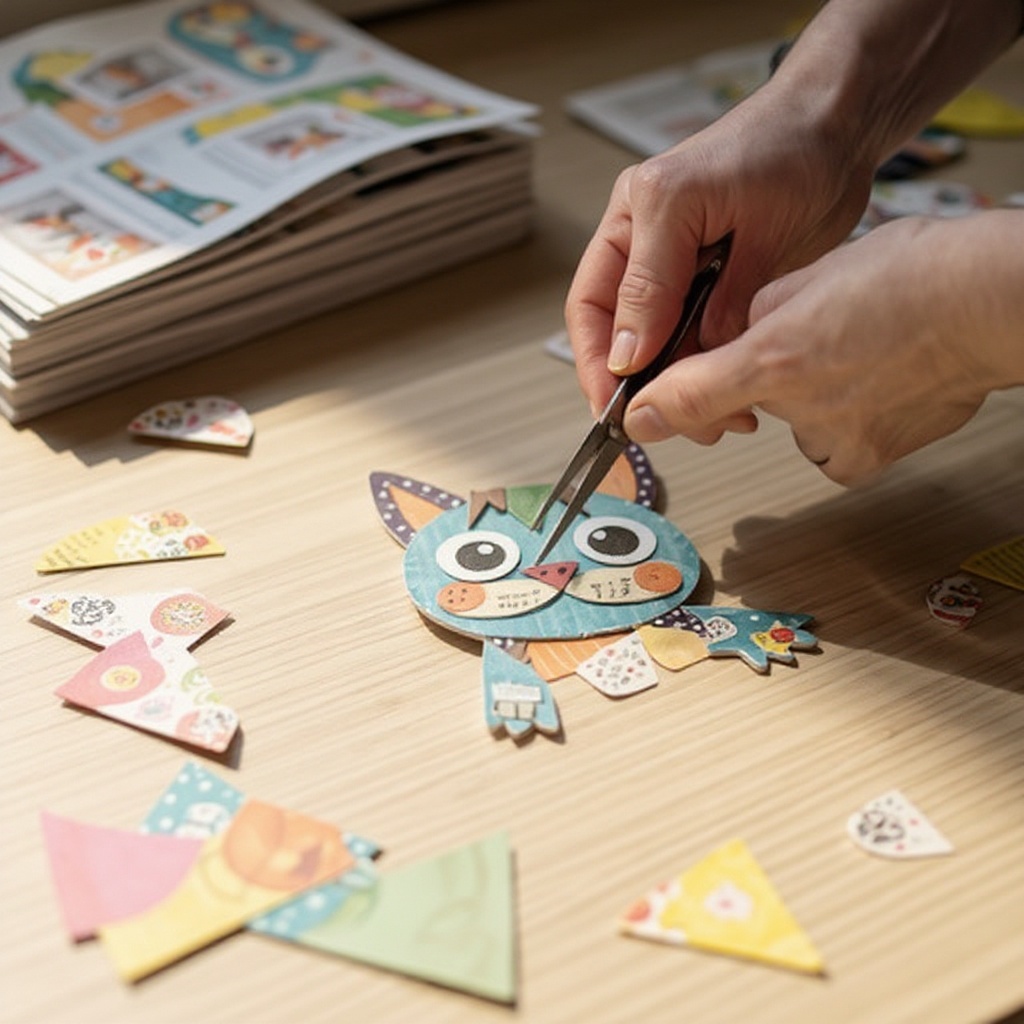
Begin cutting out various shapes and images from the magazines that could potentially become parts of your creature. Think broadly about what could represent eyes, ears, wings, scales, fur, or even interesting background elements that add depth and context.
- 5
Don't be afraid to cut out abstract shapes or parts of objects that you can reimagine as something else entirely. For instance, a flower petal can become a delicate wing, a swirl of paint can be a magical horn, or a textured pattern from a fabric ad can form a creature's unique skin.
- 6
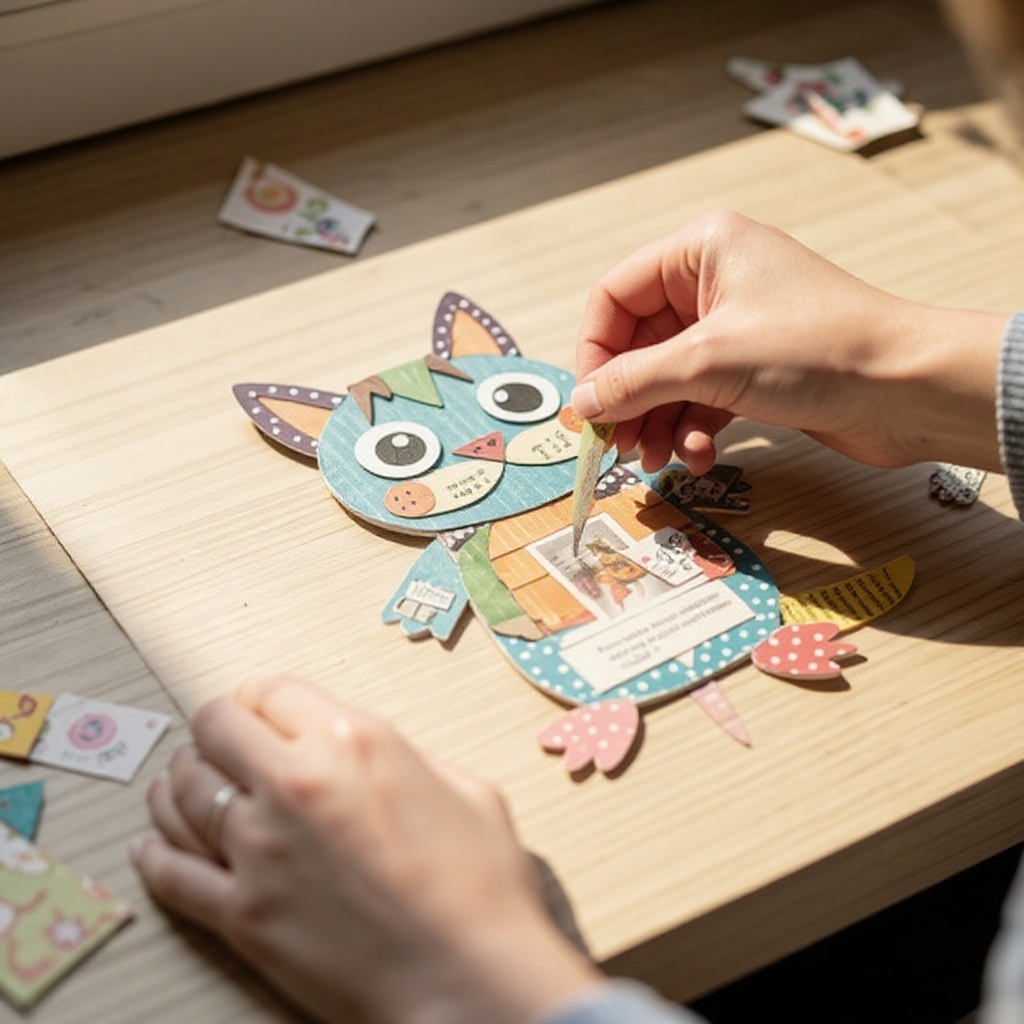
Start by selecting and cutting out the main body piece for your creature. This will serve as the central anchor for your design and will help you visualize the scale and proportions of the rest of the creature.
- 7
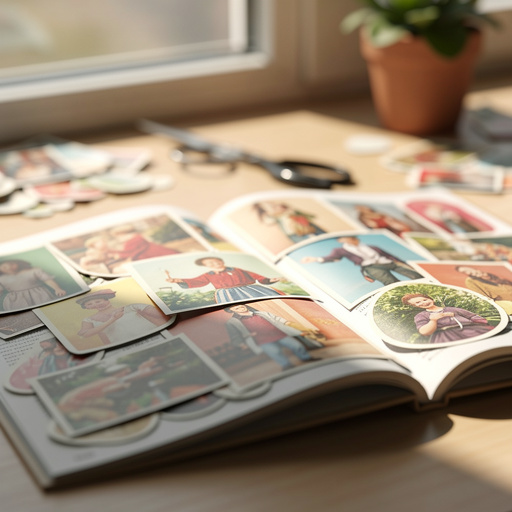
Arrange your cut-out pieces on the cardstock without gluing them down yet. Experiment with different combinations and placements to see what looks best and sparks your imagination. This is a crucial step for visualizing your creature's final appearance.
- 8
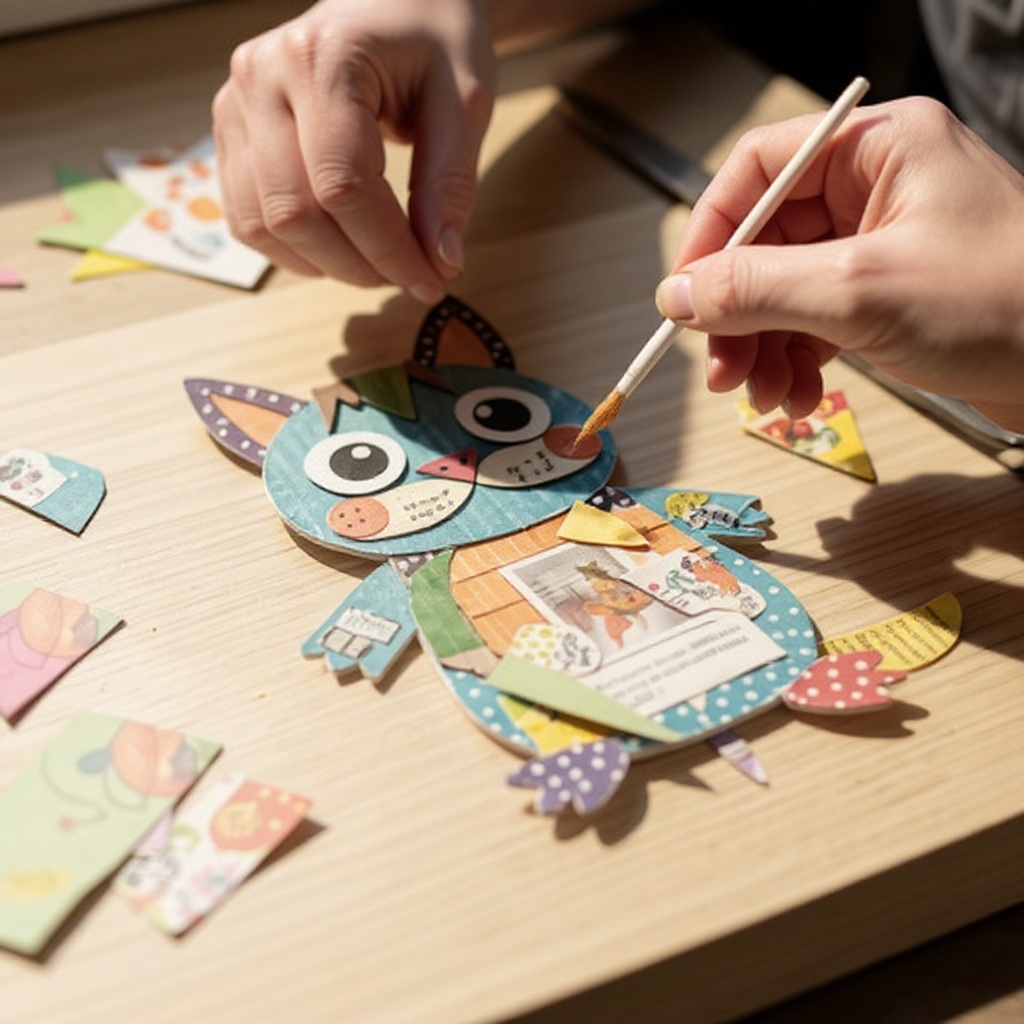
Once you have a general layout you're happy with, begin gluing down the main body of your creature first. This provides a stable base and a clear starting point for adding other features, ensuring your creature has a solid foundation.
- 9
Carefully glue down the head, limbs, or other major body parts of your creature. Pay attention to how these pieces connect to the body and ensure they are positioned in a way that makes sense for your creature's anatomy, even if it's fantastical.
- 10
Add smaller details like eyes, noses, mouths, antennae, or decorative elements using your cut-out pieces. These smaller elements are key to giving your creature personality and bringing it to life.
- 11
Continue adding layers and textures to give your creature depth and character. Overlapping pieces, using different textures side-by-side, or even creating patterns with small cut-outs can make your creature visually rich and engaging.
- 12
If you're struggling to find specific shapes for certain features, try cutting out entire words or phrases from the magazines and using the letters or parts of words as unique design elements. A bold 'Z' could be a lightning bolt tail, or a curved 'S' could be a whimsical antenna.
- 13
Encourage children (or yourself!) to think about the personality of their creature. Is it happy, grumpy, shy, or adventurous? This can significantly influence their choices of magazine clippings and how they are arranged, leading to more expressive creatures.
- 14
Don't limit yourself to just animals or familiar creatures. You can create fantastical monsters, futuristic robots, abstract beings, or even creatures inspired by emotions or dreams. The possibilities are truly endless with collage.
- 15
For a more cohesive look, try sticking to a specific color palette or drawing inspiration from one type of magazine. For example, using only nature magazines can result in a beautifully earthy forest creature, while fashion magazines might yield a glamorous, avant-garde being.
- 16
Once you are happy with your creature's appearance and all the pieces are in place, ensure all pieces are securely glued down. Gently press down on each element to make sure it adheres well to the cardstock.
- 17
Let your finished collage creature dry completely. Depending on the type of glue used and the thickness of the paper, this could take anywhere from 30 minutes to a few hours. Avoid touching or moving the collage while it is drying to prevent any pieces from shifting.
Tips & Troubleshooting
- 1If you're struggling to find specific shapes for certain features, try cutting out entire words or phrases from the magazines and using the letters or parts of words as unique design elements. A bold 'Z' could be a lightning bolt tail, or a curved 'S' could be a whimsical antenna, adding an unexpected typographic element to your creature.
- 2Encourage kids (or yourself!) to think about the personality of their creature. Is it happy, grumpy, shy, or adventurous? This can significantly influence their choices of magazine clippings and how they are arranged, leading to more expressive and characterful creatures.
- 3Don't limit yourself to just animals or familiar creatures. You can create fantastical monsters, futuristic robots, abstract beings, or even creatures inspired by emotions or dreams. The possibilities are truly endless with collage, so let your imagination run wild and explore unconventional forms.
- 4For a more cohesive look, try sticking to a specific color palette or drawing inspiration from one type of magazine. For example, using only nature magazines can result in a beautifully earthy forest creature, while fashion magazines might yield a glamorous, avant-garde being, creating a distinct aesthetic.
- 5Experiment with layering different textures and colors. Combine unexpected elements, like a piece of a metallic advertisement with a soft, fuzzy pattern from a home decor magazine, to create a truly one-of-a-kind design that has visual interest and tactile appeal.
- 6Consider the background of your cut-out images. Sometimes, the original background can add an interesting dimension or context to your creature. For example, a creature emerging from a leafy background might look like it belongs in a forest.
- 7Don't be afraid to make mistakes or change your mind. Collage is a forgiving medium, and you can often layer new pieces over existing ones to correct or enhance your design. Embrace the process of discovery and iteration.
- 8If using liquid glue, apply it sparingly to avoid making the paper too wet and causing it to wrinkle or tear. A thin, even layer is usually sufficient to create a strong bond.
Related Activities You Might Enjoy
Frequently Asked Questions
What kind of magazines are best for collage?
A wide variety of magazines works exceptionally well for this project, offering a rich tapestry of visual elements to choose from. Look for publications with diverse images, vibrant colors, and interesting textures. Lifestyle magazines often feature beautiful photography of people, places, and objects, while nature magazines provide stunning landscapes, flora, and fauna. Even old catalogs, travel brochures, and home decor magazines can offer fantastic collage materials. The key is to explore different types to ensure you have a broad selection of shapes, patterns, and colors to bring your creatures to life.
How can I make my collage creature more unique?
To make your collage creature truly stand out, experiment with layering different textures and colors in unexpected ways. Combine elements that aren't typically seen together, such as a piece of a metallic advertisement with a soft, fuzzy pattern from a home decor magazine, or a geometric shape from an architecture magazine with a flowing organic form from a nature magazine. Don't be afraid to use abstract shapes and reimagine their purpose. Consider giving your creature a unique backstory or personality, which can guide your material selection and lead to a more distinctive design.
What if I don't have many magazines?
Don't worry if your magazine collection is limited! Newspapers, old greeting cards, wrapping paper scraps, junk mail, and even old calendars can be excellent sources for collage materials. Look for interesting fonts, patterns, and images on these items. You can also supplement your magazine clippings with drawings or painted elements. If you have access to a printer, you could even print out interesting textures or images from online sources. The goal is to be resourceful and creative with whatever paper-based materials you have available.
Can this activity be done with younger children?
Yes, absolutely! This activity is wonderfully adaptable for younger children. For preschoolers or very young children, it's best to pre-cut some basic shapes for them to choose from, such as circles for bodies, triangles for ears, or simple strips for legs. This helps them focus on the creative assembly rather than the fine motor skills of cutting. You can also focus on larger, simpler pieces and provide more guidance. Adult supervision is always recommended, especially when scissors are involved, to ensure safety and assist with any tricky cuts.
What are some other materials I can incorporate into my collage creatures?
Beyond magazines, a world of materials can enhance your collage creatures! Consider incorporating fabric scraps for unique textures, buttons for eyes or decorative elements, yarn for hair or tails, or even small pieces of ribbon. Old maps can add an adventurous feel, while sheet music can lend a musical or whimsical touch. Even natural elements like pressed leaves or small twigs can be glued down to create interesting textures and organic forms. The key is to experiment and see how different materials interact with the paper elements to create a richer, more tactile artwork.
How long does it typically take to create one creature?
The time it takes to create a whimsical magazine collage creature can vary depending on the complexity of the design and the age of the creator. For a beginner, especially a child, a single creature might take around 45 minutes to an hour, including the time spent searching for materials, cutting, arranging, and gluing. More experienced crafters or those aiming for intricate details might spend longer, perhaps 1.5 to 2 hours, on a single piece. It's a flexible project that can be as quick or as detailed as you wish.
What Next?
Congratulations on creating your unique magazine collage creatures! Don't stop here; experiment with different themes, like underwater creatures or space aliens, or try incorporating other recycled materials like fabric scraps or buttons for added texture. Display your fantastical menagerie proudly on a shelf or frame them as unique artwork. For storage, keep them in a portfolio or a dedicated craft box to protect your creations for years to come. This project is just the beginning of a world of paper-crafting adventures!
Free: 10 Paper Crafts Anyone Can Make in 5 Minutes
Get our beginner guide + new craft ideas weekly.
No spam. Unsubscribe anytime.
Did you complete this activity?