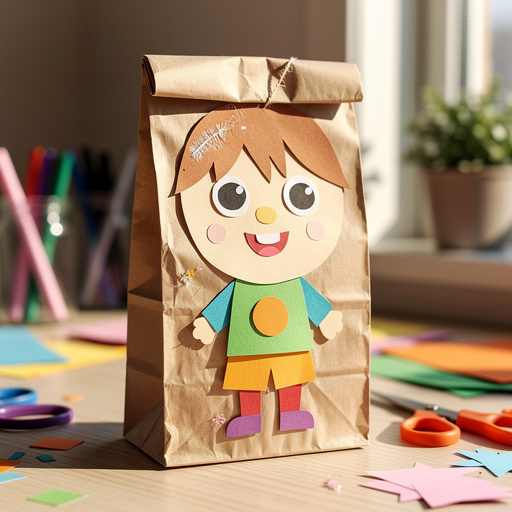
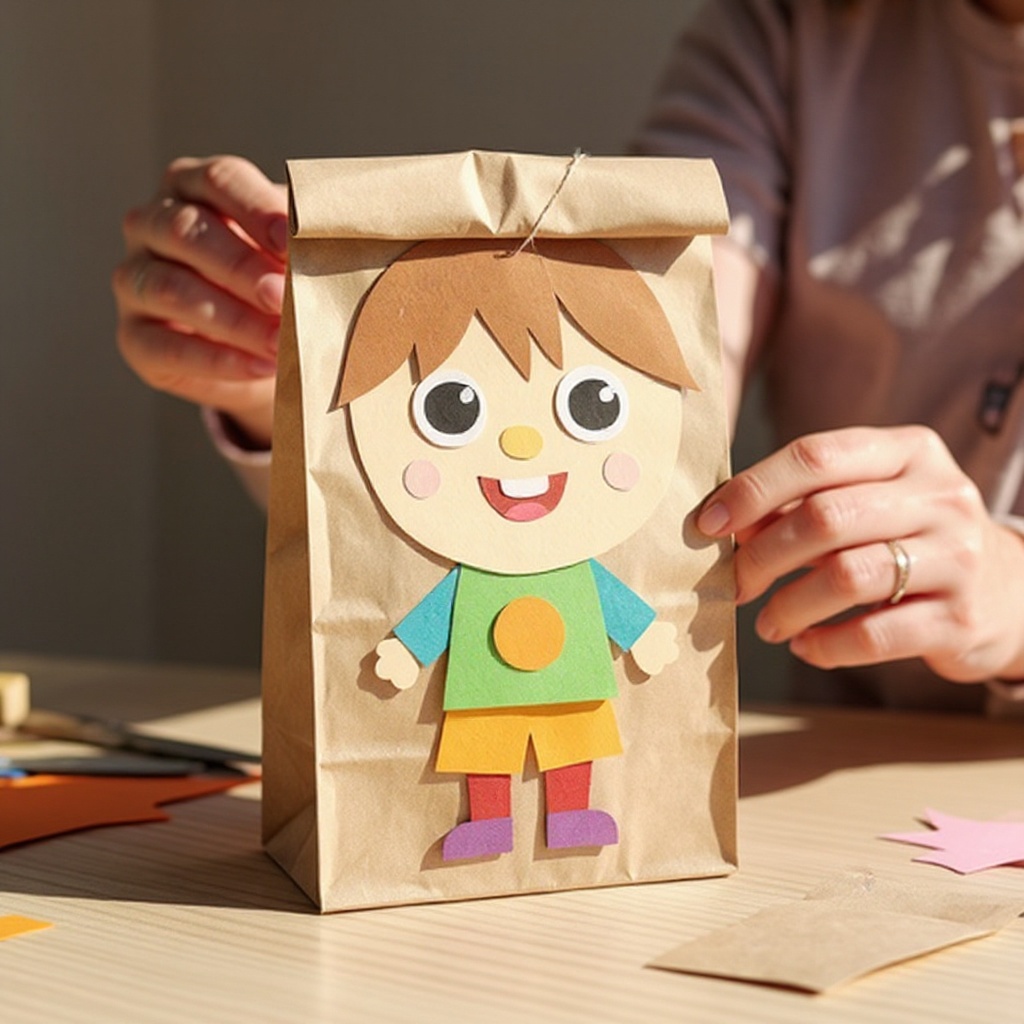
How to Make Adorable Paper Bag Puppets — Easy Step-by-Step Guide
Transform simple paper bags into charming characters with this easy paper bag puppet craft. A fantastic screen-free activity for kindergarteners!

Quick answer
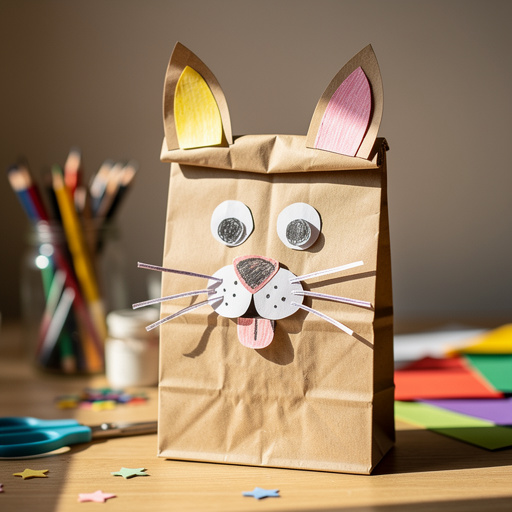
To make paper bag puppets, you need 1 brown paper lunch bag per puppet, assorted colors of construction paper, child-safe scissors, non-toxic glue stick or liquid glue, and washable markers or crayons. Optional additions include googly eyes, yarn, and pipe cleaners. The process takes about 30 minutes. Start by decorating the bag as the puppet's face, using the folded bottom as the head. This beginner-friendly activity has 10 core steps and is perfect for kindergarteners aged 4-6, fostering creativity and fine motor skills.
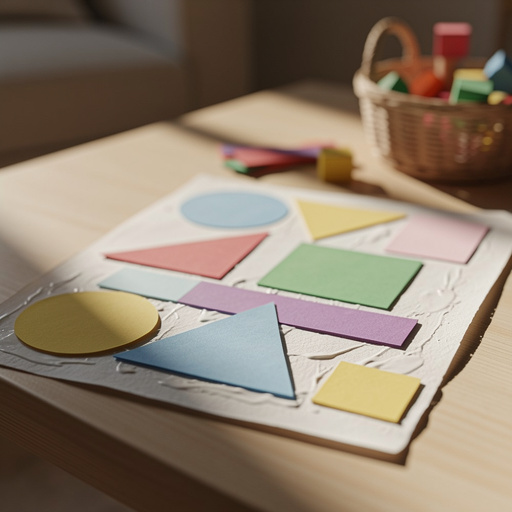
What you need
Shop on Amazon · As an Amazon Associate we earn from qualifying purchases. Links above are affiliate links — we may earn a commission at no extra cost to you.
Unleash your child's imagination with the delightful craft of making paper bag puppets! This project is more than just a craft; it's a gateway to storytelling, dramatic play, and hours of screen-free fun. Perfect for little hands and budding artists, paper bag puppets are incredibly easy to create, making them an ideal activity for kindergarteners and preschoolers. With just a few simple materials, you can transform ordinary paper bags into a cast of characters ready for adventure. Get ready to spark creativity and watch your children bring their unique creations to life!
On this page
Step-by-Step Instructions
- 1
Open a paper lunch bag and turn it so the folded bottom is at the top. This folded flap will serve as the puppet's head, providing a natural surface for facial features and hair. Ensure the bag is open enough to comfortably work with.
- 2
Lay out your construction paper and decide on the basic design for your puppet's face. Consider what kind of character you want to create – a friendly monster, a silly animal, or a human-like character. This initial planning helps in cutting out the right shapes.
- 3
Cut out shapes from construction paper for the puppet's primary features. This includes eyes, a nose, a mouth, and potentially ears or eyebrows. For a more organic look, try cutting slightly irregular shapes rather than perfect circles or squares.
- 4
Begin by gluing the main facial features onto the folded bottom of the paper bag. Start with the eyes, positioning them where you envision them on your puppet's face. Then, add the nose and mouth, ensuring they are well-aligned and create the desired expression.
- 5
Draw additional details onto the puppet's face using washable markers or crayons. This is where you can add personality: think about eyebrows to convey emotion, freckles for a charming touch, rosy cheeks for a healthy glow, or even small dots for a patterned nose.
- 6
If you want to add hair to your puppet, cut strips of yarn or thin strips of construction paper. You can also use pipe cleaners twisted into curly shapes. Glue these elements securely to the very top of the folded flap, mimicking a hairline.
- 7
To create arms for your puppet, cut out two identical arm shapes from construction paper. These can be simple oval shapes or more detailed hand shapes. Glue them onto the sides of the paper bag, just below where the head begins, allowing them to dangle freely.
- 8
For ears, cut out two identical shapes from construction paper that complement the puppet's design. These could be rounded, pointed, or even shaped like leaves. Glue them onto the sides of the puppet's head, ensuring they are attached firmly.
- 9
If you're using googly eyes, now is the perfect time to glue them on. Googly eyes add a fun, animated quality to your puppet, making it appear more lively. Make sure to press them down firmly onto the glue.
- 10
Add any other decorative elements to further enhance your puppet's character. This could include a collar made from a contrasting color of construction paper, buttons glued onto the body, or even a small hat crafted from paper. Get creative with felt scraps or pom-poms for added texture and dimension.
- 11
Consider adding a tongue that can stick out by cutting a long, thin strip of red construction paper and gluing one end inside the mouth opening. This adds an interactive element to your puppet.
- 12
For a more complex puppet, you can create a body by cutting a larger piece of construction paper and gluing it to the front of the bag, extending down from the head. This allows for more detailed clothing or body features.
- 13
If your puppet needs a tail, cut out a shape from construction paper or use a piece of yarn or pipe cleaner and glue it to the back of the paper bag. Ensure it's securely attached so it doesn't fall off during play.
- 14
Allow all the glued elements to dry completely before attempting to play with your new paper bag puppet. This ensures that all the pieces are firmly attached and won't detach during enthusiastic puppetry.
- 15
Once dry, gently test the movement of the arms and any other movable parts. You can also reinforce any areas that seem loose with a little extra glue.
- 16
Encourage your child to practice making different voices and personalities for their puppets. This is a crucial part of bringing the puppet to life and developing their imaginative play skills.
- 17
If you've used liquid glue, be mindful of how much you apply to avoid the paper becoming too saturated and tearing. A thin, even layer is usually sufficient.
- 18
When cutting shapes, especially for younger children, it's helpful to draw the shapes lightly on the construction paper first as a guide. This can prevent frustration and lead to more satisfying results.
Tips & Troubleshooting
- 1Encourage children to draw their own features instead of cutting them out for a more personalized touch. This allows them to express their artistic style directly and can be a great way to practice drawing skills, especially for those who are still developing their scissor control.
- 2Use different sizes and shapes of paper bags to create puppets of varying heights and proportions. A taller bag can become a tall, lanky character, while a wider bag might be perfect for a round, jolly puppet, adding diversity to your puppet collection.
- 3For a more durable puppet, consider using cardstock for the features instead of regular construction paper. Cardstock is thicker and more resistant to tearing, making the puppet last longer through many play sessions and enthusiastic performances.
- 4Let the children name their puppets and create simple stories for them to act out. This fosters narrative skills, encourages imaginative thinking, and helps them develop a deeper connection with their creations, leading to more engaging play.
- 5Supervise young children when using scissors, even child-safe ones. Ensure they understand how to hold the scissors properly and cut away from their bodies to prevent accidents and build confidence in their cutting abilities.
- 6Experiment with different textures by incorporating fabric scraps, felt, or even small pieces of foam. These materials can add a unique tactile dimension to your puppets, making them more interesting to look at and touch.
- 7Don't be afraid to get a little messy! Sometimes the most creative outcomes come from allowing children to explore materials freely. Have wipes or a damp cloth handy for easy cleanup of glue and marker smudges.
- 8Consider adding a simple mechanism for movement, like attaching yarn to the arms and pulling them from behind the bag, or creating a flap for the mouth to open and close. This adds an extra layer of interactivity and fun to the puppet.
Related Activities You Might Enjoy
Frequently Asked Questions
What materials do I need for paper bag crafts for kindergarten?
For paper bag crafts, especially for kindergarteners, you'll typically need brown paper lunch bags as your base, construction paper in a variety of vibrant colors for decorating, and child-safe scissors for cutting out shapes. Non-toxic glue sticks or liquid glue are essential for assembly, and washable markers or crayons are perfect for adding those final, personal touches. Fun additions that can elevate your crafts include googly eyes for lively expressions, yarn for hair or fuzzy textures, and pipe cleaners for unique appendages like arms or antennae. These materials are readily available and provide a great foundation for a wide range of creative projects.
Are paper bag crafts good for kindergarteners?
Absolutely! Paper bag crafts are exceptionally beneficial for kindergarteners. They are a fantastic way to develop fine motor skills as children practice cutting, gluing, and manipulating small pieces. These crafts also significantly encourage creativity and imagination, allowing children to design and build their own characters and worlds. Furthermore, paper bag crafts offer a wonderful, screen-free activity that results in a tangible toy they can immediately play with, fostering imaginative storytelling and dramatic play. The simplicity of the materials makes it an accessible and rewarding project for this age group.
How do you make a paper bag puppet face?
To create a paper bag puppet face, start by identifying the folded bottom of the paper lunch bag; this section will serve as the puppet's head. You can then use construction paper to cut out shapes for the eyes, nose, and mouth, gluing them onto this folded area. Alternatively, children can draw these features directly onto the bag using markers or crayons for a more immediate and personalized look. Adding yarn or strips of construction paper glued to the top of the flap creates a simple yet effective hairstyle, bringing your puppet character to life.
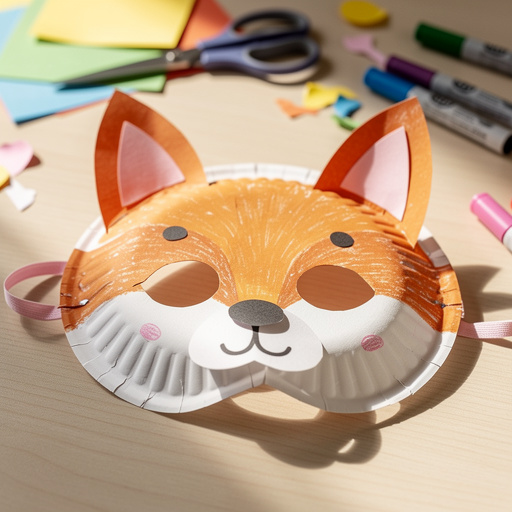
What are some other paper bag crafts for kids?
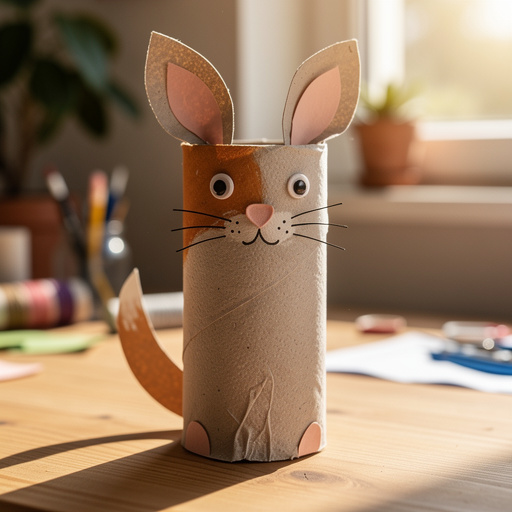
Beyond making puppets, paper bags offer a wealth of crafting possibilities for kids. They can be transformed into adorable paper bag animals by adding ears, tails, and other animal-specific features. With a few strategic cuts for eyeholes, paper bags can become fun masks for dress-up. They also make excellent small baskets for collecting treasures or party favors, simply by folding down the top edges. Furthermore, decorated paper bags can serve as unique and personalized gift bags, adding a handmade touch to any present. The versatility of paper bags makes them a staple for creative kids' activities.
How long does it typically take to make a paper bag puppet?
The time it takes to make a paper bag puppet can vary depending on the complexity of the design and the age of the child. However, for a basic puppet with simple features, you can expect it to take approximately 30 to 45 minutes from start to finish, including drying time for the glue. Younger children might take a bit longer as they focus on cutting and gluing, while older children or adults might complete a more elaborate puppet in a similar timeframe. This makes it a perfect activity for an afternoon craft session or a rainy day.
Can I use different types of paper bags for this craft?
Yes, you can absolutely use different types of paper bags! While standard brown paper lunch bags are common and work wonderfully, feel free to experiment with other sizes and colors. Larger grocery bags can create bigger, more imposing puppets, while smaller treat bags can make for miniature characters. Bags in different colors, like white or even patterned ones, can offer a unique starting point for your puppet's design, saving you the step of covering the bag if you wish. Just ensure the paper is sturdy enough to hold the decorations and withstand play.
What are some ways to make paper bag puppets more durable?
To make your paper bag puppets more durable, consider using thicker materials for the decorative elements. Instead of regular construction paper, opt for cardstock for features like eyes, noses, and arms, as it's less likely to tear. You can also reinforce glued areas with a second layer of glue or even a small piece of tape on the inside of the bag. For added strength, consider laminating the construction paper pieces before gluing them onto the bag, or applying a clear sealant spray once the puppet is complete, though this should be done with adult supervision and in a well-ventilated area.
What Next?
Once your paper bag puppets are dry, the real fun begins! Encourage your children to give their creations names and invent stories for them to act out. These puppets are wonderful for putting on impromptu puppet shows, practicing storytelling, or even as unique decorations. For variations, consider using different colored paper bags, adding fabric scraps for texture, or even incorporating small bells for sound effects. You can store your finished puppets by standing them upright on a shelf or in a designated craft bin. This project is a fantastic springboard for further creative endeavors, like designing puppet theaters or writing scripts for your puppet characters.
Free: 10 Paper Crafts Anyone Can Make in 5 Minutes
Get our beginner guide + new craft ideas weekly.
No spam. Unsubscribe anytime.
Did you complete this activity?