How to Make Folded Paper Star Ornaments — Easy Step-by-Step Guide
Create dazzling, geometric folded paper star ornaments with this simple guide. A beautiful and screen-free craft for all ages.


Quick answer
To make folded paper star ornaments, you need paper, scissors, and glue, taking about 30 minutes. Start by folding your paper into a grid. This beginner-friendly activity has 12 steps and is perfect for families and kids aged 8+.
What you need
Shop on Amazon · As an Amazon Associate we earn from qualifying purchases. Links above are affiliate links — we may earn a commission at no extra cost to you.
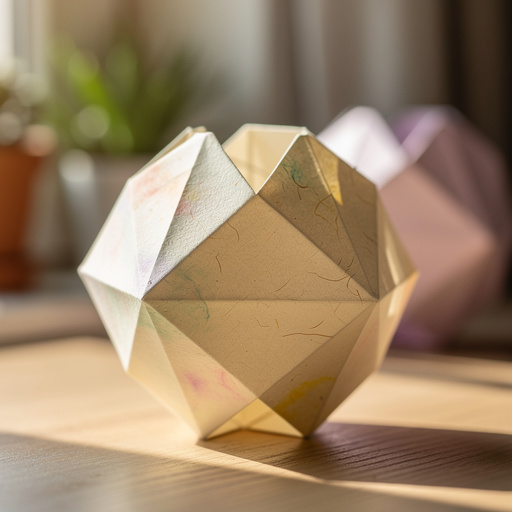
Unleash your creativity and bring a touch of geometric magic into your home with these delightful folded paper star ornaments. This project is more than just a craft; it's an opportunity to slow down, disconnect from screens, and engage in a mindful, rewarding activity. Perfect for a cozy afternoon, a family bonding session, or even a classroom activity, these stars offer a satisfying sense of accomplishment with every fold and crease. Their elegant simplicity makes them a versatile decoration, suitable for holidays, parties, or simply adding a handmade charm to any space.
On this page
Step-by-Step Instructions
- 1
Using a ruler and pencil, lightly draw a grid of 1-inch squares on your paper. Aim for a 3x3 grid for a medium star, or adjust for size. Ensure your lines are faint so they don't detract from the final ornament.
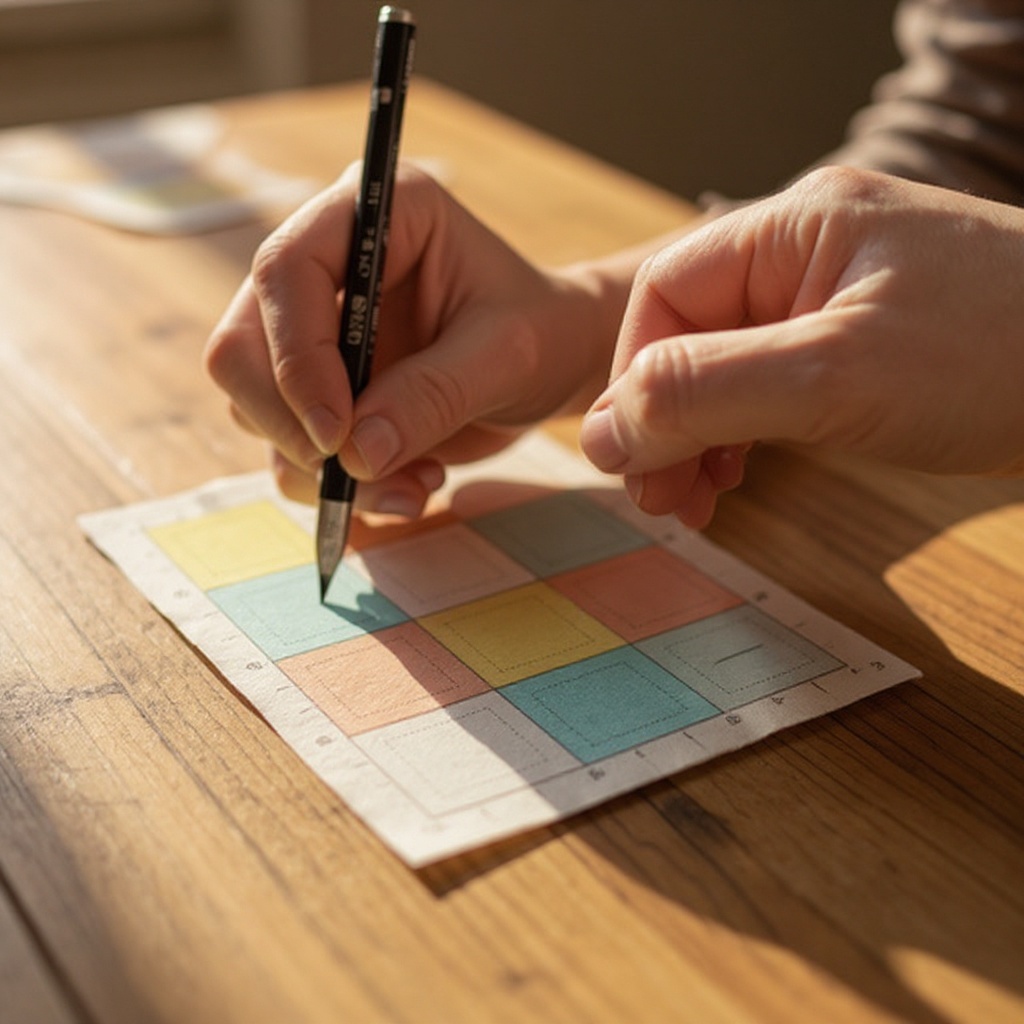
- 2
Carefully cut out the entire grid of squares from your paper. You should have nine individual squares arranged in a neat block.
- 3
Select one square from your cut grid. Fold it in half diagonally, bringing one corner to meet the opposite corner, to form a triangle. Crease the fold firmly with your fingernail or a bone folder.
- 4
Unfold the triangle. Now, fold the square in half diagonally again, this time connecting the other two opposite corners. Crease this fold well and then unfold the paper.
- 5
You should now have two diagonal creases forming a distinct 'X' shape across your square. These creases are crucial for guiding the next folding steps.
- 6
Next, fold the square in half horizontally, bringing the top edge down to meet the bottom edge. Crease this fold firmly and then unfold the paper.
- 7
Repeat the previous step by folding the square in half vertically, bringing the left edge to meet the right edge. Crease this fold well and then unfold the paper.
- 8
You should now have a grid of creases on your square, with two diagonal lines and two perpendicular lines intersecting at the center.
- 9
Gently push the sides of the square inwards along the horizontal and vertical creases you just made. As you push, bring the top and bottom edges together. This action will naturally cause the paper to collapse into a triangle shape with four distinct flaps.
- 10
Take one of the four flaps. Apply a thin, even layer of glue to the inside surface of this flap. Carefully press this glued flap onto the adjacent flap, securing it to form a pointed section of the star. Ensure the edges align neatly.
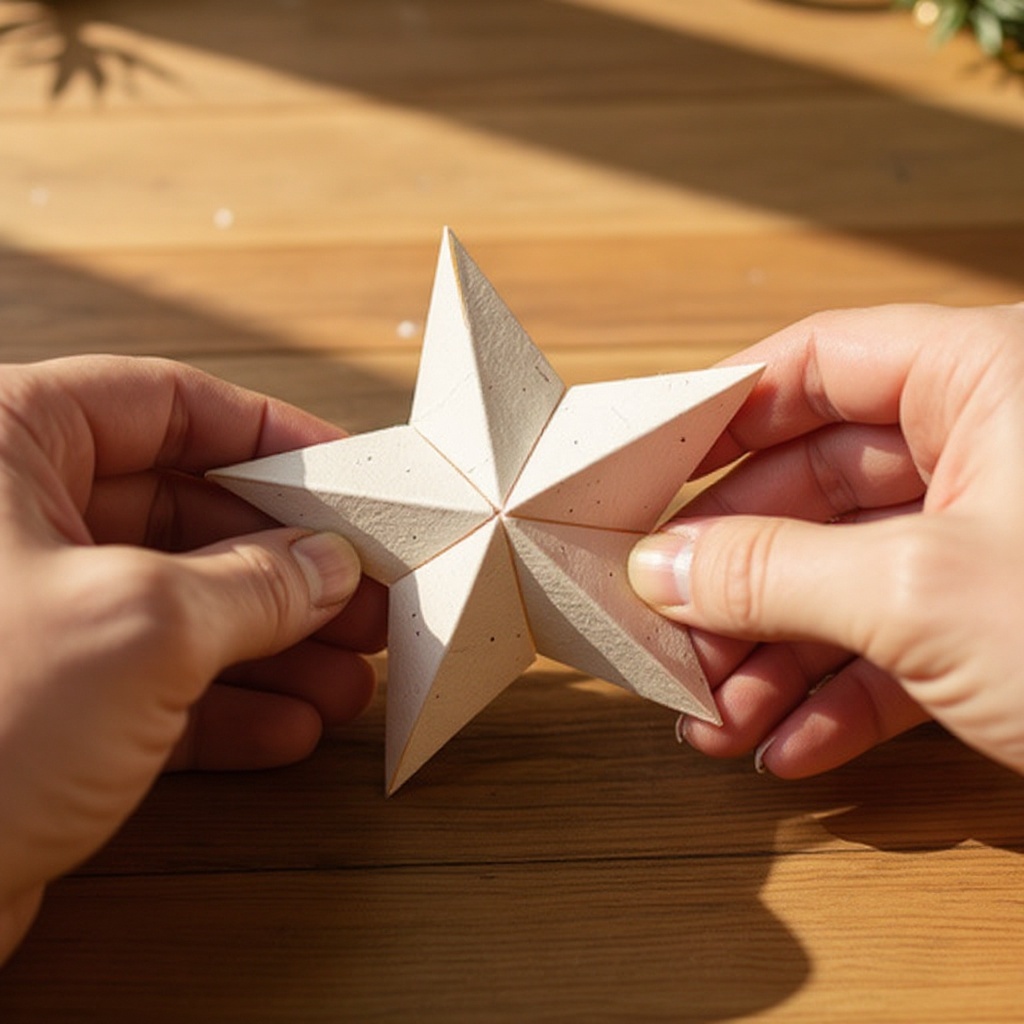
- 11
Repeat step 10 with the remaining three flaps. Apply glue to the inside of each subsequent flap and press it onto its neighbor. This process will gradually build the star's structure, connecting each section to form a complete, three-dimensional star shape.
- 12
Once all flaps are glued together, hold the star gently for a moment to allow the glue to set. You may need to apply slight pressure to ensure a strong bond.
- 13
Allow the glue to dry completely. This is an important step to ensure the star holds its shape and doesn't come apart.
- 14
Once the glue is fully dry, your folded paper star ornament is ready to be hung or displayed! You can gently shape the points if needed.
- 15
For a cleaner look, use a light pencil and erase any visible lines after the glue has dried. This step is optional but enhances the polished appearance of your star.
- 16
Experiment with different types of paper, such as patterned scrapbook paper or metallic cardstock, for varied visual effects. The texture and sheen of the paper can dramatically change the final look of your star.
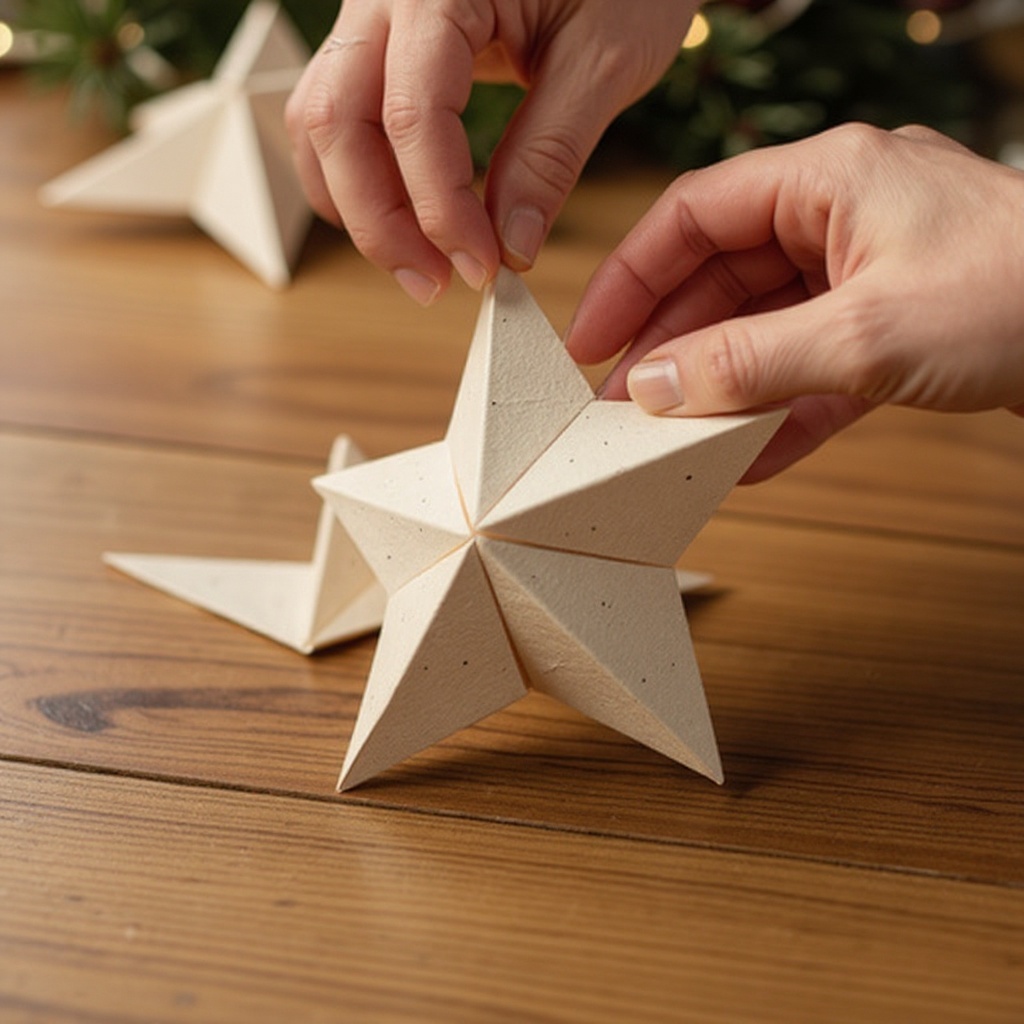
- 17
To create a more impactful 3D effect, make multiple stars and glue them together at their points. You can layer them or arrange them in a cluster for a fuller, more dramatic decoration.
- 18
If using liquid glue, be careful not to use too much, as it can make the paper warp and become difficult to handle. A thin, even application is key.
- 19
Consider adding a small loop of string or ribbon to the top point before the glue fully dries for easy hanging. This ensures your ornament is ready to display as soon as it's finished.
Tips & Troubleshooting
- 1For a cleaner look, use a light pencil and erase any visible lines after the glue has dried. This ensures that the focus remains on the beautiful folds and the paper's color or pattern, rather than any stray markings.
- 2Experiment with different types of paper, such as patterned scrapbook paper, metallic cardstock, or even recycled paper, for varied visual effects. Each paper type will lend a unique texture and aesthetic to your finished star.
- 3To create a more dramatic 3D effect, make multiple stars and glue them together at their points. You can layer them, offset them slightly, or arrange them in a cluster for a fuller, more visually interesting ornament.
- 4If using liquid glue, be careful not to use too much, as it can make the paper warp and become difficult to handle, potentially ruining the crisp folds. A thin, even application with a fine-tip applicator is best.
- 5Consider adding a small loop of string or ribbon to the top point before the glue fully dries for easy hanging. This prevents you from having to pierce the star later and ensures it's ready to display immediately.
- 6For a more intricate look, try using a craft knife to cut out small shapes or patterns from the paper before you begin folding. This adds a delicate, lace-like quality to the finished star.
- 7If you find the folding steps challenging, practice on scrap paper first to get a feel for the creases and how the paper collapses. This will build your confidence and improve your technique for the final project.
- 8Don't be afraid to adjust the grid size. Larger squares will result in bigger stars, perfect for statement decorations, while smaller squares can create delicate, intricate stars suitable for jewelry or detailed embellishments.
Related Activities You Might Enjoy
Frequently Asked Questions
What kind of paper is best for folded paper stars?
Cardstock or thicker construction paper works best for folded paper stars as it holds its shape well and is durable enough to withstand the folding and gluing process without tearing. Lighter paper, like standard printer paper, can be used but may be more fragile and prone to creasing or tearing, especially for younger crafters. For a more decorative touch, consider using patterned scrapbook paper, metallic cardstock, or even specialty papers like vellum for a translucent effect. The weight and texture of the paper will significantly influence the final look and feel of your star ornaments.
How do I make larger or smaller paper stars?
You can easily adjust the size of your paper stars by changing the dimensions of the grid squares you create. For larger stars, use a larger sheet of paper (e.g., A4 or legal size) and draw a grid with bigger squares, such as 1.5-inch or 2-inch squares. For smaller stars, use a smaller sheet of paper or cut down a standard sheet, and draw a grid with smaller squares, like 0.75-inch or 0.5-inch squares. Remember that the number of squares in your grid (e.g., 3x3 for a medium star) will remain the same, but the size of those squares dictates the overall size of the finished ornament.
Can kids make these paper crafts independently?
Yes, with adult supervision for scissor use, children aged 8 and up can typically make these folded paper stars independently. The folding and gluing steps are quite intuitive once demonstrated. Younger children, around ages 6-7, may need more assistance with the precise folding and the application of glue to ensure the star holds together properly. It's a fantastic activity for developing fine motor skills, spatial reasoning, and patience. Consider using a glue stick for younger children as it's less messy than liquid glue.
How can I decorate my paper star ornaments?
There are many ways to decorate your paper star ornaments to make them unique and festive. Once assembled, you can use glitter glue to add sparkle along the edges or points of the star. Small sequins or beads can be glued onto the surface for added texture and shine. You can also use markers or colored pencils to draw intricate designs or patterns on the paper before you start folding. Another option is to use colored paper or patterned scrapbook paper as your base, which provides an instant decorative element. Painting the finished stars is also a possibility, though it requires careful application to avoid warping the paper.
What are the best ways to display my folded paper star ornaments?
Folded paper star ornaments are incredibly versatile for display. You can string them together with twine or ribbon to create a charming garland, perfect for mantels, windows, or doorways. Hang them individually from branches of a Christmas tree, a decorative wreath, or even from the ceiling for a whimsical touch. They also make excellent embellishments for gift wrapping, adding a personal and handmade element to presents. For a more elaborate display, consider creating a mobile by attaching several stars at different lengths to a hoop or frame. They can also be used as table scatter for parties or as part of a larger centerpiece arrangement.
How do I store my folded paper star ornaments?
To ensure your folded paper star ornaments last for many seasons, proper storage is key. The best method is to store them flat in a rigid container, such as a cardboard box or a plastic storage bin. Avoid stacking too many on top of each other, as this can cause them to lose their shape or get crushed. If you have particularly delicate stars, you can place a layer of acid-free tissue paper between them. Store the container in a cool, dry place away from direct sunlight and moisture, which can cause the paper to fade or weaken. This will help maintain their crisp folds and vibrant colors for years to come.
What Next?
Once your beautiful folded paper stars are complete, the possibilities for display are endless! String them together to create a dazzling garland, hang them individually from your Christmas tree, or use them as unique gift toppers. For a truly spectacular effect, consider creating a collection in various sizes and colors to form a stunning mobile. Store them flat in a box between seasons to preserve their shape and beauty for years to come. As a next step, explore more complex origami shapes or try incorporating these stars into larger papercraft projects for even more creative expression.
Free: 10 Paper Crafts Anyone Can Make in 5 Minutes
Get our beginner guide + new craft ideas weekly.
No spam. Unsubscribe anytime.
Did you complete this activity?