How to Create a Magazine Picture Story Collage — Easy Step-by-Step Guide
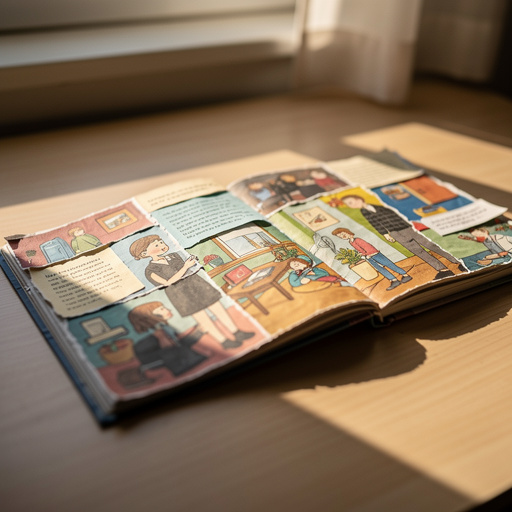
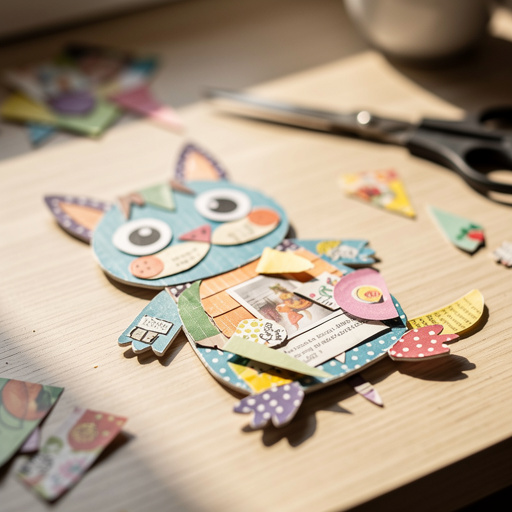
Unleash your imagination by creating a unique story collage from magazine clippings. A fun and screen-free way for families to tell tales visually. This project is perfect for all skill levels and encourages creative storytelling through imagery.
Quick answer
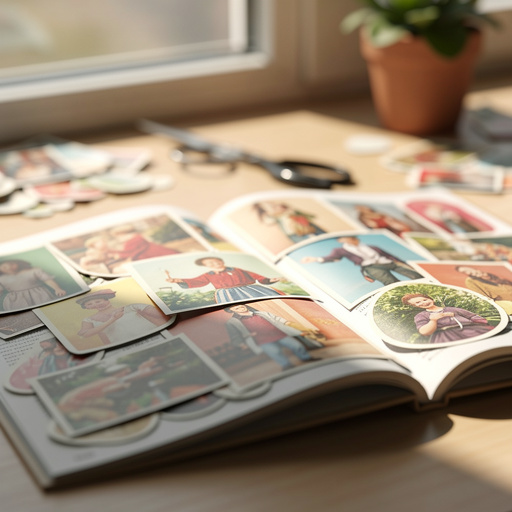
To make a magazine picture story collage, you need old magazines or catalogs (at least 3-5), child-safe scissors (1 pair), glue sticks or liquid white glue (1-2), and construction paper or cardstock (2-3 sheets). This beginner-friendly activity takes about 30-60 minutes. Start by finding interesting images that spark your imagination. This project has 15 steps and is perfect for families and kids aged 6+.
What you need
Shop on Amazon · As an Amazon Associate we earn from qualifying purchases. Links above are affiliate links — we may earn a commission at no extra cost to you.
Dive into a world of visual storytelling with the Magazine Picture Story Collage! This delightful paper craft project is a fantastic way to repurpose old magazines and unleash your inner artist. It’s a screen-free activity that fosters imagination, creativity, and narrative skills, making it an ideal choice for family bonding time or a solo creative escape. Whether you're looking for a way to entertain kids or simply want to explore a unique artistic medium, this collage offers endless possibilities for creating captivating visual tales.
On this page
Step-by-Step Instructions
- 1
Gather a variety of old magazines or catalogs. Look for publications with diverse content, such as lifestyle magazines, travel brochures, newspapers, or even old textbooks, as they will offer a wider range of images and text.
- 2
Flip through the magazines and look for interesting pictures, words, or patterns that catch your eye. Don't be too selective at this stage; simply collect anything that sparks your curiosity, whether it's a vibrant color, an intriguing face, a compelling phrase, or an unusual texture.
- 3
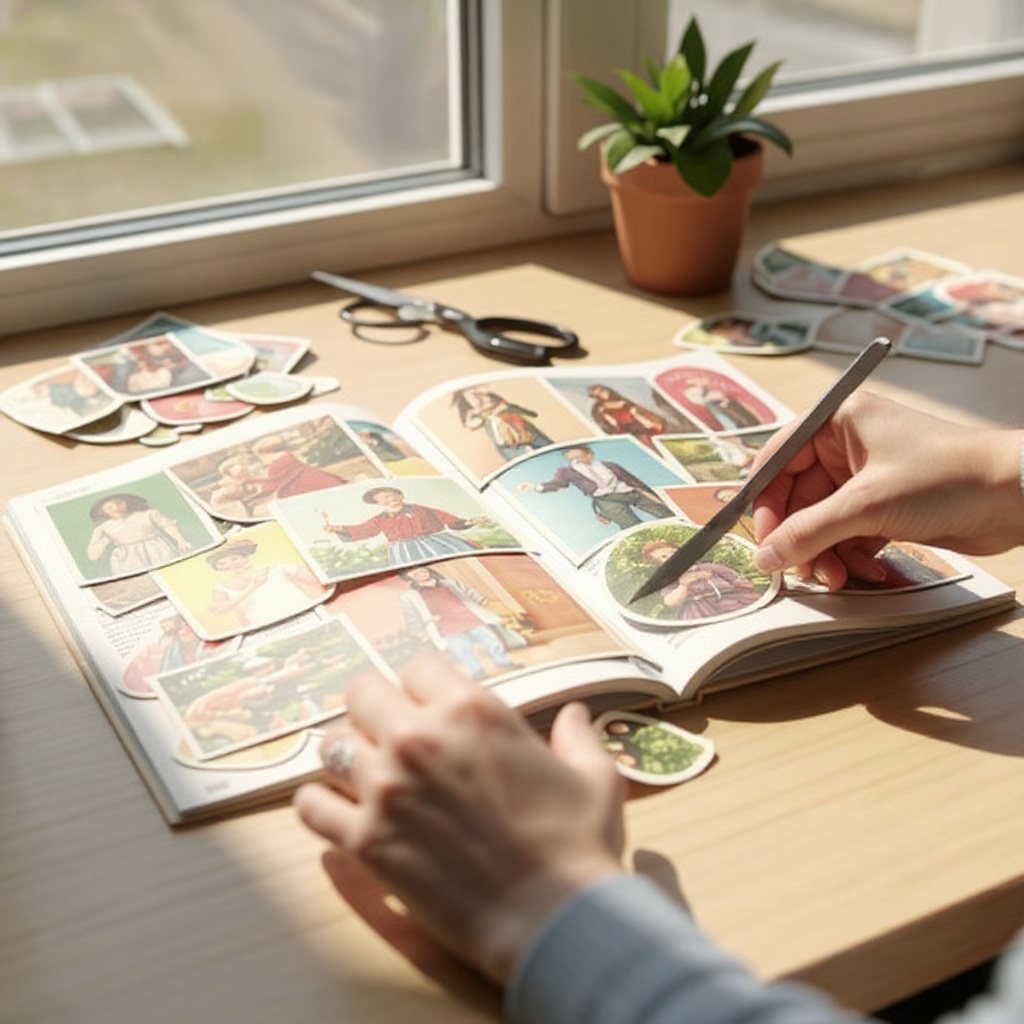
Begin cutting out the images and words you like using your scissors. Aim for a variety of sizes and shapes, and don't be afraid to cut around the edges of the subject matter or to crop images to focus on specific elements. This initial cutting phase is about exploration and discovery, so enjoy the process of finding visual treasures.
- 4
Don't worry about them fitting together perfectly at this stage; just collect what inspires you. The goal is to amass a diverse collection of elements that you can later arrange to tell a story. Think of this as gathering your building blocks for a visual narrative.
- 5
Select a piece of construction paper or cardstock as your background. Consider the mood you want to create; a dark background might lend itself to a mysterious story, while a bright one could be perfect for a cheerful tale. You can also layer multiple pieces of paper for added depth.
- 6
Begin arranging your cut-out pieces on the background paper without gluing them down. This is where the storytelling begins to take shape as you experiment with different placements and combinations of images and text.
- 7
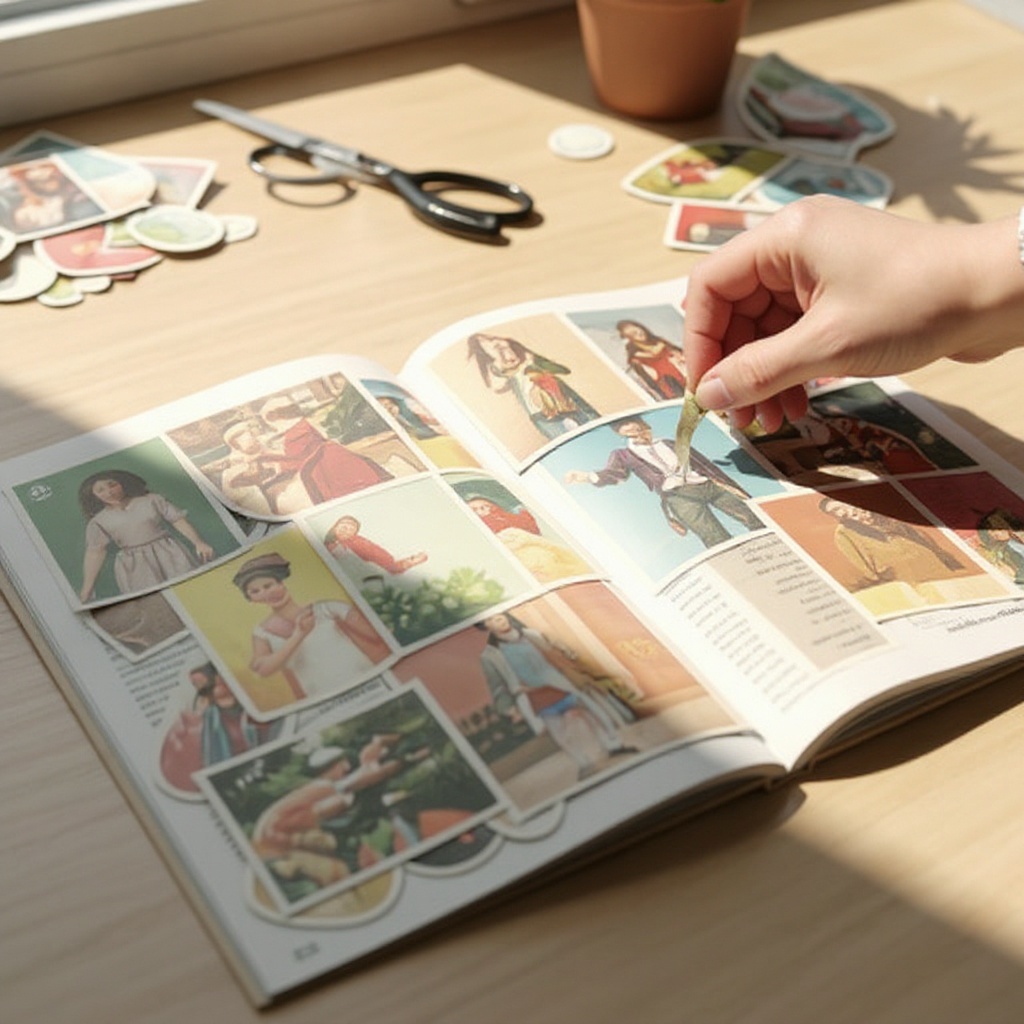
Experiment with different placements to create a scene or tell a story. Try placing characters in relation to each other, establishing a setting, or creating a sense of action or emotion. Move the pieces around until you feel a narrative emerging.
- 8
Once you're happy with the arrangement and feel the story is coming together, begin gluing the pieces down. Start with the background elements and work your way forward, layering pieces as needed to create depth and visual interest.
- 9
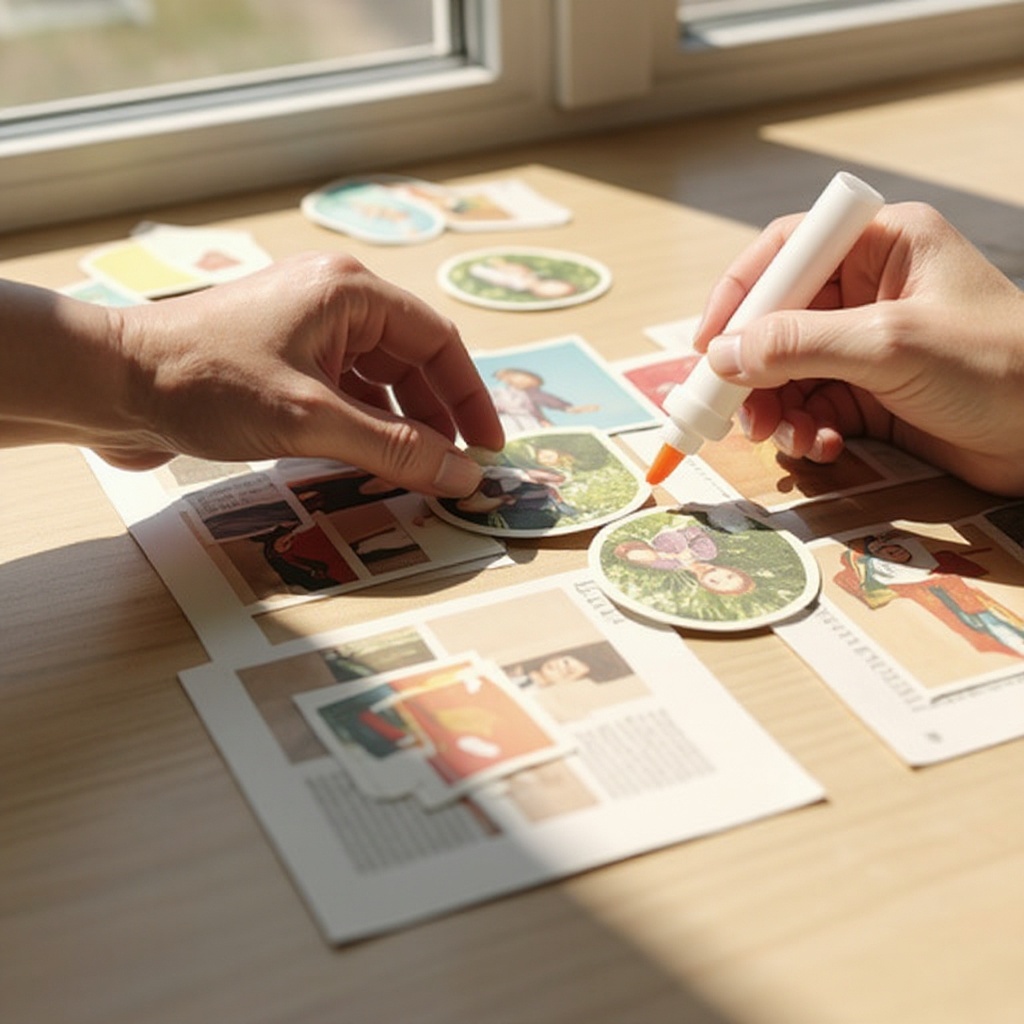
Apply glue to the back of each piece and press it firmly onto the background. Ensure that the edges are well-glued to prevent them from peeling up later. If using liquid glue, spread a thin, even layer to avoid excess glue seeping out.
- 10
Continue gluing until all your chosen pieces are securely attached, filling the page or creating your desired composition. Take your time and ensure each element is firmly adhered to the background.
- 11
Step back and evaluate your collage. Are there any gaps you'd like to fill? Do any elements need to be adjusted or added to enhance the story? This is your chance to refine the narrative and visual flow.
- 12
Consider adding smaller details or connecting elements. You might cut thin strips of paper to create borders, add small shapes to fill empty spaces, or use words from the magazines to create captions or dialogue.
- 13
If you're using liquid glue, place a piece of scrap paper underneath your collage while you work to catch any drips or excess glue. This will protect your work surface and prevent accidental sticking.
- 14
Allow the glue to dry completely. This is an important step to ensure the longevity of your collage and to prevent smudging or shifting of the pieces.
- 15
Once dry, you can optionally apply a clear sealant or spray varnish over the entire collage. This will protect the paper, enhance the colors, and give your artwork a finished look. Ensure you do this in a well-ventilated area.
Tips & Troubleshooting
- 1If you're struggling to find specific images, try looking for colors or textures that evoke a certain feeling or theme. For example, blues and greens might suggest water or nature, while reds and oranges could imply warmth or excitement, even if the literal image isn't what you initially envisioned.
- 2Encourage kids to think about a story before they start cutting. What characters, settings, or events do they want to include? Asking guiding questions like 'Who is in your story?' or 'Where does it take place?' can help them focus their search and create a more cohesive narrative.
- 3Don't be afraid to overlap pieces or cut them into smaller shapes to fit your design. Overlapping can create depth and a sense of layering, while cutting pieces into new shapes allows for greater flexibility in composition and can help elements blend together seamlessly.
- 4Consider using different colored backgrounds to change the mood of your collage. A black background can make bright colors pop and create a dramatic effect, while a white or light-colored background can offer a more subtle and airy feel, allowing the collage elements to take center stage.
- 5If using liquid glue, place a piece of scrap paper underneath your collage to catch any drips. This simple step can save you a lot of cleanup and prevent your work surface from becoming sticky and unusable.
- 6Think about the flow of your story. Guide the viewer's eye across the collage using lines, colors, or the placement of key elements. You can create a sense of movement or focus attention on specific parts of your narrative.
- 7Don't be afraid to experiment with negative space. Sometimes, leaving areas of the background blank can emphasize the elements you've chosen and give your collage a more balanced and intentional look.
- 8Consider adding text from the magazines to enhance your story. Headlines, snippets of dialogue, or even single words can add meaning, humor, or context to your visual narrative, making it more engaging for the viewer.
Related Activities You Might Enjoy
Frequently Asked Questions
What are collage crafts?
Collage crafts are a versatile and engaging art form that involves assembling and adhering various materials, such as paper, fabric, photographs, or found objects, onto a surface to create a new image or design. The term 'collage' comes from the French word 'coller,' meaning 'to glue.' This technique allows for immense creativity, enabling artists to combine disparate elements into a cohesive and often surprising whole. It's a fantastic way to express ideas, tell stories, or simply explore textures and colors, making it accessible and enjoyable for individuals of all ages and skill levels.
What materials can I use for a magazine collage?
Beyond standard old magazines and catalogs, a wealth of materials can be incorporated into a magazine collage to add texture, depth, and visual interest. Consider using old newspapers for their unique print and varied tones, or repurpose greeting cards with their often vibrant and thematic imagery. Fabric scraps can introduce tactile qualities, while personal photographs can add a sentimental layer. Even natural items like pressed leaves, small twigs, or dried flower petals can be incorporated for a mixed-media approach, transforming a simple magazine collage into a rich tapestry of elements.
How do I make a collage for kids?
Making a collage for kids is all about fostering their imagination and making the process fun and accessible. For younger children, focus on simple themes and provide a wide array of colorful and engaging images that are easy to cut out. Let them lead the selection process, encouraging them to choose what they like without too much direction. Gently guide them on arrangement and gluing techniques, emphasizing that there's no 'right' or 'wrong' way to create. The key is to keep the experience process-oriented, celebrating their creativity and effort rather than focusing solely on the final product.
What is the difference between collage and mosaic?
While both collage and mosaic are art forms that involve assembling smaller pieces to create a larger image, they differ significantly in their materials and techniques. Collage typically utilizes flat materials like paper, fabric, or photographs, which are glued onto a surface. The emphasis is often on layering, texture, and the juxtaposition of different images and words. In contrast, a mosaic uses small, often irregular pieces of hard materials such as tile, glass, stone, or beads. These pieces are typically set into a binder like grout or adhesive, creating a surface with a distinct texture and often a more rigid structure.
How can I make my magazine collage tell a story?
To make your magazine collage tell a story, begin by conceptualizing a narrative, even a simple one. Think about characters, a setting, a problem, and a resolution. Then, actively search for images and text snippets that represent these elements. For instance, a picture of a person looking out a window could represent longing, while a snippet of text about a journey could signify adventure. Arrange these elements on your background to guide the viewer's eye through the story's progression. Overlapping images can create depth and connection, while the placement of text can act as dialogue or narration, transforming a collection of clippings into a compelling visual tale.
What are some advanced techniques for magazine collages?
For those looking to elevate their magazine collage skills, several advanced techniques can be explored. Consider using a craft knife for more precise and intricate cuts, allowing you to isolate specific details or create delicate shapes. Layering different types of paper, such as thin magazine pages over thicker cardstock, can add significant depth and dimension. You can also experiment with tearing paper for a more organic, textured edge, or even incorporate elements like paint, ink, or stencils to blend the collage with other art mediums. Finally, applying a sealant or varnish can not only protect your work but also alter the sheen and overall finish.
What Next?
Congratulations on creating your unique magazine picture story collage! This project is a wonderful way to express yourself and can be adapted in countless ways. Consider creating a series of collages based on different themes, or try incorporating other found objects for a mixed-media masterpiece. Once complete, your collage can be framed and displayed as a piece of art, or kept in a portfolio to document your creative journey. This activity is a gateway to many other paper crafts, so don't hesitate to explore further!
Free: 10 Paper Crafts Anyone Can Make in 5 Minutes
Get our beginner guide + new craft ideas weekly.
No spam. Unsubscribe anytime.
Did you complete this activity?