How to Make Adorable Paper Bag Animal Puppets — Easy Step-by-Step Guide
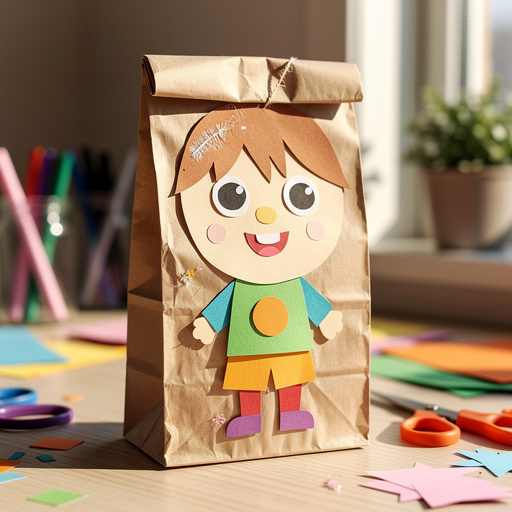
Transform simple paper bags into a menagerie of cute animal puppets! This easy craft is perfect for imaginative play and screen-free fun.
Quick answer
To make paper bag animal puppets, you need small brown paper lunch bags (1 per puppet), construction paper in various colors, child-safe scissors, non-toxic glue sticks or liquid glue, and washable markers or crayons. Optional additions include googly eyes, yarn, and pipe cleaners. The process involves cutting out animal features, gluing them onto a prepared paper bag, and adding details. This beginner-friendly activity has 15 steps and is perfect for kids aged 4+ with adult supervision, taking approximately 20-30 minutes per puppet.
What you need
Shop on Amazon · As an Amazon Associate we earn from qualifying purchases. Links above are affiliate links — we may earn a commission at no extra cost to you.
Unleash your creativity and bring a whole cast of characters to life with this delightful paper bag animal puppet craft! This project is a fantastic way to engage young minds, encourage imaginative storytelling, and provide hours of screen-free entertainment. It’s incredibly accessible, requiring only basic household supplies, making it an ideal activity for rainy days, classroom parties, or just a fun afternoon at home. Whether you're a seasoned crafter or a complete beginner, these adorable puppets are sure to bring smiles and spark endless adventures.
On this page
Step-by-Step Instructions
- 1
Begin by selecting your paper bag and orienting it so the opening is at the top and the folded bottom flap is facing you.
- 2
To create the puppet's head, carefully fold the bottom flap of the paper bag upwards, creasing it firmly to create a distinct head shape. This folded section will serve as the primary area for facial features and ears.
- 3
Now, it's time to plan your animal! Decide which creature you want to bring to life – a lion, a bear, a cat, a dog, or even a fantastical beast. Sketch out the basic shapes of its features on construction paper using a pencil.
- 4
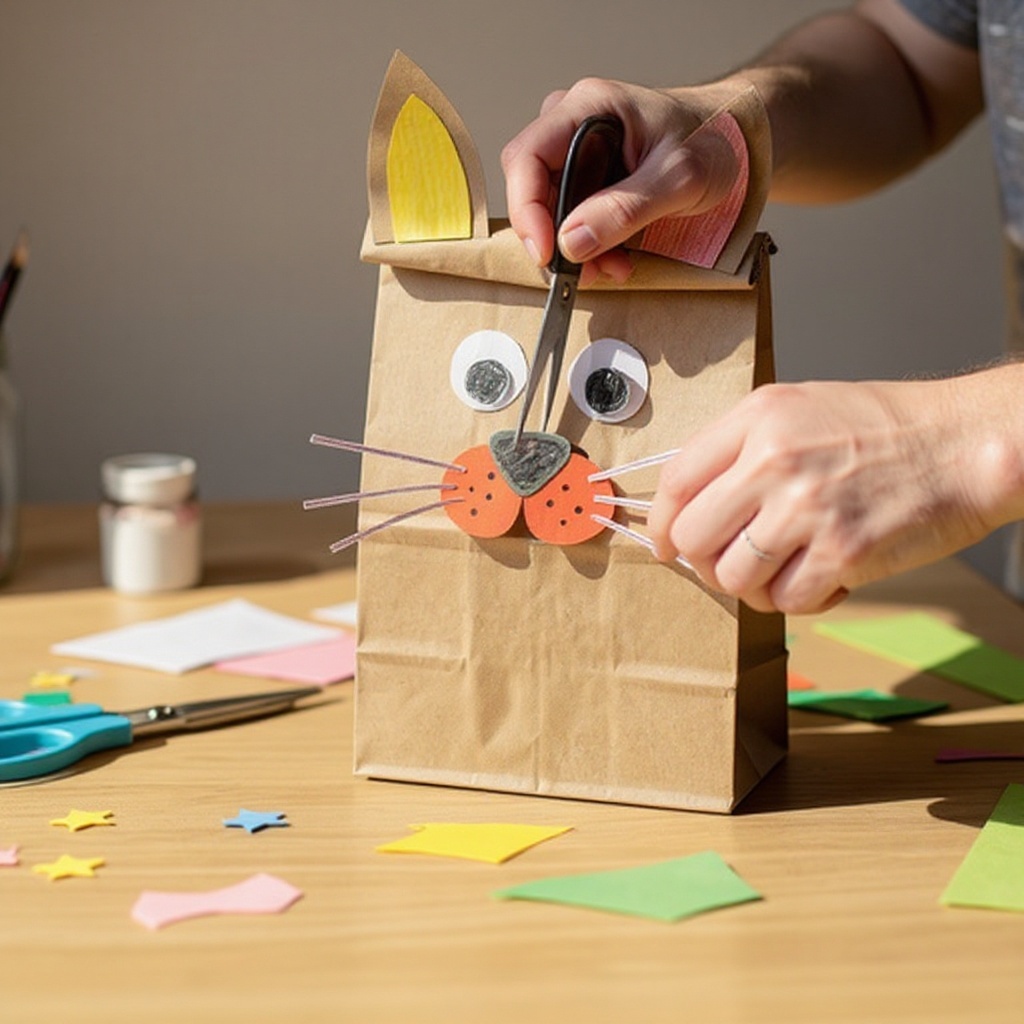
Using your child-safe scissors, carefully cut out the shapes you've sketched for your chosen animal's features. This might include ears, a snout, eyes, a mane, wings, a tail, or any other defining characteristics.
- 5
Apply a generous amount of glue stick or liquid glue to the back of the folded flap you created in step 2. Press this flap down firmly onto the main body of the paper bag to secure it and establish the puppet's head.
- 6
Begin attaching the cut-out features to the head and body of the paper bag using glue. For example, if you're making a bear, glue on the ears to the top of the folded flap, and perhaps a snout to the front.
- 7
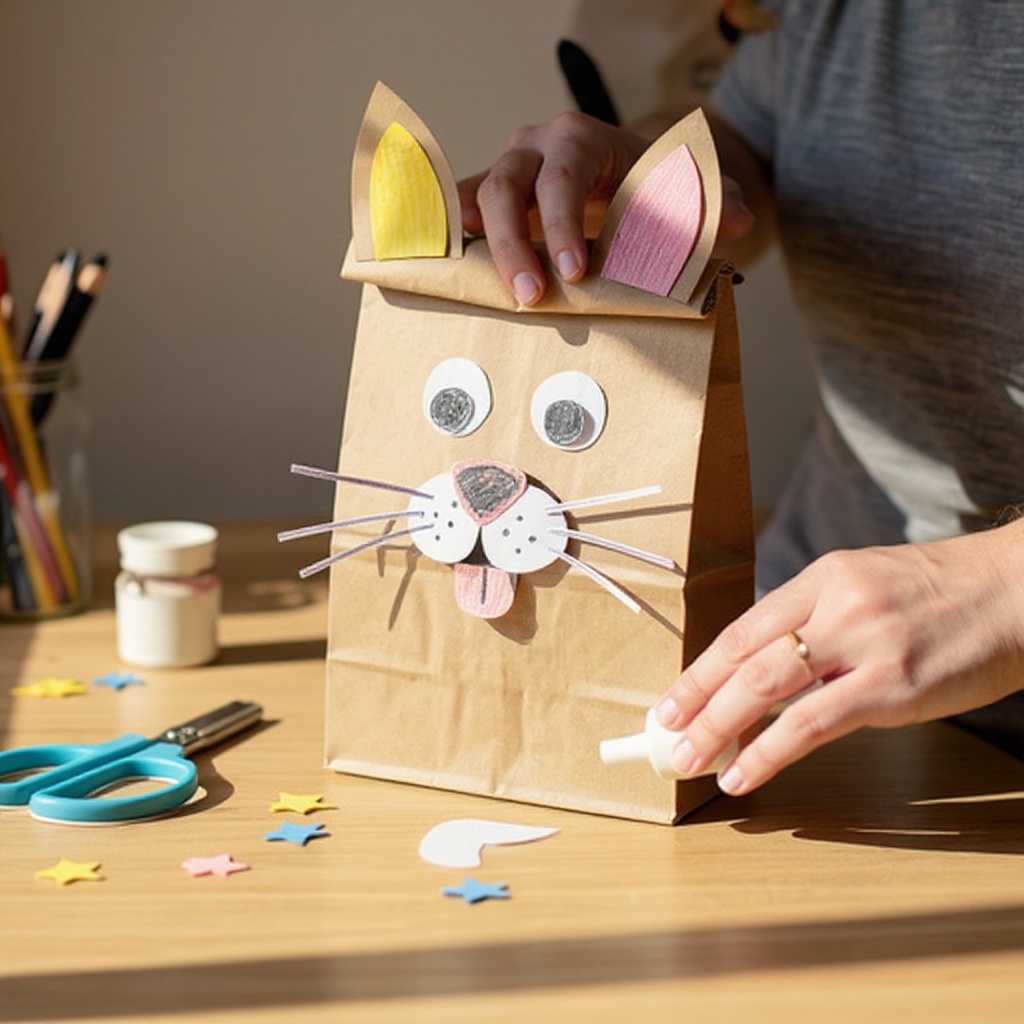
If your animal has prominent ears, such as a rabbit or a dog, carefully glue them to the top of the folded flap, ensuring they are positioned symmetrically for a balanced look.
- 8
Now, bring your animal to life by drawing its facial features with washable markers or crayons. This is where you'll add expressive eyes, a nose, a mouth, and any other details that give your puppet personality.
- 9
Add details like stripes for a tiger, spots for a leopard, or textured lines to mimic fur patterns using your markers or crayons. This step allows for immense creativity and personalization.
- 10
If you're using googly eyes, apply a small amount of glue to the back of each eye and press them firmly onto the puppet's face where you want them to be. Ensure they are placed at an appropriate distance for the animal's expression.
- 11
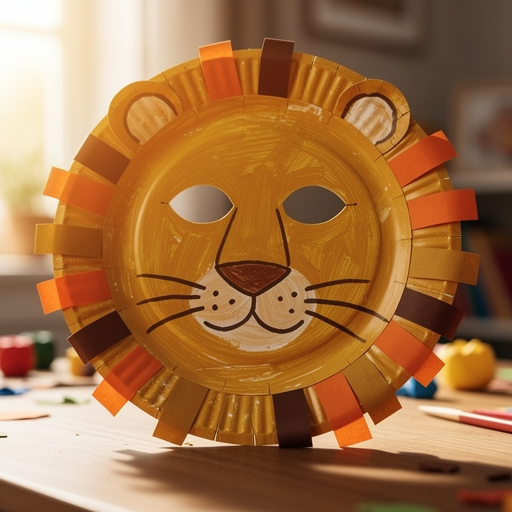
For animals with hair, such as a lion's mane or a fluffy tail, cut strands of yarn to your desired length. Apply glue to the area where you want to attach the yarn and press the strands firmly into the glue.
- 12
If you're incorporating pipe cleaners, bend them into the desired shapes for whiskers, antennae, or even legs. Apply a small amount of glue to the end of the pipe cleaner and insert it into the paper bag or glue it securely to the surface.
- 13
Consider adding extra texture or detail with felt scraps. You can cut out shapes for a cat's nose, a bird's beak, or a dragon's scales and glue them onto your puppet for a more tactile and visually interesting result.
- 14
For a sturdier puppet that can withstand more enthusiastic play, consider gluing a piece of cardstock inside the paper bag. This reinforces the structure and prevents the bag from tearing easily.
- 15
Once all the glue and marker work is complete, allow your paper bag animal puppets to dry completely. This is crucial to prevent smudging and ensure all the attached elements are secure before you begin playing.
- 16
Test the movement of your puppet by gently opening and closing the bag. You can insert your hand into the opening to make the puppet talk and move, bringing your creation to life!
- 17
Encourage children to experiment with different facial expressions by drawing various mouth shapes or adding eyebrows. This adds another layer of personality to their creations.
- 18
If you're making multiple puppets, consider creating a simple backdrop or stage from another piece of cardboard or a larger paper bag to enhance the puppet show experience.
Tips & Troubleshooting
- 1Don't over-glue! A little goes a long way to prevent the paper from becoming soggy and potentially tearing. Use glue sticks for most applications, as they offer more control and less moisture than liquid glue.
- 2Encourage kids to invent their own animal characters by mixing and matching features from different animals. This fosters creativity and allows them to explore unique and imaginative creatures beyond traditional zoo animals.
- 3For a sturdier puppet, you can glue a piece of cardstock inside the bag before you start decorating. This provides a reinforced structure that can withstand more vigorous play and makes the puppet last longer.
- 4Let children choose their favorite animals or create imaginary creatures for endless possibilities. This ownership over their creation boosts engagement and pride in their finished puppet.
- 5Pre-cut some basic shapes like circles for eyes, triangles for ears, or ovals for snouts to help younger children who may struggle with cutting. This allows them to participate fully in the decorating process.
- 6Consider using different types of paper for added texture. Corrugated cardboard can be used for a lion's mane, or textured construction paper can mimic scales or fur.
- 7Once the puppets are dry, you can reinforce the opening of the bag by folding over the edge and gluing it down. This creates a more comfortable grip for the puppeteer and adds durability.
- 8Talk about the animals you are creating! Discuss their habitats, diets, and sounds. This adds an educational element to the craft and deepens the child's understanding of the animal kingdom.
Related Activities You Might Enjoy
Frequently Asked Questions
What are the easiest paper bag crafts for kids?
Paper bag animal puppets are wonderfully easy and incredibly engaging for children. They require minimal materials and allow for a vast amount of creative freedom, making them a top choice for simple crafts. Other accessible paper bag crafts include transforming them into simple gift bags by decorating them with stickers and ribbons, creating treat holders for parties by folding and gluing them into fun shapes, or even using them as a basic drawing surface for spontaneous art sessions. The versatility of the paper bag makes it a fantastic canvas for a multitude of beginner-friendly projects.
How do you make paper bag puppets with simple materials?
You only need basic supplies like paper bags, construction paper scraps, child-safe scissors, and non-toxic glue. Washable markers or crayons are essential for adding the finishing touches and bringing your characters to life. This makes them an incredibly accessible and fun craft for any home, as these items are commonly found in most households. The simplicity of the materials ensures that the focus remains on creativity and imagination, rather than complicated tools or expensive supplies.
What age group is best for paper bag crafts?
Paper bag crafts are fantastic for a wide age range, typically from 3 years old up to 10. Younger children, around 3-5 years old, can focus on the enjoyable task of gluing pre-cut shapes onto the bag, with adult assistance for cutting. As children get older, around 6-10 years old, they can take on more responsibility, cutting their own designs, drawing intricate details, and even coming up with more complex character ideas. This adaptability makes it a craft that can grow with a child.
Can paper bag crafts be used for learning?
Absolutely! Paper bag crafts, especially animal puppets, are a brilliant way to combine creativity with educational play. They can be used to teach children about different animals, their habitats, and their unique characteristics. Storytelling with puppets is a powerful tool for developing language skills, sequencing, and comprehension. You can even introduce simple concepts of biology or geography by discussing where the animals live. If you're feeling adventurous, you can even add a few stitches to reinforce parts of the puppet, introducing basic sewing concepts.
What are some creative ideas for paper bag animal puppets?
Beyond the standard zoo animals, let your imagination run wild! Create fantastical creatures like dragons with colorful scales and fiery breath drawn with markers, or friendly monsters with googly eyes and yarn hair. You can also make farm animals like cows and pigs, or even woodland creatures like foxes and owls. Consider making puppets based on characters from favorite books or movies, or encourage children to invent their own unique species with a mix of features. The possibilities are truly endless, limited only by your creativity.
How can I make my paper bag animal puppets more durable?
To enhance the durability of your paper bag animal puppets, consider reinforcing the interior of the bag with a piece of cardstock glued to the inside. This provides a sturdier base and prevents the bag from tearing during enthusiastic play. Additionally, you can reinforce the opening of the bag by folding over the top edge and gluing it down, creating a more comfortable and robust grip for the puppeteer. Using a strong, non-toxic liquid glue for attaching key features like ears or snouts can also ensure they withstand more handling than glue stick alone.
What Next?
Once your paper bag animal puppets are complete and dry, the real fun begins! Encourage dramatic play, put on a puppet show, or use them as characters in your own stories. For variations, consider using different sized paper bags to create a whole family of animals, or even explore different textures of paper for unique effects. You can store your finished puppets by standing them up on a shelf or in a designated craft bin. For your next project, try making paper bag monsters, robots, or even famous historical figures!
Free: 10 Paper Crafts Anyone Can Make in 5 Minutes
Get our beginner guide + new craft ideas weekly.
No spam. Unsubscribe anytime.
Did you complete this activity?