How to Create Simple Shape Acrylic Paintings — Easy Step-by-Step Guide
Discover the joy of painting with this beginner-friendly guide to creating vibrant acrylic paintings using simple shapes. A fun, screen-free activity for the whole family!
Quick answer
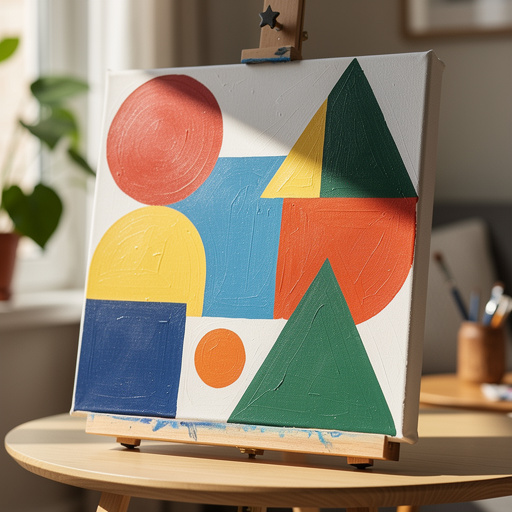
To make simple shape acrylic paintings, you need acrylic paints, brushes, canvas boards, and water. This easy activity takes about 45 minutes and has 8 steps, perfect for beginners and families looking for screen-free fun. You'll also need a palette, paper towels, and optionally a pencil for sketching. Gather your supplies and get ready to create colorful abstract art!
What you need
Shop on Amazon · As an Amazon Associate we earn from qualifying purchases. Links above are affiliate links — we may earn a commission at no extra cost to you.
Embark on a creative journey with this simple shape acrylic painting project, designed to be accessible and enjoyable for everyone, regardless of artistic experience. This activity is a fantastic way to unplug and engage in a tactile, visually rewarding process. It's perfect for families looking for quality screen-free time, individuals seeking a relaxing hobby, or anyone wanting to explore the expressive potential of acrylics. The beauty of this project lies in its simplicity, allowing you to focus on color, form, and the pure joy of creation.
On this page
Step-by-Step Instructions
- 1
Gather all your materials in a well-ventilated area. Protect your workspace with newspaper or a drop cloth to prevent accidental spills and stains, and wear an apron or old clothes to keep your attire clean. Ensure you have enough space to comfortably move your arms and arrange your supplies.
- 2
Squeeze a small amount of each desired paint color onto your palette or disposable plate, ensuring you don't overload it. It's better to add more paint as needed than to waste excess, and this also helps prevent colors from mixing unintentionally on the palette.
- 3
Prepare your brush by dipping it into the water cup, then wiping off the excess water on a paper towel until it's just damp; this helps the paint flow smoothly and prevents it from becoming too watery, which can lead to streaky coverage.
- 4
Choose a canvas board and decide on your composition. You can lightly sketch simple shapes like circles, squares, or triangles with a pencil if you wish, or you can confidently paint freehand, letting the shapes emerge organically. Consider the overall balance and how the shapes will interact.
- 5
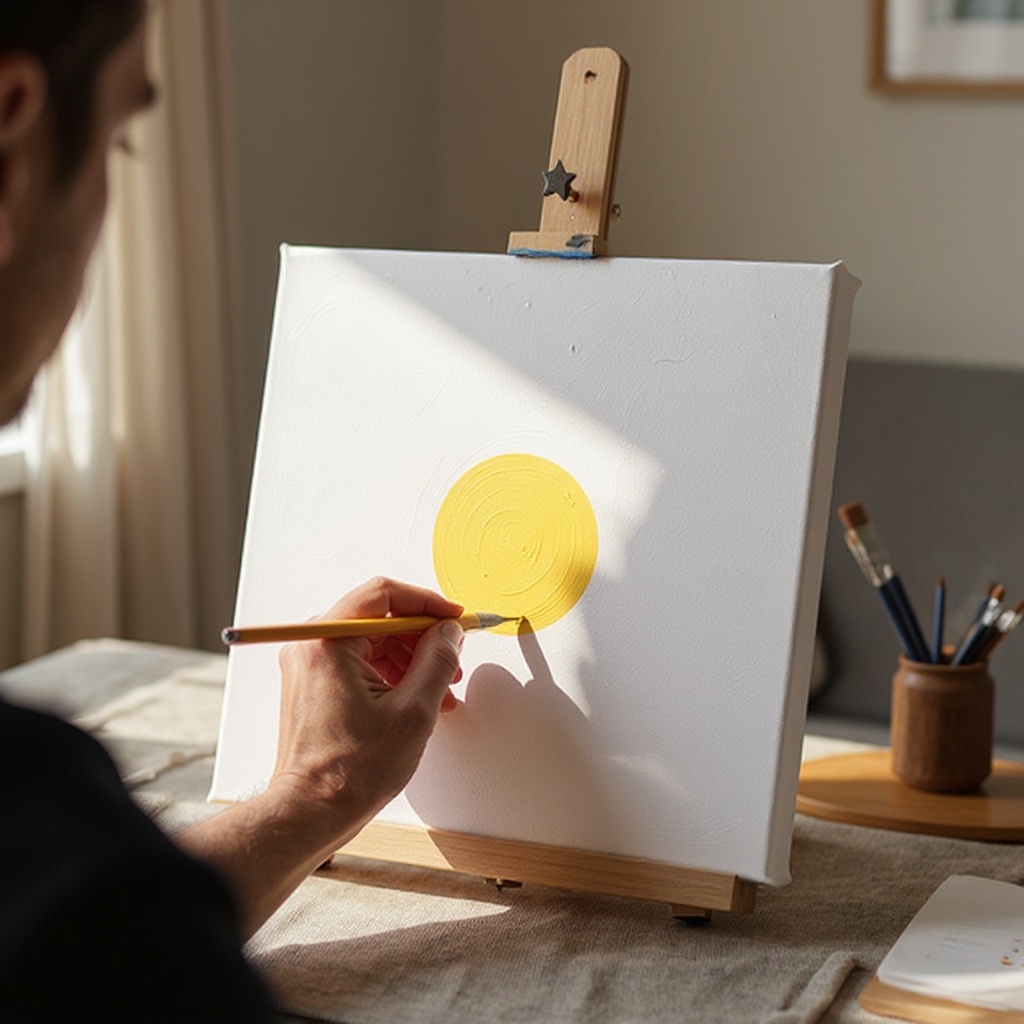
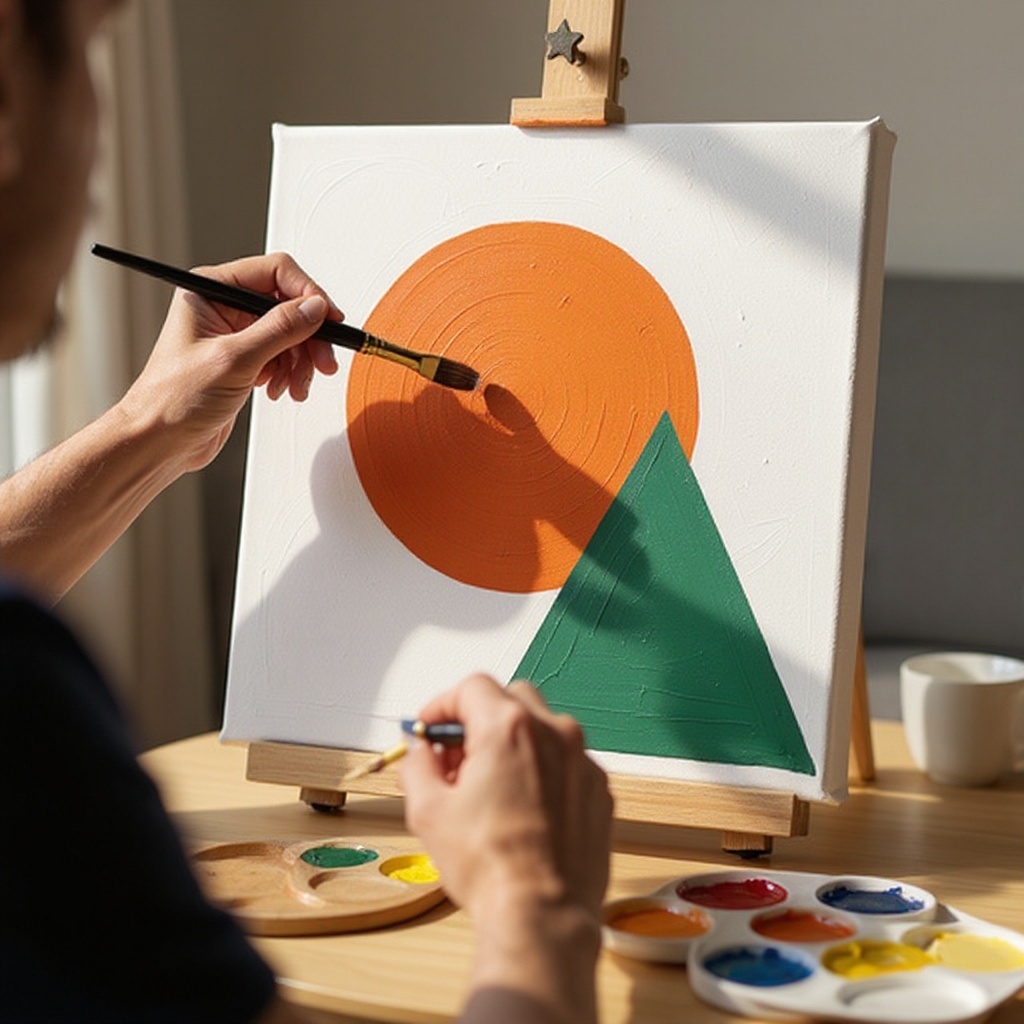
Dip your brush into your first paint color and begin filling in a shape, starting with larger shapes first to establish the main elements of your composition. Apply the paint evenly, ensuring good coverage by using smooth, consistent strokes.
- 6
Rinse your brush thoroughly in the water cup, swirling it to remove all traces of the previous color, and then dry it on a paper towel before switching to a new color or painting another shape. This step is crucial for maintaining clean color transitions and preventing muddying of your paints.
- 7
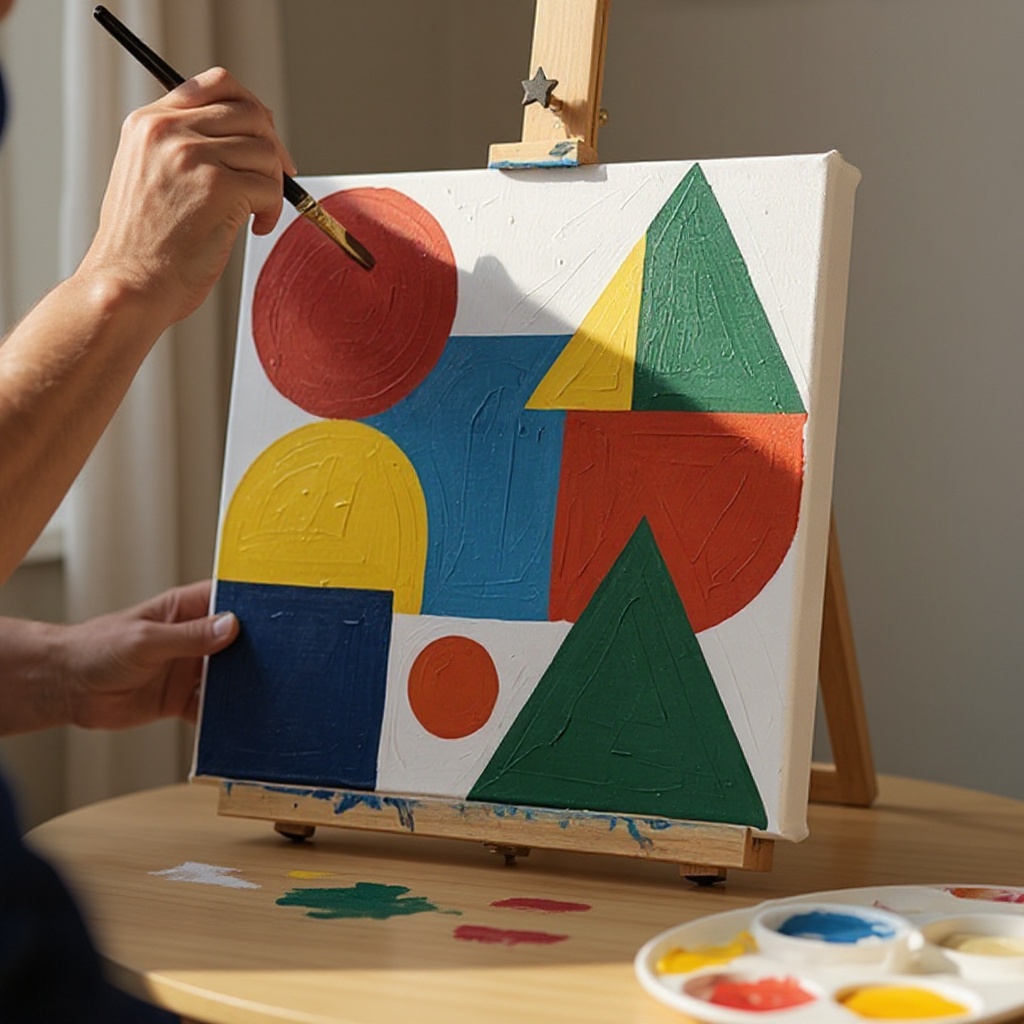
Continue adding more shapes and colors to your canvas, layering and overlapping as desired to create depth and visual interest. Experiment with different brush strokes, such as dabbing, sweeping, or short dashes, to add texture and character. Don't be afraid to let shapes overlap; this creates a sense of dimension.
- 8
Once you are happy with your composition and all shapes are filled, allow the painting to dry completely. This may take 30-60 minutes depending on the thickness of the paint application and the humidity of the room. Avoid touching the wet paint to prevent smudges.
- 9
Evaluate your painting once dry. If you notice any areas that need touching up, such as missed spots or uneven coverage, you can carefully apply another thin layer of paint. This is also a good time to refine any edges or add subtle highlights.
- 10
Consider adding a background color or further details to enhance your composition. This could involve painting a solid background behind your shapes or adding smaller accent shapes to create more visual complexity. Think about how the background will interact with your foreground elements.
- 11
Clean your brushes and workspace thoroughly. It's important to clean your brushes immediately after use to prevent acrylic paint from drying and hardening in the bristles, which can ruin them. Rinse them with water and a little soap until the water runs clear.
- 12
Allow the painting to cure fully. While acrylics dry to the touch relatively quickly, they continue to harden over a period of days. Avoid touching the surface excessively during this curing time to prevent damage and ensure the longevity of your artwork.
Tips & Troubleshooting
- 1If your paint is too thick and difficult to spread, add a tiny bit of water to the brush before dipping into the paint, not directly into the paint pot. Adding water directly to the paint can dilute its pigment and binder, potentially affecting its adhesion and vibrancy, so a damp brush is the preferred method for thinning.
- 2Don't be afraid to mix colors on your palette or even directly on the canvas for interesting new shades and gradients. Experimenting with color mixing is a fundamental part of acrylic painting and can lead to unique and surprising results, allowing you to achieve a wider spectrum of hues.
- 3For cleaner lines between shapes, let one color dry slightly before painting the adjacent shape. This prevents the colors from bleeding into each other, ensuring crisp, defined edges for a more polished look. You can speed up drying with a hairdryer on a cool setting.
- 4Try using the edge of a flat brush to create sharp, straight lines for geometric shapes. Holding the brush at an angle and using a steady hand can help you achieve precise, clean lines that enhance the geometric quality of your design. Practice this technique on scrap paper first.
- 5Experiment with different brush pressures and strokes to create varied textures. A light touch might create a softer effect, while a firmer press can leave visible bristle marks, adding visual interest to your shapes. Explore stippling, scumbling, and dry brushing for diverse textures.
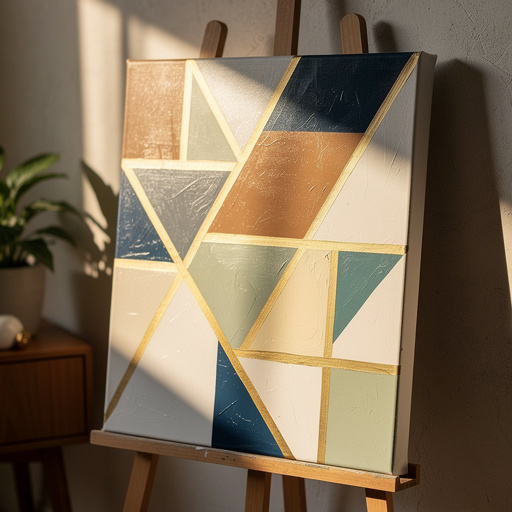
- 6Consider using masking tape to create perfectly straight lines or sharp-edged shapes. Apply the tape firmly to the canvas, paint your shape, and then carefully remove the tape once the paint is dry to the touch for incredibly clean edges. Ensure the tape is pressed down well to prevent paint seepage.
- 7Layering colors can create depth and luminosity. For example, painting a lighter color over a darker one can make the top color pop, or using translucent glazes can create subtle shifts in hue. This technique adds a professional finish and visual richness to your work.
- 8Don't be afraid to make mistakes; they are part of the learning process. Acrylic paint is forgiving, and many 'mistakes' can be painted over once dry, offering an opportunity to refine your composition or try a new approach. Embrace the happy accidents that can lead to unexpected artistic discoveries.
Related Activities You Might Enjoy
Frequently Asked Questions
What are the best paints for beginners?
Acrylic paints are excellent for beginners because they are water-based, dry quickly, and can be cleaned up with soap and water, making the process less messy and more forgiving. They offer vibrant colors and are versatile for various techniques, allowing you to experiment with different applications like blending, layering, and impasto. Their fast drying time means you can build up layers of color or correct mistakes relatively quickly, which is ideal for those just starting out. The accessibility and affordability of acrylics also make them a fantastic choice for experimenting without a significant financial investment.
How do I clean my paint brushes after using acrylics?
Rinse your brushes thoroughly in water immediately after use to remove as much paint as possible. Use a little soap and water to gently work out any remaining paint, swirling the bristles in your palm or a brush cleaning soap dish. Once clean, reshape the bristles to their original form and let them air dry flat or hanging bristles-up to prevent damage. Proper brush care ensures they remain in good condition for future use and maintain their shape and effectiveness, prolonging their lifespan.
What kind of surface is best for beginner acrylic painting?
Canvas boards or pre-primed stretched canvases are ideal for beginners. Canvas boards are rigid and affordable, making them perfect for practice and experimentation without the worry of damaging a more expensive canvas. Stretched canvases offer a more traditional painting surface and come in various sizes. Both provide a good surface for acrylic paints to adhere to, offering a pleasant texture for brushwork. Ensure the surface is primed, as this prevents the paint from soaking into the canvas fibers and provides a smoother painting experience.
How can I make my acrylic painting look more professional?
Focus on clean lines, consistent paint application, and thoughtful color choices to elevate your acrylic paintings. Practicing different brush strokes and experimenting with layering can also enhance the professional look of your work by adding depth and texture. Pay attention to composition, ensuring your elements are well-balanced and visually appealing. Consider adding a background that complements your main subject, and don't be afraid to use techniques like glazing or dry brushing to create subtle effects. Finally, a well-executed varnish can protect your artwork and give it a unified sheen.
What are some common mistakes beginners make with acrylics and how can I avoid them?
A common mistake is using too much water, which can dilute the paint's binder and cause it to lose its adhesion and vibrancy. To avoid this, only add a tiny bit of water to your brush before picking up paint, or use acrylic mediums for thinning. Another mistake is not cleaning brushes thoroughly, leading to stiff bristles and ruined brushes; always rinse immediately and thoroughly. Overworking a painting can also be an issue; acrylics dry fast, so it's easy to muddy colors if you keep blending wet paint. Learn to work in layers and let sections dry before adding more.
Can I paint over mistakes in acrylics?
Yes, one of the greatest advantages of acrylics for beginners is their ability to be painted over. As long as the paint is dry, you can simply apply a new layer of paint to cover up any mistakes, unwanted colors, or sections you wish to change. This makes acrylics very forgiving and encourages experimentation, as you don't have to worry about permanent errors. It's a great way to refine your composition, correct proportions, or simply try a different color scheme without starting over.
How long does it take for acrylic paint to dry?
Acrylic paint dries relatively quickly, typically within 10 to 30 minutes for a thin layer, depending on the humidity and temperature of your environment. Thicker applications can take longer, up to an hour or more. While the surface may feel dry to the touch, the paint continues to cure and harden over several days to weeks. This curing process is important for the paint's durability and adhesion, so it's best to handle your finished artwork with care during this period.
What Next?
Once your simple shape acrylic paintings are completely dry and cured, they are ready to be displayed! Consider framing them for a polished look, or simply hang them as is to add a splash of color to your walls. For variations, try using different color palettes, incorporating textures with a palette knife, or even experimenting with masking fluid for intricate designs. Next projects could involve exploring more complex shapes, combining shapes to create abstract scenes, or even trying larger canvases. Store any leftover paints with the lids tightly sealed in a cool, dry place.
Free: 10 Paper Crafts Anyone Can Make in 5 Minutes
Get our beginner guide + new craft ideas weekly.
No spam. Unsubscribe anytime.
Did you complete this activity?