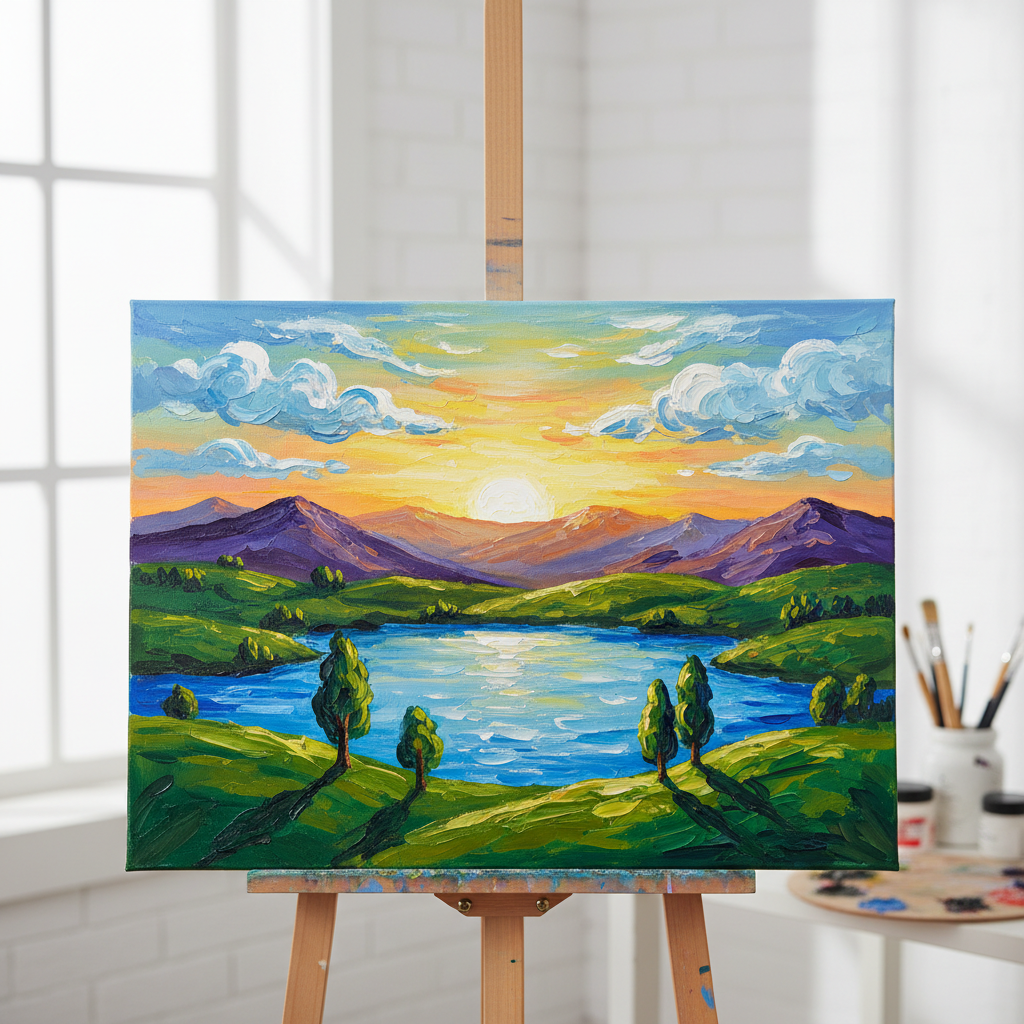
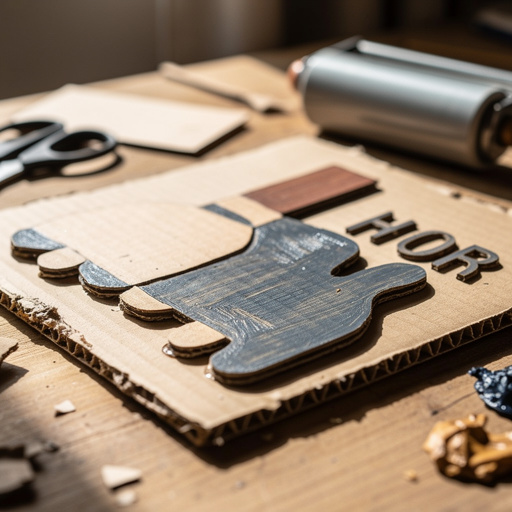
How to Make Your Own DIY Painting Canvas — Easy Step-by-Step Guide
Create your own professional-quality painting canvas at home with this simple DIY tutorial. Perfect for unleashing your family's creativity without screens. This guide breaks down the process into manageable steps, making it accessible for beginners and rewarding for experienced artists alike. Discover the satisfaction of creating your own art surfaces tailored to your exact needs and preferences.

Quick answer
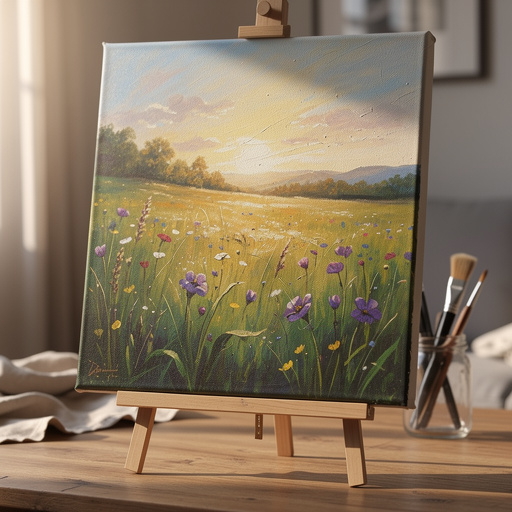
To make a DIY painting canvas, you need a wooden frame, canvas fabric, and a staple gun, taking about 45 minutes. Start by cutting and stretching the fabric over the frame. This beginner-friendly activity has 7 steps and is perfect for families and aspiring artists.
What you need
Shop on Amazon · As an Amazon Associate we earn from qualifying purchases. Links above are affiliate links — we may earn a commission at no extra cost to you.
Embarking on a creative journey often starts with the right tools, and for painters, a quality canvas is paramount. Instead of purchasing expensive pre-made canvases, why not craft your own? This DIY project is not only cost-effective but also incredibly rewarding, allowing you to customize size and material to your heart's content. It’s a fantastic screen-free activity that fosters patience, precision, and a deeper appreciation for the artistic process, making it ideal for families looking to bond over a shared creative endeavor or for individual artists seeking a more personal touch to their work.
On this page
Step-by-Step Instructions
- 1
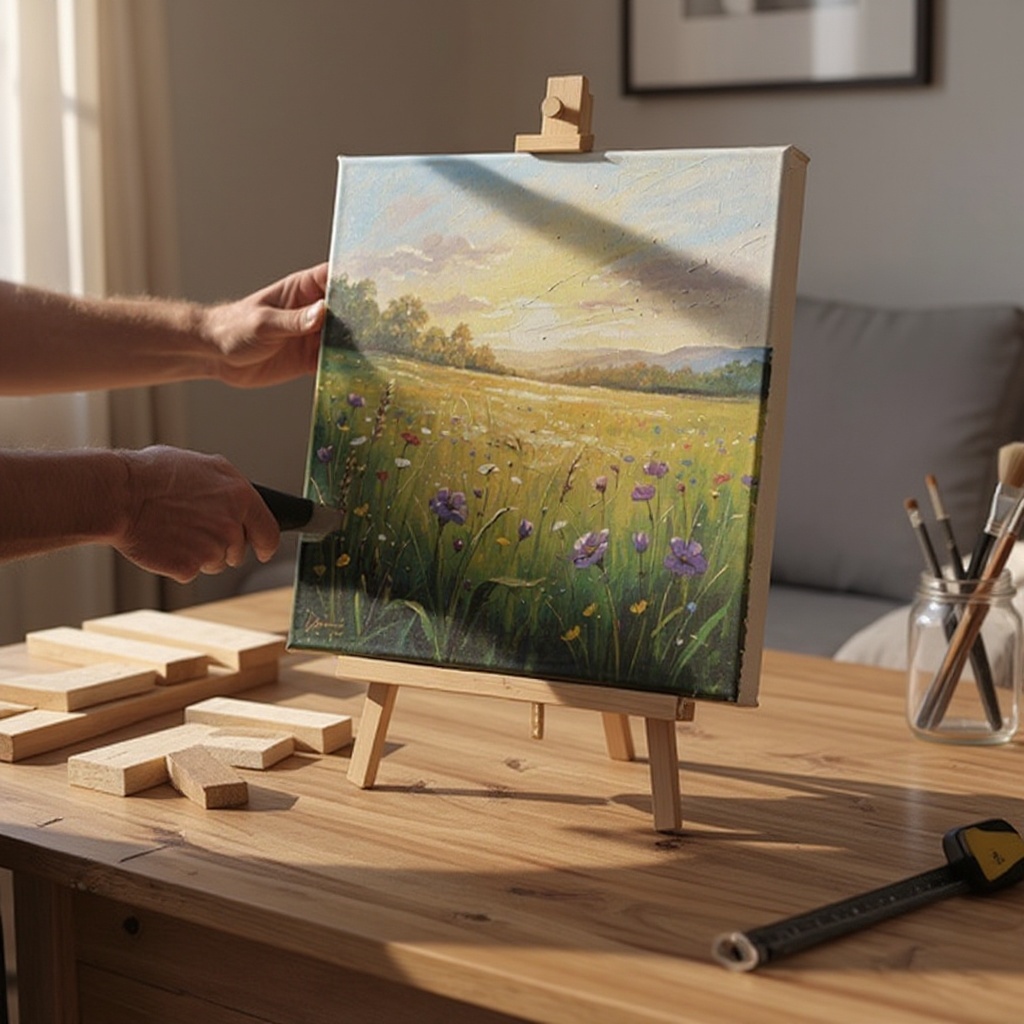
Cut your 1x2 inch lumber to the desired dimensions for your canvas frame. For example, for a 16x20 inch canvas, you'll need two 16-inch pieces and two 20-inch pieces. Ensure your cuts are precise and square, as this will affect the final shape of your canvas; using a miter box and saw can help achieve perfect 90-degree angles.
- 2
Assemble the wooden frame by butting the ends of the lumber pieces together to form a rectangle. Ensure the corners are square by using a carpenter's square or by measuring the diagonals; they should be equal for a perfect rectangle. This step is crucial for a stable and well-proportioned canvas.
- 3
Secure the frame corners using your staple gun, placing staples on the inside of the frame where the pieces meet. For significantly increased strength and longevity, apply a thin bead of wood glue to the joining surfaces before stapling. Allow the glue to set according to the manufacturer's instructions before proceeding.
- 4
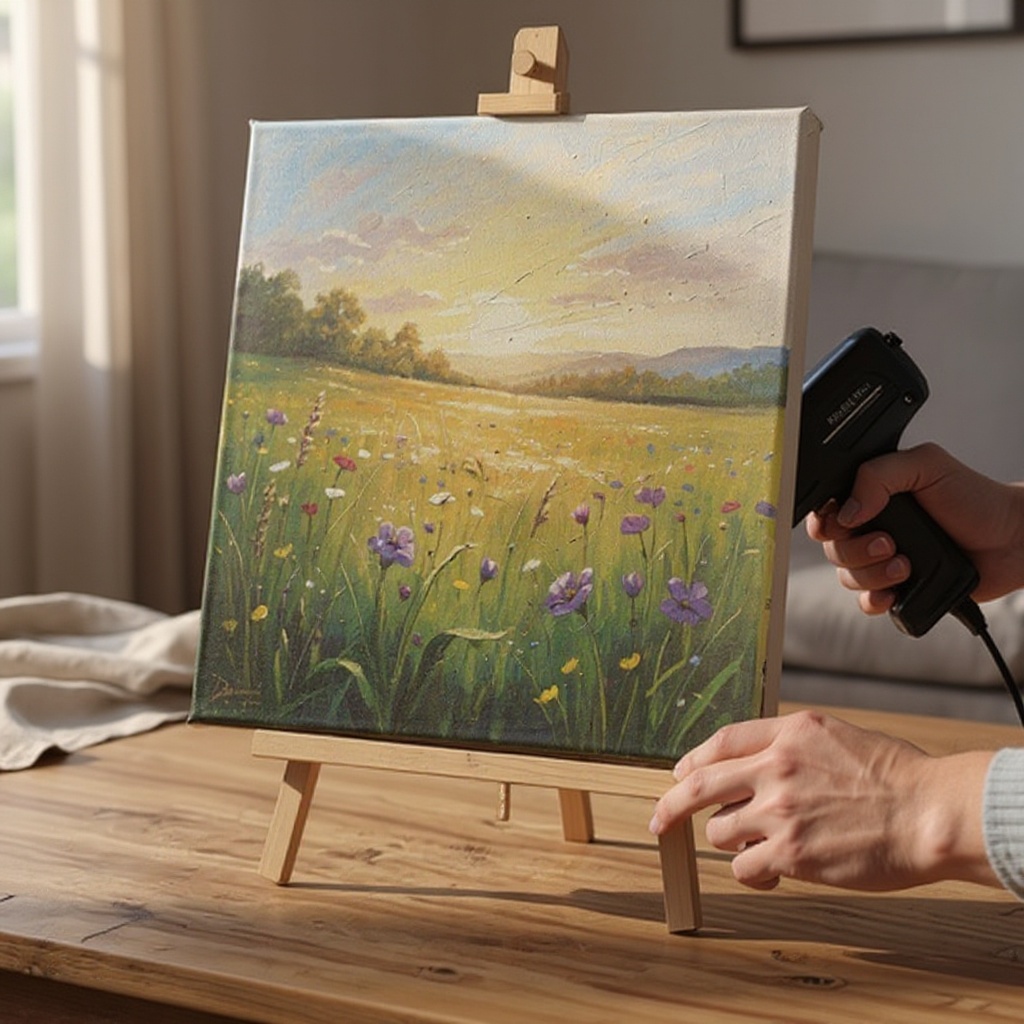
Lay your canvas fabric flat on a clean, spacious surface, ensuring the right side (the side you intend to paint on) is facing down. Carefully place the assembled wooden frame on top of the fabric, centering it precisely. This ensures an even distribution of fabric around the frame.
- 5
Begin stretching the canvas fabric over the frame. Start by stapling one side of the fabric to the back of the frame, pulling it taut as you go. Aim to place your first staple in the middle of one side, ensuring the fabric is pulled firmly without distorting the weave.
- 6
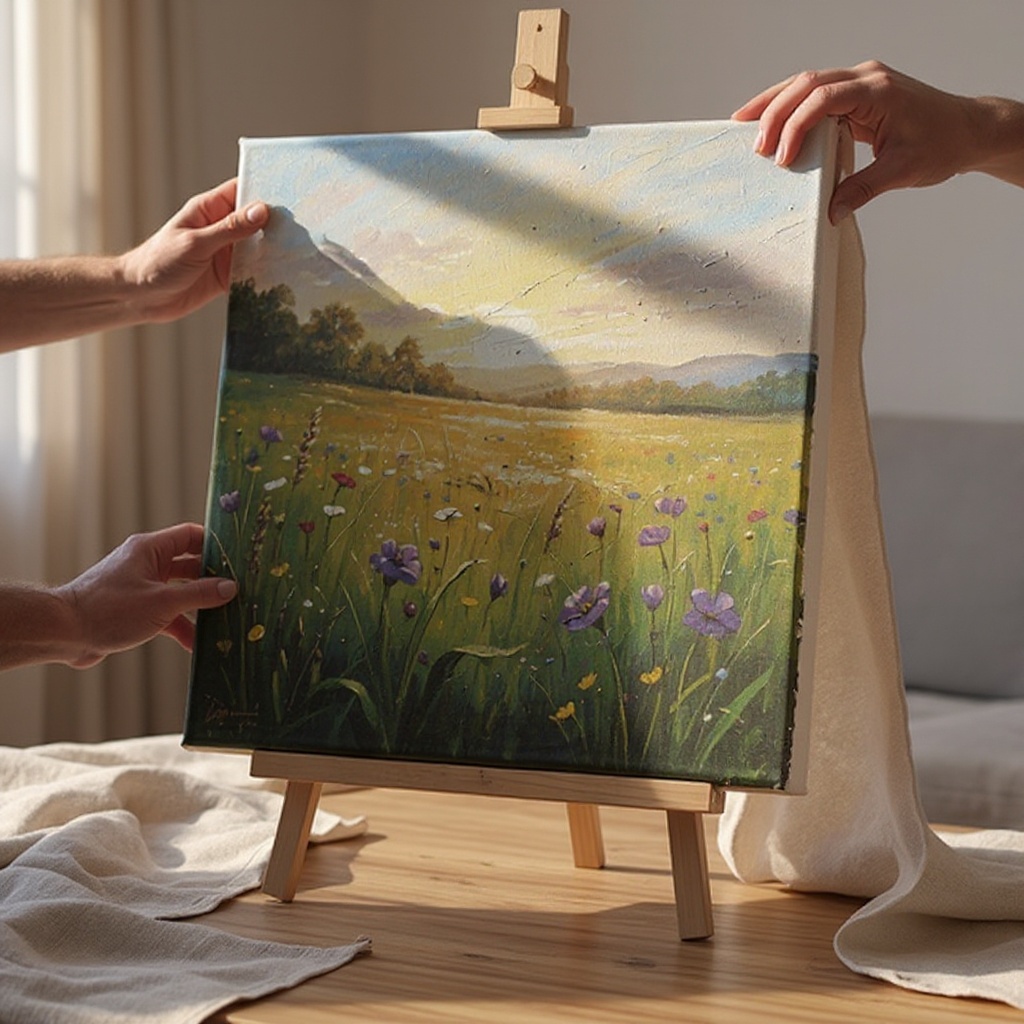
Move to the opposite side of the frame and pull the fabric tightly across the front, then staple it to the back of the frame, again starting from the center. The key here is to create even tension; the fabric should feel drum-tight across the entire surface. Repeat this process for the remaining two sides, ensuring consistent tension across all edges.
- 7
Continue stapling along all edges, working from the center outwards on each side in small increments. This method prevents puckering and ensures a smooth, even stretch. Fold the corners neatly, creating a clean, professional finish similar to gift wrapping, and staple them securely to the back of the frame. Trim any excess fabric that extends beyond the stapled edges with sharp scissors.
- 8
Inspect the stretched canvas for any areas of looseness or sagging. If you find any, you can carefully add more staples along the edges or gently tap the frame with a hammer to slightly tighten the wood and pull the fabric tauter. For larger canvases or if you desire an exceptionally tight stretch, consider using canvas pliers to grip and pull the fabric before stapling.
- 9
If you are using unprimed canvas fabric, now is the time to prepare it for painting. Apply 2-3 thin, even coats of gesso or acrylic primer to the stretched fabric using a paintbrush or roller. Ensure each coat is completely dry before applying the next, as this builds up a smooth, non-absorbent surface ideal for various paint mediums.
- 10
Allow the gesso to dry thoroughly according to the product's instructions. Once dry, you can lightly sand the surface with fine-grit sandpaper if you desire an even smoother finish, then wipe away any dust. Your DIY canvas is now ready for your artistic endeavors!
- 11
For a tighter stretch, especially on larger canvases, canvas pliers are an invaluable tool. These specialized pliers allow you to grip the fabric firmly and pull it with significant force before securing it with staples, resulting in a drum-like tension that is less prone to sagging.
- 12
Don't be afraid to experiment with different fabric types! While traditional cotton duck canvas is common and affordable, you can try linen for a more luxurious, finely woven surface, or even sturdy cotton blends for unique textures and different absorbency levels. Each fabric will offer a distinct feel and painting experience.
- 13
If you notice any sagging in the fabric after stapling or gesso application, don't despair. You can carefully add more staples along the edges, particularly in the slack areas, or gently tap the frame with a hammer to slightly tighten the wood and pull the fabric tauter. Sometimes, a slight adjustment is all that's needed.
- 14
Once your canvas is ready and primed, you can paint directly onto it. If you're planning to use oil paints, ensuring the canvas is properly primed with gesso is essential. Gesso acts as a barrier, preventing the oil in the paints from seeping into the fabric fibers over time, which can degrade the canvas and cause yellowing.
- 15
For a truly professional finish, consider using corner clamps while assembling the frame to ensure perfectly square corners before gluing and stapling. This extra step guarantees a rigid and aesthetically pleasing frame structure that will support your artwork for years to come.
- 16
If you're working with a larger canvas, it's beneficial to have a second person assist with stretching the fabric. One person can hold the fabric taut while the other staples, ensuring consistent tension across the entire surface and preventing the fabric from shifting during the process.
Tips & Troubleshooting
- 1If using unprimed canvas, apply 2-3 coats of gesso or acrylic primer to the stretched fabric, allowing each coat to dry completely. This creates a smoother, more uniform surface for painting, preventing the paint from sinking too deeply into the fabric and ensuring vibrant color.
- 2For a tighter stretch, you can use canvas pliers (a specialized tool) to grip and pull the fabric before stapling. This is especially helpful for larger canvases where achieving uniform tension can be challenging, ensuring a drum-tight surface that minimizes sagging.
- 3Don't be afraid to experiment with different fabric types! While traditional canvas is common, you can try linen for a more refined texture, or even sturdy cotton for a more economical option. Each fabric will offer a unique feel and absorbency, impacting your painting technique.
- 4If you notice any sagging in the fabric after stapling, you can carefully add more staples or even gently tap the frame with a hammer to tighten it further. Sometimes, a slight adjustment is all that's needed to achieve the desired tautness.
- 5Once your canvas is ready, you can paint directly onto it. If you're using it for oil paints, ensure it's properly primed to prevent the oil from damaging the fabric over time. Gesso acts as a crucial barrier, protecting the canvas fibers from degradation.
- 6For perfectly square corners, consider using a miter box and saw to cut your lumber, or use corner clamps during assembly before gluing and stapling. This ensures a professional and sturdy frame that won't warp.
- 7When stapling, work from the center of each side outwards, pulling the fabric taut with each staple. This methodical approach helps to distribute tension evenly and prevents unsightly wrinkles or puckers from forming on the painting surface.
- 8Trim excess fabric neatly after stapling. Leaving too much excess can create bulk on the back of the frame, making it difficult to hang or frame later. A clean trim contributes to a polished final product.
Related Activities You Might Enjoy
Frequently Asked Questions
What kind of fabric is best for a DIY painting canvas?
Primed cotton duck canvas is a popular and versatile choice for DIY painting canvases due to its durability, texture, and affordability. Unprimed canvas, such as raw cotton duck or linen, is also an excellent option, but it requires priming with 2-3 coats of gesso or acrylic primer before painting. This priming process creates a smooth, non-absorbent surface that prevents paint from sinking in too deeply and protects the fabric fibers from oil-based paints. Linen offers a finer weave and a more luxurious feel, often preferred by professional artists for its subtle texture and strength, though it is typically more expensive than cotton.
How do I get my DIY canvas fabric tight enough?
Achieving a tight stretch is crucial for a professional-looking canvas that won't sag. Start by pulling the fabric taut as you staple it to the back of the wooden frame, working from the center outwards on opposite sides. This method ensures even tension across the entire surface. For an even tighter stretch, especially on larger canvases, canvas pliers are highly recommended. These tools allow you to grip the fabric firmly and pull it with considerable force before securing it with staples, resulting in a drum-like tension that is less prone to sagging over time.
Can I use a regular staple gun for my DIY painting canvas?
While a regular staple gun might work for very small canvases, it's highly recommended to use a heavy-duty staple gun for securing canvas fabric to a wooden frame. Heavy-duty staple guns provide more power and can drive staples deeper into the wood, ensuring a secure and lasting hold. Ensure you use staples that are long enough to penetrate the wood securely, typically 1/4 inch or 3/8 inch, depending on the thickness of your lumber. A weak staple connection can lead to the fabric loosening over time, compromising the integrity of your canvas.
What are the benefits of making your own painting canvas?
Making your own canvas offers several significant benefits. Firstly, it allows for complete customization of size and shape, enabling you to create canvases that perfectly fit your artistic vision or available space, which can be difficult and expensive with pre-made options. Secondly, it's often more cost-effective, especially if you plan to create multiple canvases. Thirdly, it provides a deeply rewarding, screen-free activity that fosters patience, precision, and a hands-on understanding of art materials. Finally, it allows you to experiment with different fabric types and textures, tailoring the surface to your specific painting medium and style.
How do I prepare unprimed canvas for painting?
Unprimed canvas needs to be prepared to create a suitable painting surface. The essential step is applying gesso or an acrylic primer. You'll typically need 2-3 thin, even coats. Apply the first coat with a wide brush or roller, ensuring full coverage. Allow each coat to dry completely before applying the next; this is crucial for building up a smooth, non-absorbent layer. Once all coats are dry, you can lightly sand the surface with fine-grit sandpaper for an extra-smooth finish, then wipe away any dust. This process seals the fabric, prevents the paint from sinking in too deeply, and provides a consistent ground for your artwork.
What are the dimensions of the lumber needed for a standard canvas size?
The dimensions of the lumber directly correspond to the desired outer dimensions of your canvas. For a 16x20 inch canvas, you will need two pieces of 1x2 inch lumber cut to 16 inches in length for the shorter sides, and two pieces cut to 20 inches in length for the longer sides. When assembling, the shorter pieces will butt against the ends of the longer pieces, or vice versa, to form the rectangle. Always measure and cut your lumber precisely to ensure a square and stable frame, as any inaccuracies will be reflected in the final canvas shape.
Can I use this method for oil painting, and what precautions should I take?
Yes, this DIY canvas method is perfectly suitable for oil painting, provided you take the necessary precautions. The most critical step for oil painting is ensuring the canvas is thoroughly primed with gesso. Gesso acts as a barrier between the oil-based paints and the fabric fibers. This barrier prevents the oil from degrading the canvas over time, which can lead to yellowing and brittleness. Apply at least 2-3 coats of acrylic gesso, allowing each to dry completely. Some artists prefer to use an oil-based primer or a specific oil ground for added protection and a different surface quality, but acrylic gesso is a widely accepted and effective solution for most oil painters.
What Next?
Congratulations on creating your very own custom painting canvas! The satisfaction of painting on a surface you've built yourself is unparalleled. Consider experimenting with different wood types for your frame, or explore various fabric textures like linen for a more luxurious feel. Once your masterpiece is complete, you can frame it, hang it directly, or even create a series of smaller canvases for a gallery wall. This skill opens up a world of possibilities for your artistic expression, encouraging you to think beyond the pre-packaged and embrace the handmade.
Free: 10 Paper Crafts Anyone Can Make in 5 Minutes
Get our beginner guide + new craft ideas weekly.
No spam. Unsubscribe anytime.
Did you complete this activity?