How to Make a Fluffy Cotton Ball Bunny — Easy Step-by-Step Guide
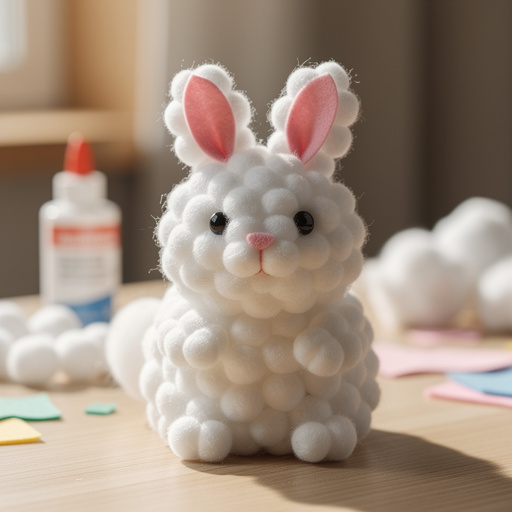
Hop into crafting fun with this adorable fluffy cotton ball bunny! This easy project is perfect for little hands and brings a touch of spring indoors. It's a delightful way to celebrate the season and create a charming decoration that will brighten any room.
Quick answer
To make a fluffy cotton ball bunny, you need cotton balls, cardstock, glue, and scissors, taking about 20 minutes. Start by cutting out a bunny shape. This beginner-friendly activity has 7 steps and is perfect for families with young children, offering a simple yet rewarding crafting experience.
What you need
Shop on Amazon · As an Amazon Associate we earn from qualifying purchases. Links above are affiliate links — we may earn a commission at no extra cost to you.
Spring is a season of renewal and joy, and what better way to capture that spirit than with a delightful craft project? This fluffy cotton ball bunny is an absolute charmer, bringing a touch of whimsical springtime to your home. Its simplicity makes it an ideal activity for young children, fostering creativity and fine motor skills in a fun, engaging way. The tactile nature of working with cotton balls is incredibly satisfying, and the end result is a sweet, huggable bunny that’s perfect for decorating shelves, windowsills, or even as a handmade gift. Get ready for some serious crafting cuteness!
On this page
Step-by-Step Instructions
- 1
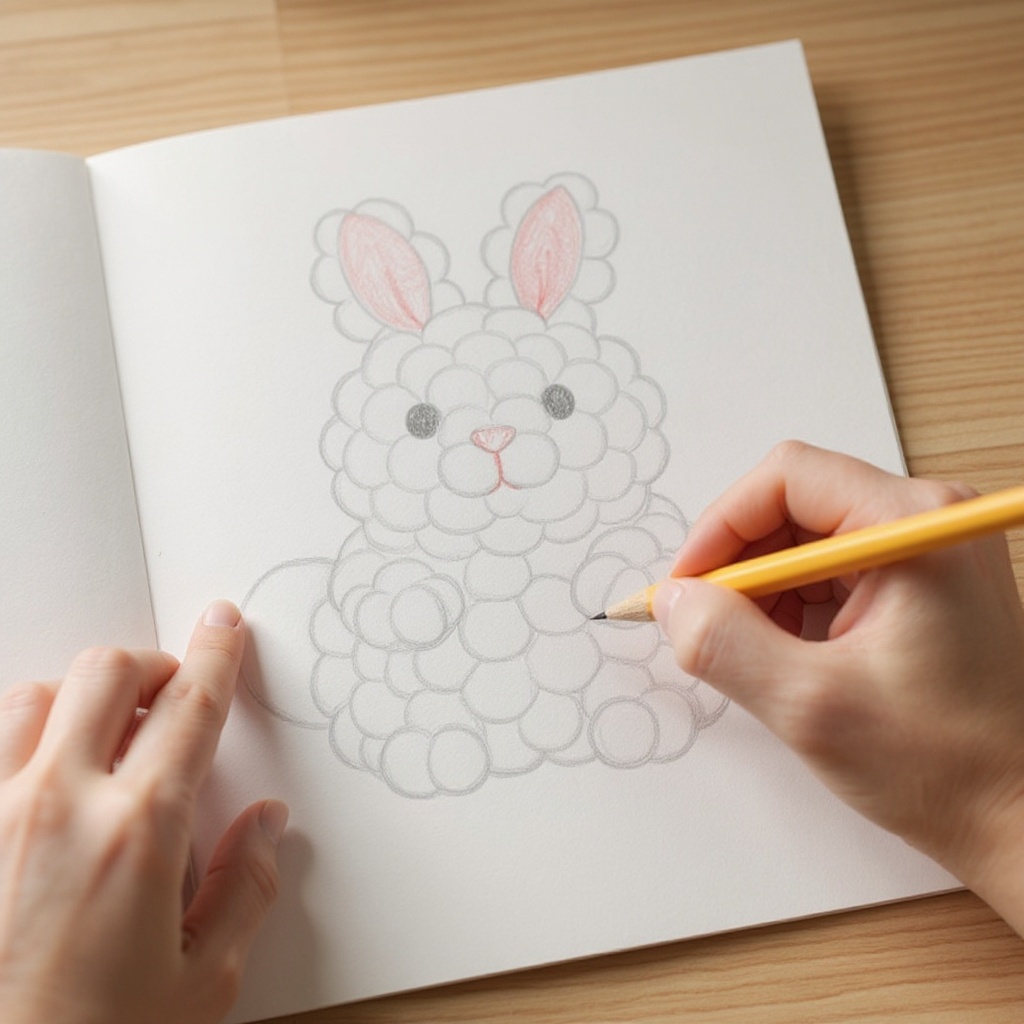
Lightly draw a simple bunny outline on the white cardstock using a pencil. Aim for a classic bunny silhouette with a rounded body, a distinct head, and two long ears. Ensure the shape is large enough to accommodate several cotton balls across its surface, roughly 5-7 inches tall is a good starting point.
- 2
Carefully cut out the bunny shape from the cardstock using your scissors. Take your time to follow the pencil lines precisely, creating a clean outline for your bunny. If you're crafting with young children, an adult should handle this cutting step to ensure safety and a neat result.
- 3
On the pink cardstock, draw two small oval shapes that will serve as the inner parts of the bunny's ears. These ovals should be slightly smaller than the ear sections of your white bunny outline, designed to fit neatly within the top portion of each ear.
- 4
Cut out the pink oval ear shapes from the cardstock. Again, precision is key here to ensure they fit well onto the white bunny ears. If the ears on your bunny outline are very narrow, you might opt for a more elongated oval shape.
- 5
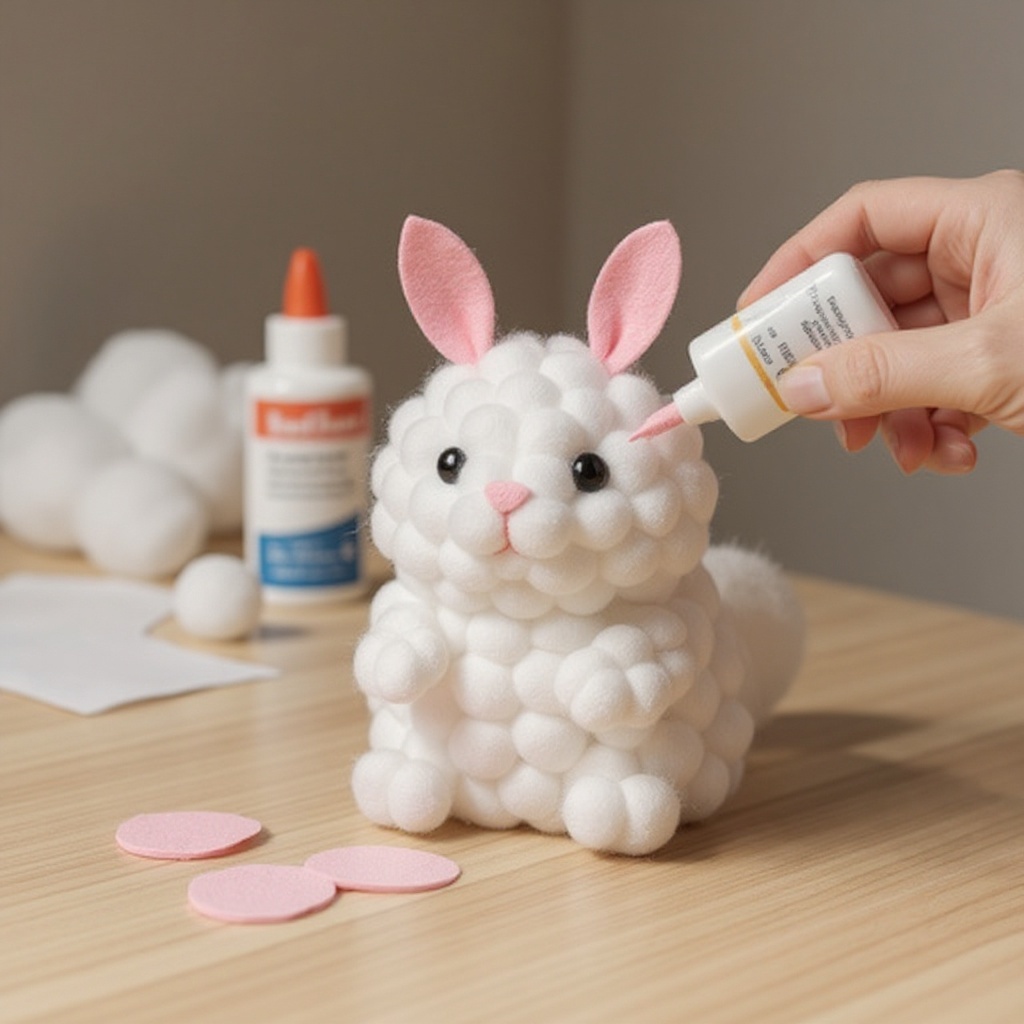
Apply white craft glue to the pink oval ear shapes. Spread a thin, even layer of glue across the entire surface of each pink oval. This will help them adhere securely to the white bunny ears in the next step.
- 6
Carefully position and press the glued pink ovals onto the corresponding ear sections of your white bunny shape. Ensure they are centered and lie flat against the cardstock, creating a lovely contrast and defining the inner ear. Gently press down for a few seconds to help them stick.
- 7
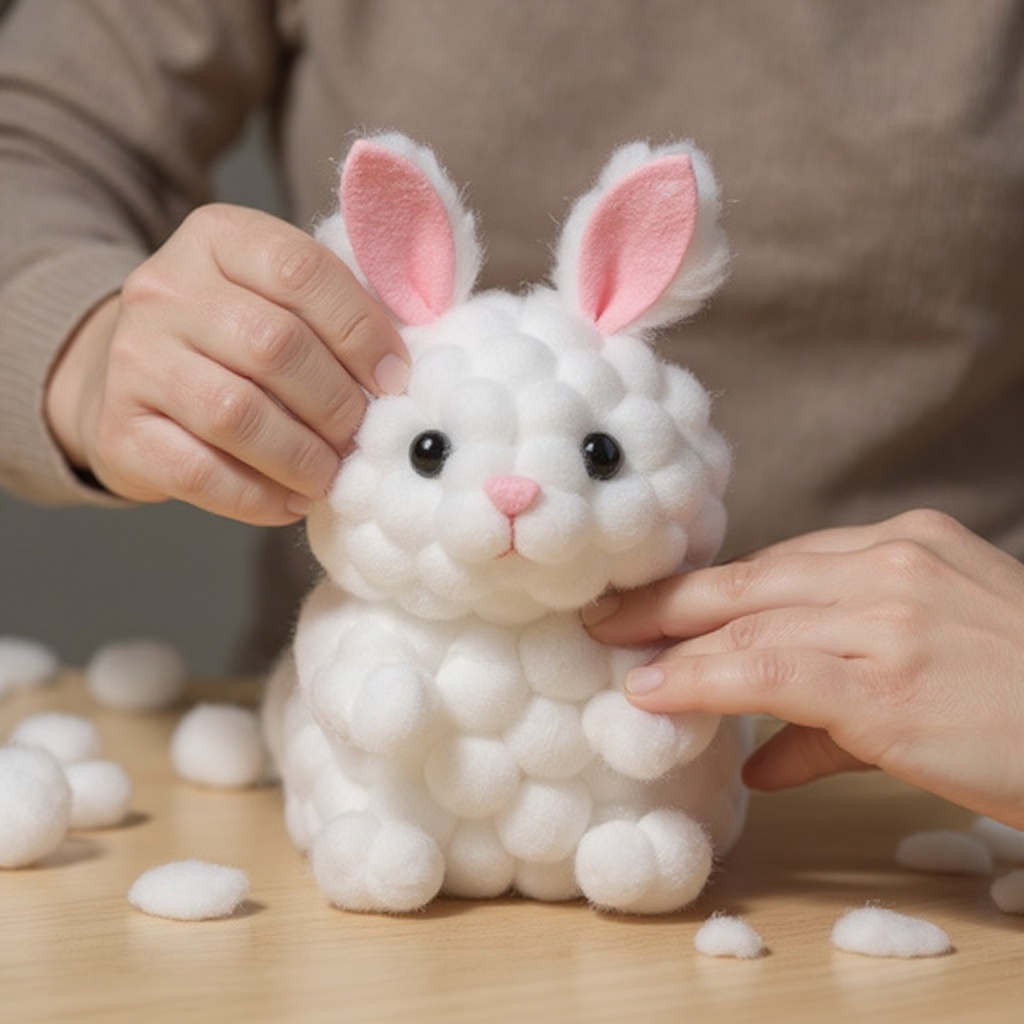
Now, begin applying white craft glue all over the bunny's body and head, leaving the ears completely clear. Use a generous amount of glue, spreading it in a slightly thick layer to ensure the cotton balls have plenty to adhere to. Think of it like frosting a cake – you want good coverage!
- 8
Start pressing cotton balls firmly into the glue, covering the entire bunny body and head. Begin at one edge and work your way across, overlapping the cotton balls slightly to create a dense, fluffy texture. Don't be afraid to squish them down a bit into the glue for a secure hold.
- 9
Continue adding cotton balls, ensuring there are no gaps in the glue. Work systematically to cover the entire surface of the bunny's body and head. If you notice any areas that look sparse, simply add a little more glue and press in additional cotton balls.
- 10
Once the body and head are completely covered in cotton balls, take a moment to gently pat down any stray pieces or uneven areas. Ensure all cotton balls are securely adhered. If any feel loose, add a tiny bit more glue underneath them and press them back into place.
- 11
Allow the glue to dry completely. This is a crucial step for ensuring your fluffy cotton ball bunny is sturdy and the cotton balls don't shift. Place the bunny on a flat surface in a well-ventilated area and resist the urge to touch it until it's fully dry.
- 12
Once the glue is completely dry, your fluffy cotton ball bunny is ready to be admired and displayed! You'll notice the cotton balls have firmed up, creating a wonderfully soft and textured appearance. This makes for a charming and handmade decoration.
- 13
Optional: For added personality, you can now add googly eyes to your bunny's face. Apply a small dab of glue to the back of each googly eye and press them onto the bunny's head where you envision its eyes. Alternatively, you can draw eyes, a nose, and a mouth with a fine-tip marker.
- 14
Optional: If you want to give your bunny's ears a touch of color, you can lightly add some pink blush. Use a pink marker or chalk to gently color the inside of the pink ear sections, blending it slightly for a natural look. Be careful not to use too much pressure, which could tear the cardstock.
- 15
Optional: If you plan to hang your bunny, you can attach a loop of ribbon or twine to the back of its head. Apply a strong dab of glue to the center of the back of the head and press the ends of the ribbon or twine firmly into the glue, holding it until it begins to set.
Tips & Troubleshooting
- 1If your child struggles with drawing, you can find simple bunny outlines online and print them out. Then, simply trace the outline onto your cardstock with a pencil for a perfectly shaped bunny base.
- 2For a slightly different look and feel, consider using a glue stick for smaller, more intricate areas like the inner ears, and then switch to craft glue for the larger sections of the bunny's body where the cotton balls will be applied.
- 3If you find the cotton balls aren't sticking well, don't worry! Simply add a little more white craft glue directly to the cardstock in the areas where the cotton balls are loose. Press the cotton balls firmly back into the fresh glue.
- 4To give your bunny extra personality, once the glue is completely dry, you can add googly eyes for a classic look, or use a black marker to draw on eyes, a cute nose, and a little mouth. You could even add whiskers with thin marker lines.
- 5Experiment with different sizes of cotton balls if you can find them. Smaller cotton balls can be used for more detailed areas or to create a denser fluff, while larger ones can cover more ground quickly.
- 6Ensure you use a good quality white craft glue that dries clear. This will prevent any unsightly glue marks from showing through the fluffy cotton balls, maintaining the pristine white appearance of your bunny.
- 7When applying the cotton balls, try to vary the direction in which you place them slightly. This subtle variation can add to the natural, fluffy texture and prevent the bunny from looking too uniform or flat.
- 8If you're making multiple bunnies, consider preparing all the cardstock cutouts and pink ear pieces in advance. This will streamline the crafting process when it's time to glue and add the cotton balls, especially if you're working with a group.
Related Activities You Might Enjoy
Frequently Asked Questions
What kind of glue is best for cotton balls?
White craft glue, also known as PVA glue, works best for this bunny craft. It's non-toxic, dries clear, and holds the cotton balls securely to the cardstock, creating a strong bond that prevents them from falling off. Avoid using glue sticks for the main body of the bunny, as they may not provide enough adhesion for the cotton balls. For smaller details like attaching the pink ear pieces, a glue stick can be a good option, but for the bulk of the cotton ball application, liquid craft glue is essential for durability and a lasting fluffy effect.
Can I make a colored cotton ball bunny?
Yes! You can absolutely make a colored cotton ball bunny, and it's a fantastic way to add more vibrancy and creativity to your craft. You can achieve this in a few ways: purchase pre-colored cotton balls in various shades, or lightly color white cotton balls yourself. For coloring white cotton balls, you can use markers (like Sharpies or washable markers), chalk pastels, or even watercolors. Apply the color lightly and allow the cotton balls to dry completely before gluing them onto your bunny shape. This opens up a world of possibilities for rainbow bunnies, pastel bunnies, or even themed bunnies for different holidays.
How long does it take for the glue to dry on a cotton ball bunny?
Drying time can vary depending on the amount of glue used, the density of the cotton balls, and environmental factors like humidity and temperature. Typically, it takes about 15-30 minutes for the glue to dry enough for the bunny to be handled carefully. However, for the glue to be fully cured and the bunny to be completely sturdy, it's best to let it dry for at least 1-2 hours, or even overnight, especially if you've used a generous amount of glue to ensure maximum fluffiness and adhesion.
What other materials can I use instead of cotton balls?
If you don't have cotton balls or want to explore different textures, there are several excellent alternatives that can achieve a similar fluffy or textured effect. Small pom-poms are a fantastic substitute, offering a consistent round shape and softness. You can also use torn pieces of white tissue paper or crepe paper, which can be scrunched up and glued down for a delicate, airy look. White felt scraps, cut into small pieces and layered, can also create a cozy, plush texture. Even small pieces of white yarn or fluffy craft fur can be used to achieve a wonderfully tactile and visually appealing bunny.
How can I make my cotton ball bunny stand up on its own?
To make your cotton ball bunny stand up on its own, you'll need to create a stable base. One effective method is to cut out a slightly larger oval or rectangular base from cardstock and glue the bottom edge of your bunny to it. Ensure the base is wide enough to provide good balance. Another approach is to gently flatten the bottom of the bunny's body before it's fully dry, creating a more stable surface. You can also glue a small piece of cardboard or a craft stick to the back of the bunny's lower body to act as a prop, leaning it against a surface for support.
Can I make a larger or smaller cotton ball bunny?
Absolutely! The beauty of this craft is its scalability. To make a larger cotton ball bunny, simply use a larger sheet of cardstock and draw a bigger bunny outline. You'll need to adjust the number of cotton balls accordingly, likely using more to cover the increased surface area. For a smaller bunny, use a smaller piece of cardstock and a more compact outline. You might need fewer cotton balls, and you could even use smaller cotton balls if available to maintain the proportions. Just remember to adjust the size of the inner ear pieces to match your bunny's scale.
What Next?
Once your fluffy cotton ball bunny is complete and dry, it’s ready to be displayed! Consider creating a whole family of bunnies in different sizes or colors for a truly festive display. You can also add a ribbon to the neck for a decorative touch or even a small bow. For variations, try using pastel-colored cotton balls or even painting them lightly before application. This project is a fantastic springboard for other spring-themed crafts, like paper plate flowers or painted egg decorations. Store your bunnies carefully in a dry place to preserve their fluffiness for seasons to come.
Free: 10 Paper Crafts Anyone Can Make in 5 Minutes
Get our beginner guide + new craft ideas weekly.
No spam. Unsubscribe anytime.
Did you complete this activity?
Related
You might also like
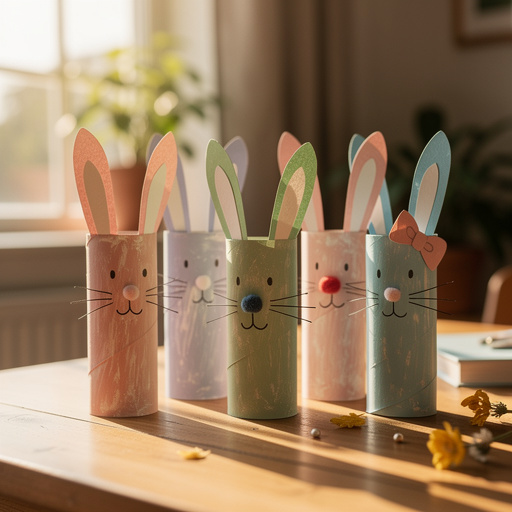
Paper Roll Bunny Buddies
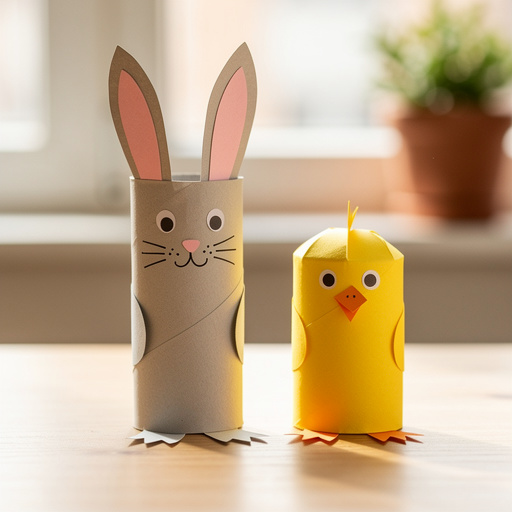
Paper Roll Bunny & Chick Friends
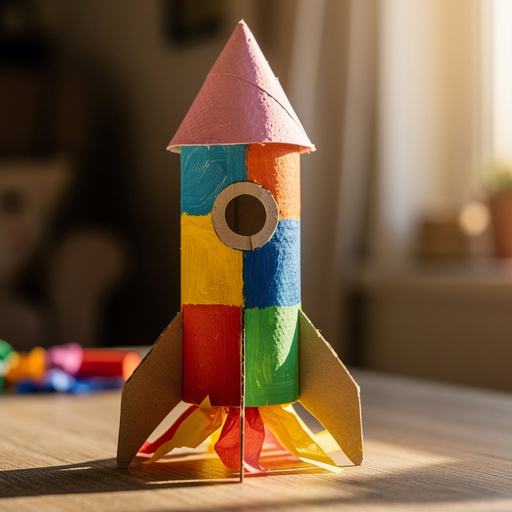
Toilet Paper Roll Rocket Ships
Paper Roll Rainmaker
Paper Jamz Guitar Craft