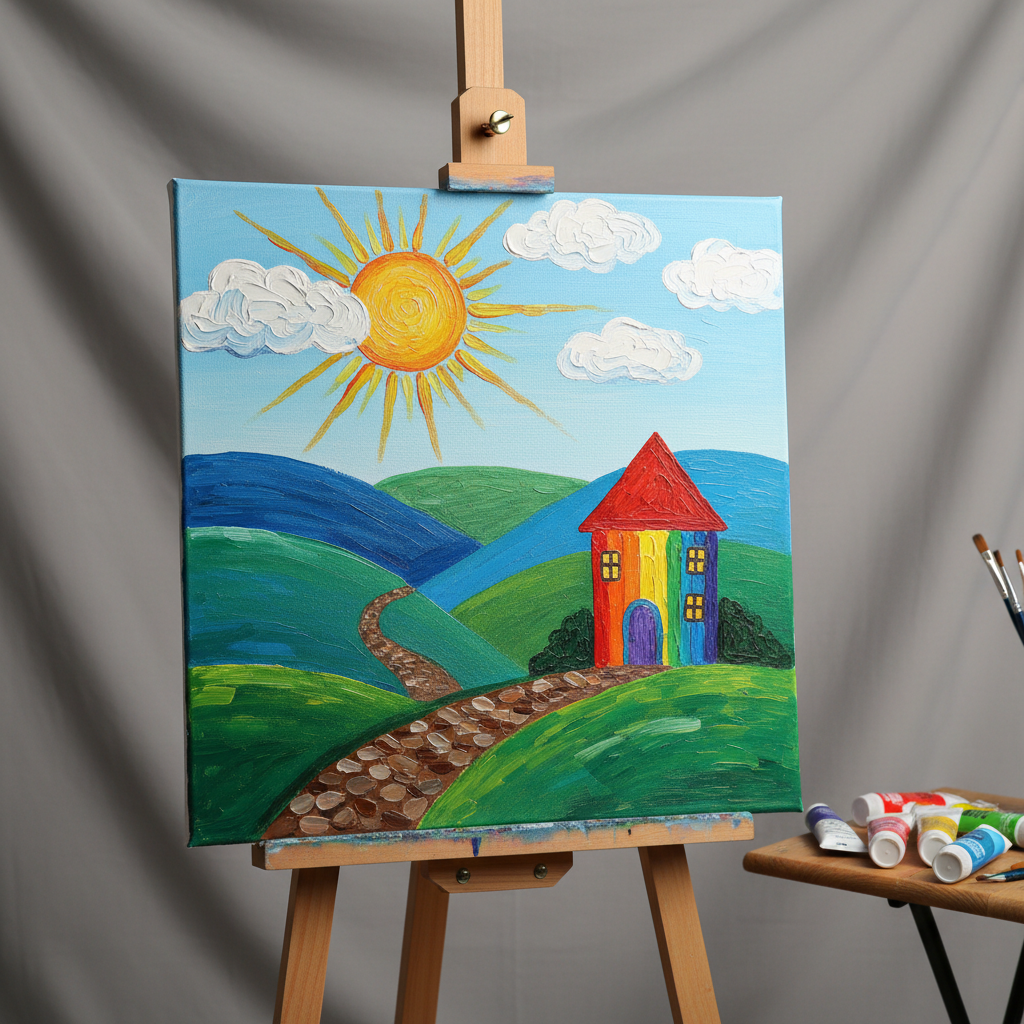
How to Create Abstract Geometric Canvas Art — Easy Step-by-Step Guide
Unleash your inner artist with this fun and easy guide to creating vibrant abstract geometric canvas art. A perfect screen-free activity for the whole family!
Quick answer
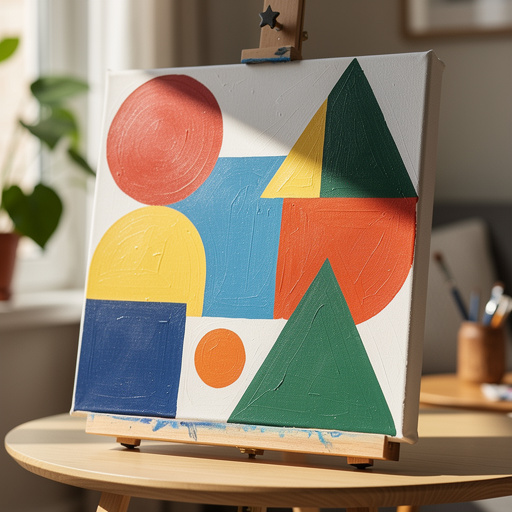
To make abstract geometric canvas art, you need canvas, acrylic paints, masking tape, brushes, and about 60 minutes. Start by taping off geometric shapes on your canvas. This beginner-friendly activity has 10 steps and is perfect for families with kids aged 6+.
What you need
Shop on Amazon · As an Amazon Associate we earn from qualifying purchases. Links above are affiliate links — we may earn a commission at no extra cost to you.
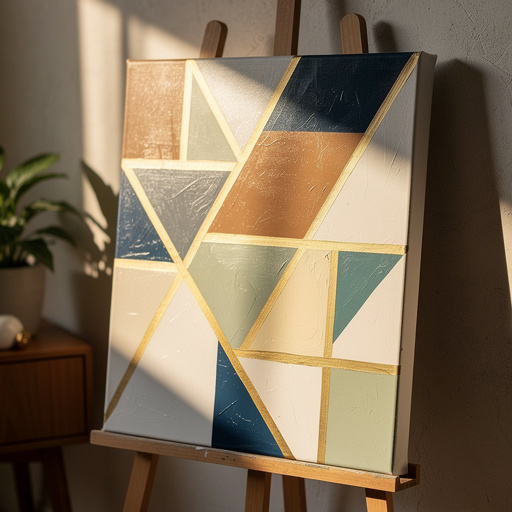
Embark on a creative journey with this accessible guide to crafting your own abstract geometric canvas art. This project is a fantastic way to inject color and modern design into your living space without needing advanced artistic skills. It's a wonderfully engaging, screen-free activity that fosters creativity and fine motor skills, making it an ideal choice for family craft time or a relaxing solo endeavor. Prepare to transform a blank canvas into a captivating piece of art that reflects your unique style and vision.
On this page
Step-by-Step Instructions
- 1
Prepare your workspace by laying down newspaper or a drop cloth to protect surfaces from paint. Ensure the area is well-ventilated, especially if using varnish later.
- 2
Place your canvas on the protected surface, ensuring it is stable and won't shift while you work. Position it horizontally or vertically depending on your desired composition.
- 3
Using the painter's masking tape, begin creating geometric shapes on the canvas. Think squares, rectangles, triangles, or even abstract lines and polygons. Press the tape down firmly along all edges to prevent paint bleed, ensuring there are no gaps where paint can seep underneath.
- 4
For more precise shapes, you can lightly sketch your design with a pencil first, then apply the tape along these lines. Alternatively, use a ruler or straight edge to guide your tape placement for perfectly straight lines.
- 5
Choose your first color of acrylic paint and apply it to one of the taped-off sections. Use a larger brush for quick coverage, ensuring you paint right up to the edge of the tape without going over.
- 6
Apply the paint evenly within the taped section, ensuring full coverage. If you desire a more opaque finish, you may need to apply a second coat once the first is dry to the touch.
- 7
Rinse your brush thoroughly in the water cup, swishing it around to remove all pigment. Gently squeeze out excess water with a paper towel before switching to a new color or a different brush.
- 8
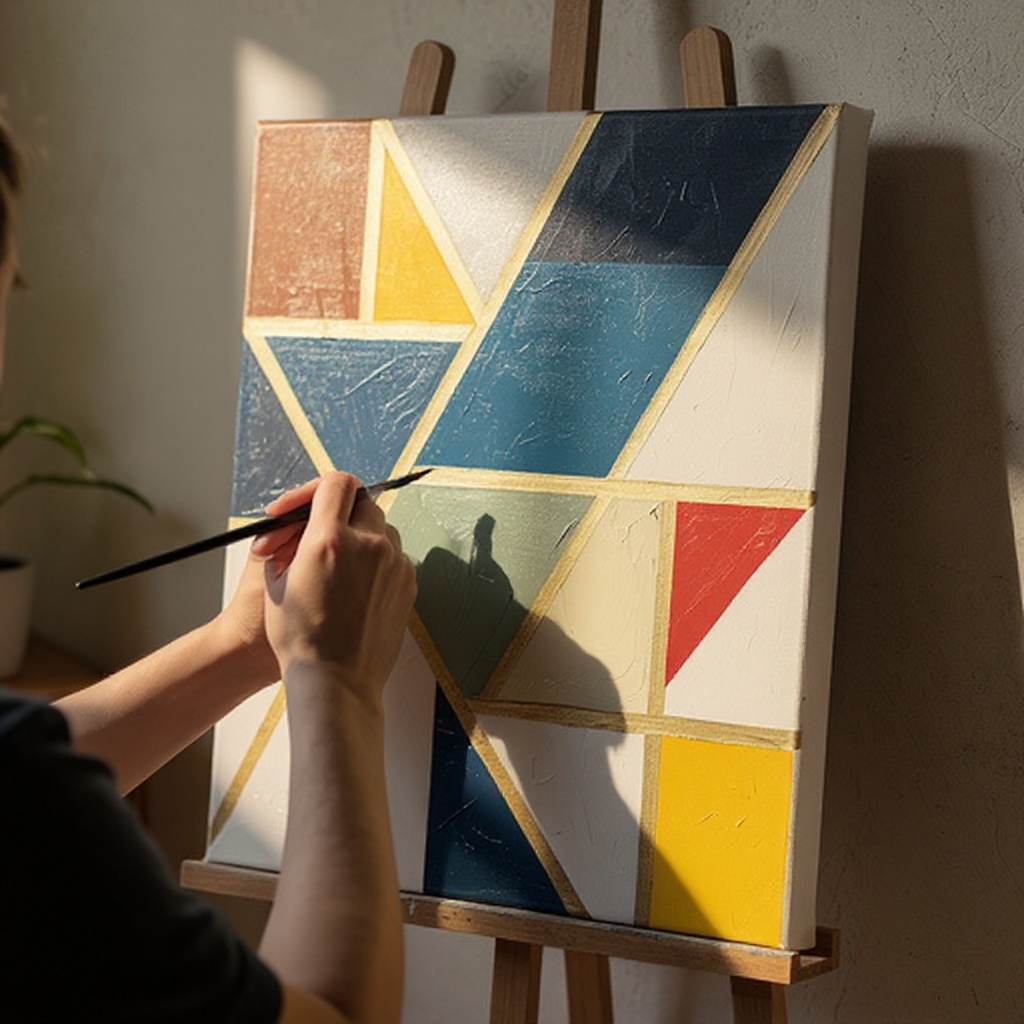
Apply a second color to a different taped-off section. Continue filling in sections with various colors, experimenting with different combinations and color palettes. Consider the overall harmony and contrast of your chosen colors.
- 9
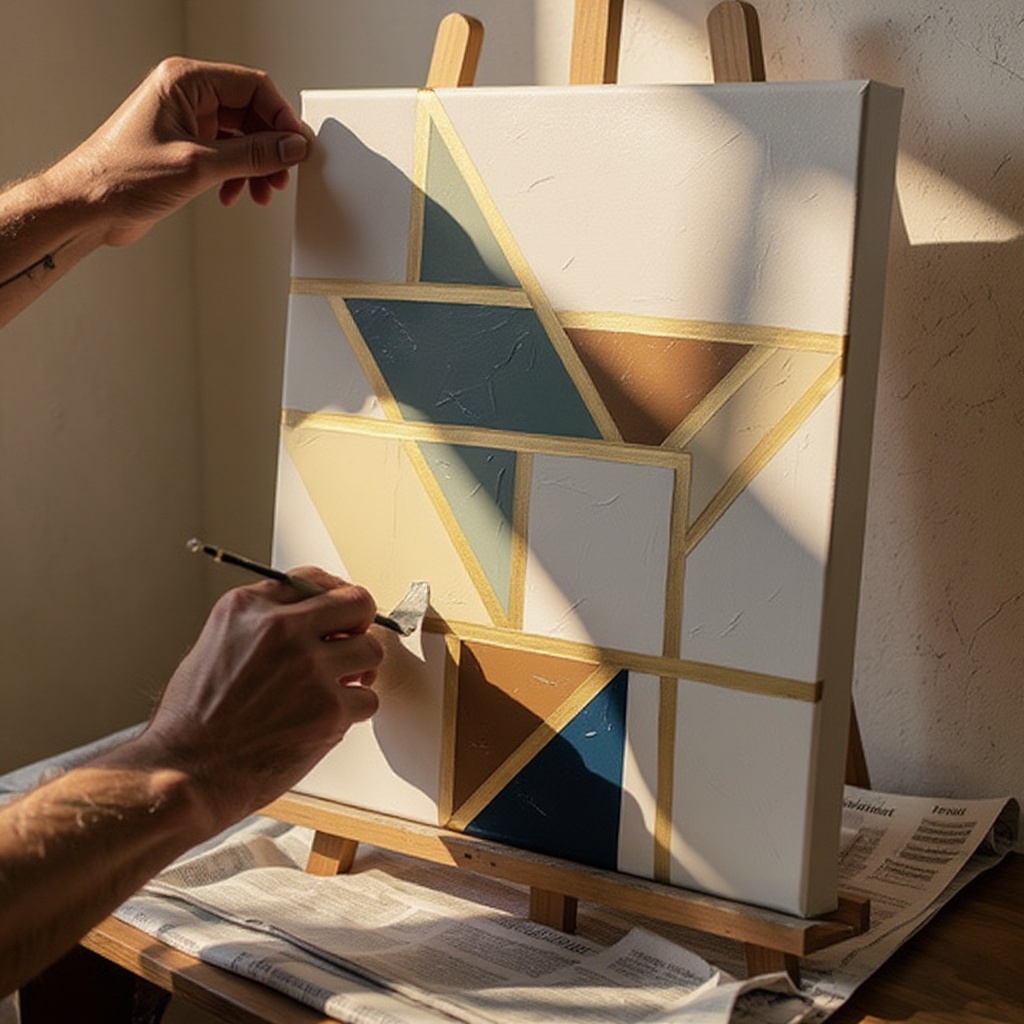
For a layered effect, you can let some sections dry slightly and then carefully apply another color over a portion of it, or paint adjacent sections with contrasting colors. This technique adds depth and visual interest to your artwork.
- 10
If you're aiming for a more complex design, you can apply a second layer of tape over already painted sections to create smaller geometric shapes within larger ones. Ensure the tape adheres well to the dried paint.
- 11
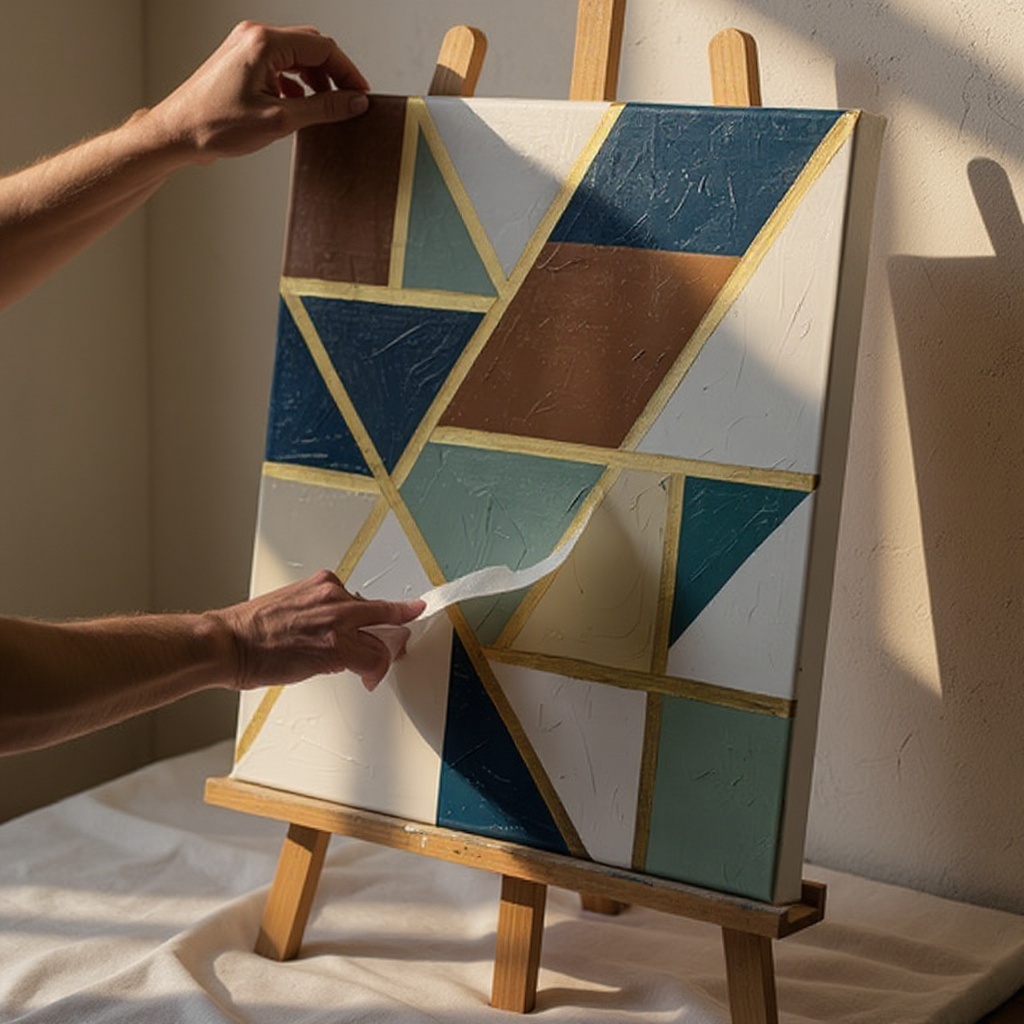
Once all desired sections are painted and you're satisfied with the color placement, it's time for the reveal. Carefully remove the painter's tape. Peel it away slowly and at a consistent angle, pulling away from the painted edge to create the cleanest lines possible.
- 12
If you notice any minor paint bleeds under the tape, don't panic. You can often gently correct these with a small detail brush dipped in the background color or a contrasting color once the paint is dry.
- 13
Allow the canvas to dry completely. This may take 30-60 minutes depending on the thickness of the paint application and the humidity of your environment. Ensure all layers are fully dry before proceeding.
- 14
Your abstract geometric canvas art is now complete! You can hang it as is, or add a protective varnish if desired to enhance the colors and protect the paint from dust and UV rays.
- 15
To apply varnish, ensure the canvas is completely dry. Use a large, clean brush and apply a thin, even coat of clear acrylic varnish or sealant. Let it dry thoroughly according to the product's instructions.
Tips & Troubleshooting
- 1If you notice any paint bleeding under the tape, gently wipe it away with a damp paper towel or a fine-tipped brush dipped in the background color before the paint dries completely. This is crucial for achieving crisp, professional-looking lines.
- 2Experiment with different tape widths to create varied line thicknesses in your design. A 1/2-inch tape will create thinner, more delicate lines, while a 1-inch tape will result in bolder, more prominent divisions.
- 3Don't be afraid to mix colors on your palette or even directly on the canvas for unique shades. You can create custom hues by blending primary colors or adding white or black to lighten or darken existing shades.
- 4For a more textured look, try using a palette knife to apply thicker layers of paint within your geometric sections. This technique can add a tactile dimension and visual interest to your abstract art.
- 5Once dry, you can add small details with a fine-tipped brush, like dots, thin lines, or even subtle gradients, to enhance your design. These small additions can elevate your artwork from simple to sophisticated.
- 6Consider the color relationships in your design. Complementary colors (opposite each other on the color wheel) will create high contrast and energy, while analogous colors (next to each other on the color wheel) will create a more harmonious and calming effect.
- 7If you're working with a large canvas, consider using painter's tape to create a border around the edges of your canvas. This will give your artwork a finished look and prevent paint from getting on the sides.
- 8Don't be afraid to embrace imperfections. Sometimes, slight variations or unexpected drips can add character and a unique charm to your abstract art. The beauty of abstract art lies in its freedom and expression.
Related Activities You Might Enjoy
Frequently Asked Questions
What kind of paint is best for geometric canvas art?
Acrylic paints are ideal for this project because they dry quickly, are water-based, and offer vibrant colors that are perfect for creating bold geometric designs. Their fast drying time means you can layer colors and remove tape sooner, speeding up the creative process. Acrylics also adhere well to canvas, providing a durable finish that is less prone to cracking or peeling over time. Their versatility allows for both opaque coverage and translucent washes, giving you a wide range of artistic possibilities for your geometric artwork.
How do I get clean lines with masking tape on canvas?
To achieve clean lines with masking tape on canvas, ensure the tape is pressed down very firmly along all edges, creating a complete seal against the canvas surface. Any gaps will allow paint to seep underneath. After painting, it's crucial to remove the tape slowly and at an angle, pulling away from the painted edge. Ideally, remove the tape while the paint is still slightly wet; this allows the paint to break cleanly at the tape line rather than peeling up with the tape. If the paint is completely dry, you might need to score the edge of the tape with a craft knife before peeling to ensure a crisp separation.
Can I use other materials besides tape for geometric shapes?
Yes, you can absolutely experiment with other materials besides tape to create your geometric designs. Stencils are a fantastic option for consistent shapes, and you can find pre-made geometric stencils or create your own by cutting shapes from cardstock or thin plastic. Rulers and straight edges can be used to draw lines with a pencil or directly with paint using a fine brush. For more organic or irregular geometric forms, consider using cut-out cardboard shapes, templates made from craft foam, or even masking fluid applied with a brush to protect areas you don't want painted.
How long does it take for acrylic paint to dry on canvas?
Acrylic paint typically dries to the touch within 15-30 minutes on canvas, especially when applied in thin layers. However, this can vary significantly based on several factors. Thicker applications of paint, such as those applied with a palette knife or multiple coats, will take longer to dry completely, potentially up to an hour or more. Environmental conditions also play a role; humid or cool environments will slow down the drying process, while warm, dry conditions will speed it up. It's always best to wait at least an hour, or until the paint feels completely dry and hard, before handling the canvas extensively or applying a varnish.
What are some color palette ideas for abstract geometric art?
For abstract geometric art, consider a variety of color palettes to achieve different moods. A popular choice is a vibrant, high-contrast palette using complementary colors like teal and orange, or blue and yellow, for a lively and energetic feel. For a more sophisticated and modern look, try a monochromatic scheme with varying shades of a single color, accented with black and white. Earthy tones like ochre, terracotta, and deep greens can create a warm and grounded aesthetic. Alternatively, a pastel palette with soft pinks, blues, and yellows can lend a delicate and airy quality to your geometric designs. Don't hesitate to mix and match, and consider the emotional impact you want your artwork to have.
Can I combine different painting techniques on one canvas?
Absolutely! Combining different painting techniques can add incredible depth and visual interest to your abstract geometric canvas art. For instance, you could use masking tape for sharp, clean lines and geometric blocks of color, and then use a palette knife to apply thick, textured paint within some of those sections. You might also use a sponge to create a softer, blended background before applying taped geometric elements on top. Another idea is to use a fine-tipped brush to add delicate details, like dots or thin outlines, over dried sections of paint. The key is to ensure each layer is dry before applying the next technique to avoid muddying colors and to maintain crispness where desired.
What Next?
Congratulations on creating your unique abstract geometric canvas art! This versatile technique opens doors to endless creative possibilities. Consider experimenting with metallic paints for a touch of glamour, or using a sponge for a softer texture within your shapes. For a truly unique piece, try layering colors by painting over dried sections or using a palette knife for added dimension. Once your masterpiece is completely dry, you can hang it proudly as is, or apply a clear acrylic varnish to protect the paint and enhance its sheen. Store any leftover paints in airtight containers to preserve their quality for future projects.
Free: 10 Paper Crafts Anyone Can Make in 5 Minutes
Get our beginner guide + new craft ideas weekly.
No spam. Unsubscribe anytime.
Did you complete this activity?