How to Make a Giant Outdoor Ring Toss — Easy Step-by-Step Guide
Create a fun and engaging giant outdoor ring toss game using simple household items. Perfect for backyard parties and active family play.

Quick answer
To make a giant outdoor ring toss, you need PVC pipes, rope, and spray paint, taking about 60 minutes. Start by assembling the base. This beginner-friendly activity has 10 steps and is perfect for families with kids aged 6+.
What you need
Shop on Amazon · As an Amazon Associate we earn from qualifying purchases. Links above are affiliate links — we may earn a commission at no extra cost to you.
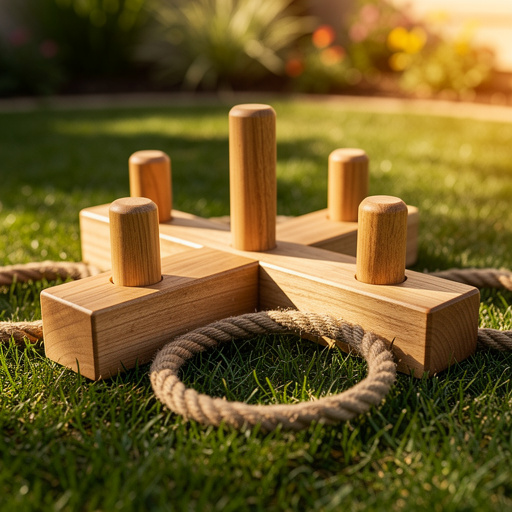
Looking for a way to inject some classic fun into your backyard gatherings or family game nights? This giant outdoor ring toss project is the perfect solution! It's incredibly easy to build, surprisingly durable, and offers hours of entertainment for all ages. Unlike flimsy store-bought games, this DIY version is customizable and built to last. Whether you're hosting a summer barbecue, a birthday party, or just want to encourage some active play, this giant ring toss will quickly become a backyard favorite, fostering friendly competition and creating lasting memories.
On this page
Step-by-Step Instructions
- 1
Begin by measuring and marking your PVC pipes for cutting. You'll need two 2-foot lengths for the base supports and two 1-foot lengths for the upright posts. Ensure your markings are clear and straight for accurate cuts.
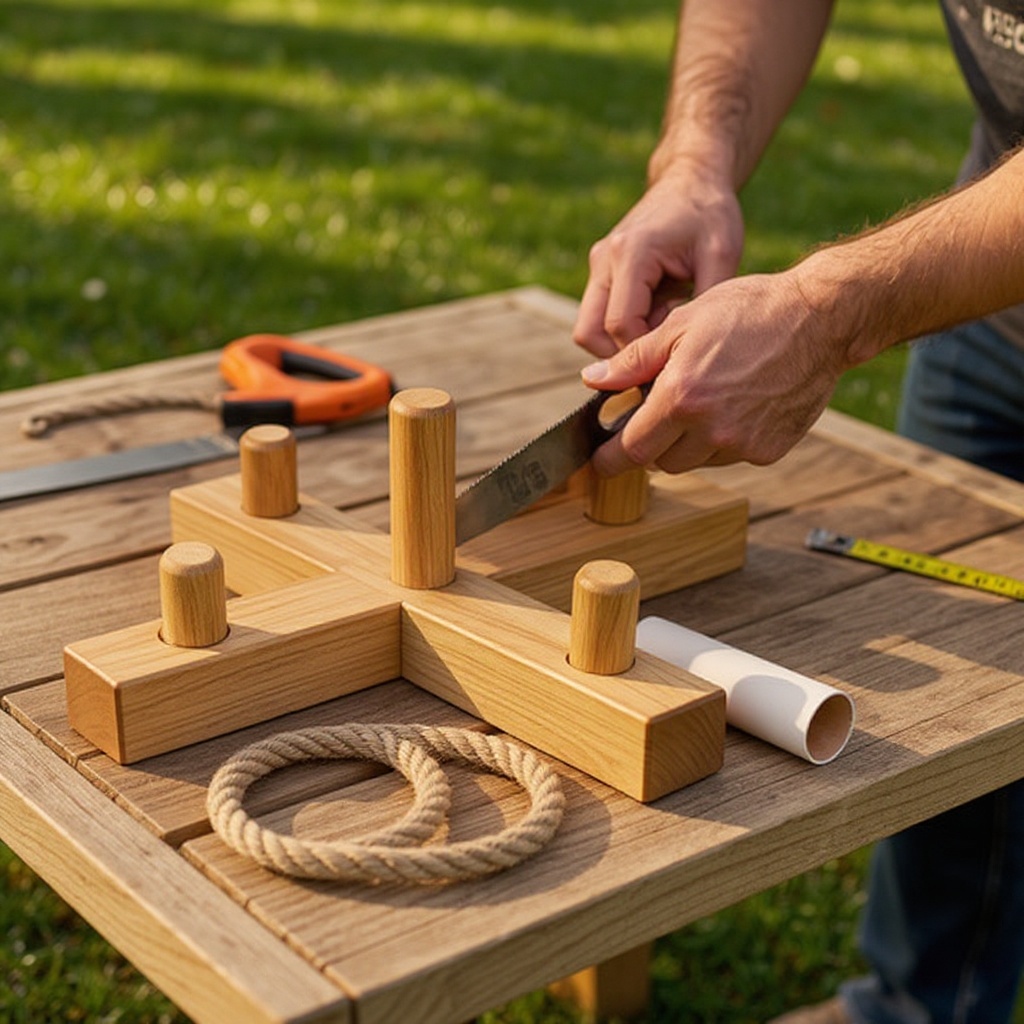
- 2
Carefully cut the PVC pipes according to your markings. If you don't have a saw, most hardware stores will cut them for you for a small fee, saving you time and effort. Smooth any rough edges with sandpaper.
- 3
Take one of the 2-foot PVC pipes and firmly insert a T-connector into one end. This T-connector will form the stable base of your ring toss target.
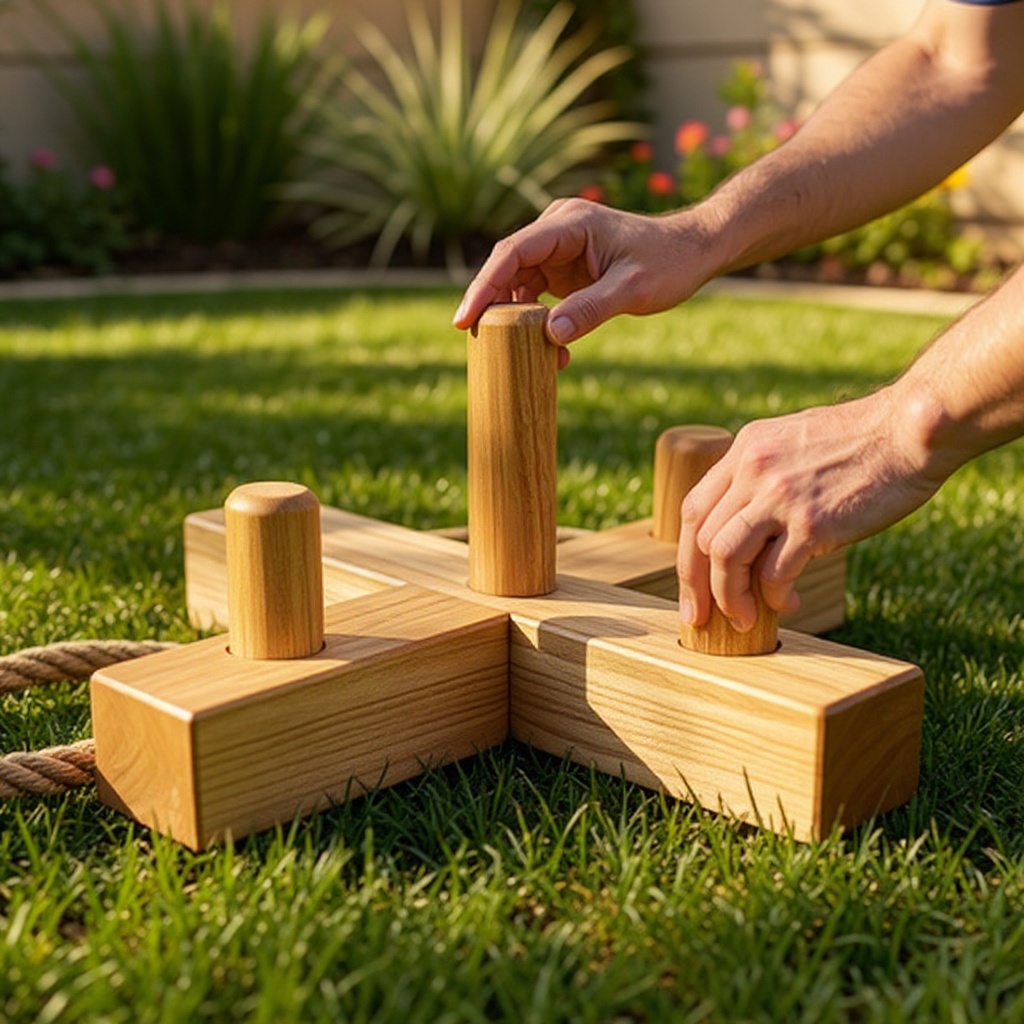
- 4
Insert one of the 1-foot upright posts into the open end of the T-connector. Ensure it's pushed in snugly to create a secure vertical support.
- 5
Attach a PVC elbow connector to the top of the 1-foot upright post you just inserted. This elbow connector will direct the structure horizontally.
- 6
Now, take the second 2-foot PVC pipe and attach a PVC elbow connector to one of its ends. This will form the other side of the base structure.
- 7
Connect the remaining 1-foot upright post to the open end of the elbow connector you just attached to the second 2-foot pipe. This creates the second vertical support.
- 8
Connect the free end of the first 2-foot pipe (the one with the T-connector already attached) to the remaining open end of the T-connector on the base. This completes one side of the base.
- 9
Connect the free end of the second 2-foot pipe (the one with the second upright post attached) to the open end of the elbow connector that's attached to the first upright post. This forms the second upright section of your target.
- 10
Finally, attach the PVC cap to the top of the second upright post. This caps off the structure and provides a finished look, completing the main target assembly.
- 11
Measure and cut your strong rope or twine into four equal lengths, approximately 5 feet each. These will be transformed into your tossing rings. Ensure the cuts are clean to prevent fraying.
- 12
At one end of each rope length, tie a very secure knot, leaving a small loop for easy gripping. This loop will be essential for players to hold onto the rings comfortably.
- 13
To create the rings, begin wrapping the rope tightly around itself, starting from the knot you just tied. Continue wrapping until you form a sturdy ring approximately 6-8 inches in diameter. The tighter you wrap, the more durable the ring will be.
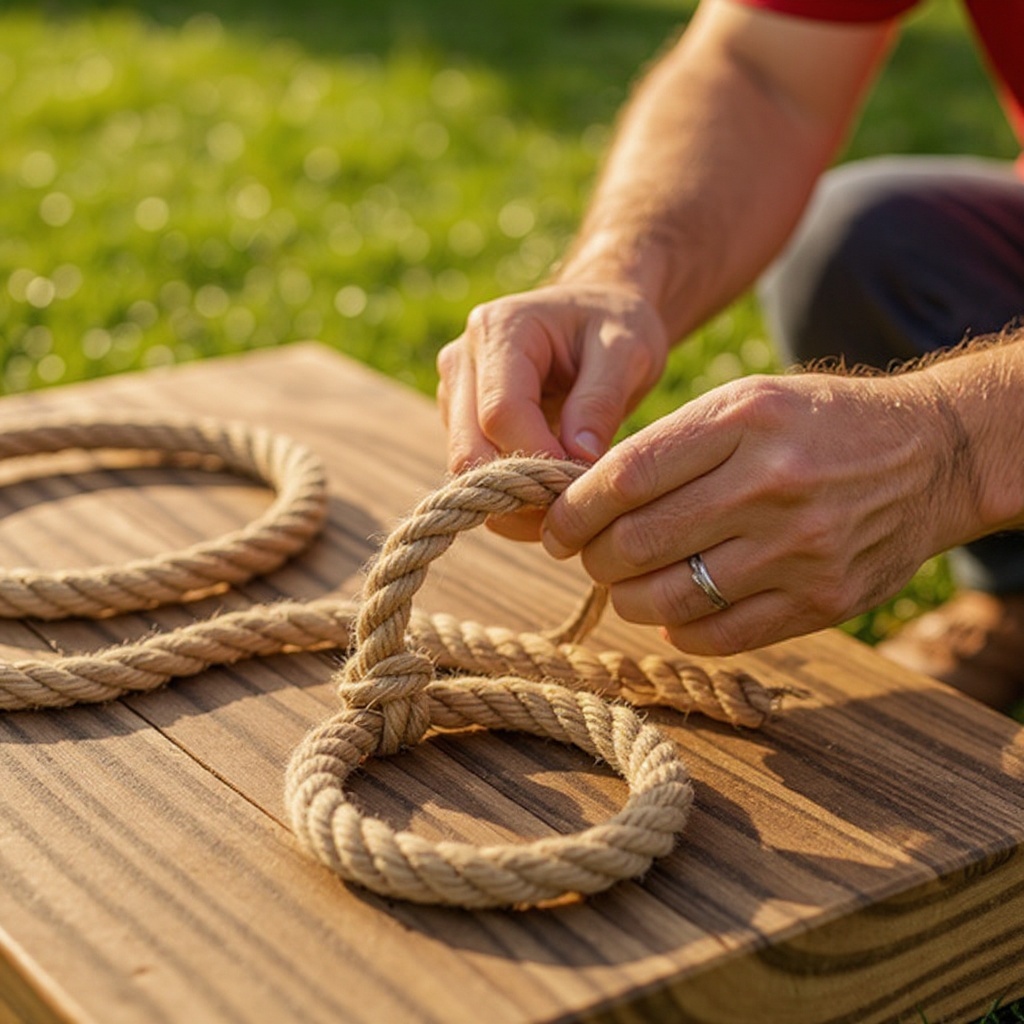
- 14
Once you've achieved the desired ring size, secure the end of the rope with another strong knot. You can also add a dab of strong adhesive or a wrap of duct tape for extra security, especially if using thinner rope.
- 15
If you plan to paint your ring toss, now is the time to prepare the PVC. Lightly sand all the PVC surfaces with medium-grit sandpaper to create a slightly rough texture, which will help the spray paint adhere better.
- 16
Wipe down the sanded PVC with a damp cloth to remove any dust. Lay down a drop cloth or old newspapers in a well-ventilated area, and then spray paint the PVC structure in your chosen colors. Apply thin, even coats for the best finish.
- 17
While the PVC structure is drying, you can also paint your rope rings. Ensure they are completely dry before handling. You might need multiple coats for vibrant colors.
- 18
Allow all painted components to dry completely according to the spray paint manufacturer's instructions. This is crucial to prevent the paint from chipping or smudging during play.
- 19
Once everything is dry, you can assemble the structure. Gently push the PVC pipes into the connectors. If you want a more permanent structure, you can use PVC cement, but for easy disassembly and storage, friction fit is usually sufficient.
- 20
Test the stability of your ring toss by gently pushing on it. If it feels wobbly, consider adding more weight to the base or reinforcing the connections.
Tips & Troubleshooting
- 1If you don't have a saw, many hardware stores will cut PVC pipes to your specified lengths for a small fee, saving you time and ensuring precise cuts. This is a great option for beginners or those without specialized tools.
- 2For added stability, especially on uneven ground or in windy conditions, you can fill the base T-connector with sand or small rocks before attaching the upright post. This extra weight will anchor the structure firmly.
- 3Get creative with your rings! You can use thicker rope for larger, heavier rings, or even experiment with fabric strips braided together, or old pool noodles cut into rings for a softer, safer option for younger children.
- 4Make the game more challenging by creating rings of different sizes or weights, or by adjusting the distance between the tossing point and the target. You could also paint different scoring zones on the target.
- 5Store the PVC structure disassembled in a garage or shed to protect it from the elements, such as sun and rain, which can degrade the PVC over time. This will significantly extend the life of your game.
- 6Consider adding decorative elements to your ring toss. You could paint fun patterns on the PVC, add stickers, or even attach small flags to the top of the uprights for a festive touch.
- 7For an extra layer of fun, especially for parties, create a designated throwing line using chalk or a piece of rope. This adds a sense of official competition to the game.
- 8If you're concerned about the rope rings unraveling, you can secure the final knot with a strong adhesive like super glue or a few wraps of waterproof duct tape for added durability.
Related Activities You Might Enjoy
Frequently Asked Questions
What materials do I need for a DIY outdoor ring toss?
To construct this giant outdoor ring toss, you will primarily need PVC pipes, specifically four 10-foot lengths of 1-inch diameter pipe. You'll also require one 1-inch diameter PVC T-connector and four 1-inch diameter PVC elbow connectors, along with one 1-inch diameter PVC cap to finish the top. For the tossing rings, strong rope or twine is essential, with approximately 20 feet recommended. Optional but highly recommended materials include spray paint in various colors for both the PVC structure and the rope rings, a measuring tape, a saw (or have pipes pre-cut), medium-grit sandpaper for surface preparation, and a marker for measurements. Don't forget gloves and a drop cloth if you plan to paint.
How long does it take to make a giant outdoor ring toss?
The assembly of the main PVC structure for this giant outdoor ring toss is quite quick, typically taking around 30-45 minutes, assuming you have all your materials pre-cut. Creating the four rope rings will add another 15-20 minutes. If you choose to paint the PVC structure and the rings, you'll need to factor in drying time, which can add several hours depending on the type of paint and environmental conditions. Overall, from start to finish, including painting and drying, you can expect to spend about 2-3 hours on the project, but the active building time is minimal.
Is this outdoor game suitable for younger children?
Absolutely! This giant outdoor ring toss is exceptionally well-suited for younger children, making it a fantastic family-friendly activity. The large size of the target and the rings makes it easier for little ones to aim and successfully toss them, boosting their confidence and engagement. While very young children might need a little help with the throwing motion or understanding the game's objective, the oversized components are safer and more manageable for them than smaller, traditional ring toss games. It encourages gross motor skill development and provides a fun, active way for the whole family to play together.
Can I customize the size of the ring toss game?
Yes, the beauty of this DIY project is its inherent customizability! You can easily adjust the lengths of the PVC pipes to make the game taller or wider, catering to different age groups or desired difficulty levels. For instance, using longer upright pipes will create a taller target, while longer base pipes can make the structure wider and more stable. You can also create multiple target heights by using different lengths of upright pipes, or even build a second, shorter target to add variety and challenge for players of all skill levels. The possibilities for personalization are vast.
How do I make the rope rings more durable?
To ensure your rope rings are as durable as possible, start with a strong, weather-resistant rope or twine. When creating the rings, wrap the rope as tightly as you can around itself, ensuring there are no loose sections. After tying the final knot to secure the ring shape, consider adding a strong adhesive, such as super glue or a waterproof epoxy, to the knot to prevent it from unraveling. For an extra layer of protection and a cleaner finish, you can also wrap the secured knot with a few layers of waterproof duct tape. This will help the rings withstand repeated use and exposure to the elements.
What are some alternative materials for the rings?
While rope is a classic choice, there are several other creative and readily available materials you can use to make the tossing rings. Old pool noodles are an excellent option, especially for younger children, as they are soft, lightweight, and easy to cut into rings. You can also braid together strips of durable fabric, like old t-shirts or canvas, to create colorful and sturdy rings. For a more rustic look, consider using thick, flexible branches that have been smoothed and secured into a circular shape. Even thick rubber tubing or old bicycle inner tubes can be cut and formed into rings.
What Next?
Congratulations on building your very own giant outdoor ring toss! This versatile game can be customized further with different paint schemes or even by adding a second, shorter target for a multi-level challenge. For storage, consider disassembling the base and uprights, which can be easily done by gently pulling the pipes apart. Store the components in a shed or garage to protect them from the elements and prolong their lifespan. You could even create a custom carrying bag for the rings. This project is a fantastic starting point for more backyard game creations, like giant Jenga or a DIY cornhole set!
Free: 10 Paper Crafts Anyone Can Make in 5 Minutes
Get our beginner guide + new craft ideas weekly.
No spam. Unsubscribe anytime.
Did you complete this activity?
Related