How to Make a Homemade Memory Match Game — Easy Step-by-Step Guide
Create your own custom memory match game using cardstock and your favorite drawings or photos. A fun and engaging screen-free activity for the whole family!
Quick answer
To make a DIY memory match game, you need cardstock, scissors, and markers/crayons, taking about 30 minutes. Start by cutting out identical pairs of cards. This beginner-friendly activity has 10 steps and is perfect for families with kids aged 4+.
What you need
Shop on Amazon · As an Amazon Associate we earn from qualifying purchases. Links above are affiliate links — we may earn a commission at no extra cost to you.
Unplug and reconnect with a delightful DIY memory match game! Crafting your own version of this classic game is a wonderfully engaging project that fosters creativity and cognitive development in a fun, hands-on way. It's perfect for rainy afternoons, family game nights, or as a thoughtful handmade gift. Whether you're a seasoned crafter or a complete beginner, this project is designed for ease and enjoyment, making it an ideal activity for children aged four and up, and a cherished keepsake for years to come.
On this page
Step-by-Step Instructions
- 1
Decide on the theme for your memory match game. This is where your creativity can truly shine! Think about what your child or family enjoys most – perhaps it's a collection of farm animals, different types of vehicles, colorful geometric shapes, or even characters from a favorite book or movie. Having a clear theme will make the design process much smoother and the game more engaging for players.
- 2
Determine the number of pairs you want for your game. For younger children, starting with 5-7 pairs (10-14 cards total) is recommended to keep it manageable and prevent frustration. As players get older or more experienced, you can increase the number of pairs to 10, 15, or even 20 for a greater challenge. This decision will dictate how much cardstock you need and how many designs you'll create.
- 3
Prepare your cardstock by cutting it into uniform rectangles. For a standard memory game, aim for cards that are roughly 2.5 x 3.5 inches, similar to playing cards, or slightly larger for younger hands. Use a ruler and pencil to mark your cutting lines precisely on each sheet of cardstock, ensuring all cards will be the same size and shape for fair play. If using a standard 8.5 x 11 inch sheet, cutting it into four equal rectangles (approximately 4.25 x 5.5 inches) is a good starting point, and then you can further divide those into smaller cards.
- 4
Begin drawing or creating the images for your first pair of cards. Select one of your chosen themes and decide on the first image you want to represent. For example, if your theme is animals, you might draw a friendly lion on one card. Use your pencil to lightly sketch the outline first, then go over it with your chosen coloring medium. Ensure the image is clear and easily recognizable.
- 5
On the second card of the pair, meticulously recreate the identical image, shape, or symbol. This is the most crucial step for a functional memory game. The two cards must be exact duplicates. Take your time to ensure the lines, colors, and details match perfectly. If you're using stamps or stickers, simply apply the same one to both cards.
- 6
Continue this process for all your chosen pairs, ensuring each pair is exactly the same. For instance, if you have a pair of red apples, make sure both cards feature identical red apples. If you're using shapes, ensure a blue circle on one card is matched by another identical blue circle on its partner card. Consistency is key to a successful and enjoyable game.
- 7
Once all your cards are designed and colored, carefully cut them out along the marked lines. Use sharp scissors to achieve clean, straight edges. Take your time with this step, as unevenly cut cards can make the game harder to handle and less visually appealing. If you used a ruler to mark your lines, cutting along those lines will help ensure uniformity.
- 8
For added durability and to prevent the cardstock from becoming too flimsy or see-through, consider gluing two identical cards together, back-to-back, before cutting them out. This creates a thicker, more robust card that will withstand more play. Ensure you use a thin, even layer of glue and press firmly to avoid wrinkles or air bubbles. Let the glue dry completely before proceeding to the cutting stage.
- 9
If you want to make your memory match game exceptionally durable and resistant to spills or tears, consider laminating the finished cards. You can use a home laminating machine or purchase self-adhesive laminating sheets. Carefully place each card into the laminator or apply the sheets, ensuring no air bubbles are trapped. Once laminated, trim any excess plastic around the edges, leaving a small border for a sealed finish. This step significantly extends the lifespan of your game.
- 10
Double-check all your cards to ensure they are the same size and shape. This is vital for fair play and for creating a neat grid when laying out the game. If any cards are slightly off, you can carefully trim them with scissors or use a craft knife and ruler for precision. The goal is for every card to be indistinguishable from another in terms of its physical dimensions.
- 11
Now, it's time to mix up all the cards and lay them face down in a grid formation on a flat surface. You can arrange them in rows and columns, such as 4x5 for 20 cards, or 5x6 for 30 cards, depending on how many pairs you created. Ensure there are no gaps between the cards and that they are spread out enough to be easily flipped over.
- 12
The game is now ready to play! Players take turns flipping over two cards at a time, trying to find matching pairs. If a player flips over two cards that match, they keep the pair and get another turn. If the cards don't match, they flip them back face down in their original positions, and the turn passes to the next player. The player with the most pairs at the end of the game wins!
Tips & Troubleshooting
- 1For younger children, start with fewer pairs (e.g., 5-7 pairs) and larger, simpler images. This helps them focus on recognizing the images and the concept of matching without becoming overwhelmed. Bright, bold colors and familiar objects like basic shapes, animals, or fruits are ideal for this age group.
- 2Use a ruler to ensure all your cards are cut to the exact same dimensions for a professional look and easier handling. Precise measurements not only make the game look better but also ensure that no card has an unfair size advantage, contributing to a more balanced gameplay experience.
- 3Consider laminating your cards if you want them to last longer and be more resistant to wear and tear. Lamination protects against spills, creases, and general damage, making your handmade game a durable heirloom that can be enjoyed for many years and by multiple generations.
- 4Get creative with your themes! You can use stickers, printed images, or even photos of family members for a personalized touch. Printing out small, duplicate images of your family pets, favorite toys, or even family members themselves can create a deeply personal and cherished memory game.
- 5To make the game more challenging for older players, you can introduce subtle variations in the images. For example, instead of identical red apples, one apple could be slightly larger or have a different leaf. This requires closer observation and memory recall, turning a simple matching game into a more strategic challenge.
- 6If you're using a printer to add images or photos, make sure to print them on good quality paper or cardstock. For extra durability, consider printing directly onto cardstock or gluing printed images onto pre-cut cardstock pieces. This ensures the images are vibrant and the cards are sturdy.
- 7Encourage players to describe the images they see as they flip the cards. This verbalization helps reinforce memory and vocabulary development, especially for younger children. For example, a child might say, 'I see a big, yellow sun!' before flipping the next card.
- 8Store your completed memory match game in a custom-made box or a decorative pouch. This not only keeps the cards organized and prevents them from getting lost but also adds a special touch to your handmade creation. You can even decorate the storage container to match the theme of your game.
Related Activities You Might Enjoy
Frequently Asked Questions
What are the best homemade card games for toddlers?
For toddlers, a simple memory match game with large, easily recognizable images is ideal. Focus on bright colors and familiar objects like animals, shapes, or common household items. Keep the number of pairs small, perhaps only 4-6 pairs (8-12 cards total), to avoid frustration and maintain their attention span. Using chunky cardstock or even laminated pieces will make them easier for little hands to grasp and more durable against chewing or rough handling. The key is simplicity, clarity, and a low number of matching sets to build their confidence and introduce them to the concept of matching and memory recall in a fun, playful way.
How can I make my homemade card game more durable?
To increase durability, you can glue two identical pieces of cardstock together for each card, creating a thicker, more robust card that is less likely to bend or tear. Alternatively, consider laminating the finished cards with a laminating machine or self-adhesive laminating sheets for extra protection. Lamination not only adds strength but also makes the cards water-resistant and easier to clean, ensuring your game can withstand frequent play and potential spills. For an even more robust option, you could mount your designs onto thin cardboard or foam board before cutting and laminating.
What materials do I need to make a DIY memory game?
You'll primarily need cardstock or sturdy paper for the cards themselves, as it holds its shape better than regular paper. Scissors are essential for cutting the cards to size, and a ruler is highly recommended for ensuring all cards are uniform. For decorating, you can use a variety of supplies like markers, crayons, colored pencils, stamps, or stickers. If you want to make the cards more durable, you'll also need a glue stick or craft glue to adhere duplicate cards, and optional laminating sheets or a machine for maximum protection.
Can I create a memory game with photos?
Absolutely! Print duplicate copies of your favorite photos, cut them to size, and use them to create a personalized memory match game. This is a wonderful way to create a keepsake that celebrates family memories, pets, or special occasions. Ensure you print two identical copies of each photo you want to use. For best results, print on photo paper or cardstock, and consider laminating the finished cards to protect the images and make them more durable for repeated play. This makes for a truly unique and sentimental game.
What age is a DIY memory match game suitable for?
A DIY memory match game is incredibly versatile and can be adapted for a wide range of ages. For toddlers and very young children (ages 2-3), start with just a few pairs (4-6) of large, high-contrast, easily recognizable images like primary shapes or common animals. For preschoolers and early elementary schoolers (ages 4-7), you can gradually increase the number of pairs and introduce more complex images or themes. Older children and even adults can enjoy games with 15-20 pairs or more, featuring intricate designs, abstract patterns, or challenging themes. The beauty of a DIY game is its customizability to suit any skill level.
How many pairs of cards should I make for a beginner game?
For a beginner memory match game, especially one intended for young children or individuals new to the game, it's best to start with a smaller number of pairs. Aiming for 5 to 7 pairs (meaning 10 to 14 cards in total) is a good starting point. This allows players to focus on learning the game mechanics and developing their memory skills without feeling overwhelmed by too many options. As players become more comfortable and successful, you can easily increase the number of pairs to make the game more challenging and engaging.
What Next?
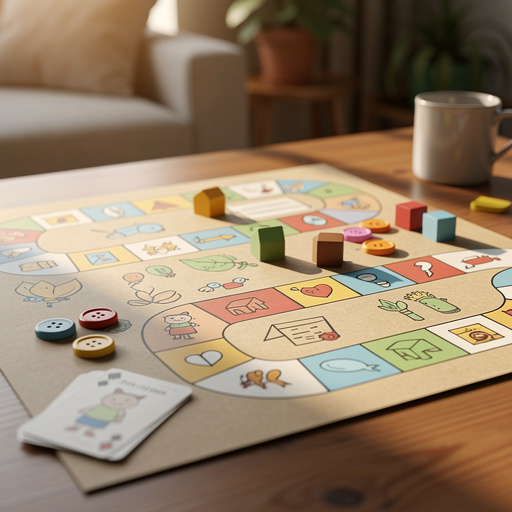
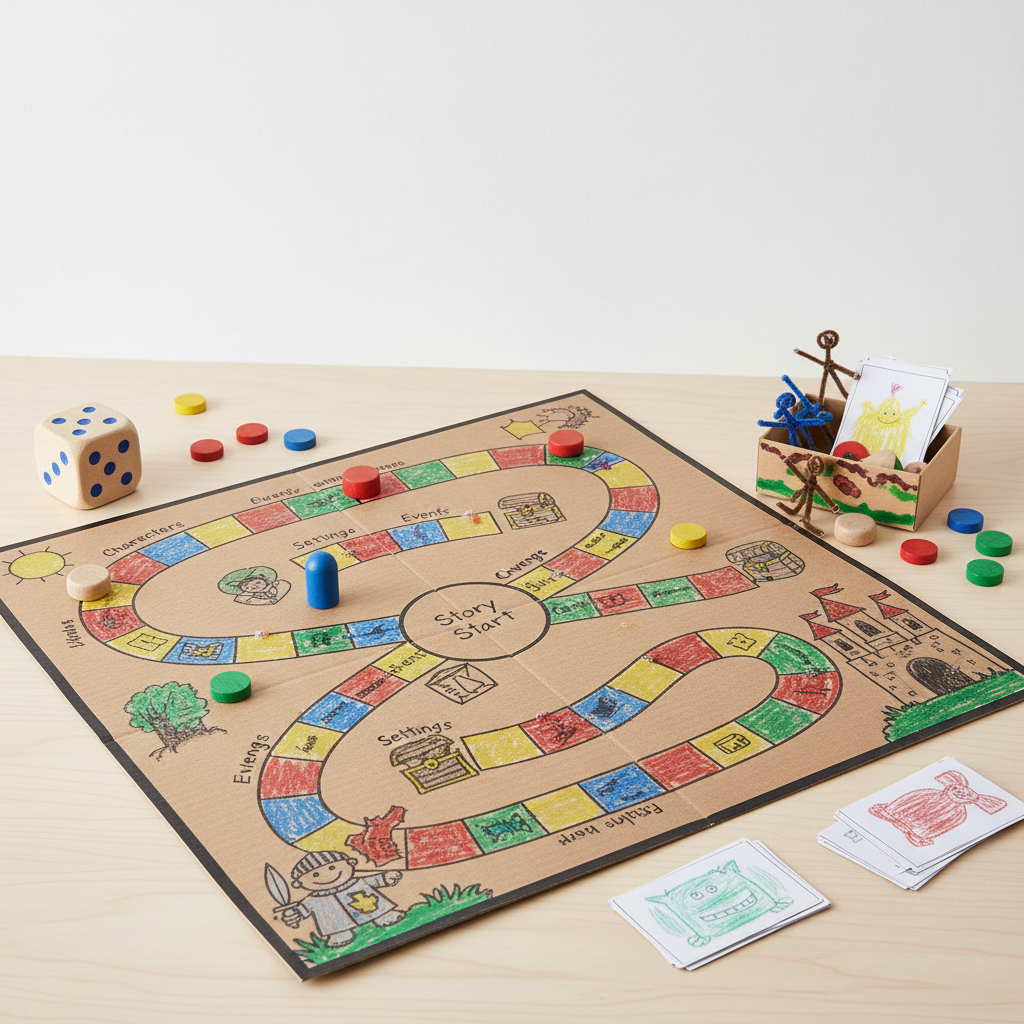
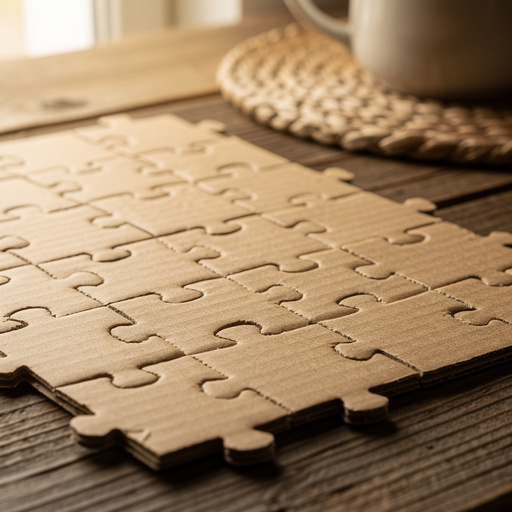
Once your memory match game is complete, the fun is just beginning! Store your cards in a decorative box or a fabric pouch to keep them organized and protected. Consider creating multiple themed sets for endless replayability. This project is a fantastic springboard for other DIY game creations, like DIY puzzles or custom board games. You could even use your leftover cardstock to create matching playing cards or custom dice. Enjoy the laughter and learning that comes with playing your unique, handcrafted game!
Free: 10 Paper Crafts Anyone Can Make in 5 Minutes
Get our beginner guide + new craft ideas weekly.
No spam. Unsubscribe anytime.
Did you complete this activity?
Related