How to Create Your Own Family Board Game — Easy Step-by-Step Guide
Design and build your very own unique board game from scratch, perfect for a personalized family game night experience. This beginner-friendly DIY project is fun for all ages.

Quick answer
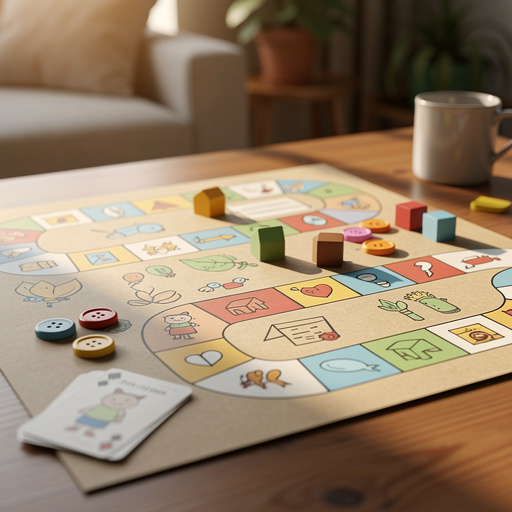
To make a custom board game, you need cardboard, markers, dice, and small game pieces, taking about 90 minutes. Start by sketching your board layout. This beginner-friendly activity has 10 steps and is perfect for families with kids aged 6+.
What you need
Shop on Amazon · As an Amazon Associate we earn from qualifying purchases. Links above are affiliate links — we may earn a commission at no extra cost to you.
Gather your family and unleash your creativity with this incredibly rewarding DIY project: creating your very own board game! Moving beyond store-bought options, designing a game from scratch offers a unique opportunity to tailor the experience to your family's interests, inside jokes, and skill levels. It's a fantastic way to foster teamwork, problem-solving, and imaginative thinking, making family game night truly unforgettable. This guide breaks down the process into simple, manageable steps, making it accessible for crafters of all ages and skill levels.
On this page
Step-by-Step Instructions
- 1
Step 1: Brainstorm your game's theme and objective. What is the goal? How do players win? Think about what your family enjoys – perhaps a treasure hunt, a space adventure, a magical quest, or even a silly race. Clearly define the ultimate objective, such as reaching a specific point, collecting a certain number of items, or completing a task before others.
- 2
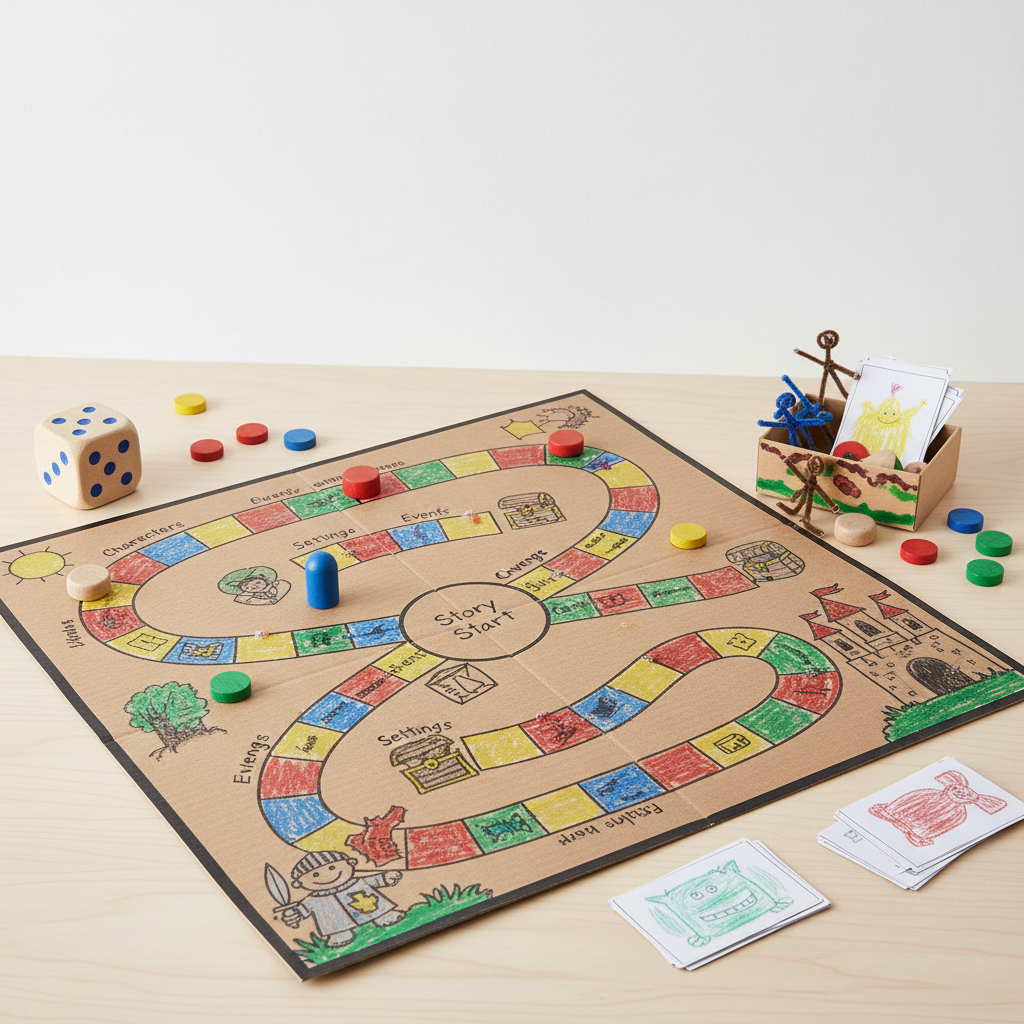
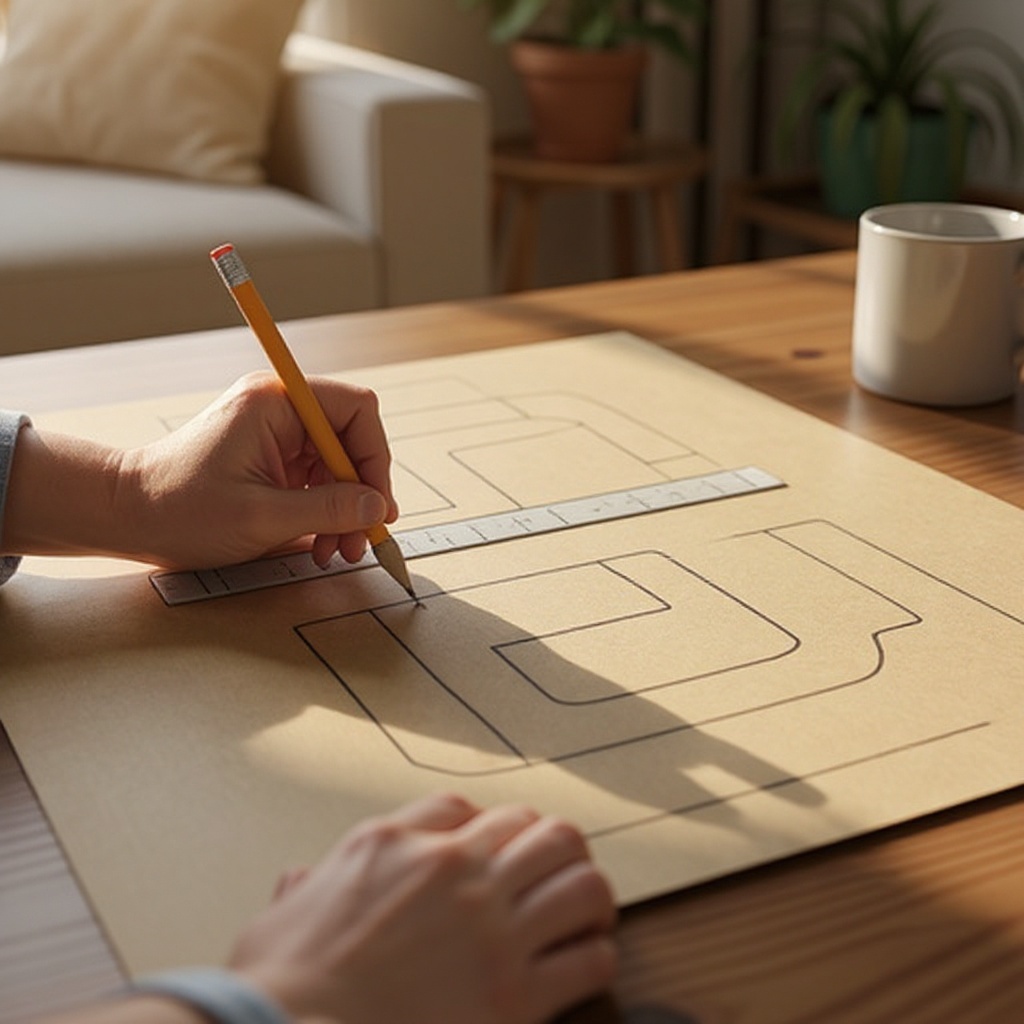
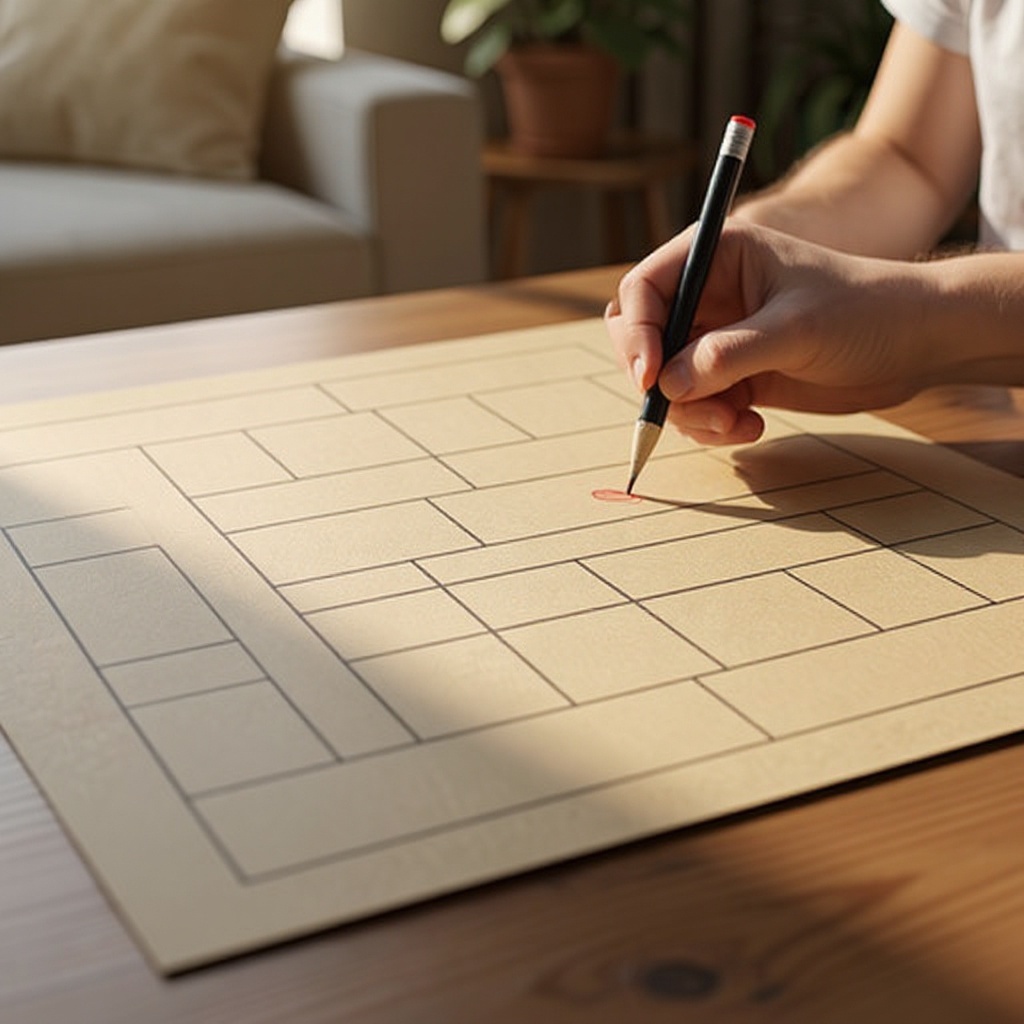
Step 2: Lightly sketch a path or grid on your cardboard using a pencil and ruler. This will be your game board. For a path-style game, draw a winding line that will guide players from start to finish. For a grid-style game, use your ruler to create a series of connected squares or rectangles.
- 3
Step 3: Divide the path into spaces. Aim for 30-50 spaces for a good game length, ensuring there's enough variety and progression. Each space should be large enough to comfortably fit your game pieces and any text or drawings you plan to add.
- 4
Step 4: Draw a 'Start' space and a 'Finish' space. Decorate them to make them stand out and clearly indicate the beginning and end of the game. You could use vibrant colors, bold lettering, or thematic imagery to make these spaces visually distinct.
- 5
Step 5: Design special spaces along the path. These could be 'Move Ahead 2 Spaces,' 'Go Back 1 Space,' 'Lose a Turn,' or 'Draw a Card.' Consider adding spaces that offer advantages, like 'Jump Ahead 3 Spaces,' or challenges that require players to perform a silly action or answer a trivia question.
- 6
Step 6: Decorate the remaining spaces with your chosen theme. Use markers or colored pencils to add details and bring your game world to life. Ensure each space is visually appealing and contributes to the overall narrative or theme of your game.
- 7
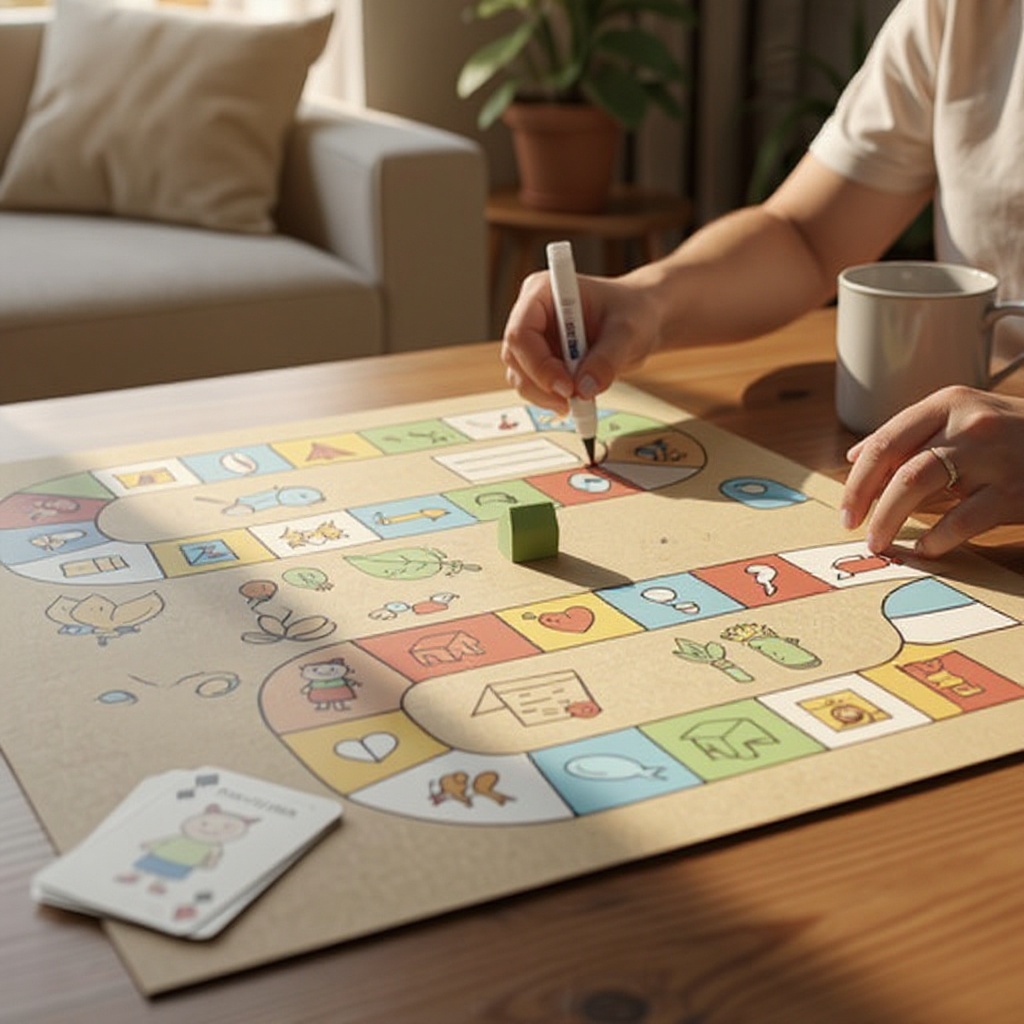
Step 7: If you're using game cards, cut out small rectangles from cardstock. Write instructions or challenges on them. Aim for a consistent size for all cards, and consider using different colored cardstock for different types of cards (e.g., challenge cards, bonus cards).
- 8
Step 8: If using cards, create a designated 'Draw Card' space on your board and a pile for your cards. This space should be clearly marked, and players should understand that landing on it means drawing a card from the shuffled deck.
- 9
Step 9: Cut out small tokens from leftover cardboard or gather your chosen game pieces. These will be your player markers. Ensure each player has a distinct marker so it's easy to track their progress on the board.
- 10
Step 10: Once your board and cards are complete, you can optionally cover the board with clear packing tape or laminate it for added durability and a smoother finish. This will protect your artwork and make the board easier to clean. Your custom board game is now ready to play!
- 11
Step 11: Develop your game's rules. Write down clear, concise instructions for how to play, including how players move, what happens on special spaces, and how to win. It's helpful to have a designated rule sheet that everyone can refer to.
- 12
Step 12: Test your game! Play a few practice rounds with your family to identify any confusing rules, unbalanced gameplay, or areas that could be improved. This is a crucial step for ensuring a fun and fair experience for everyone.
- 13
Step 13: Refine your game based on playtesting. Make any necessary adjustments to the rules, board layout, or card instructions to enhance the gameplay and ensure it meets your family's enjoyment.
- 14
Step 14: Add decorative elements to your board. Beyond the themed spaces, consider adding a title banner, borders, or background illustrations to make your game board visually stunning.
- 15
Step 15: Prepare your player tokens. If you're cutting cardboard shapes, make them unique and thematic. If using buttons or pebbles, ensure they are clean and distinct.
- 16
Step 16: Organize your game components. If you've created cards, shuffle them and place them face down. Ensure your die is readily accessible.
- 17
Step 17: Consider adding a 'chance' or 'mystery' element. This could be a separate deck of cards with random events or a spinner that dictates certain outcomes.
- 18
Step 18: Finalize the artwork. Ensure all drawings and text are clear and easy to read. Add any final touches that enhance the visual appeal of your game.
- 19
Step 19: Store your game safely. Use a box, bag, or even a custom-made container to keep all the pieces together and protect your creation.
- 20
Step 20: Share your creation! Proudly present your family-made board game and enjoy countless hours of fun and laughter.
Tips & Troubleshooting
- 1If your cardboard is flimsy, glue a second layer of cardboard to the back for extra sturdiness. This will prevent the board from bending or tearing during gameplay, ensuring it lasts for many game nights to come.
- 2For a more professional look, consider painting your board with acrylic paints before drawing the path and spaces. A solid base coat can make your subsequent drawings pop and give your game a polished appearance.
- 3Make your game cards more engaging by adding illustrations or different colors for different types of cards. Visual cues can help players quickly understand the card's function and add to the game's overall aesthetic appeal.
- 4Store your game pieces and cards in a small bag or box to keep everything together and prevent loss. This is especially important for smaller pieces like buttons or pebbles, which can easily go astray.
- 5Test your game with a few rounds before playing with the whole family to ensure the rules are clear and the game is balanced. This playtesting phase is crucial for identifying any potential issues and making necessary adjustments for optimal fun.
- 6Encourage children to draw their own spaces and design their own cards, fostering their creativity and sense of ownership over the game. This hands-on involvement makes the game even more special for them.
- 7Consider adding a timer element for certain challenges or turns to add an extra layer of excitement and strategic thinking to your game.
- 8If you're using a craft knife, always have an adult supervise and use a cutting mat to protect your work surface. Safety should always be the top priority during the crafting process.
Related Activities You Might Enjoy
Frequently Asked Questions
What are the best materials for making a board game?
For the game board itself, sturdy cardboard is essential to ensure durability and prevent bending or tearing. You can use a single thick piece or glue two thinner pieces together for added strength. For design, a variety of markers or colored pencils work well, allowing for both bold colors and fine details; consider using permanent markers for the board and washable ones for cards that might be handled frequently by younger children. Small, distinct objects like buttons, pebbles, or even custom-cut cardboard shapes make excellent and easily identifiable game pieces. Finally, a standard six-sided die is the most common and accessible tool for determining movement in most board games.
How long does it take to make a custom board game?
Creating a custom board game typically takes around 90 minutes to 2 hours, depending on the complexity of your design and the age of the participants. This timeframe includes the initial brainstorming session to decide on a theme and objective, sketching out the board layout, drawing and decorating the spaces, preparing any game cards or special tokens, and writing down the rules. If you opt for more elaborate artwork or decide to laminate the board, it might extend the time slightly. However, the process is designed to be flexible and can be broken down into shorter sessions if needed.
What age is appropriate for making a board game?
This activity is suitable for families with children aged 6 and up. Younger children can participate with adult guidance, especially for tasks involving cutting with scissors or a craft knife, and for more detailed drawing. Children aged 6-8 can contribute significantly to brainstorming themes, drawing simple spaces, and coloring. Older children, around 9 and above, can take on more responsibility for designing complex spaces, writing card instructions, and even helping to formulate the game's rules. The collaborative nature of this project allows everyone to contribute at their own level.
How can I make my board game more challenging?
To make your board game more challenging, consider introducing more complex rules, such as requiring players to collect specific items before they can advance, or implementing a resource management system where players must spend in-game currency or resources to perform certain actions. Add strategic elements like 'shortcut' paths that require a specific condition to be met, or 'trap' spaces that send players back to the start or impose a penalty. You can also create 'challenge' spaces that require players to complete a task, answer a trivia question related to your theme, or even engage in a mini-game. Increasing the length of the board or adding more obstacles and decision points will also elevate the difficulty.
What if I don't have a large piece of cardboard?
If you don't have a single large piece of cardboard, don't worry! You can easily create a game board by joining two or more smaller pieces of sturdy cardboard together. For example, two standard 9x12 inch pieces of cardboard glued together can form a perfectly usable 18x12 inch board. Ensure the pieces are aligned neatly and glued securely with a strong craft glue or glue stick. You can then reinforce the seam by covering it with a strip of strong packing tape on both the top and bottom of the board. This method allows for flexibility in board size and ensures you can still create a durable and engaging game.
Can I make a cooperative board game instead of a competitive one?
Absolutely! Creating a cooperative board game is a fantastic variation. Instead of players competing against each other, the goal is for all players to work together to achieve a common objective before a certain condition is met (e.g., before a 'villain' reaches a certain point, or before a set number of turns expire). You would design spaces and cards that help players assist each other, share resources, or overcome obstacles as a team. This fosters a different kind of family bonding and problem-solving, making it a great alternative for families who enjoy working together.
What Next?
Congratulations on creating your very own family board game! This custom creation is more than just a game; it's a tangible piece of shared memories and creativity. Consider creating a themed box or pouch to store your game pieces and cards, keeping everything organized for future play. You could even frame your game board as a piece of art! For future projects, explore different game mechanics, like cooperative play or resource management, or even design a series of games based on your family's favorite books or movies. The possibilities are as endless as your imagination!
Free: 10 Paper Crafts Anyone Can Make in 5 Minutes
Get our beginner guide + new craft ideas weekly.
No spam. Unsubscribe anytime.
Did you complete this activity?