How to Create Adorable DIY Planters — Easy Step-by-Step Guide
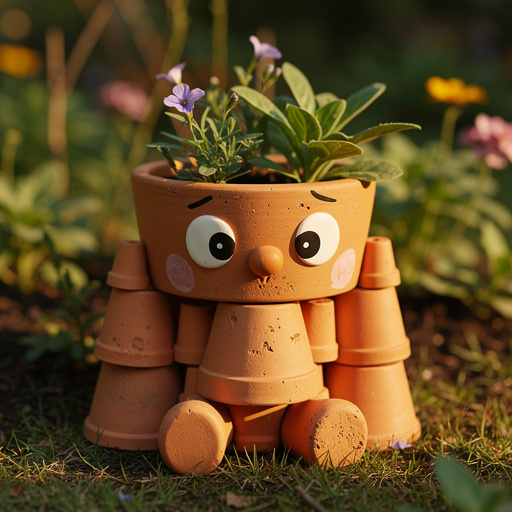
Transform plain terracotta pots into charming characters or decorative designs with this fun and easy DIY planter project. Perfect for adding a personal touch to your home or garden.
Quick answer
To make DIY planters, you need terracotta pots, acrylic paints, brushes, and sealant, taking about 60 minutes. Start by cleaning your pots. This beginner-friendly activity has 10 steps and is perfect for families and kids aged 6+.
What you need
Shop on Amazon · As an Amazon Associate we earn from qualifying purchases. Links above are affiliate links — we may earn a commission at no extra cost to you.
Unleash your inner artist and breathe new life into ordinary terracotta pots with this delightful DIY planter project! Transforming simple clay vessels into whimsical characters or eye-catching decorative pieces is a wonderfully rewarding and accessible craft. It’s the perfect way to inject personality into your living spaces, whether you’re a seasoned crafter or a complete beginner. This project is especially fantastic for families looking for a creative activity to share, offering endless possibilities for imagination and a chance to produce unique, handmade treasures that will be admired by all.
On this page
Step-by-Step Instructions
- 1
Gather all your materials and lay down newspaper or a drop cloth to protect your work surface. Ensure you have enough space to work comfortably and spread out your supplies without feeling cramped.
- 2
Ensure your terracotta pots are clean and dry. Wipe them down with a damp cloth if needed to remove any dust or debris, and let them air dry completely before proceeding to prevent paint from peeling or not adhering properly.
- 3
If you're creating faces or characters, decide on your design. You can sketch it lightly with a pencil if you prefer, or simply freehand your design directly onto the pot. Consider the shape of the pot and how your design will wrap around it.
- 4
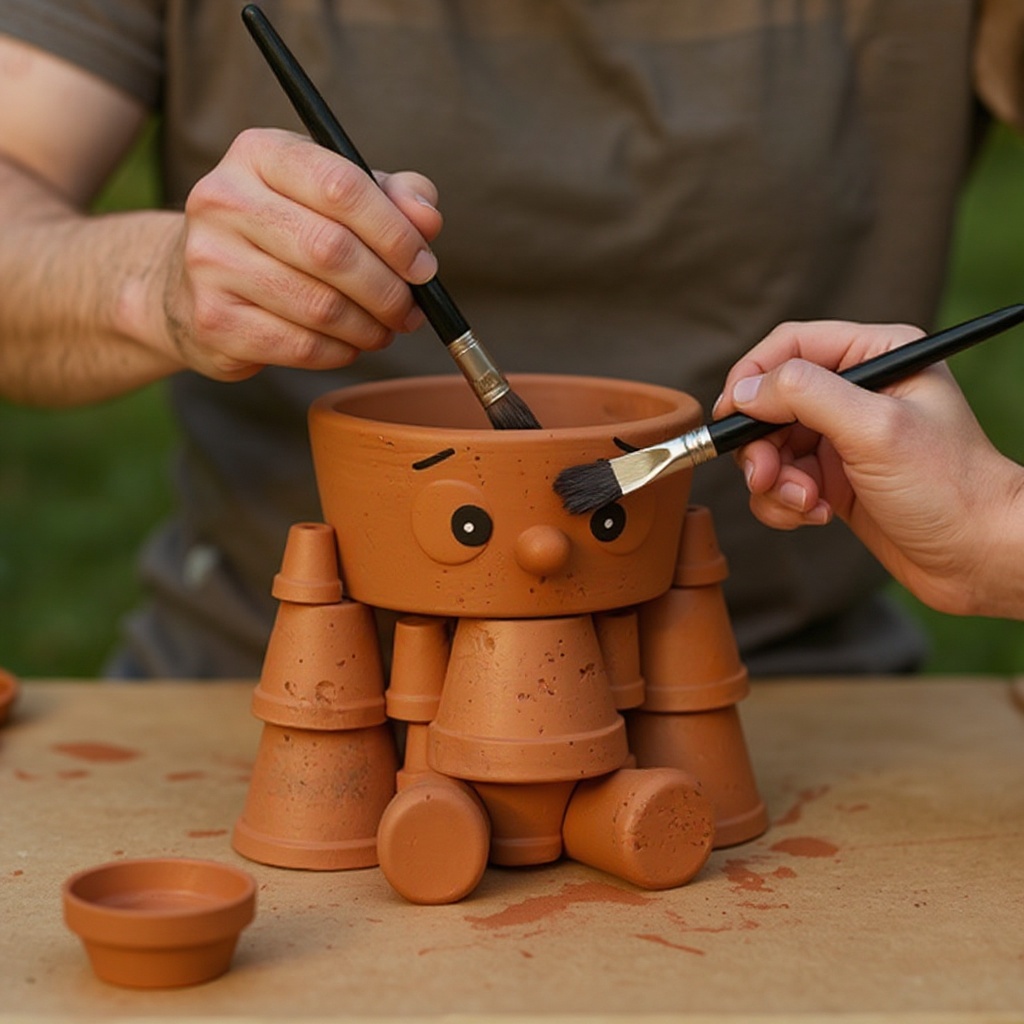
Begin painting the base color onto your terracotta pot. Apply thin, even coats, allowing each coat to dry before applying the next. This technique ensures a smooth, opaque finish and prevents the paint from becoming streaky or clumpy.
- 5
Allow the base coat to dry completely before moving on to the next stage. This is crucial for preventing the colors from mixing unintentionally and for achieving a clean, professional look.
- 6
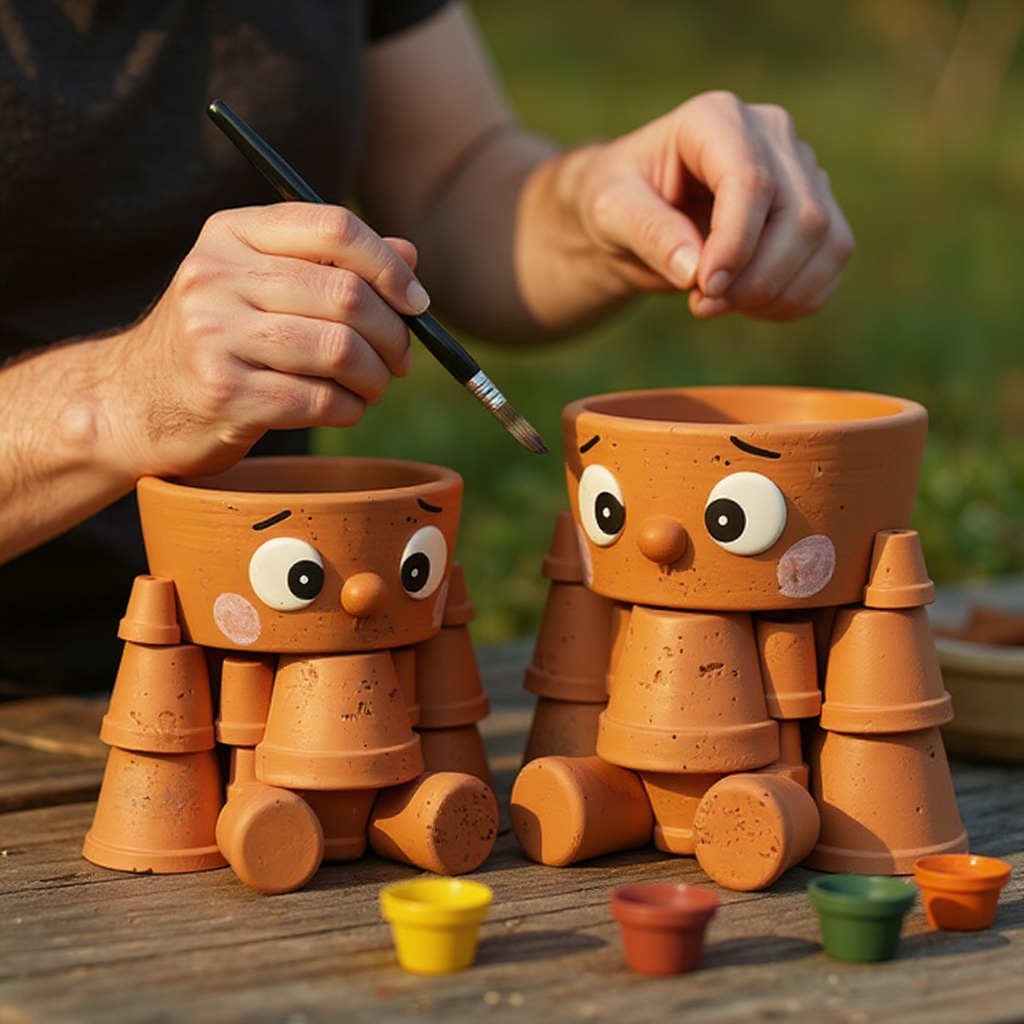
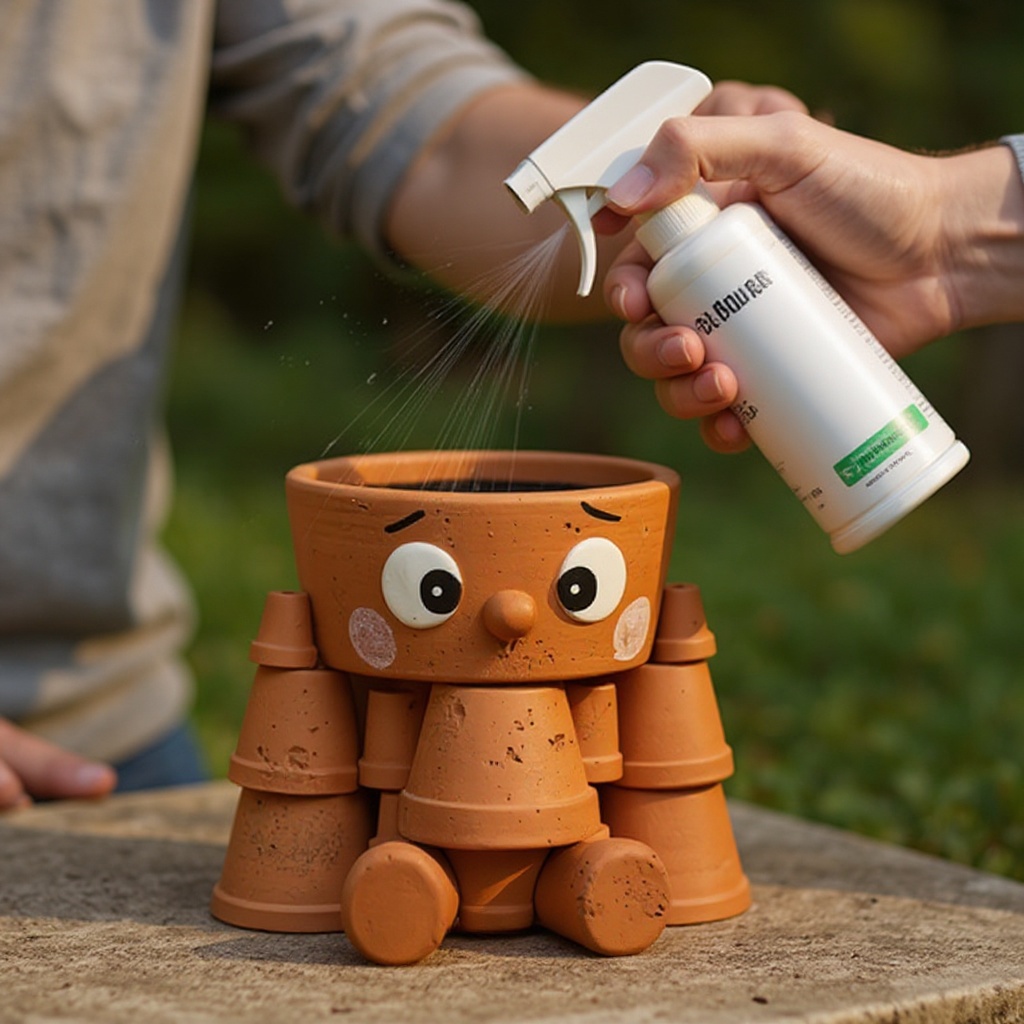
Once the base coat is dry, start adding details like eyes, mouths, noses, or patterns using different paint colors and smaller brushes. Take your time with these finer elements to ensure precision and clarity in your design.
- 7
For a character look, paint on features like ears, hair, or even little hats directly onto the pot. You can also use stencils or masking tape to create sharp lines for stripes, polka dots, or geometric patterns.
- 8
If using googly eyes, apply a small amount of strong craft glue or hot glue to the back of the eyes and press them firmly onto the painted surface once the paint around them is completely dry. Ensure they are positioned as desired before the glue sets.
- 9
Consider adding extra decorative elements. You can use permanent markers to draw fine lines, outlines, or add small details that paint might not easily capture. Twine can be glued around the rim for a rustic touch, or beads can be incorporated into the design.
- 10
Allow all the paint and any added embellishments to dry completely. This may take a couple of hours depending on the thickness of the paint and the humidity of your environment. Patience here is key to a durable finish.
- 11
Once the paint is fully dry, take your pots to a well-ventilated area, preferably outdoors, and apply a thin, even coat of clear acrylic sealant. Hold the spray can about 10-12 inches away from the pot and use a sweeping motion to avoid drips.
- 12
If using a brush-on varnish, apply it with smooth, even strokes, ensuring complete coverage. Work in a well-ventilated area and avoid applying it too thickly, which can lead to a sticky or uneven finish.
- 13
Let the sealant dry completely according to the product instructions. Most sealants require at least 30 minutes to an hour for the first coat to dry to the touch, but it’s best to let it cure fully for several hours or overnight.
- 14
You may want to apply a second coat of sealant for extra durability, especially if your planters will be exposed to frequent watering or outdoor elements. Ensure the first coat is dry before applying the second.
- 15
Once the sealant is completely dry and cured, your DIY planters are ready for their final purpose. You can now fill them with soil and your chosen plants, or use them as decorative containers for small items.
Tips & Troubleshooting
- 1If your paint is too thick, add a tiny drop of water to your brush, not directly to the paint pot, to thin it out for smoother application. Over-diluting the paint can make it transparent or cause it to run, so add water sparingly and test on a scrap surface first.
- 2Experiment with different color combinations and patterns. You can create polka dots, stripes, or even abstract designs by using masking tape to create clean lines or by dabbing paint with a sponge for a textured effect.
- 3For a more rustic look, you can leave parts of the terracotta unpainted or use earthy tones like browns, creams, and muted greens. Alternatively, you can distress the paint slightly after it dries by gently sanding certain areas to reveal the terracotta underneath.
- 4Ensure the sealant is completely dry before planting anything in your DIY planter. This prevents moisture from affecting the paint and ensures the sealant has formed a protective barrier. Planting in a damp pot can also lead to mold or mildew issues.
- 5If you're making these with younger children, consider pre-drawing simple shapes or outlines on the pots for them to paint within. This helps guide their creativity and ensures a more manageable and enjoyable painting experience for them.
- 6Don't be afraid to embrace imperfections! Sometimes the slightly uneven brushstrokes or unique color blends add to the charm and handmade quality of your creation. Terracotta itself has a natural texture that can complement painted designs beautifully.
- 7For outdoor planters, consider using paints specifically labeled for outdoor use, as they are formulated to withstand UV rays and moisture better. While acrylics are generally durable, outdoor-specific paints offer an extra layer of longevity.
- 8When painting intricate details, use a steady hand and rest your wrist on a stable surface. If you make a mistake, you can often wipe away wet acrylic paint with a damp cloth before it dries completely, or carefully paint over it once dry.
Related Activities You Might Enjoy
Frequently Asked Questions
What kind of paint is best for terracotta pots?
Acrylic paints are ideal for terracotta pots as they adhere well to the porous surface and offer a wide range of colors and finishes. They are water-based, making cleanup easy, and dry relatively quickly. For planters that will be placed outdoors or exposed to significant moisture, it's advisable to use acrylic paints specifically formulated for outdoor use, as these are more resistant to fading, chipping, and water damage. Ensure you use paints designed for outdoor use if your planter will be exposed to the elements, as they offer better durability against weather conditions.
Do I need to seal painted terracotta pots?
Yes, sealing painted terracotta pots is highly recommended, especially if they will be outdoors or exposed to moisture. A clear acrylic sealant acts as a protective barrier, safeguarding your painted design from chipping, fading due to UV exposure, and water damage. It helps to lock in the paint and prevent it from peeling or becoming dull over time. Whether you choose a spray sealant or a brush-on varnish, this step is crucial for the longevity and aesthetic appeal of your DIY planters, ensuring your artwork remains vibrant for seasons to come.
Can I plant directly into a painted terracotta pot?
Yes, you can plant directly into a painted terracotta pot once the paint and sealant are completely dry and cured. Terracotta is a breathable material, which is beneficial for plant roots as it allows for air circulation and helps prevent overwatering by allowing excess moisture to evaporate. The sealant protects your artwork from the soil and water, while the natural porous nature of terracotta continues to support healthy plant growth. Just ensure the sealant is fully cured before adding soil and plants to avoid any potential issues.
How do I clean painted terracotta pots?
Gently wipe painted terracotta pots with a damp cloth to clean them. Avoid harsh scrubbing or abrasive cleaners, as these can damage the paint and sealant, leading to premature wear. For stubborn dirt or grime, a mild soap and water solution can be used, followed by a gentle rinse and air dry. It's important to be delicate to preserve the integrity of your painted design. For outdoor pots, occasional gentle cleaning will help keep them looking their best without compromising the artwork.
Can I use other types of paint besides acrylics?
While acrylic paints are the most popular and recommended choice for decorating terracotta pots due to their versatility, adhesion, and ease of use, other paints can be used with varying degrees of success. Oil-based paints can adhere well but require mineral spirits for cleanup and can take longer to dry. Latex paints might work, but their flexibility could be an issue with the rigid terracotta. For best results and durability, especially for outdoor use, acrylics are generally the superior option. Always test any paint on a small, inconspicuous area first to ensure it adheres properly and dries as expected.
How long does it take to make one DIY planter?
The actual painting time for one DIY planter is relatively quick, often taking around 30-60 minutes, depending on the complexity of your design. However, the total time commitment includes drying periods between paint coats and for the sealant. If you factor in drying times, which can range from a few hours to overnight for the sealant to fully cure, the entire project can span over a day. This makes it an ideal weekend craft or a project that can be worked on in stages over several days, allowing for thorough drying and a professional finish.
What Next?
Once your adorable DIY planters are complete and fully dry, they are ready to house your favorite plants, herbs, or succulents. Display them proudly on windowsills, patios, or garden shelves, adding a splash of color and personality wherever they go. For a cohesive look, consider creating a set of matching planters or a collection of diverse characters. If you’re not ready to plant immediately, store them in a dry place away from direct sunlight to preserve their painted finish. This project is just the beginning; explore different painting techniques, try découpage, or even add mosaic elements for even more personalized creations.
Free: 10 Paper Crafts Anyone Can Make in 5 Minutes
Get our beginner guide + new craft ideas weekly.
No spam. Unsubscribe anytime.
Did you complete this activity?
Related
You might also like
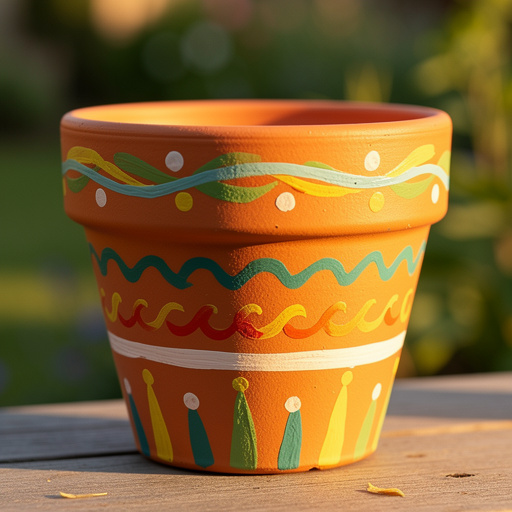
Mod Podge Painted Terra Cotta Pots
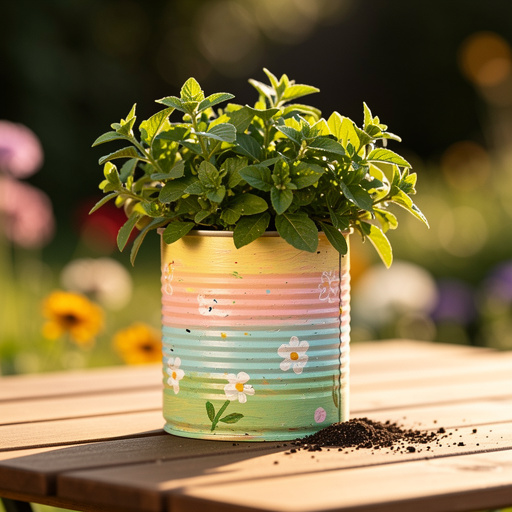
Painted Tin Can Planters
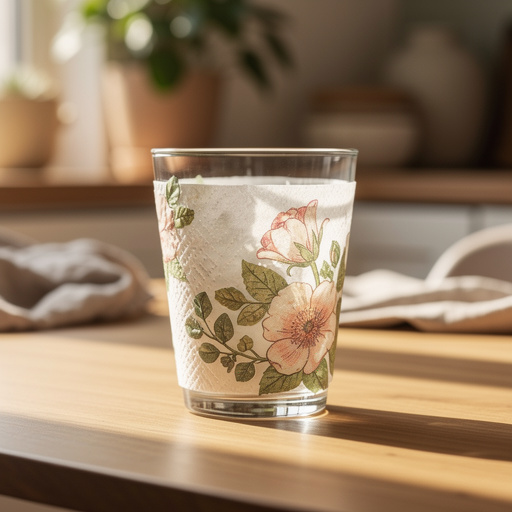
Napkin Art Glassware Makeover
Tin Can Planter Makeover
Recycled Magazine Coil Coasters