How to Make Leaf Art Projects for Preschoolers — Easy Step-by-Step Guide
Discover the magic of leaf art! This simple and engaging activity for preschoolers uses nature's beauty to create stunning artwork with just a few supplies.


Quick answer
To make leaf art projects for preschoolers, you need leaves, paper, and crayons, taking about 15 minutes. Start by placing a leaf under paper. This beginner-friendly activity has 7 steps and is perfect for ages 3-5.
What you need
Shop on Amazon · As an Amazon Associate we earn from qualifying purchases. Links above are affiliate links — we may earn a commission at no extra cost to you.
Embark on a delightful journey into the world of nature art with your preschoolers! Leaf rubbing is a wonderfully simple yet captivating activity that transforms ordinary leaves into extraordinary artwork. It’s a fantastic way to connect children with the natural environment, encouraging observation and appreciation for the intricate details found in leaves. This project requires minimal supplies and offers maximum creative potential, making it an ideal choice for toddlers and young children eager to explore their artistic side. Get ready for some colorful, textured masterpieces!
On this page
Step-by-Step Instructions
- 1
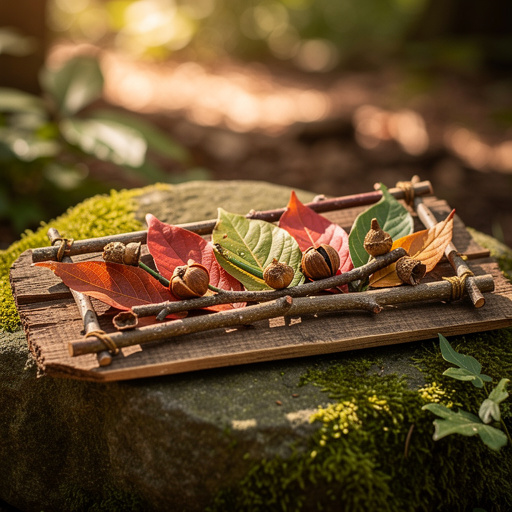
Gather a variety of fresh leaves. Select leaves that are still pliable and haven't started to dry out and crumble, as these will transfer their textures more clearly. Look for leaves with distinct veins and interesting shapes to create visually appealing rubbings.
- 2
Inspect your collected leaves for any dirt or debris. Gently wipe them clean with a damp cloth if necessary, ensuring they are completely dry before proceeding to avoid smudging the crayon or paper. Remove any torn or damaged leaves.
- 3
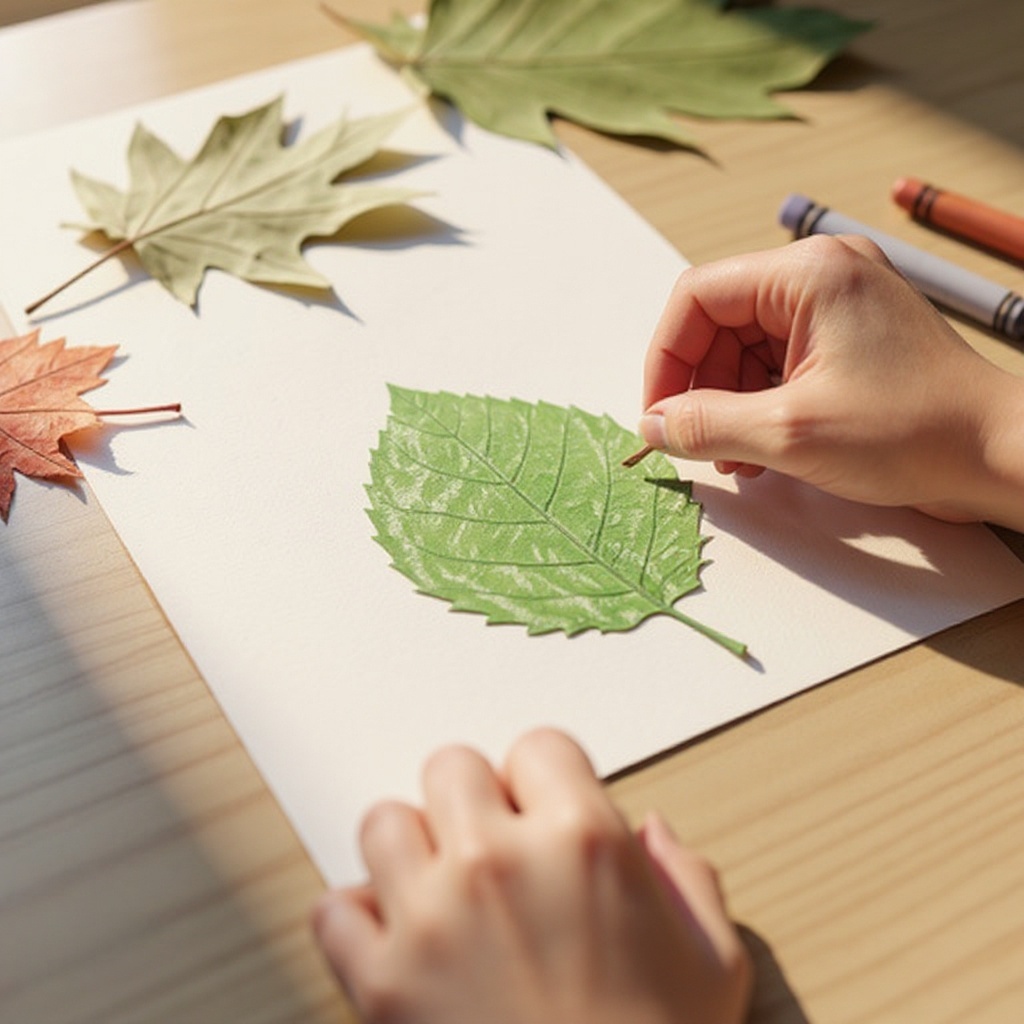
Arrange your chosen leaves on a flat, stable surface. Lay them out so you can easily select the one you want to use for your first rubbing, ensuring the vein-side is facing upwards. This is crucial for the texture to transfer effectively.
- 4
Place a single leaf, vein-side up, directly onto your flat surface. Make sure the leaf is positioned where you intend to create your rubbing on the paper. Ensure it lies as flat as possible to get a clear impression.
- 5
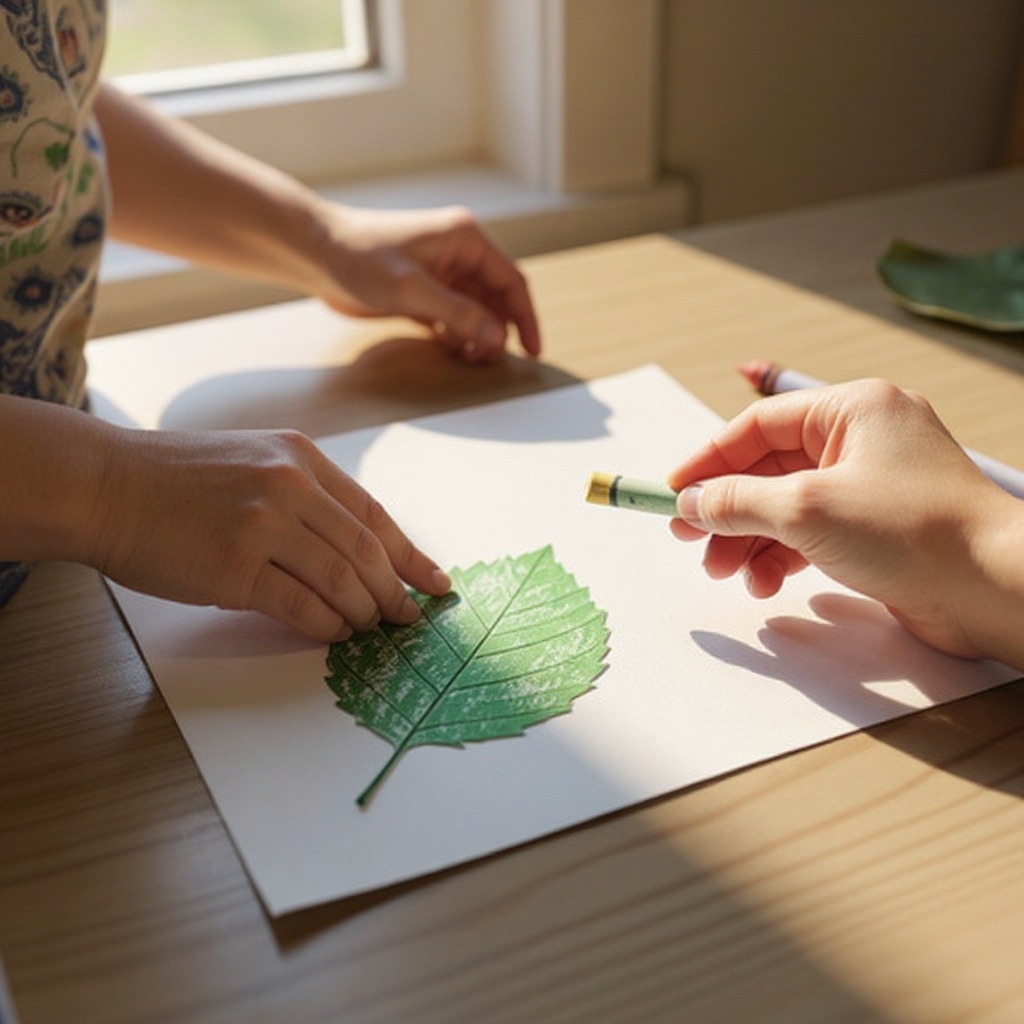
Carefully lay a sheet of white or light-colored paper over the leaf. Position the paper so it completely covers the leaf you've placed underneath. Smooth out any major wrinkles or folds in the paper to ensure even rubbing.
- 6
Gently hold the paper in place with one hand, applying light pressure to keep it from shifting. This is a key step to prevent the leaf from moving during the rubbing process, which can result in a blurry or incomplete image.
- 7
Select a peeled crayon of your choice. For vibrant results, choose a color that contrasts well with the paper. Ensure the paper wrapper has been completely removed so you can easily rub the side of the crayon.
- 8
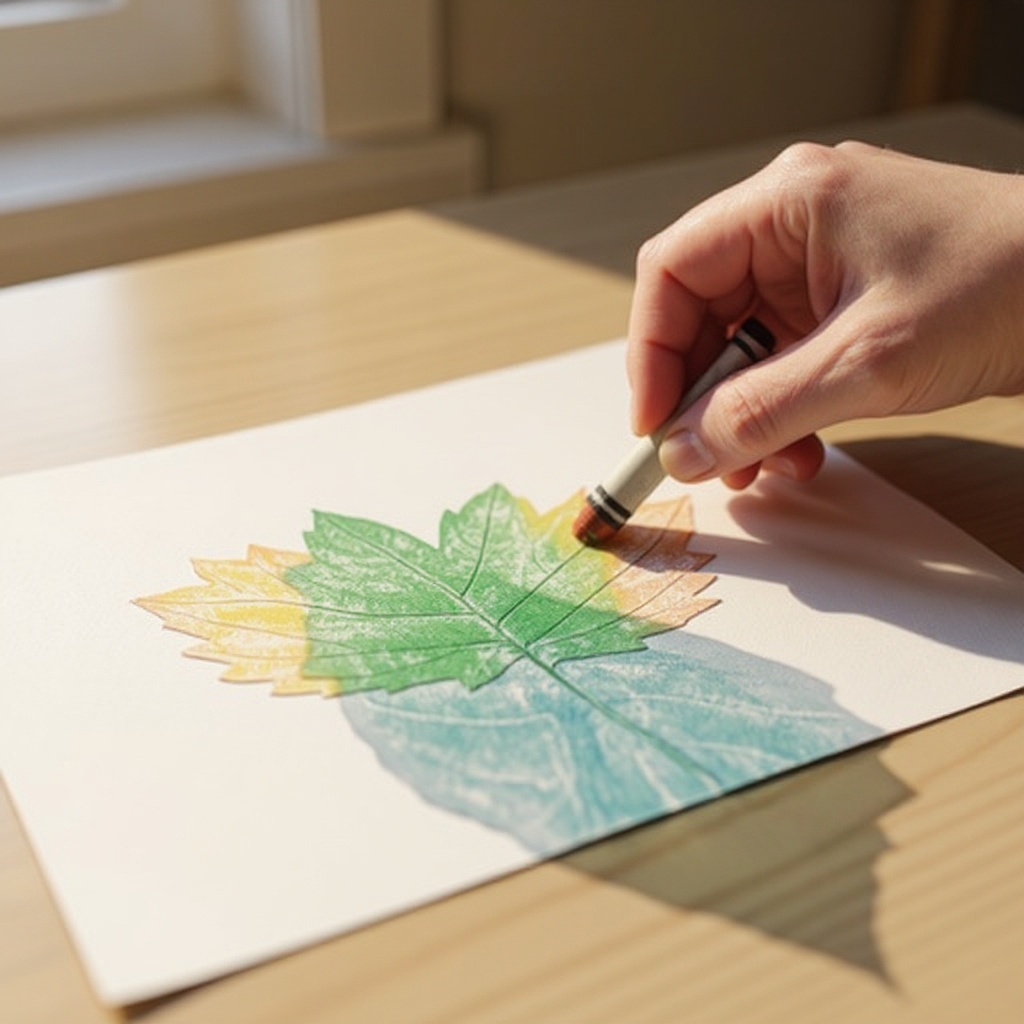
Hold the peeled crayon on its side, not its tip. Position the side of the crayon directly over the area of the paper where the leaf is located underneath. This allows for maximum surface contact with the paper.
- 9
Begin to rub the side of the crayon firmly and evenly across the paper, directly above where the leaf is placed. Apply consistent pressure and move the crayon in a back-and-forth or circular motion, covering the entire area of the leaf.
- 10
Continue rubbing with steady pressure until the texture and shape of the leaf begin to appear on the paper. You should start to see the intricate patterns of the leaf veins and its outline emerge as the crayon deposits color.
- 11
Lift the paper slightly to check your progress. If the leaf's texture isn't fully visible, continue rubbing with more pressure or in a slightly different direction. Ensure you're covering the entire leaf area for a complete impression.
- 12
Once you are satisfied with the leaf rubbing, carefully lift the paper away from the surface. Admire the beautiful imprint of the leaf that has been transferred onto your paper. You can then choose to add more rubbings to the same page.
- 13
Experiment with different colored crayons on the same leaf rubbing. Layering colors can create interesting visual effects and add depth to your artwork. For instance, try a green rubbing followed by a yellow one over the same leaf.
- 14
Try using different types of leaves to see how their unique shapes and vein patterns translate onto the paper. Some leaves will produce bold, defined patterns, while others might yield more subtle, delicate impressions.
- 15
If you are using a particularly delicate leaf or want a very sharp image, consider placing a thin piece of tissue paper between the leaf and the main paper. This can sometimes help capture finer details.
- 16
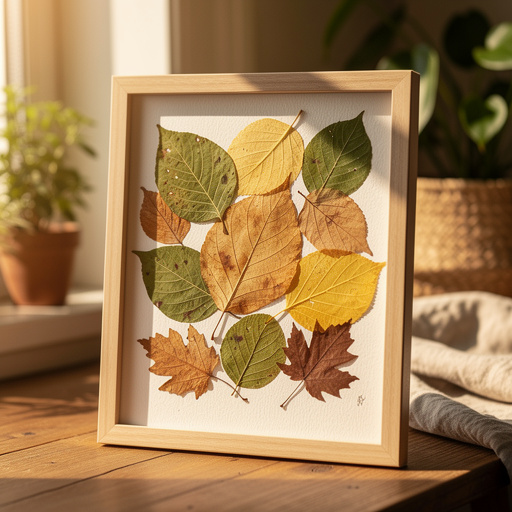
Once you have finished creating your leaf rubbings, you can leave them as individual pieces or combine them. Use glue sticks or tape to attach multiple leaf rubbings onto a larger sheet of paper to create a collage.
- 17
Consider using darker colored paper for some of your leaf rubbings. This can create a striking contrast and make the crayon colors pop, especially if you use lighter colored crayons.
- 18
Allow the finished artwork to dry completely if any smudging occurred, though leaf rubbing is generally a dry process. Store the artwork flat in a portfolio or under a protective sheet to prevent damage.
Tips & Troubleshooting
- 1For best results, use leaves that are fresh and have prominent veins. Older, dry leaves may crumble easily and won't transfer their texture as clearly, leading to faint or broken images. Look for leaves that are still slightly flexible.
- 2Experiment with different colors of crayons and different types of leaves to create a variety of effects. Combining multiple crayon colors on a single leaf rubbing can add depth and visual interest, while using various leaf shapes will result in diverse patterns.
- 3If the crayon isn't picking up the leaf's texture well, try applying more pressure or using a different color. Sometimes, a different wax composition in a crayon can yield better results, or simply increasing the pressure can help embed the color into the paper's texture.
- 4You can layer multiple leaf rubbings on the same page to create a more complex design. Overlapping different leaf shapes and colors can result in a beautiful, intricate composition that tells a story of your nature walk.
- 5To achieve a more intense color, use the side of the crayon with a vigorous rubbing motion. Ensure you are covering the entire surface of the leaf with even strokes to get a consistent and rich transfer of color.
- 6If your leaves are slightly damp, gently pat them dry with a paper towel before placing them under the paper. Excess moisture can cause the crayon to smudge and create an undesirable effect on your artwork.
- 7Encourage children to explore different rubbing techniques, such as circular motions or diagonal strokes, to see how it affects the final image. This adds an element of discovery and allows them to personalize their creations.
- 8Consider using a variety of paper types, not just standard printer paper. Heavier cardstock can provide a more durable surface, while textured art paper might offer unique effects when combined with the leaf's natural texture.
Related Activities You Might Enjoy
Frequently Asked Questions
What are the best leaves for leaf rubbing art?
Fresh leaves with prominent veins work best for leaf rubbing art. Look for leaves that are not too dry or brittle, as they will transfer their texture more clearly. Varieties like maple, oak, fern, and ginkgo leaves are excellent choices due to their distinct vein structures and interesting shapes. The key is to find leaves that are still somewhat pliable and have a good amount of surface detail. Avoid leaves that are completely flat and smooth, as they will not yield as much texture. Collecting a variety will allow for a diverse range of artistic outcomes.
How do I prepare leaves for leaf art projects?
Simply ensure your collected leaves are dry and free of dirt. Gently wipe them with a damp cloth if needed, and then allow them to air dry completely before use. Avoid using wilted or overly dry leaves, as they can be brittle and may crumble during the rubbing process, resulting in incomplete or smudged images. If you've collected leaves after rain, make sure they are thoroughly dried to prevent any moisture from interfering with the crayon transfer. Properly prepared leaves are essential for achieving crisp and clear leaf rubbings.
Can I use colored paper for leaf rubbing?
While white or light-colored paper shows the crayon colors best, you can experiment with colored paper. Darker paper might require lighter colored crayons for good contrast, such as white, yellow, or light pastels. Using colored paper can create a different mood and aesthetic for your leaf art. For instance, a red leaf rubbing on green paper might evoke a fall forest scene, or a yellow leaf on blue paper could create a sunny, vibrant effect. It’s a great way to explore color theory and create unique artistic expressions.
What other materials can I use for leaf art?
Besides crayons, you can try using colored pencils or even chalk pastels for a different texture and finish. Ensure they are peeled or prepared for rubbing. Colored pencils will create finer, more detailed lines, while chalk pastels can offer a softer, more blended effect. You could also experiment with oil pastels for a richer, more vibrant color application. For a more advanced technique, consider using charcoal sticks for dramatic black and white rubbings. The key is to use a medium that can be applied to its side and has enough pigment to transfer.
How long does this activity typically take?
This activity is wonderfully quick and engaging, making it perfect for short attention spans. Gathering leaves might take about 10-15 minutes, depending on how much variety you're looking for and how accessible they are. The actual leaf rubbing process for each leaf takes only about 1-2 minutes. If a child wants to create several rubbings with different leaves and colors, the entire project can be completed within 20-30 minutes. This makes it an ideal spontaneous craft for a rainy afternoon or a quick creative break.
What age group is this activity best suited for?
Leaf rubbing art is ideally suited for preschoolers and young children aged 3 to 5 years old. At this age, children are developing their fine motor skills, and the act of rubbing a crayon firmly and evenly helps to strengthen their hand muscles. It's also a fantastic way to introduce them to nature and art in a simple, accessible manner. Older children can also enjoy this activity, perhaps by exploring more complex layering techniques or creating detailed collages. The simplicity of the materials and process makes it adaptable for a wide range of ages.
How can I make the leaf rubbings more vibrant?
To make your leaf rubbings more vibrant, use fresh, healthy leaves with well-defined veins, as these will transfer the most detail. Apply firm and consistent pressure with the side of the crayon, ensuring you cover the entire surface of the leaf. Experiment with brighter, more saturated crayon colors. You can also layer multiple colors over the same leaf rubbing to create richer hues and interesting color blends. For an extra pop, try using white or very light-colored paper as your base, which will allow the crayon colors to stand out more prominently.
What Next?
Once your leaf art masterpieces are complete, consider how to best showcase your preschoolers' creativity. You can frame them for a beautiful nature-themed gallery wall, use them as unique greeting cards, or even incorporate them into a larger collage. For a different artistic twist, try using different textured papers or even fabric crayons on cloth for a unique textile art piece. This simple leaf rubbing technique is just the beginning of a world of nature-inspired crafts that can keep little hands busy and imaginations soaring.
Free: 10 Paper Crafts Anyone Can Make in 5 Minutes
Get our beginner guide + new craft ideas weekly.
No spam. Unsubscribe anytime.
Did you complete this activity?