How to Make Clay Beads & Charms for Selling — Easy Step-by-Step Guide
Discover how to create unique, handcrafted clay beads and charms that are perfect for selling. This guide offers a fun, screen-free way to make beautiful jewelry components. With just a few simple materials and about 90 minutes, you can start crafting your own line of distinctive accessories. This beginner-friendly activity has 12 steps and is perfect for families with kids aged 8+.
Quick answer
To make clay beads and charms to sell, you need polymer clay, tools, and about 90 minutes. Start by conditioning and shaping the clay, then bake according to instructions. This beginner-friendly activity has 12 steps and is perfect for families with kids aged 8+.
What you need
Shop on Amazon · As an Amazon Associate we earn from qualifying purchases. Links above are affiliate links — we may earn a commission at no extra cost to you.
Embark on a creative journey and transform simple polymer clay into stunning, sellable jewelry components. Crafting your own beads and charms is a wonderfully tactile and rewarding experience, offering a welcome break from digital screens. This project is ideal for aspiring jewelry makers, hobbyists looking to diversify their offerings, or families seeking an engaging activity. You'll learn to create unique pieces that can be sold online, at craft fairs, or to friends and family, allowing you to share your artistic flair and potentially generate income from your passion.
On this page
Step-by-Step Instructions
- 1
Preheat your oven according to the polymer clay manufacturer's specific instructions; this is crucial for proper curing and durability, and typically ranges from 230°F to 275°F (110°C to 135°C).
- 2
Knead and condition each color of polymer clay until it is soft and pliable, which can take several minutes of working the clay in your hands; this process breaks down the plasticizers, making the clay easier to manipulate and less prone to cracking.
- 3
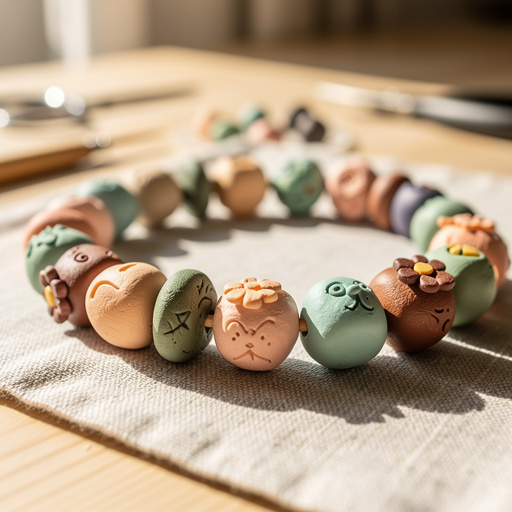
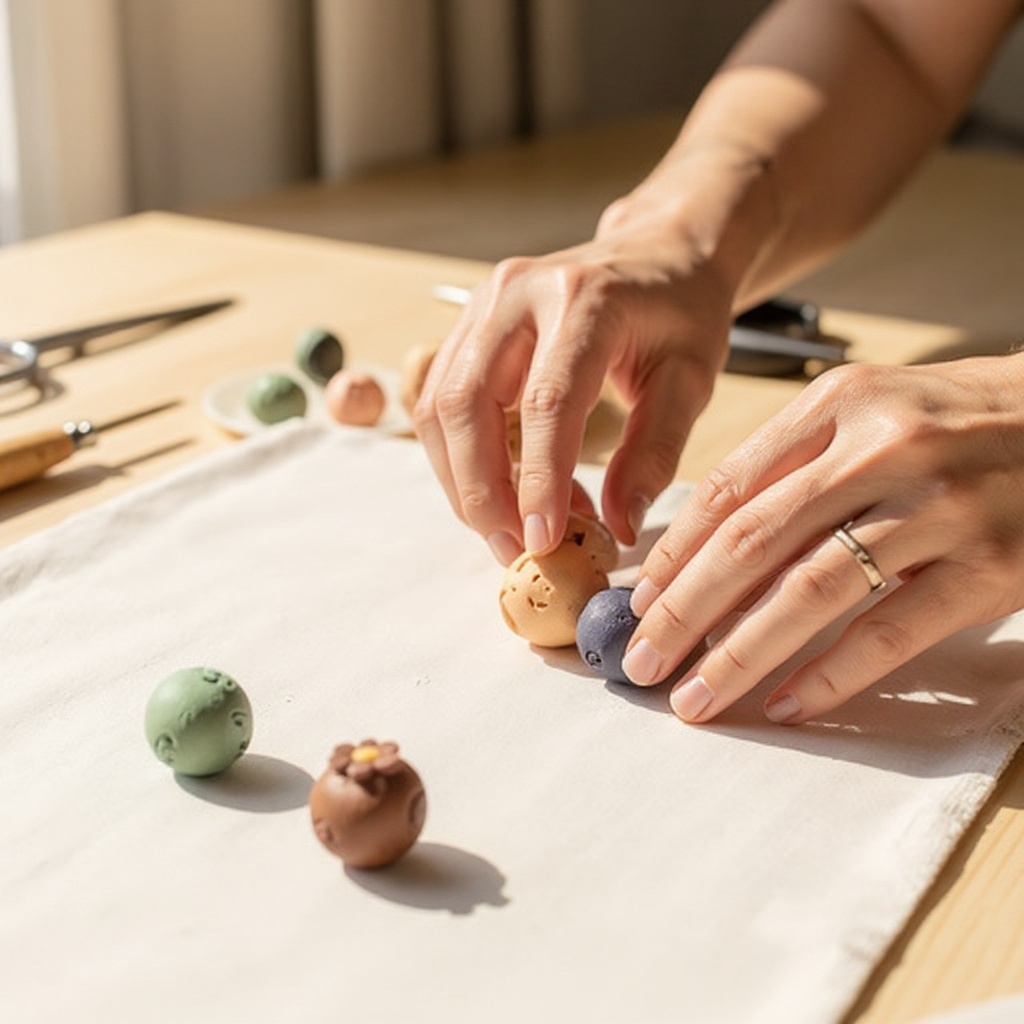
For beads: Take a small piece of conditioned clay and roll it between your palms to form a perfectly smooth ball of your desired size, aiming for consistency if making a set.
- 4
For beads: Gently press the ball onto the tip of a knitting needle, skewer, or toothpick to create a clean, centered hole, ensuring the tool goes all the way through without distorting the bead's shape.
- 5
For beads: If you want perfectly uniform beads, consider using a bead board or template to guide your rolling and hole-making process.
- 6
For charms: Flatten a piece of conditioned clay to approximately 1/4 inch thickness using a rolling pin or acrylic roller, ensuring an even surface free of air bubbles.
- 7
For charms: Use small cookie cutters or sculpting tools to cut out your desired shapes, pressing firmly and evenly to achieve clean edges.
- 8
For charms: If using cookie cutters, carefully remove the excess clay around the shape, and then use a skewer or small tool to carefully create a hole for hanging, ensuring it's positioned appropriately for the charm's design.
- 9
For intricate charm designs, you can layer different colors of clay, use texture sheets, or sculpt details with your tools before cutting or baking.
- 10
Arrange the shaped beads and charms on a baking sheet lined with parchment paper or a silicone mat, ensuring they do not touch each other to prevent sticking during baking.
- 11
Bake the clay pieces according to the manufacturer's instructions precisely, paying close attention to the recommended temperature and time, which typically ranges from 15 to 30 minutes per 1/4 inch of thickness.
- 12
Allow the baked clay pieces to cool completely on the baking sheet; this is essential as the clay is fragile when hot and will firm up significantly as it reaches room temperature.
- 13
Once cool, you can optionally add a clear sealant or varnish for extra shine and durability, applying a thin, even coat with a small brush and allowing it to dry completely.
- 14
Attach jump rings using jewelry pliers to make your beads and charms ready for jewelry assembly, opening the jump ring by twisting the ends apart rather than pulling them, and closing them securely.
Tips & Troubleshooting
- 1Ensure your workspace is clean and free of dust, as polymer clay can pick up debris easily; consider using a dedicated craft mat or covering your work surface with wax paper to minimize contamination.
- 2Experiment with mixing clay colors to create unique marbled or swirled effects by gently pressing and folding different colors together, or try adding glitter, mica powders, or metallic leaf before baking for added visual interest.
- 3If your clay becomes too soft or sticky while working, place it in the refrigerator for a few minutes to firm it up, making it easier to handle and shape without sticking to your tools.
- 4Always follow the baking instructions precisely for your specific brand of polymer clay; underbaked clay will be brittle and may not cure properly, while overbaked clay can burn, discolor, or become crumbly.
- 5Consider creating themed collections of beads and charms, such as seasonal designs (e.g., pumpkins for fall, snowflakes for winter), popular motifs (e.g., celestial, floral, geometric), or color palettes to appeal to a wider market and encourage multiple purchases.
- 6To achieve a smooth, professional finish on your beads, gently buff them with a soft cloth or fine-grit sandpaper after baking and cooling, especially if you notice any minor imperfections or fingerprints.
- 7When making beads for stringing, ensure the holes are large enough for your chosen stringing material (like jewelry wire, cord, or thread) and that they are consistently sized for a cohesive look.
- 8Keep a small container of rubbing alcohol or baby wipes handy to clean your hands and tools between working with different clay colors, preventing unwanted color mixing and ensuring clean designs.
Related Activities You Might Enjoy
Frequently Asked Questions
What kind of clay is best for making jewelry to sell?
Polymer clay is overwhelmingly the best choice for making jewelry intended for sale. It's incredibly versatile, durable once baked, and comes in an extensive spectrum of colors, finishes, and effects, from vibrant solids to metallics, translucents, and even stone-like textures. Unlike air-dry clays, polymer clay hardens permanently in a home oven, providing a robust and long-lasting material ideal for crafting intricate jewelry components. Its ability to hold fine details and its resistance to water after curing make it a professional and reliable medium for crafters looking to create sellable items.
How do I make my clay jewelry look professional?
To elevate your clay jewelry from amateur to professional, focus on several key areas. Firstly, ensure smooth shaping and consistent sizing for your beads and charms, using tools like bead rollers or templates for uniformity. Pay meticulous attention to clean edges and avoid fingerprints by wearing gloves or using a gentle touch. A smooth, polished finish achieved through buffing or a high-quality sealant or varnish adds a professional sheen. Finally, the neat and secure attachment of findings like jump rings and ear wires using appropriate jewelry pliers is crucial for a polished, ready-to-wear appearance.
What are the most popular types of jewelry to make and sell?
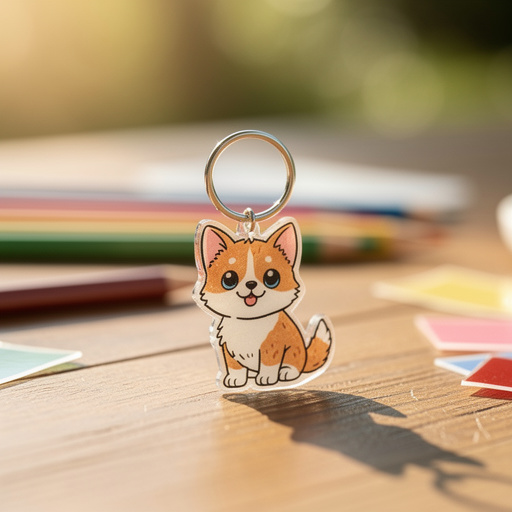
The most popular types of jewelry to make and sell often combine aesthetic appeal with wearability and current trends. Simple beaded necklaces and bracelets using your unique clay beads are always in demand, especially when offered in attractive color combinations or themes. Stud earrings and dangle earrings featuring small clay charms or sculpted elements are also highly sought after due to their affordability and versatility. Charms for bracelets or keychains, particularly those with personalized or trending designs, are excellent sellers. Pendants that can be easily added to existing chains also perform well. Ultimately, unique designs, good craftsmanship, and a cohesive collection will always attract buyers.
How much should I charge for handmade clay jewelry?
Pricing handmade clay jewelry involves a thoughtful calculation of your costs and value. Start by tallying your material expenses, including the cost of the polymer clay, findings, sealant, and any embellishments. Next, estimate your labor time; assign an hourly wage to yourself that reflects your skill and the time invested in designing, creating, baking, finishing, and photographing your pieces. Consider the complexity and uniqueness of your designs, as intricate work commands a higher price. Finally, research similar items in the market to ensure your pricing is competitive yet profitable. A common formula is (Material Costs + Labor Costs) x 2 (for wholesale) or x 3 (for retail), but adjust based on your brand and market.
Can I sell clay beads and charms online?
Absolutely! Selling clay beads and charms online is a fantastic way to reach a global audience and build a successful craft business. Platforms like Etsy, Shopify, or even your own website provide excellent avenues for showcasing and selling your creations. High-quality photographs that clearly display the detail and color of your beads and charms are essential. Detailed descriptions, including dimensions, materials used, and care instructions, will help potential buyers make informed decisions. Consider offering sets, custom orders, or themed collections to attract a wider range of customers and encourage repeat business.
What are some advanced techniques for making clay beads and charms?
Once you've mastered the basics, you can explore more advanced polymer clay techniques to create truly unique and professional-looking pieces. Consider mokume gane, a Japanese wood-grain technique that creates stunning layered patterns. Millefiori, where intricate patterns are created in a clay cane and then sliced, is perfect for detailed beads and charms. Skinner blends allow for smooth, gradient color transitions. You can also experiment with adding inclusions like metallic leaf, glitter, or even small found objects. Surface treatments like etching, stamping, or applying mica powders after baking can add further depth and dimension to your creations.
What Next?
Once your clay beads and charms are baked and cooled, the creative possibilities are endless! You can assemble them into necklaces, bracelets, earrings, or even keychains. Consider offering custom color palettes or themed sets to cater to specific customer preferences. For display, think about attractive jewelry cards or small velvet pouches. Proper storage in a cool, dry place will ensure your creations maintain their beauty. This project is a gateway to a world of polymer clay artistry, encouraging you to explore more intricate designs and advanced techniques for future creations.
Free: 10 Paper Crafts Anyone Can Make in 5 Minutes
Get our beginner guide + new craft ideas weekly.
No spam. Unsubscribe anytime.
Did you complete this activity?
Related
You might also like
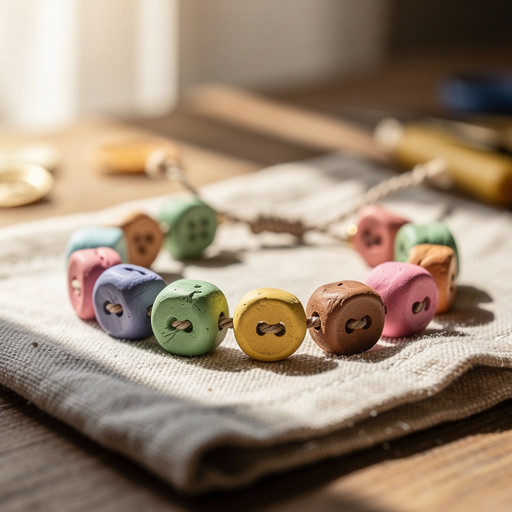
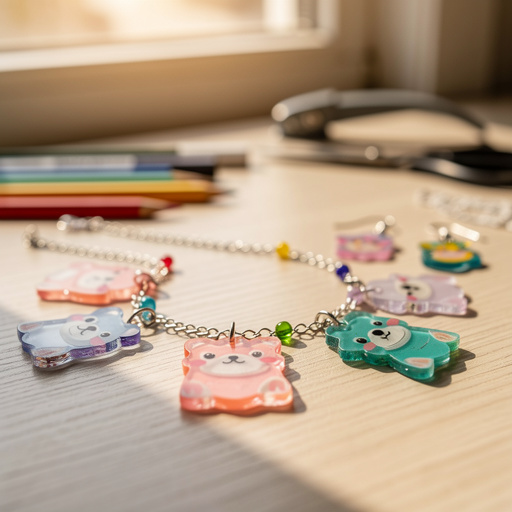
Clay & Button Charm Bracelets
Shrink Plastic Pet Charms
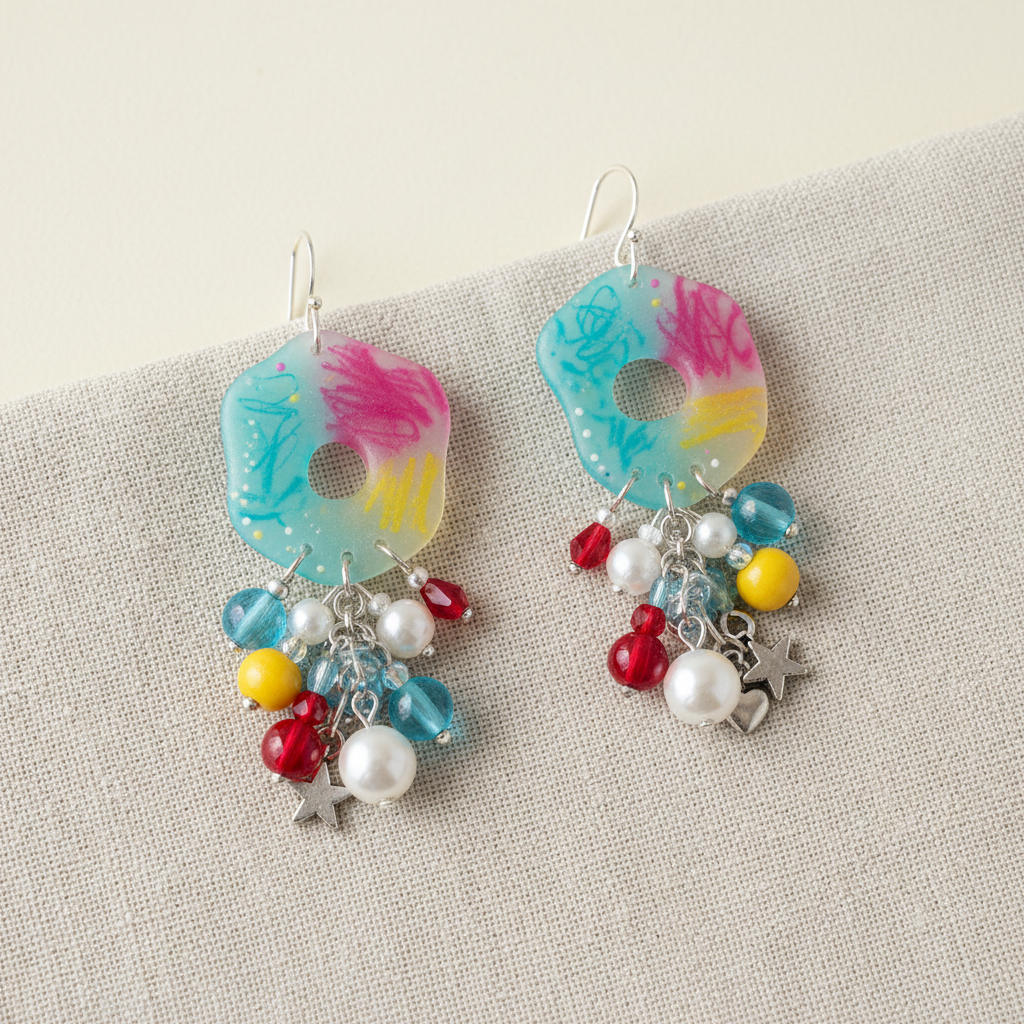
Shrink Plastic Statement Earrings
Shrink Plastic Charms & Jewelry
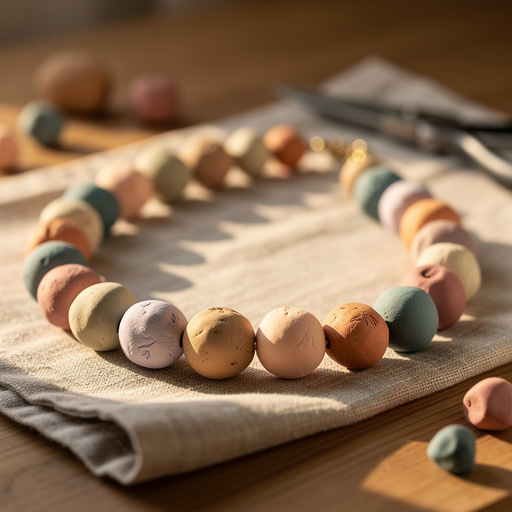
Clay Bead Statement Necklace