How to Make Polymer Clay Art — Easy Step-by-Step Guide
Discover the joy of polymer clay art! This guide offers a simple, screen-free way for families to create colorful charms and sculptures. Perfect for beginners and kids aged 6+, this project is engaging and rewarding.

Quick answer
To make polymer clay art, you need polymer clay, sculpting tools, and an oven, taking about 60 minutes plus baking. Start by conditioning the clay. This beginner-friendly activity has 10 steps and is perfect for families with kids aged 6+.
What you need
Shop on Amazon · As an Amazon Associate we earn from qualifying purchases. Links above are affiliate links — we may earn a commission at no extra cost to you.
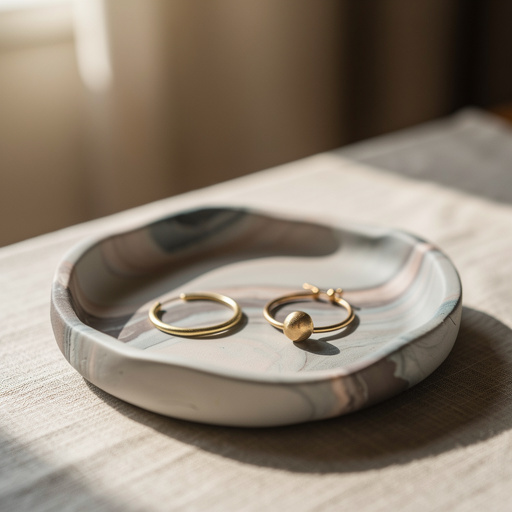
Embark on a creative journey with polymer clay, a wonderfully versatile medium that brings vibrant color and endless possibilities to your fingertips. This guide is designed to be your friendly companion, transforming simple blocks of clay into charming miniature sculptures and personalized charms. It's a fantastic screen-free activity that fosters imagination and fine motor skills, making it an ideal project for families looking to bond over a shared creative endeavor. Whether you're a complete novice or have dabbled in crafts before, you'll find the process of conditioning, shaping, and baking polymer clay incredibly satisfying and surprisingly simple.
On this page
Step-by-Step Instructions
- 1
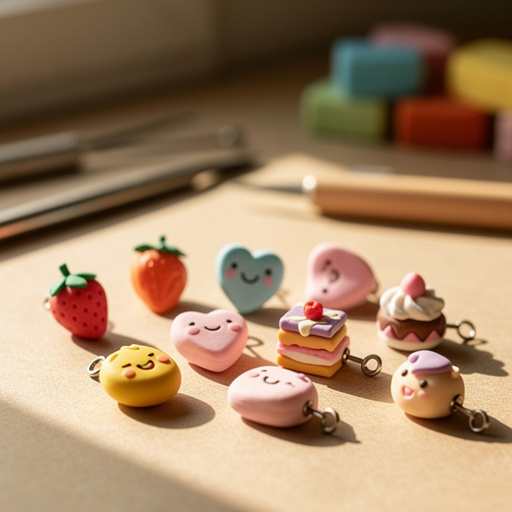
Gather your chosen colors of polymer clay and sculpting tools. Ensure your workspace is clean and well-lit, and have your baking sheet and parchment paper ready for later steps.
- 2
Knead each color of clay until it becomes soft and pliable. This is called conditioning, and it's crucial for making the clay easier to work with and preventing it from cracking; aim for a consistency similar to soft butter.
- 3
Once conditioned, take a small piece of clay and roll it out to your desired thickness using a clay roller or your hands. For charms, a thickness of about 1/8 to 1/4 inch is usually suitable, ensuring it's even.
- 4
Use a craft knife or a round cutter to cut out a basic shape for your art. You can create simple circles, squares, or even freeform organic shapes; ensure your cuts are clean and straight.
- 5
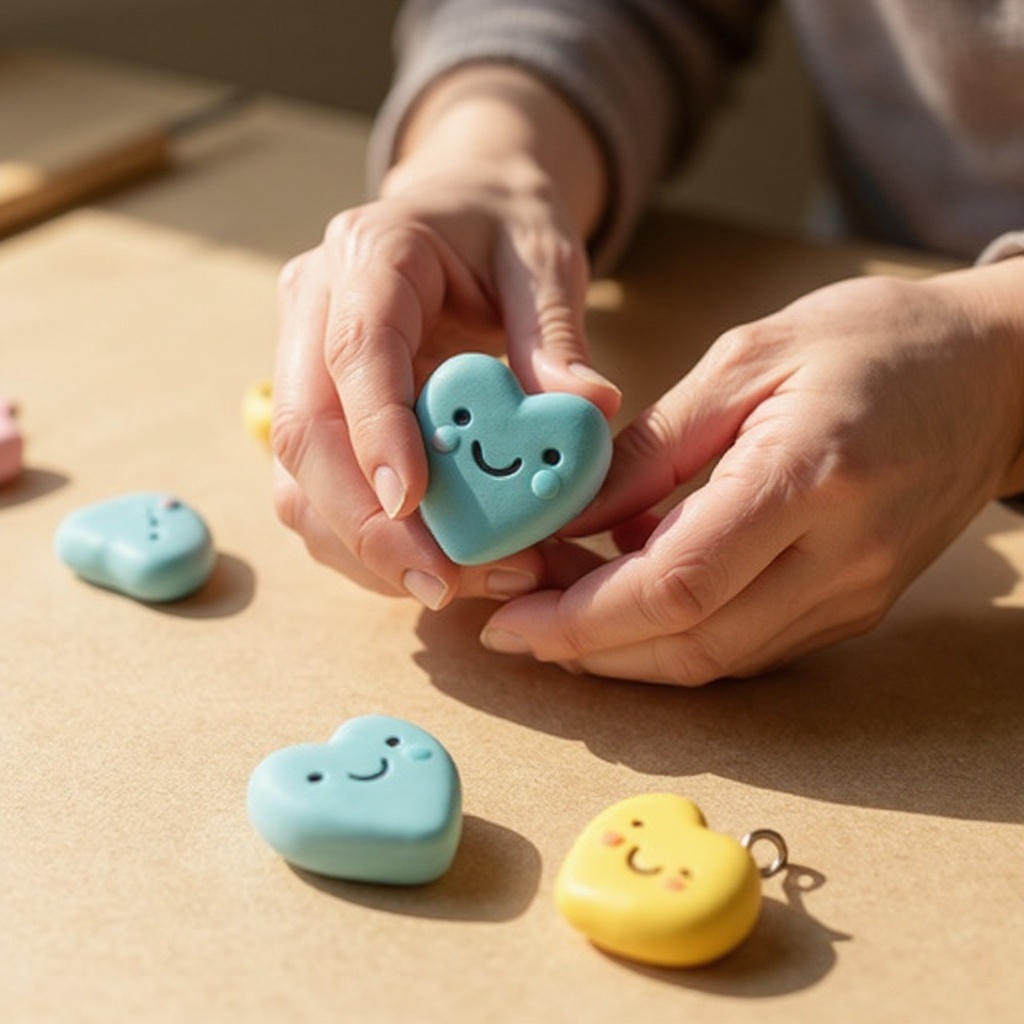
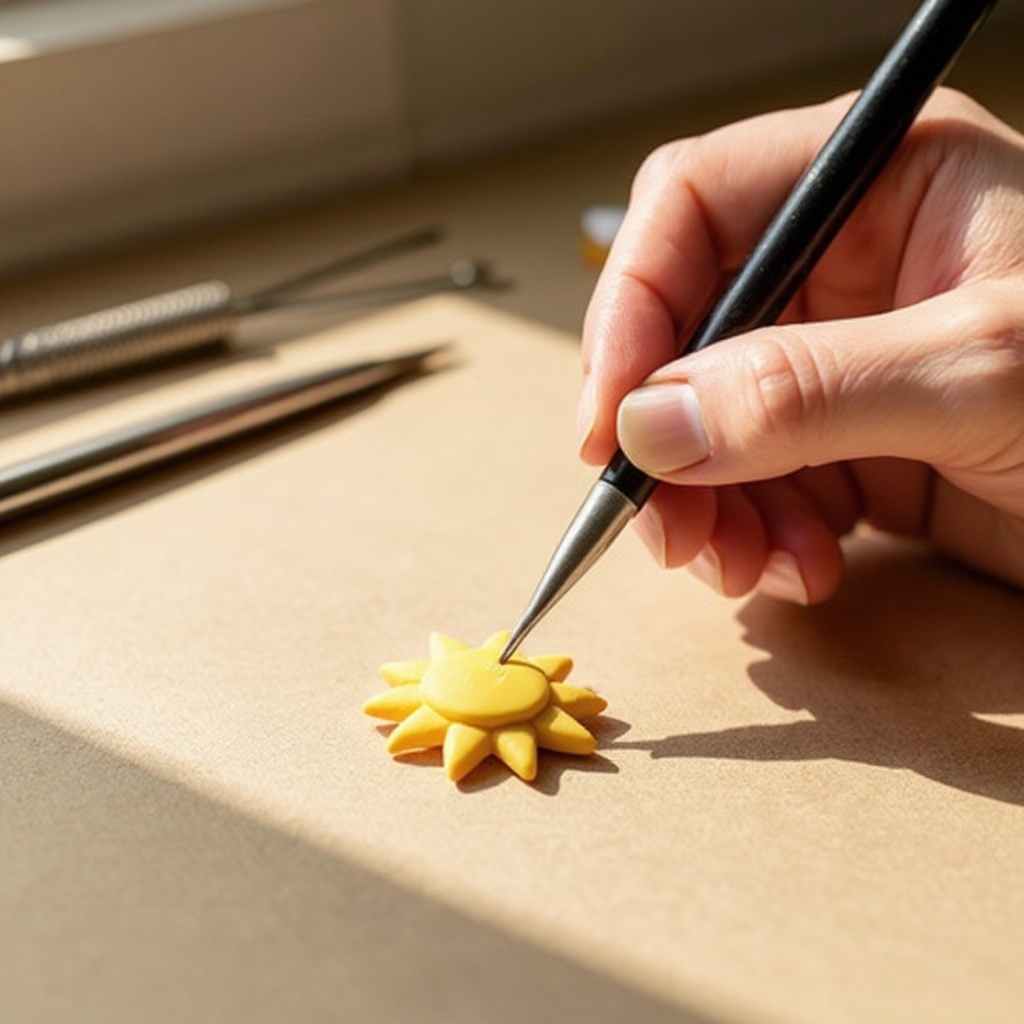
Begin adding details by layering smaller pieces of clay, indenting with tools, or sculpting features. For example, you can add tiny dots for eyes, thin strips for hair, or use a ball stylus to create subtle indents.
- 6
If you are making a charm or an item that needs to be hung, use a needle tool or a small skewer to create a small hole for hanging before baking. Make sure the hole is large enough for a jump ring to pass through easily.
- 7
For multi-colored effects, consider techniques like marbling by twisting two or more colors together, or caning by rolling logs of different colors and slicing them. These add depth and visual interest to your creations.
- 8
If you're creating a more complex sculpture, ensure all pieces are firmly attached by gently pressing them together. You can use a tiny bit of liquid clay as an adhesive for more secure bonds, especially for delicate attachments.
- 9
Once your polymer clay creation is fully sculpted and detailed, carefully place it on a baking sheet lined with wax or parchment paper. This prevents the clay from sticking to the baking sheet during the curing process.
- 10
Preheat your oven to the temperature recommended by the polymer clay manufacturer. This is typically around 275°F (135°C), but always check your specific clay's packaging for precise instructions.
- 11
Bake the clay for the time recommended by the manufacturer, typically 15-30 minutes per 1/4 inch thickness. Ensure your oven temperature is accurate, as over-baking can cause discoloration or burning, while under-baking will result in soft, brittle clay.
- 12
Allow the baked clay to cool completely on the baking sheet before handling. This cooling period is essential for the clay to fully harden and become durable; rushing this step can lead to breakage.
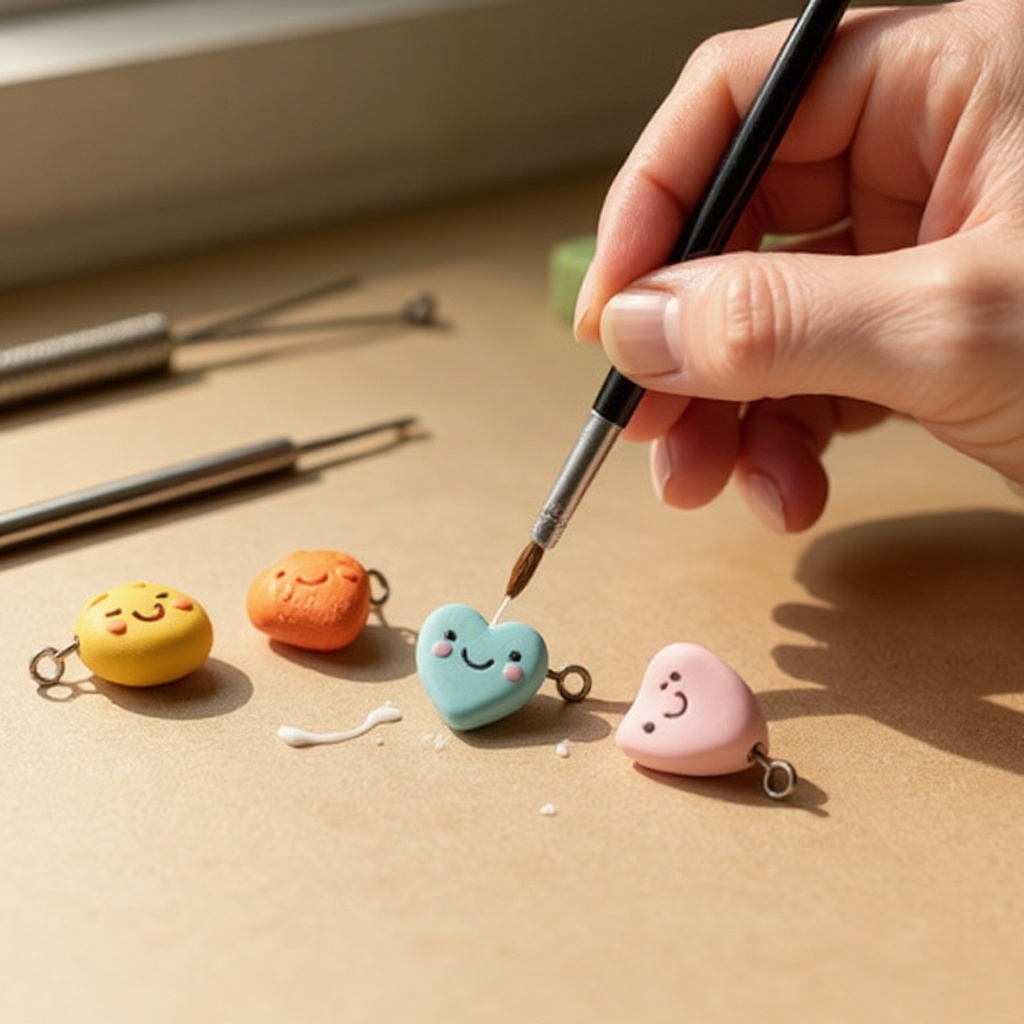
- 13
Optionally, once cooled, you can paint fine details or add vibrant colors using acrylic paints. Use a small brush for precision and allow the paint to dry thoroughly before proceeding.
- 14
For added durability and a professional finish, apply a sealant or varnish. This can protect your painted details and give your piece a glossy or matte sheen, depending on the product used. Ensure the sealant is compatible with polymer clay.
Tips & Troubleshooting
- 1If your polymer clay feels too hard and difficult to knead, try warming it gently in your hands for a few minutes, or place the block on a warm (not hot) surface like a mug warmer or a sunny windowsill for a short period. Be cautious not to overheat it, as this can make it sticky.
- 2Experiment with different color combinations and advanced techniques like marbling, caning, or mokume gane for unique and professional-looking effects. These methods can transform simple shapes into intricate works of art.
- 3Store unused polymer clay in airtight containers or tightly wrapped in plastic wrap in a cool, dry place, away from direct sunlight. This prevents the clay from drying out, hardening, or becoming contaminated with dust and fibers.
- 4Always bake polymer clay in a well-ventilated area, as some fumes can be released during the curing process. Follow the manufacturer's temperature and time guidelines precisely to avoid burning, under-baking, or compromising the integrity of your creations.
- 5To minimize fingerprints on your smooth clay surfaces, work on a clean, non-porous surface, keep your hands clean and dry, and consider wearing thin disposable gloves. Gently buff out any minor marks with a soft cloth or a piece of smooth paper after baking.
- 6Don't be afraid to mix colors! You can create custom shades by blending small amounts of different clay colors together. Start with small test batches to achieve your desired hue before committing to a larger piece.
- 7For creating textures, use household items like textured fabrics, stamps, or even the bristles of a toothbrush. Press these gently into the clay before baking to add interesting surface details.
- 8If you're making jewelry, ensure your holes for jump rings are placed strategically so the charm hangs correctly. Consider the weight of your piece when choosing findings to ensure they are strong enough.
Related Activities You Might Enjoy
Frequently Asked Questions
Is polymer clay safe for kids?
Yes, polymer clay is generally considered safe for children aged 6 and up when used with adult supervision. It's a non-toxic material, but it's important to ensure good ventilation during the baking process, as some fumes can be released. Children should also wash their hands thoroughly after handling the clay to remove any residue. Avoid letting children ingest the clay or use it on food items. The baking process should always be handled by an adult to ensure correct temperatures and times are maintained, preventing burns or improperly cured pieces.
How do I cure polymer clay without an oven?
Polymer clay is specifically designed to be oven-baked for proper curing and hardening. While some specialized air-dry clays exist, most standard polymer clays require oven baking to achieve their intended durability and strength. Attempting to cure polymer clay using alternative methods like a microwave, stovetop, or even a hairdryer will not result in a properly hardened and durable piece. The chemical reaction that cures polymer clay is triggered by consistent, controlled heat from an oven, ensuring the plasticizers bind together effectively.
Can I paint polymer clay after baking?
Absolutely! Once your polymer clay art is fully cooled and cured, you can paint it with acrylic paints. This is a fantastic way to add fine details, highlights, shadows, or vibrant colors that might be difficult to achieve directly with the clay. Ensure you use acrylic paints, as they adhere well to the cured clay surface. After painting, you can also apply a sealant or varnish to protect the paint and give your piece a finished look, whether glossy or matte.
How do I prevent fingerprints on my polymer clay art?
Minimizing fingerprints on smooth polymer clay surfaces requires a bit of care. Always work on a clean, dust-free surface and ensure your hands are clean and dry before you begin. Wearing thin disposable gloves can be very effective. If you do get a fingerprint, you can often gently buff it out with a soft cloth, a piece of smooth paper, or a cotton swab dipped in a tiny bit of rubbing alcohol (test on a scrap piece first). For textured surfaces, fingerprints are less noticeable.
What is the best way to store polymer clay?
To keep your polymer clay in optimal condition, it's crucial to store it properly. Unused polymer clay should be kept in its original packaging or tightly wrapped in plastic wrap to prevent it from drying out. It's best to store it in an airtight container, such as a plastic bin or a resealable bag, to further protect it from air and moisture. Store these containers in a cool, dry place, away from direct sunlight and heat sources, as excessive heat can cause the clay to cure prematurely or become sticky.
My polymer clay is too hard, what can I do?
If your polymer clay feels too hard and difficult to knead, don't despair! There are several methods to soften it. The most common is to simply warm it up in your hands by kneading it vigorously for a few minutes. You can also place the block of clay on a warm surface, like a mug warmer or a sunny windowsill, for a short period – be careful not to overheat it, as this can make it sticky. Some crafters also use a pasta machine to condition stiff clay, running it through progressively thinner settings.
Can I combine different brands of polymer clay?
Generally, yes, you can combine different brands of polymer clay, especially if they are from reputable manufacturers like Sculpey, Fimo, or Kato. Most brands are formulated with similar base ingredients and will cure together successfully. However, it's always a good idea to test a small mixture first, especially if you're using brands with significantly different textures or properties. Some combinations might result in slightly different curing times or textures, but for most basic projects, mixing brands is perfectly fine.
What Next?
Congratulations on creating your first polymer clay masterpieces! The world of polymer clay is vast, and this project is just the beginning. Consider experimenting with more advanced techniques like mokume gane for intricate wood-grain patterns, or explore creating miniature food items for dollhouses. Your finished charms can be strung onto bracelets or necklaces, attached to keychains, or even used as decorative elements on other crafts. Store your creations in a cool, dry place, away from direct sunlight, to preserve their vibrant colors and integrity for years to come.
Free: 10 Paper Crafts Anyone Can Make in 5 Minutes
Get our beginner guide + new craft ideas weekly.
No spam. Unsubscribe anytime.
Did you complete this activity?
Related
You might also like

Polymer Clay Tiny Trinket Boxes
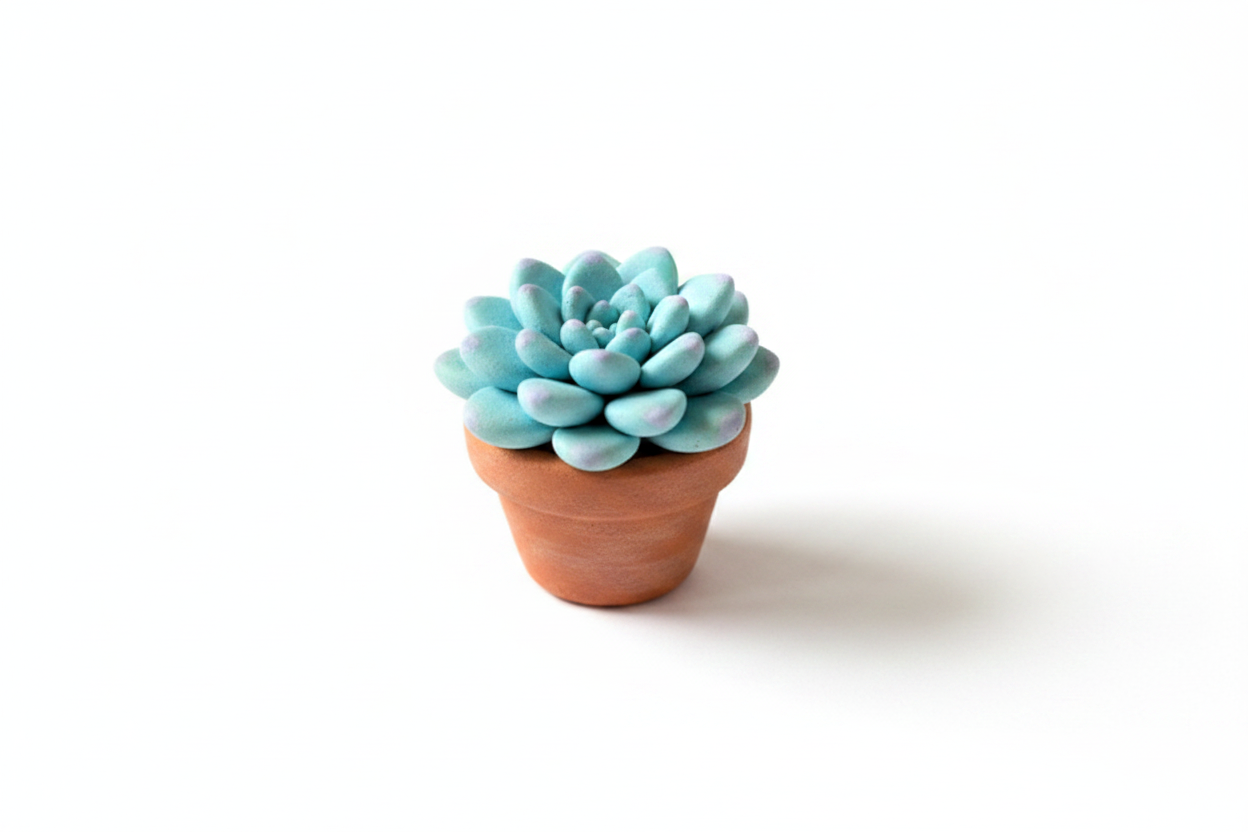
Polymer Clay Tiny Succulent Plant Charms

Easy Salt Dough Creations
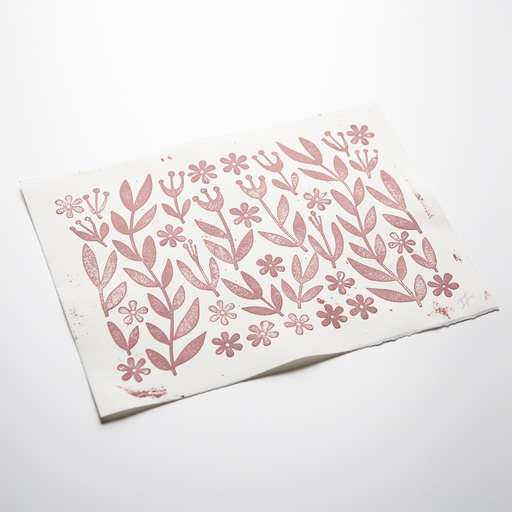
DIY Paper Block Prints
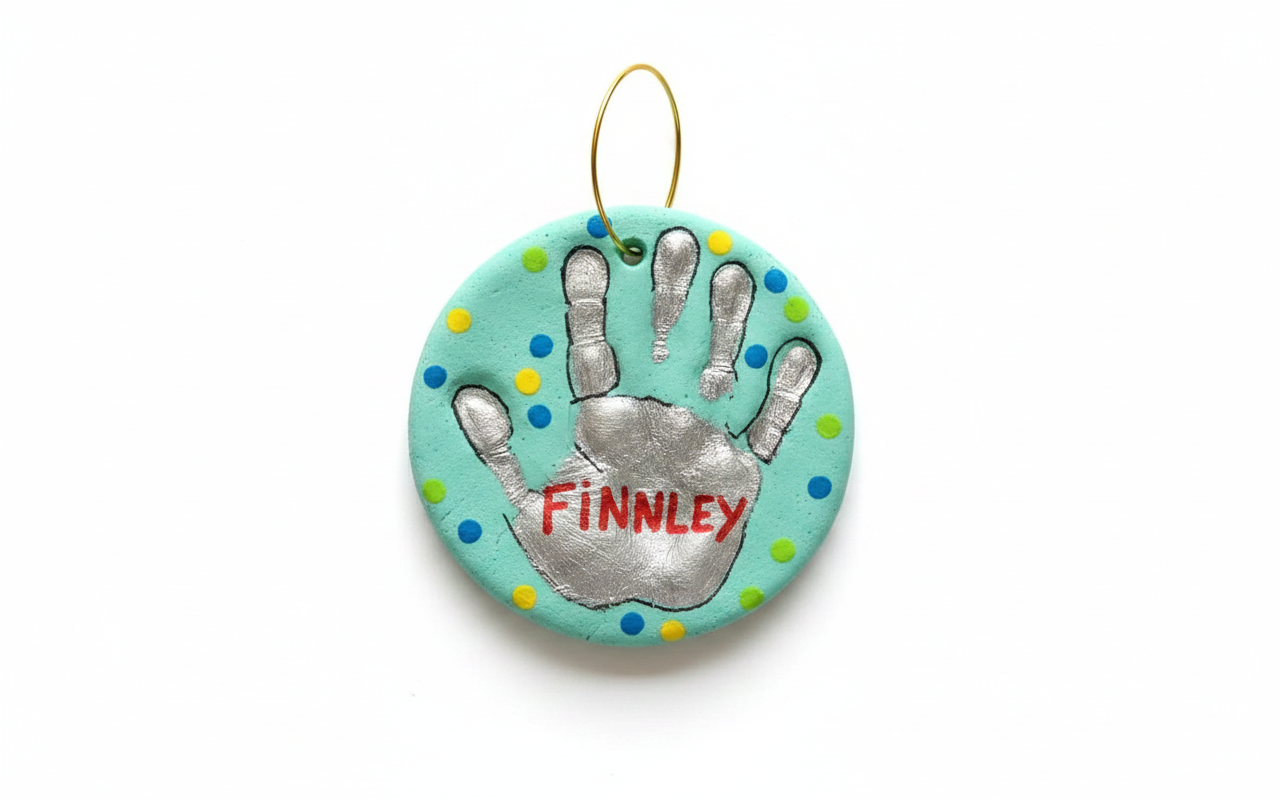
Salt Dough Handprint Keepsake Ornament