How to Make Tiny Polymer Clay Trinket Boxes — Easy Step-by-Step Guide
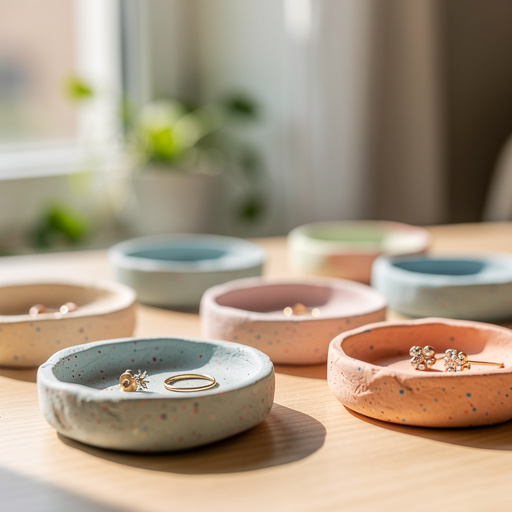
Create charming, miniature trinket boxes using colorful polymer clay. These little treasures are perfect for storing tiny keepsakes and add a handmade touch to any room.

Quick answer
To make tiny polymer clay trinket boxes, you need polymer clay (2-3 small blocks), a craft knife, a rolling pin, cardstock for a template, a ruler, a baking sheet, parchment paper, and an oven. The process involves conditioning and flattening your clay, cutting out the base and walls, assembling them, creating a slightly larger lid, and finally baking. This beginner-friendly activity has 15 steps and takes about 60 minutes of active crafting time, plus baking. It's perfect for families with kids aged 8+ with adult supervision.
What you need
Shop on Amazon · As an Amazon Associate we earn from qualifying purchases. Links above are affiliate links — we may earn a commission at no extra cost to you.
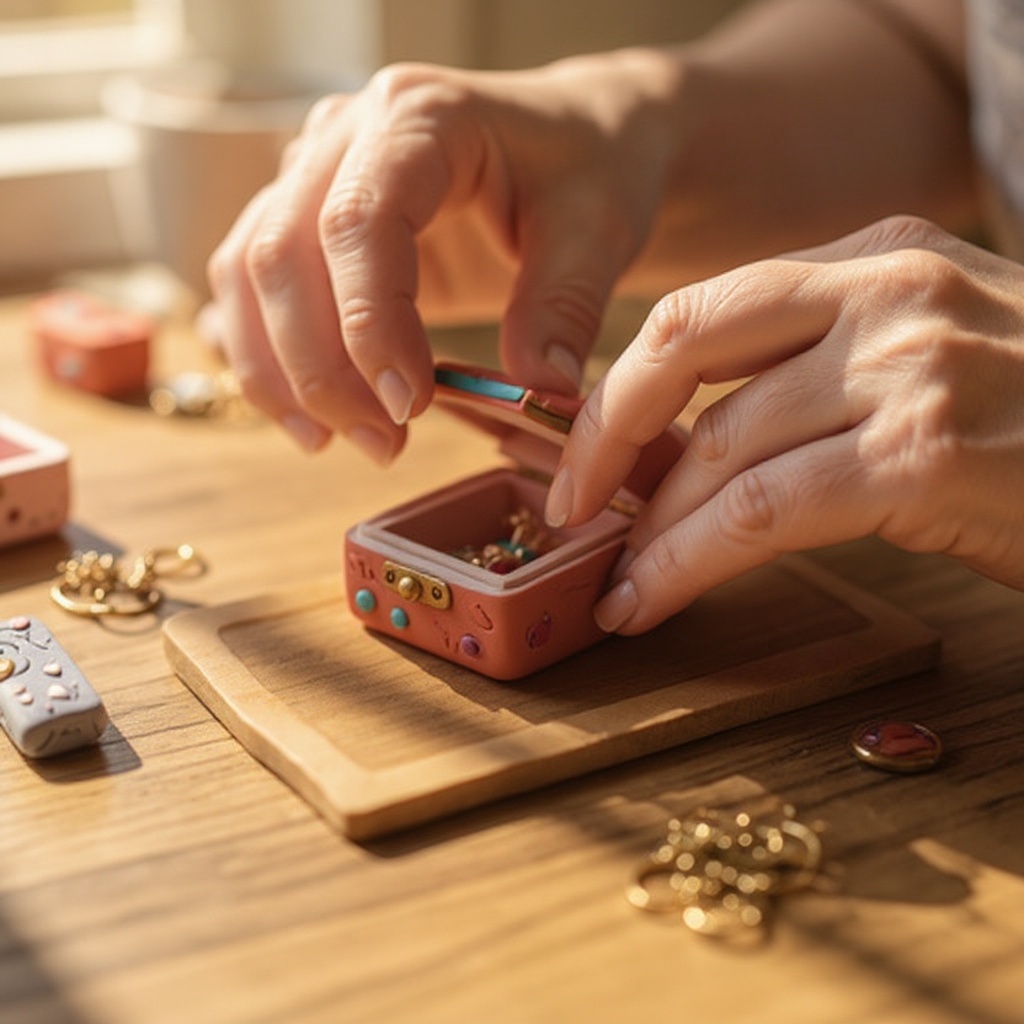
Unleash your creativity and craft a collection of delightful miniature trinket boxes with polymer clay! This project is a fantastic way to transform simple blocks of clay into charming, functional art pieces. Whether you're looking for a way to store tiny treasures like beads, rings, or even a secret message, or simply want to add a handmade, whimsical touch to your desk or shelf, these tiny boxes are the perfect solution. They are incredibly beginner-friendly, making them an ideal activity for crafters of all ages, especially families looking for a fun and engaging project to do together.
On this page
Step-by-Step Instructions
- 1
Cut a small square or rectangle from cardstock to use as a template for your box base. A good starting size is 2 inches x 2 inches, but you can adjust this based on your desired trinket box dimensions. Ensure the edges are straight and the corners are precise for a neat final product.
- 2
Condition your chosen polymer clay by kneading it until it's soft and pliable. This process breaks down the clay's structure, making it easier to work with and preventing cracking. If the clay is too stiff, gently warm it in your hands or use a clay conditioning machine.
- 3
Roll out a sheet of clay to approximately 1/8 inch thickness using your rolling pin or acrylic roller. Aim for an even thickness across the entire sheet; uneven thickness can lead to a wobbly box or a lid that doesn't fit properly.
- 4
Place your cardstock template onto the rolled clay and carefully cut around it with your craft knife to create the box base. Use a ruler alongside your knife for extra straight lines, and press firmly enough to cut through the clay cleanly without dragging.
- 5
Cut four identical strips of clay, each about 1/8 inch thick and the same length as the sides of your box base. These strips will form the walls of your trinket box. Ensure they are all the same height and width for a uniform appearance.
- 6
Gently attach the clay strips to the edges of the box base, pressing them together to form the sides of the box. Start by attaching one wall, then the adjacent wall, ensuring the corners meet at a right angle. Use a light touch to avoid distorting the shapes.
- 7
Smooth the seams where the walls meet the base and where the wall corners join using your fingers or a clay tool. This step is crucial for creating a seamless, professional look and ensuring the box is sturdy. You can use a damp finger or a sculpting tool to blend the clay.
- 8
Roll out another sheet of clay to 1/8 inch thickness, similar to the sheet used for the base. This will be used to create the lid for your trinket box.
- 9
Cut a lid that is slightly larger than the box base, approximately 2.25 inches x 2.25 inches for a 2-inch base. This slight overhang will allow the lid to sit securely on top of the box walls without falling off.
- 10
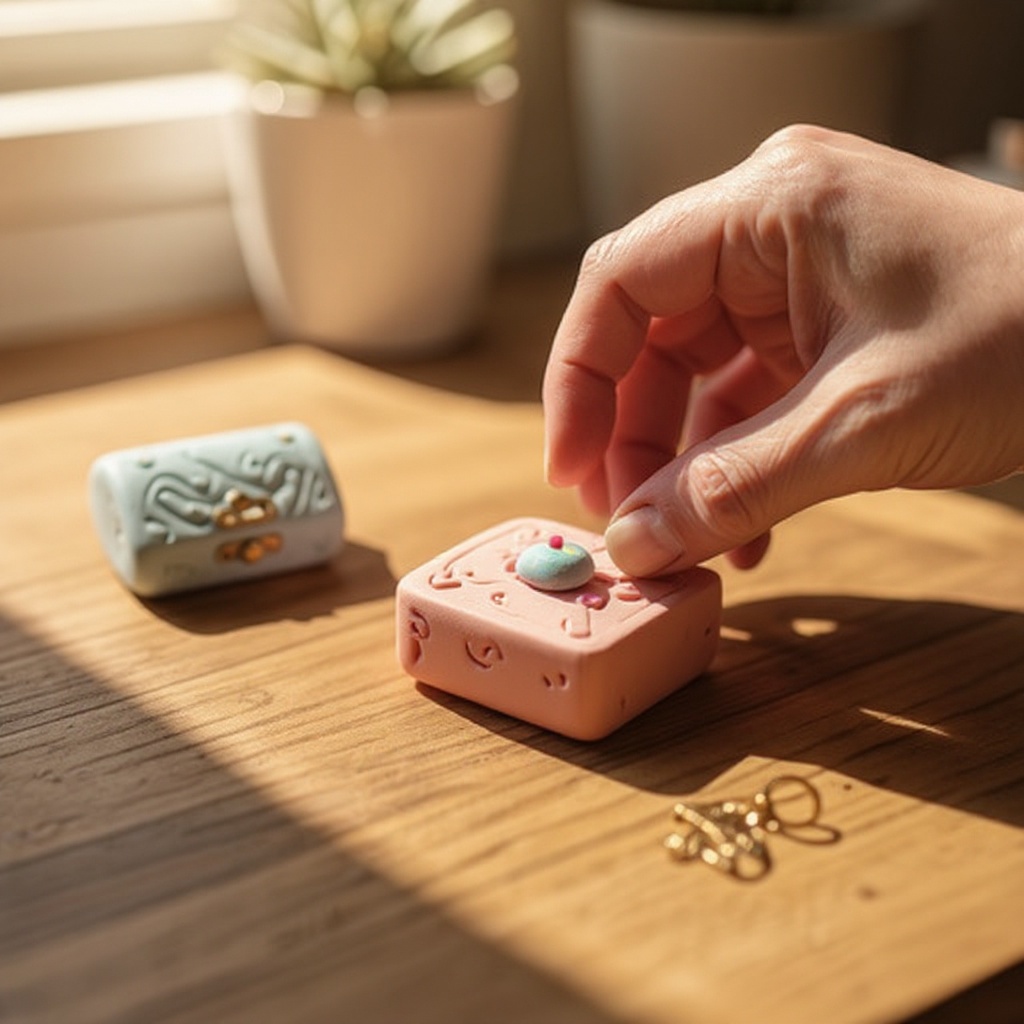
Optional: Decorate the lid with small clay shapes, patterns, or by pressing textures into the surface. You can create tiny flowers, swirls, or use textured tools to add intricate designs. Consider using contrasting colors for a striking effect.
- 11
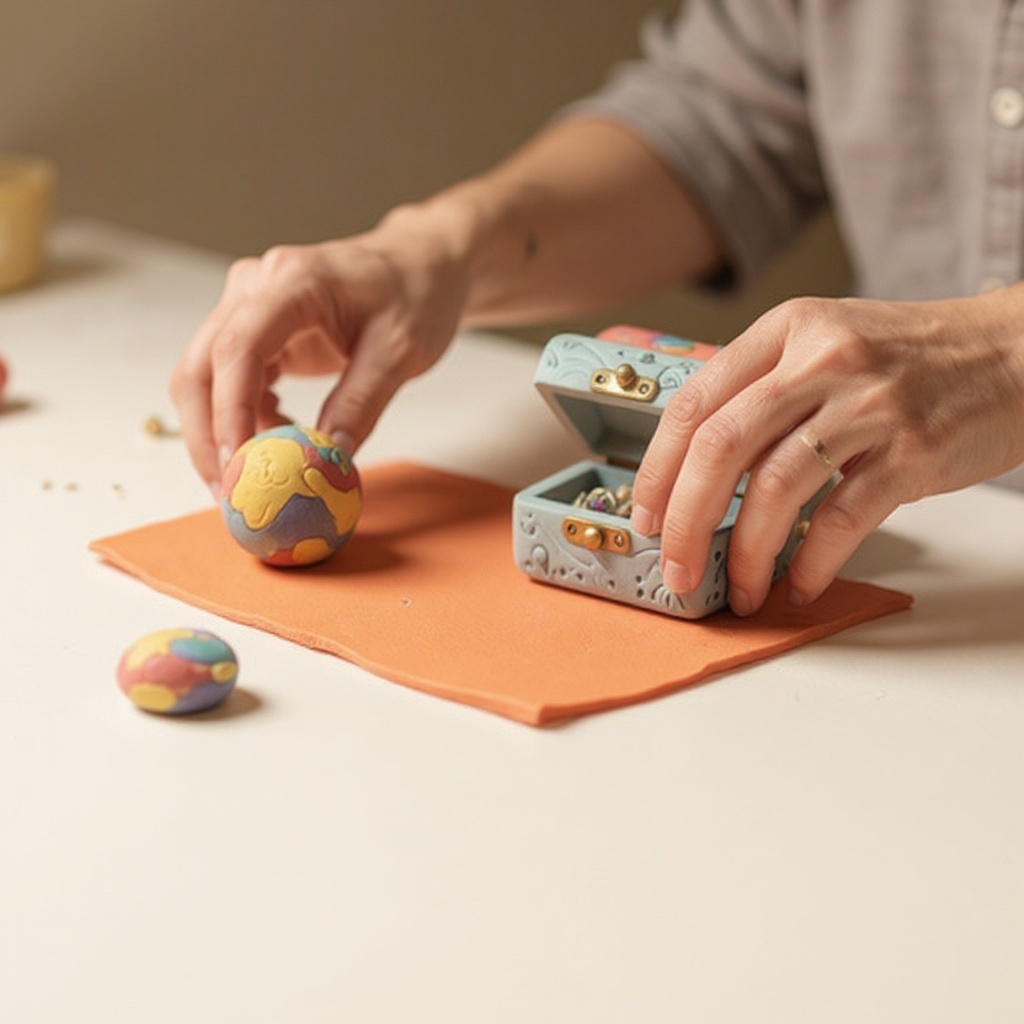
To create a slightly domed or shaped lid, you can gently press the lid clay over a small round or square object before placing it on the box. This adds a touch of elegance and dimension.
- 12
If you've added any decorative elements or attached pieces, ensure all connections are secure and smooth any rough edges. A clean finish will make your trinket box look more polished.
- 13
Place the finished box and lid on a parchment-lined baking sheet. Ensure the lid is placed separately from the box to prevent them from sticking together during baking.
- 14
Bake according to the polymer clay manufacturer's instructions, which is typically around 275°F (135°C) for 15-30 minutes per 1/4 inch of thickness. Do not overbake, as this can make the clay brittle.
- 15
Allow the baked clay to cool completely on the baking sheet before handling. This is a critical step to prevent breakage, as polymer clay is more fragile when warm.
Tips & Troubleshooting
- 1If your clay is too stiff, warm it in your hands for a few minutes before rolling or use a clay conditioning machine. If it's too soft and sticky, chill it briefly in the refrigerator for about 10-15 minutes; this will make it easier to handle and cut cleanly.
- 2For a cleaner look and perfectly straight edges, use a ruler to guide your craft knife when cutting both the base and the wall strips. Measure twice, cut once, and ensure your walls are all the same height for a professional finish.
- 3Experiment with different color combinations for unique box designs. You can swirl colors together before rolling for marbled effects, layer thin sheets of different colors, or create simple color-blocked designs. Don't be afraid to get creative with your palette!
- 4Allow the baked clay to cool completely before handling to prevent breakage. Polymer clay is surprisingly strong once fully cured, but it can be quite brittle when still warm from the oven. Patience here will save you from having to remake your creation.
- 5These tiny boxes are perfect for storing beads, small buttons, findings, or even tiny painted rocks. They also make wonderful personalized gifts for friends, family, or fellow crafters, adding a thoughtful handmade touch.
- 6To achieve a smooth, professional finish, you can lightly sand the cooled box with fine-grit sandpaper. For an even smoother surface, you can buff the clay with a soft cloth after sanding. Always sand in a well-ventilated area or wear a mask.
- 7Consider adding a small hinge mechanism if you want a more functional box, though for these tiny trinket boxes, a simple lift-off lid is usually sufficient and much easier for beginners. You can also add a tiny bead or charm as a decorative pull for the lid.
- 8Clean your tools regularly with rubbing alcohol to prevent color transfer between different clay colors. This is especially important when working with light or white clay to maintain its pristine appearance.
Related Activities You Might Enjoy
Frequently Asked Questions
What is the best type of clay for making small boxes?
Polymer clay is the ideal choice for crafting small trinket boxes due to its exceptional versatility and durability once baked. It holds intricate details beautifully, allowing for precise cuts and delicate decorations. Furthermore, polymer clay comes in an extensive spectrum of vibrant colors, eliminating the need for painting for many projects. Its ability to maintain its shape and resist warping during the baking process makes it perfect for creating sturdy, functional boxes. For beginners, brands like Sculpey, Fimo, or Premo are highly recommended as they are readily available and offer consistent quality, making the crafting experience enjoyable and successful.
How do I make the lid fit my polymer clay box?
Achieving a perfect fit for your polymer clay box lid is straightforward with a little precision. The key is to cut the lid from a clay sheet that is slightly larger than the box base. For a box with a 2-inch base, a lid measuring approximately 2.25 inches square is a good starting point. This small overlap ensures that the lid rests securely on top of the box walls without slipping off. You can also gently shape the lid by pressing it over a slightly larger object before baking, which can give it a subtle dome or curve that complements the box's form and adds a touch of elegance.
Can kids make polymer clay trinket boxes?
Absolutely! With adult supervision, children aged 8 and up can thoroughly enjoy making these polymer clay trinket boxes. This project is a wonderful way to foster creativity and fine motor skills. Younger children will benefit from assistance with cutting the clay using the craft knife, as it requires a steady hand. The oven handling should always be done by an adult. The process of conditioning the clay, rolling it out, and assembling the box pieces is very accessible and rewarding for kids, allowing them to express their artistic flair through color choices and decorations.
How long does it take to make a polymer clay trinket box?
The active crafting time for creating a single small polymer clay trinket box typically ranges from 45 to 60 minutes. This timeframe includes all the hands-on steps: conditioning the clay until it's pliable, rolling out the sheets for the base and walls, carefully cutting out the pieces using your template and ruler, assembling the box structure, and adding any desired decorations to the lid. The baking time is additional and depends on the thickness of your clay and the specific manufacturer's instructions, usually around 15-30 minutes. Once baked, allow ample cooling time before handling.
What are some creative ways to decorate my polymer clay trinket boxes?
The decorative possibilities for your polymer clay trinket boxes are virtually limitless! You can create intricate patterns by using clay canes, which are logs of clay with a design baked into them that you slice thinly. For a more textured look, press various objects into the clay, such as lace, fabric, leaves, or even textured rolling pins. Tiny sculpted elements like miniature flowers, fruits, or animals can add a whimsical touch. Swirling two or more colors together before rolling can create beautiful marbled effects, while layering thin sheets of contrasting colors can produce unique geometric designs. Don't forget about adding small beads or charms as decorative pulls for the lid!
How do I ensure my polymer clay trinket boxes are durable and long-lasting?
Durability in polymer clay projects comes down to proper preparation and baking. Ensure you thoroughly condition your clay until it is smooth and pliable; stiff clay is more prone to cracking. When cutting your pieces, aim for consistent thickness, ideally around 1/8 inch, as this ensures even baking. Crucially, follow the polymer clay manufacturer's baking instructions precisely regarding temperature and time. Over-baking can make the clay brittle, while under-baking can result in a soft, easily damaged piece. Allowing the finished boxes to cool completely before handling is also vital, as they are more fragile when warm.
What Next?
Congratulations on creating your own set of charming polymer clay trinket boxes! The possibilities for customization are endless. Consider adding tiny polymer clay feet to the base for an elevated look, or try creating intricate cane slices for sophisticated patterns. You could also experiment with metallic or pearlized clays for a touch of elegance. Once baked and cooled, these little boxes can be displayed proudly on a shelf, used as unique gift packaging, or even incorporated into larger mixed-media art projects. Keep them organized on a dedicated shelf or in a larger display case to showcase your miniature creations.
Free: 10 Paper Crafts Anyone Can Make in 5 Minutes
Get our beginner guide + new craft ideas weekly.
No spam. Unsubscribe anytime.
Did you complete this activity?
Related
You might also like
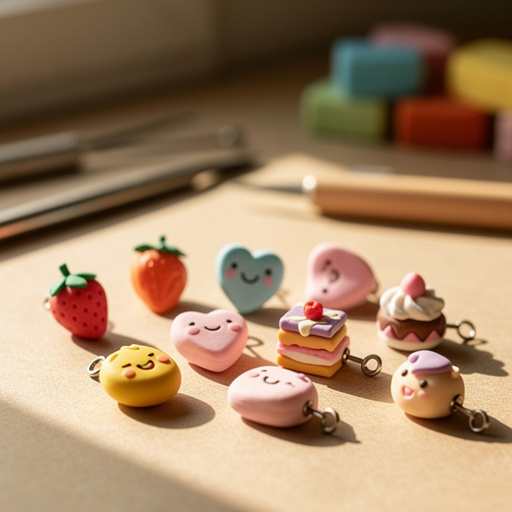
Polymer Clay Charms
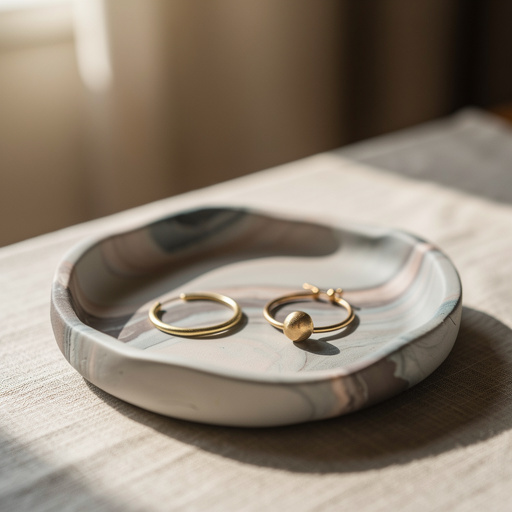
Polymer Clay Jewelry Dishes
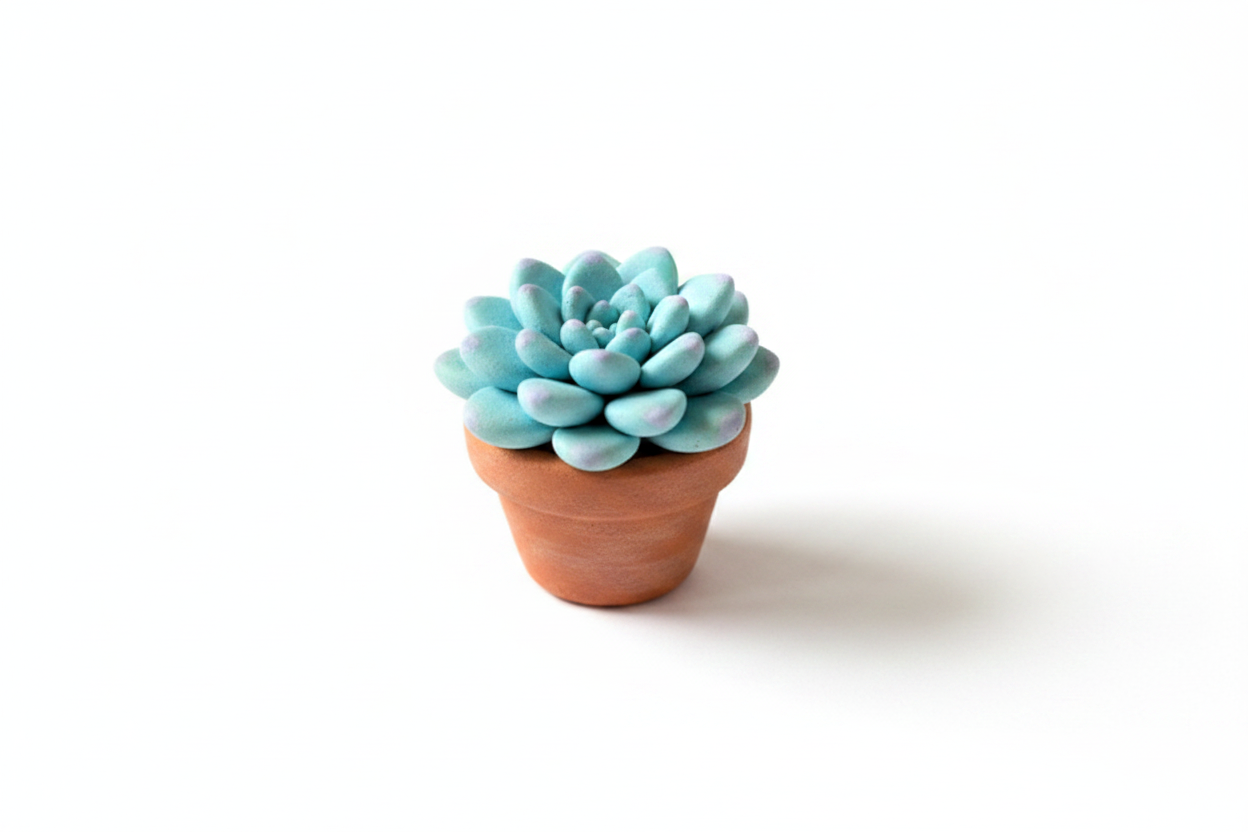
Polymer Clay Tiny Succulent Plant Charms
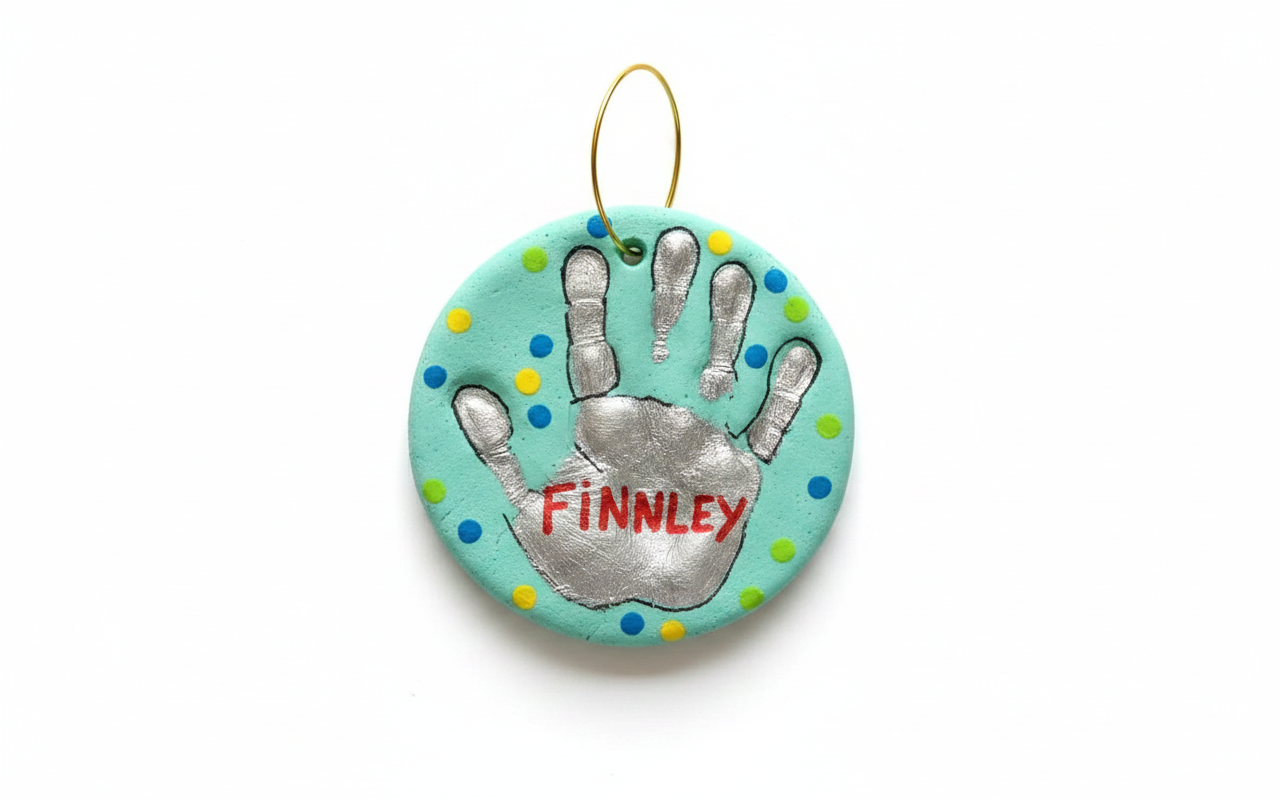
Salt Dough Handprint Keepsake Ornament

Easy Salt Dough Creations