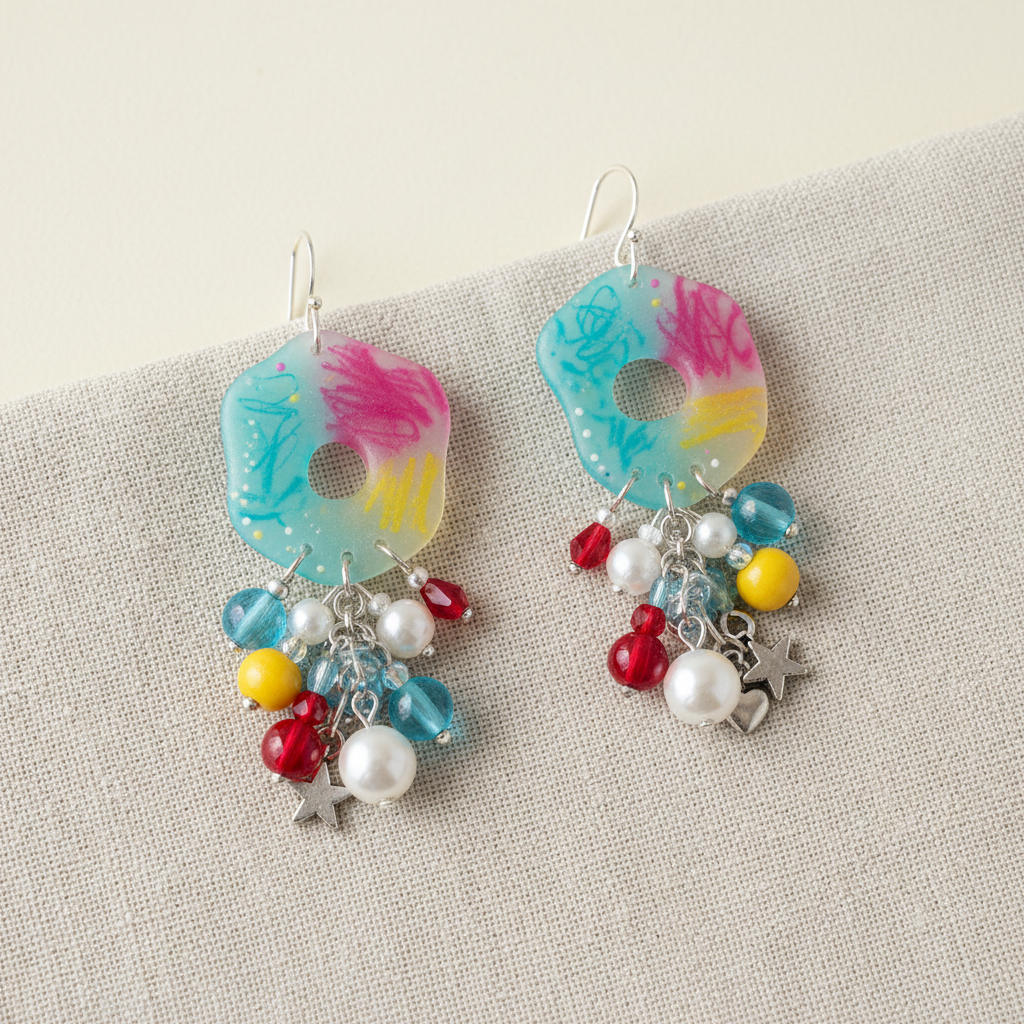
Shrink Plastic Statement Earrings: Your Ultimate DIY Jewelry Guide
Unleash your creativity and craft a pair of truly unique statement earrings with this fun and easy shrink plastic tutorial. Perfect for beginners and experienced crafters alike, you'll learn how to transform simple drawings into durable, eye-catching jewelry. This project is ideal for personalizing your style, creating thoughtful gifts, or even starting a small craft business. Get ready to make some wearable art!
Quick answer
Design, cut, punch holes in shrink plastic, bake until flat, and then assemble with jump rings and earring hooks to create personalized statement earrings.
What you need
Shop on Amazon · As an Amazon Associate we earn from qualifying purchases. Links above are affiliate links — we may earn a commission at no extra cost to you.
Dive into the vibrant world of DIY jewelry with this exciting Shrink Plastic Statement Earrings tutorial! This project is a fantastic way to express your personal style and create truly one-of-a-kind accessories that you won't find anywhere else. Shrink plastic offers a magical transformation, turning your simple drawings into durable, colorful charms in just minutes. It's an incredibly accessible craft, perfect for kids and adults looking for a fun, rewarding, and relatively quick project that yields impressive results. Get ready to design, bake, and wear your own wearable masterpieces!
On this page
Step-by-Step Instructions
- 1
**Sketch Your Designs:** Before touching the shrink plastic, grab some paper and a pencil to sketch out your earring ideas. Think about the shapes, sizes, and details you want. Consider symmetry if you're making a pair, or go for a mismatched, eclectic look. This step helps you visualize the final product and avoid mistakes on the plastic itself.
- 2
**Transfer Designs to Shrink Plastic:** Once you're happy with your sketches, carefully trace or draw your designs onto the shrink plastic sheet using permanent markers or colored pencils. For a cleaner look, use a fine-tip black permanent marker for outlines and then fill in with colors. Remember that the design will shrink and darken, so keep this in mind when choosing colors and line thickness.
- 3
**Coloring and Detailing:** Fill in your designs with vibrant colors using permanent markers or colored pencils. If using colored pencils, ensure they are well-sharpened for fine details. You can achieve shading and depth by layering colors. Be mindful of not pressing too hard, as this can scratch the plastic. Allow any marker ink to dry completely before proceeding to the next step to prevent smudging.
- 4
**Cut Out Your Earring Shapes:** Using sharp scissors, carefully cut along the lines of your drawn designs. Take your time to ensure clean, precise cuts, especially for intricate shapes. If you're making a pair, try to make them as identical as possible, or embrace the asymmetry if that's your intention. Smooth out any rough edges with the scissors or a fine-grit sandpaper if desired.
- 5
**Punch Holes for Attachment:** Before baking, use your hole punch to create a small hole at the top of each earring design. This hole is crucial for attaching the jump rings later. Position the hole near the edge but not too close, as it might tear during the shrinking process. Ensure the hole is large enough to accommodate your jump rings easily.
- 6
**Prepare Your Baking Surface:** Line a baking sheet with a piece of parchment paper, ensuring it covers the entire surface. This acts as a non-stick barrier, preventing your shrink plastic creations from adhering to the metal baking sheet during the intense heat of the oven. Make sure the parchment paper is smooth and free of wrinkles.
- 7
**Arrange Designs on Parchment Paper:** Carefully place your shrink plastic earring designs onto the parchment paper-lined baking sheet. It's essential that the pieces do not touch each other. During the shrinking process, the plastic will curl and move, and if pieces are touching, they will fuse together, ruining your individual designs. Leave a small gap between each piece.
- 8
**Preheat the Oven (Adult Supervision Required):** This is a critical step that requires adult assistance. Preheat your oven to the temperature specified on your shrink plastic packaging. This is typically between 300-350°F (150-175°C). Ensure the oven is fully preheated before you place the baking sheet inside for consistent shrinking results.
- 9
**Bake the Earrings (Adult Supervision Required):** With adult help, carefully place the baking sheet with your shrink plastic designs into the preheated oven. Be cautious of the hot oven and the baking sheet. The shrinking process is quite fast, so it's important to keep a close eye on your creations through the oven door.
- 10
**Observe the Shrinking Process:** Watch the shrink plastic intently through the oven door. You'll see it curl up dramatically, almost like a little wave, and then gradually flatten out. This entire process usually takes between 1 to 3 minutes, depending on the thickness of your plastic and your oven's temperature. Don't be alarmed by the curling; it's a normal part of the transformation.
- 11
**Remove from Oven (Adult Supervision Required):** As soon as the shrink plastic has finished curling and appears mostly flat, it's time to remove it from the oven. Ask an adult to carefully take the baking sheet out using oven mitts. The plastic will still be very hot and slightly pliable at this stage, so handle with extreme caution.
- 12
**Cool Completely on Baking Sheet:** Leave the shrink plastic earrings on the baking sheet to cool completely. They will continue to flatten and harden as they cool. Resist the urge to touch them or try to move them too soon, as they can be fragile and easily deformed while still warm. Patience is key here for a perfect finish.
- 13
**Inspect and Prepare for Assembly:** Once your earrings are completely cool and solid, inspect them for any imperfections. You can gently sand down any rough edges with fine-grit sandpaper if needed. Ensure the punched holes are still clear and ready for jump rings. If a hole seems partially closed, you can carefully re-open it with a needle or a small awl.
- 14
**Open the First Jump Ring:** Take one of your small jump rings and a pair of round nose pliers. Gently grip the jump ring with the pliers and twist one end of the ring open, creating a small gap. Avoid pulling the jump ring apart, as this can distort its shape; the goal is to create a clean opening.
- 15
**Attach to Earring:** Thread the opened jump ring through the hole you punched in your shrink plastic earring. Make sure the jump ring is positioned correctly so that your earring will hang properly when attached to the hook.
- 16
**Open the Second Jump Ring:** Take another jump ring and use your round nose pliers to open it in the same manner as the first. This second jump ring will connect the first jump ring to your earring hook.
- 17
**Connect the Jump Rings:** Attach the second opened jump ring to the first jump ring that is already on your earring. This creates a small loop that will allow your earring hook to swivel freely, preventing stress on the jump rings and making the earring more comfortable to wear.
- 18
**Attach the Earring Hook:** Now, take one of your earring hooks and connect it to the second jump ring. Ensure the hook is facing the correct direction for wearing the earring.
- 19
**Secure All Jump Rings:** Using your round nose pliers, carefully close both jump rings securely. Go back over each jump ring and twist the ends back together until they meet flush. This ensures your earring components are firmly attached and won't come apart during wear. Repeat this process for the second earring.
- 20
**Final Check and Wear:** Give your completed shrink plastic statement earrings a final check to ensure all connections are secure and they hang correctly. You've now successfully created your own unique, wearable art! They are ready to be adorned and admired.
Tips & Troubleshooting
- 1**Experiment with Different Shrink Plastic Types:** Beyond the standard clear and frosted sheets, explore colored shrink plastic, glitter shrink plastic, or even printable shrink plastic for a vast array of design possibilities. Each type offers a unique texture and finish, allowing you to tailor your earrings to specific styles or themes.
- 2**Layering Colors for Depth:** Don't be afraid to layer colors on your shrink plastic. You can achieve beautiful gradients and subtle shading by lightly coloring over existing colors with colored pencils or by using multiple shades of permanent markers. This adds a professional touch and makes your designs pop.
- 3**Consider the Shrinkage Factor:** Remember that shrink plastic reduces in size by about 50-60% and thickens significantly. When designing, keep this in mind for proportions and legibility of small details. It's often helpful to draw your design slightly larger than you want the final earring to be.
- 4**Use a Hole Punch with a Handle:** For easier punching, especially through thicker shrink plastic, consider using a hole punch with a comfortable grip or a lever action. This will make the process less strenuous and ensure a clean hole every time, preventing the plastic from tearing.
- 5**Smooth Edges for a Professional Finish:** After cutting and shrinking, you might notice slightly sharp edges on your earrings. You can gently smooth these down using a fine-grit sandpaper or a nail buffer. This not only makes the earrings more comfortable to wear but also gives them a more polished, professional appearance.
- 6**Seal for Extra Durability and Shine:** For added protection against scratches and moisture, and to enhance the vibrancy of your colors, consider applying a clear sealant or glaze to your cooled shrink plastic earrings. Products like Mod Podge, clear acrylic spray, or UV resin can be used. Ensure the sealant is fully dry before wearing.
- 7**Create Matching Sets or Mismatched Pairs:** Have fun with your designs! You can create perfectly matched pairs, or embrace the trend of mismatched earrings for a more eclectic and playful look. Consider creating a series of smaller charms that can be mixed and matched on the same earring hook for ultimate customization.
Related Activities You Might Enjoy
Frequently Asked Questions
What is shrink plastic and how does it work?
Shrink plastic, also known as shrinky dinks or shrink art plastic, is a type of plastic sheet that shrinks and thickens when heated. It's typically made from polystyrene. When you draw or stamp designs onto the plastic and then bake it in an oven, the plastic undergoes a chemical process that causes it to shrink significantly, usually by about 50-60% of its original size, while simultaneously becoming thicker and more durable. This transformation is what makes it ideal for creating small, sturdy charms and jewelry components from your original artwork.
Can I use regular markers or colored pencils on shrink plastic?
For the best and most permanent results, it is highly recommended to use permanent markers, such as Sharpies, or specialized shrink plastic markers. These markers are formulated to adhere well to the plastic surface and resist smudging or fading after shrinking. While some colored pencils can be used for shading or adding detail, they may not adhere as strongly and could potentially rub off over time, especially if not sealed. Regular water-based markers are generally not suitable as they will likely wash off or become very faint after shrinking.
Why are my shrink plastic earrings curling and not flattening?
If your shrink plastic earrings are curling excessively and not flattening out completely, there are a few common reasons. First, ensure your oven is preheated to the correct temperature as specified by the shrink plastic manufacturer; an oven that's too cool will result in incomplete shrinking. Second, make sure the pieces are not touching each other on the baking sheet, as this can cause them to fuse in a curled state. Finally, sometimes the plastic can be a bit stubborn; you can try gently pressing it flat with a metal spatula or another flat, heat-resistant object immediately after removing it from the oven, but be extremely careful as it will be very hot.
How do I make sure my shrink plastic earrings are durable?
To ensure your shrink plastic earrings are durable, start with good quality shrink plastic and use permanent markers for your designs. Cutting out your shapes cleanly and punching holes that aren't too close to the edge will prevent tearing. The baking process itself makes the plastic thicker and more robust. For an extra layer of protection against scratches, fading, and moisture, consider applying a clear sealant or glaze like Mod Podge, clear acrylic spray, or even a UV resin once the earrings have cooled completely. This will significantly increase their longevity and keep them looking vibrant.
Can children do this project, and what safety precautions are needed?
Yes, this is a fantastic project for children, but it absolutely requires adult supervision, especially during the oven steps. Children can handle the drawing, coloring, and cutting stages with appropriate guidance. However, preheating the oven, placing the baking sheet inside, and removing it are tasks that must be done by an adult due to the risk of burns. Ensure children understand not to touch the hot oven, baking sheet, or the shrink plastic immediately after it comes out of the oven. Discussing oven safety rules beforehand is crucial for a safe and enjoyable crafting experience.
What are jump rings and how do I use them with earring hooks?
Jump rings are small, circular metal rings that are used to connect different jewelry components. In this project, they serve as the crucial link between your shrink plastic charm and the earring hook. To use them, you'll need a pair of jewelry pliers, ideally round nose pliers. You grip one side of the jump ring with the pliers and twist it open sideways, creating a gap. You then thread your shrink plastic charm's hole onto this opened jump ring. Next, you open a second jump ring, thread the first jump ring onto it, and then thread the earring hook onto the second jump ring. Finally, you use the pliers to twist both jump rings closed securely, ensuring a strong connection.
What Next?
Congratulations on creating your fabulous shrink plastic statement earrings! The possibilities are truly endless, from intricate patterns and cartoon characters to abstract designs and personalized monograms. Consider experimenting with different types of shrink plastic, such as frosted or colored sheets, for even more unique effects. You can also seal your finished earrings with a clear sealant for extra durability and shine. Store your creations carefully in a jewelry box or display them proudly on a jewelry stand. For your next project, try making matching charms, keychains, or even small decorative pins!
Free: 10 Paper Crafts Anyone Can Make in 5 Minutes
Get our beginner guide + new craft ideas weekly.
No spam. Unsubscribe anytime.
Did you complete this activity?
Related
You might also like
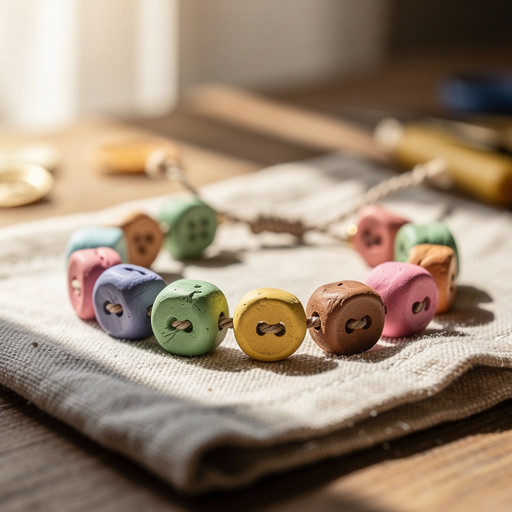
Clay & Button Charm Bracelets
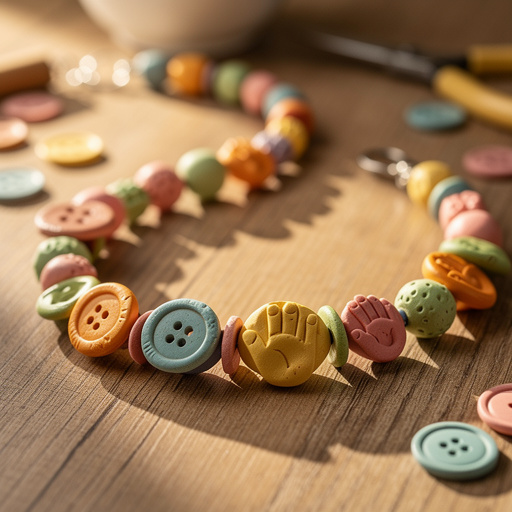
Clay & Button Bead Necklace
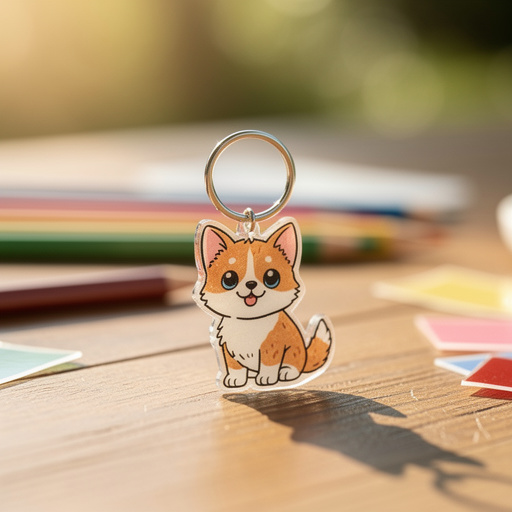
Shrink Plastic Pet Charms
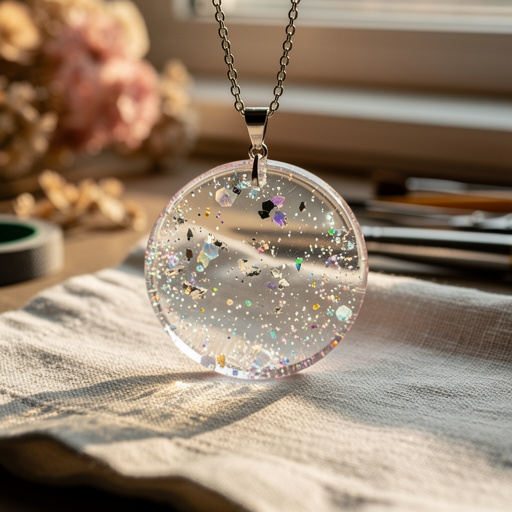
Floating Glitter Resin Pendants
Shrink Plastic Charms & Jewelry