How to Make Jewelry: Clay Bead Statement Necklace — Easy Step-by-Step Guide
Create a vibrant and personalized statement necklace using air-dry clay. This fun, screen-free activity results in a beautiful piece of wearable art.
Quick answer
To make a clay bead statement necklace, you need air-dry clay, beads, and about 90 minutes of active crafting time, plus drying time. Start by rolling clay into beads, creating holes, and letting them dry. Once dry, paint and seal them if desired, then string them onto cord or wire, alternating with other beads. This beginner-friendly activity has 12 core steps and is perfect for families with kids aged 6+.
What you need
Shop on Amazon · As an Amazon Associate we earn from qualifying purchases. Links above are affiliate links — we may earn a commission at no extra cost to you.
Unleash your inner jewelry designer with this delightful clay bead statement necklace project! In a world often dominated by screens, this hands-on craft offers a refreshing escape, allowing you to create something truly unique and personal. Statement necklaces are the perfect way to express your style and add a pop of color or texture to any outfit. This guide breaks down the process into simple, achievable steps, making it an ideal activity for crafters of all skill levels, including families looking for a fun, creative project to enjoy together. Get ready to transform a simple block of clay into a wearable masterpiece!
On this page
Step-by-Step Instructions
- 1
Begin by gathering all your materials. Ensure your workspace is clean and covered with a protective surface like newspaper or a craft mat, especially if you plan to paint.
- 2
Divide the air-dry clay into small, equal portions for your beads. Aim for portions that will yield beads of your desired size, typically around 1/2 inch in diameter, but feel free to vary this for visual interest.
- 3
Roll each portion of clay between your palms or on a clean surface to form a smooth ball. If the clay feels dry, lightly dampen your hands with water to make it more pliable and easier to work with.
- 4
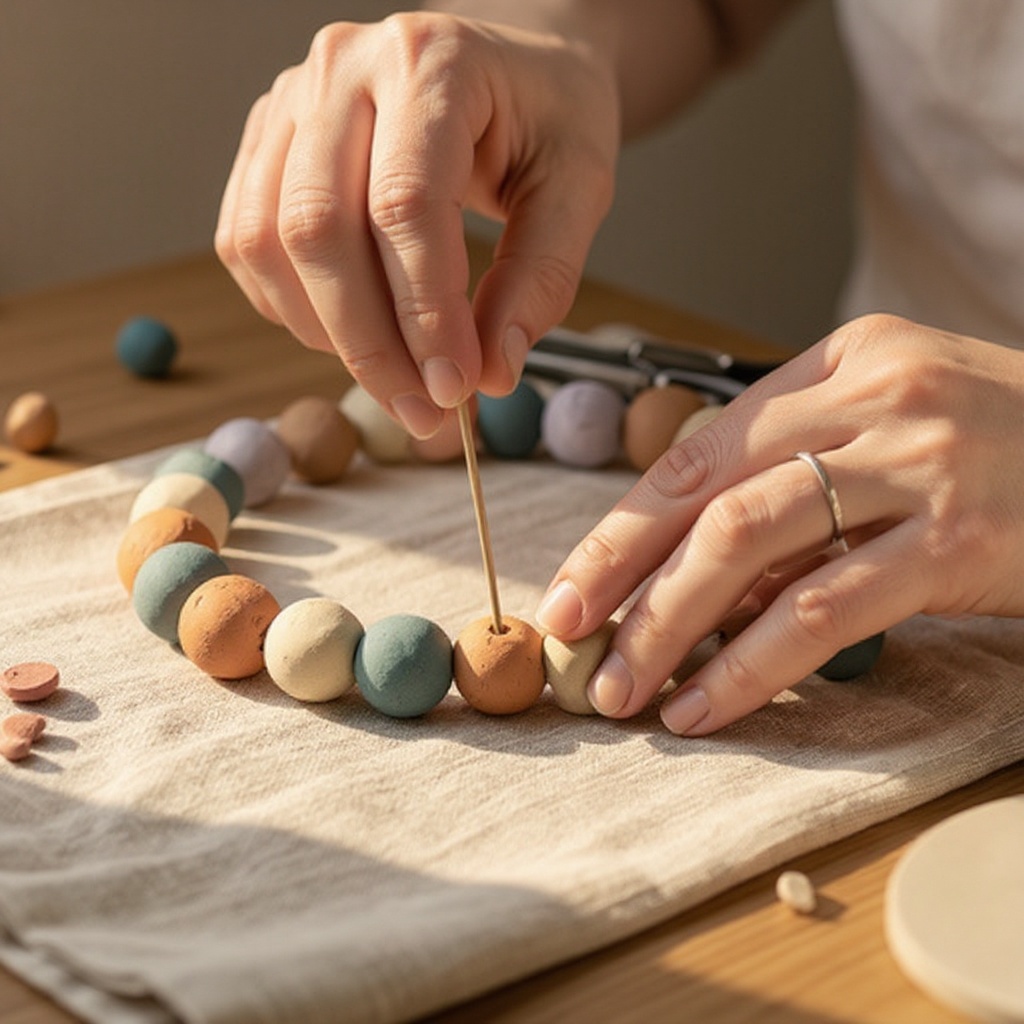
Once you have a smooth ball, gently press a toothpick or skewer through the center of each clay ball to create a hole for threading. Ensure the hole goes all the way through from one side to the other, and try to keep it as straight as possible for easier stringing later.
- 5
If you're aiming for perfectly uniform beads, you can use a bead mold or roll the clay between two identical objects. For a more organic, handmade look, slight variations in size and shape are perfectly charming.
- 6
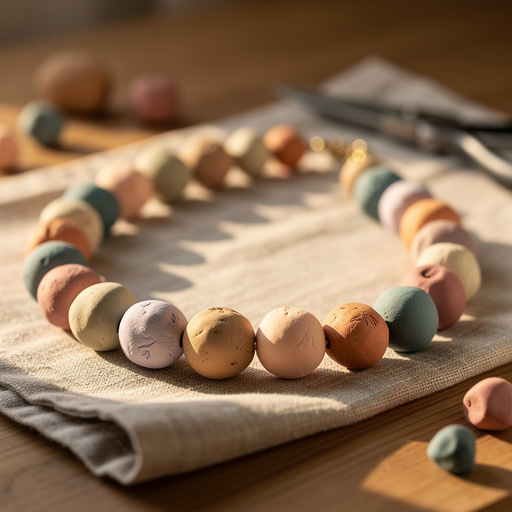
Place the clay beads on a bead board, tray, or a piece of wax paper to dry. It's important to place them on a non-stick surface so they don't adhere as they dry. Ensure they are spaced out to allow for even drying.
- 7
Allow the clay beads to dry completely according to the clay manufacturer's instructions. This typically takes 24 to 48 hours, but can vary depending on the thickness of your beads and the humidity levels in your environment. They should feel hard and lightweight when fully dry.
- 8
Once your clay beads are completely dry, it's time to add color! If you desire, paint your clay beads with acrylic paints. You can opt for solid colors, intricate patterns, or even ombre effects. Let the paint dry thoroughly between coats and before moving to the next step.
- 9
For added durability and a polished finish, apply a clear sealant or varnish to the painted beads. This will protect the paint from chipping and give the beads a subtle sheen. Ensure the sealant is completely dry before proceeding.
- 10
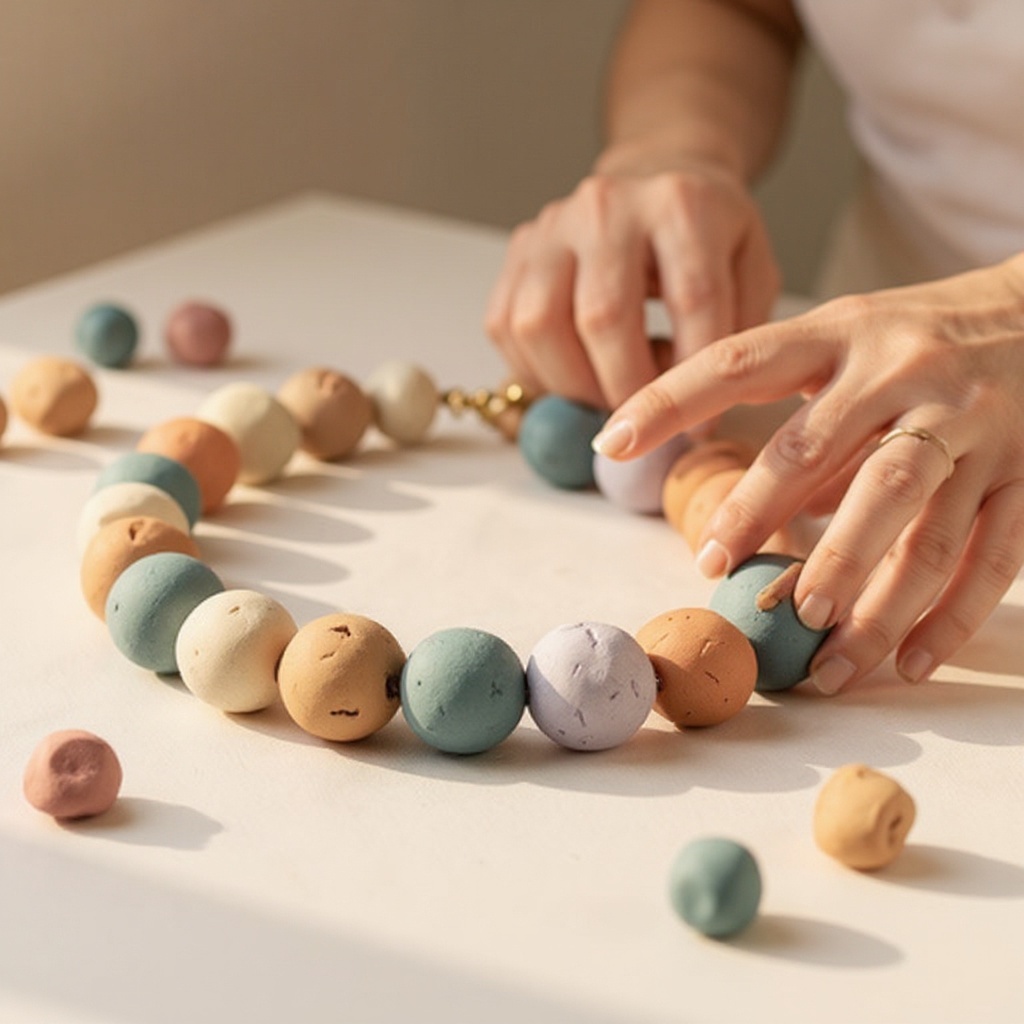
Now, it's time to assemble your necklace. Thread your clay beads onto the elastic cord or jewelry wire. You can alternate them with your assorted beads, creating a unique pattern and color combination.
- 11
Experiment with different arrangements of your clay beads and other beads. Mix and match textures, sizes, and colors to achieve the desired statement effect. Consider placing larger or more intricate clay beads at the center of the necklace.
- 12
Continue adding beads until the necklace reaches your desired length. Measure it against your neck or a similar necklace to ensure it's just right. Remember to leave a little extra room for the clasp or knot.
- 13
If you are using elastic cord, tie a secure knot at each end of the necklace to prevent the beads from falling off. For a neater finish, try to tuck the knot inside the hole of a nearby bead.
- 14
If you are using jewelry wire, you will need to attach a clasp. Thread a crimp bead onto the wire, followed by one half of your clasp, then loop the wire back through the crimp bead and pull it snug. Use pliers to flatten the crimp bead, securing the clasp in place. Repeat on the other end of the necklace with the other half of the clasp.
- 15
Trim any excess cord or wire carefully with your craft knife or scissors, ensuring you don't accidentally cut the main part of your necklace. Admire your beautiful, handmade clay bead statement necklace!
Tips & Troubleshooting
- 1If your air-dry clay starts to feel dry and crumbly while you're working on shaping your beads, lightly dampen your hands with water. This will help to make the clay more pliable and easier to roll into smooth, consistent shapes.
- 2For perfectly round beads, consider using a bead mold designed for clay or rolling the clay between your palms with consistent pressure. You can also roll the clay between two identical cylindrical objects to achieve uniformity.
- 3Don't stress if your bead holes aren't perfectly centered or if some beads are slightly irregular; these imperfections are part of the charm of handmade jewelry and add character to your unique piece.
- 4To create a truly eye-catching statement necklace, mix and match different types of beads with your clay beads. Combining the smooth texture of clay with the natural feel of wood, the sparkle of glass, or the shine of metal can add significant visual appeal and tactile interest.
- 5For clay beads that are extra durable and suitable for more frequent wear, consider using polymer clay instead of air-dry clay. Polymer clay requires baking in a home oven according to the manufacturer's package directions to harden, resulting in a much sturdier bead.
- 6When painting your clay beads, start with a base coat if you're using lighter colors on darker clay, or if you want your colors to pop more vibrantly. Allow each layer of paint to dry completely before applying the next.
- 7To achieve a professional finish on your painted beads, apply two thin coats of sealant rather than one thick coat. This will provide better protection and a smoother, more even sheen.
- 8When stringing your beads, lay them out in your desired pattern on a flat surface before threading them onto the cord or wire. This allows you to visualize the final look and make adjustments easily.
Related Activities You Might Enjoy
Frequently Asked Questions
What kind of clay is best for making jewelry, and what are the differences?
For beginners and projects like this statement necklace, air-dry clay is an excellent choice because it's readily available, easy to work with, and requires no special equipment like a kiln or oven. It hardens naturally as it dries, making it suitable for crafting without baking. However, air-dry clay can be more fragile once dry compared to other types. Polymer clay, on the other hand, is specifically designed for crafting and jewelry making. It remains pliable until baked in a home oven, after which it becomes very hard and durable, often resembling ceramic. For jewelry that will be worn frequently or subjected to more handling, polymer clay is generally the preferred option due to its superior strength and resistance to chipping. Other clays, like ceramic or earthenware, require high-temperature firing in a kiln and are not suitable for home crafting.
How do I make clean, consistent holes in my clay beads for threading?
The easiest and most accessible method for creating holes in air-dry clay beads is by using a toothpick or a thin skewer. Once you've rolled your clay into a ball or your desired shape, gently but firmly push the toothpick or skewer all the way through the center. Aim for a straight path to make threading easier later. For more consistent hole sizes, you can use a small straw or a hollow tube of similar diameter. If you're working with polymer clay, you can also use specialized clay tools or even a small drill bit (used carefully and without power) for precise holes. Ensure the hole is large enough for your chosen cord or wire to pass through comfortably without snagging.
Can I make my air-dry clay beads waterproof or water-resistant?
While air-dry clay is not inherently waterproof, you can significantly increase its resistance to moisture and make it more durable by applying a good quality clear sealant or varnish. Once your clay beads are completely dry and any paint or decorations have also fully cured, apply several thin coats of a waterproof sealant, such as Mod Podge, a clear acrylic spray sealant, or a brush-on varnish. Ensure each coat is thoroughly dry before applying the next. This protective layer will help prevent water from seeping into the clay, reducing the risk of damage, swelling, or disintegration. However, it's still advisable to avoid prolonged submersion in water or wearing the jewelry in the shower or swimming pool to maximize its lifespan.
How long does it typically take for air-dry clay beads to dry completely, and how can I tell they are ready?
Drying times for air-dry clay can vary based on several factors, including the thickness of the beads, the humidity levels in your environment, and air circulation. Generally, small beads like those for a necklace will take approximately 24 to 48 hours to dry completely. You can tell your beads are fully dry when they feel hard and lightweight to the touch, and they no longer feel cool or damp. They should also produce a solid sound when gently tapped, rather than a dull thud. It's crucial to ensure they are bone dry before painting or sealing, as moisture trapped inside can lead to cracking or mold growth later on. If you live in a very humid climate, drying might take a bit longer, so be patient.
What are some creative ways to decorate my clay beads beyond simple painting?
Beyond basic painting, there are numerous creative ways to decorate your air-dry clay beads and make your statement necklace truly unique. You can use stamps to imprint patterns onto the wet clay before it dries, creating textured designs. For a marbled effect, swirl two or more colors of clay together before rolling your beads. You can also embed small objects into the clay, such as glitter, tiny beads, or even small pieces of colored glass, for added sparkle and dimension. Another technique is to use metallic waxes or gilding flakes after the beads are dry and sealed, giving them a sophisticated, metallic sheen. Consider using stencils for intricate patterns or even decoupage with small pieces of decorative paper or fabric for a mixed-media look.
My clay beads cracked during drying. What can I do to prevent this in the future?
Cracking during drying is a common issue with air-dry clay, often caused by uneven drying or the clay drying too quickly. To prevent this, ensure your beads are of a consistent thickness, as thinner sections dry faster and can pull away from thicker parts. When rolling your beads, make sure they are smooth and free of large air bubbles, which can expand and cause cracks. If the clay feels dry while you're working, dampen your hands slightly rather than adding large amounts of water directly to the clay, as too much moisture can also lead to cracking. Try to dry your beads in a location with moderate humidity and good air circulation, avoiding direct heat sources or drafts. If minor cracks do appear, you can often fill them with a bit of wet clay or a strong adhesive once dry, and then sand and repaint them.
What Next?
Congratulations on crafting your very own clay bead statement necklace! You've not only created a beautiful accessory but also engaged in a rewarding, hands-on creative process. Don't stop here! Experiment with different clay colors, bead shapes, and sizes for your next creation. Consider adding charms, tassels, or even incorporating other jewelry-making techniques like wire wrapping. These necklaces also make thoughtful, handmade gifts. To keep your creation looking its best, store it away from direct sunlight and moisture. Enjoy showcasing your unique, handcrafted statement piece!
Free: 10 Paper Crafts Anyone Can Make in 5 Minutes
Get our beginner guide + new craft ideas weekly.
No spam. Unsubscribe anytime.
Did you complete this activity?
Related
You might also like
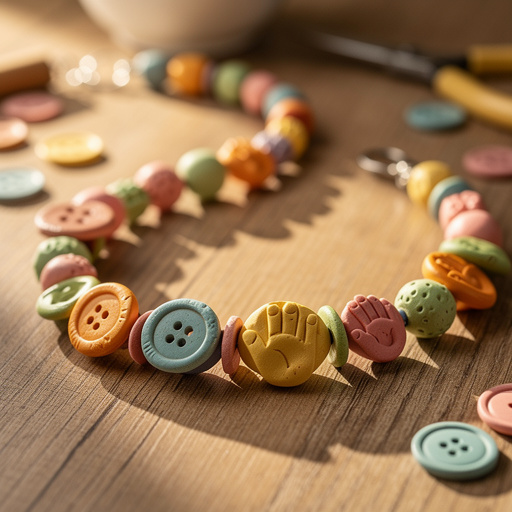
Clay & Button Bead Necklace
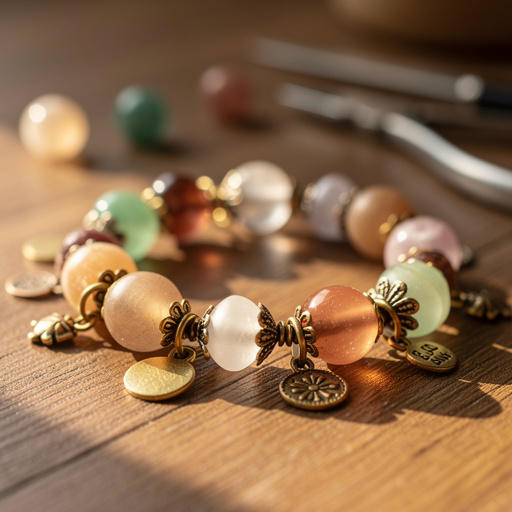
Wholesale Charm Bracelet Creation
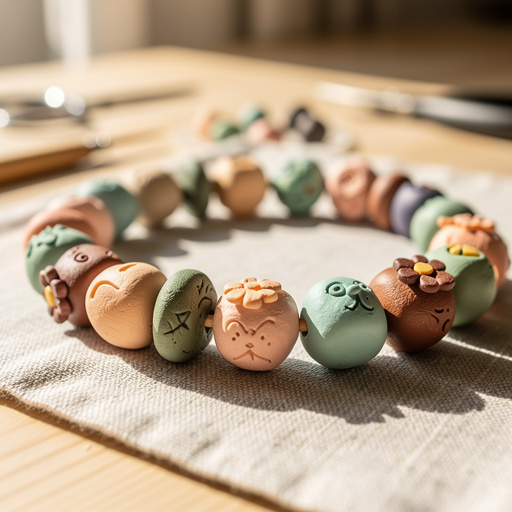
Clay Bead & Charm Creations
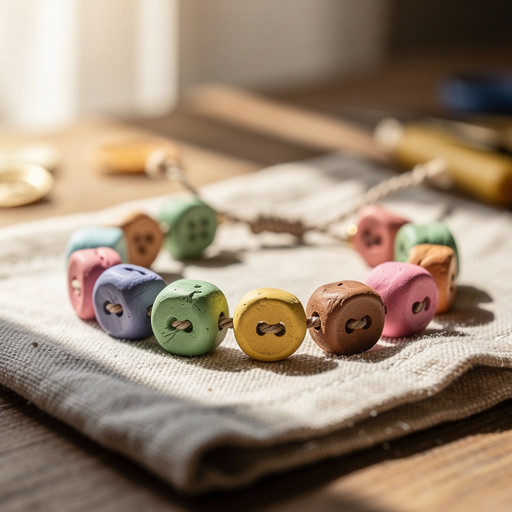
Clay & Button Charm Bracelets
Wire Wrapped Crystal Sun Catcher