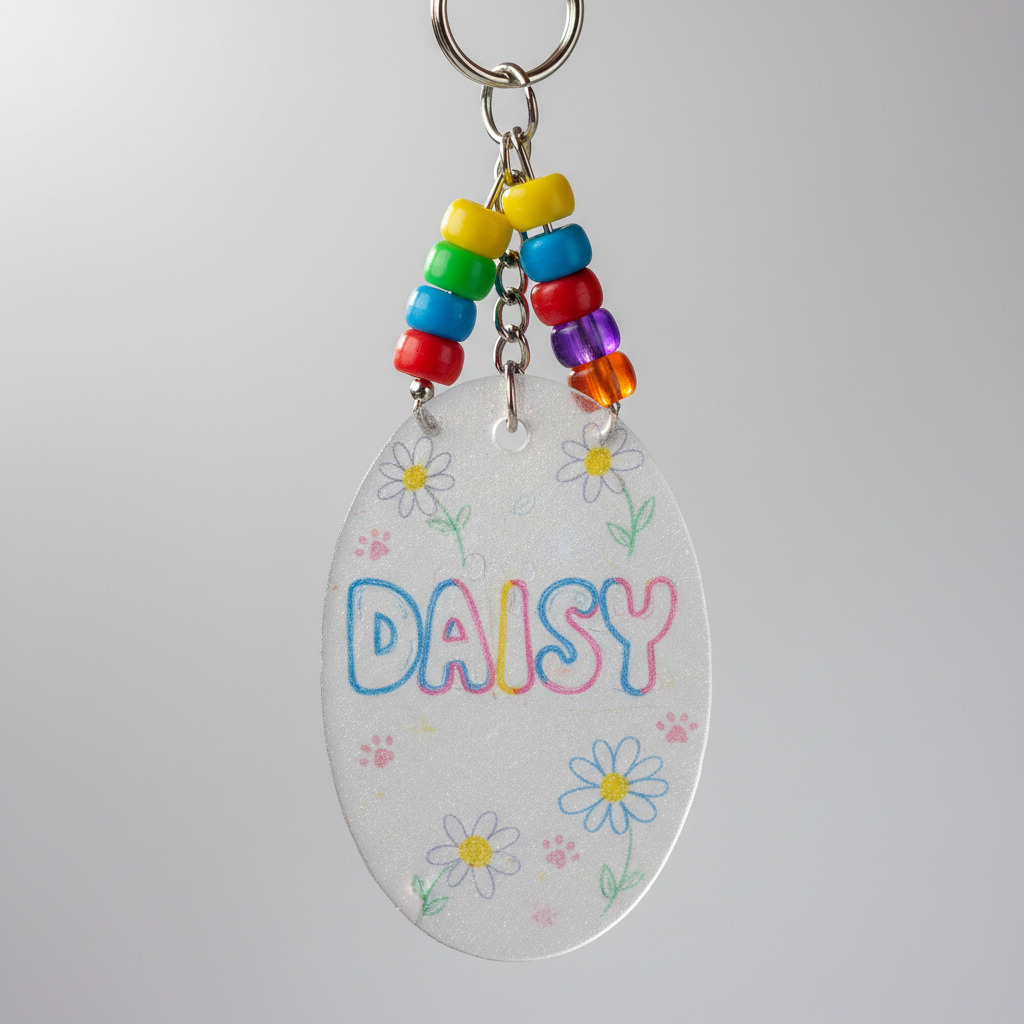
Shrink Plastic Name Tag Pet Tag
Create adorable and durable custom pet ID tags using shrink plastic! This easy DIY project is perfect for adding a personal touch to your furry friend's collar. Personalize with your pet's name, your phone number, and fun designs. These tags are lightweight, waterproof (after sealing), and incredibly customizable.
Quick answer
Design your pet ID tags on printable shrink plastic sheets, print, cut out, punch a hole, bake according to package instructions, seal with a clear coat, and attach to your pet's collar with a keyring.
What you need
Shop on Amazon · As an Amazon Associate we earn from qualifying purchases. Links above are affiliate links — we may earn a commission at no extra cost to you.
Looking for a way to give your beloved pet a truly unique and personalized identification tag? This Shrink Plastic Name Tag Pet Tag project is an absolute gem for crafters and pet lovers alike! It's incredibly simple, budget-friendly, and allows for endless creativity. Imagine designing a tag that perfectly reflects your pet's personality, from whimsical characters to classic fonts displaying their name and your contact information. This DIY is perfect for anyone wanting a durable, lightweight, and stylish alternative to generic pet store tags, ensuring your furry companion is both safe and fashionable.
On this page
Step-by-Step Instructions
- 1
**Step 1: Design Your Pet ID Tags.** Begin by conceptualizing the design for your pet's ID tag. You can unleash your inner artist and create entirely original designs using graphic design software like Canva, PicMonkey, or Adobe Illustrator on your computer. When designing, especially for inkjet printable shrink plastic, remember that the colors will intensify and darken significantly after shrinking; a good rule of thumb is to fade your colors to around 50% opacity to achieve the desired vibrancy. Alternatively, you can find numerous free printable templates online specifically for shrink plastic ID tags, which often include pre-formatted spaces for your pet's name and your contact number, making the process even simpler.
- 2
**Step 2: Prepare Your Design for Printing.** If you're using design software, ensure your artwork is set up correctly for printing. For inkjet shrink plastic, you'll typically print on the frosted or matte side of the sheet. If you're using a template, open it in your chosen software and carefully fill in your pet's name and your phone number using a clear, legible font. Double-check all spelling and numbers before proceeding to the printing stage.
- 3
**Step 3: Print Your Designs.** Load your printable shrink plastic sheets into your printer according to the manufacturer's instructions. It's crucial to print on the correct side of the shrink plastic; refer to the packaging for guidance. Print your designs at a high-quality setting to ensure the best possible results. Allow the ink to dry completely for at least 15-30 minutes, or longer if recommended by the shrink plastic manufacturer, to prevent smudging during the cutting process.
- 4
**Step 4: Cut Out the Tags.** Once the ink is thoroughly dry, carefully cut out each tag from the shrink plastic sheet. Use sharp scissors for clean edges. For a more decorative and professional look, consider using decorative-edge scissors to create unique borders around your tags. If you're aiming for precise shapes or straight lines, a paper trimmer or a craft knife and ruler can be very helpful. Be sure to cut just inside the printed lines to avoid any unwanted borders.
- 5
**Step 5: Punch the Hole.** Before baking, use a hole punch to create a hole at the top-center of each tag. This hole will be used to attach the keyring or S-hook later. Ensure the hole is large enough to accommodate your chosen keyring or hook. If you're using a smaller craft punch, make sure it's sturdy enough to go through the shrink plastic. This step is essential for making the tag functional.
- 6
**Step 6: Prepare for Baking.** Preheat your oven to the temperature specified on your shrink plastic packaging. This temperature can vary, but it's typically between 300-350°F (150-175°C). Line a baking sheet with parchment paper; this prevents the shrink plastic from sticking to the metal and ensures an even baking surface. Place your cut-out tags onto the parchment-lined baking sheet, ensuring they are not overlapping and have a little space between them.
- 7
**Step 7: Bake the Tags.** Carefully place the baking sheet with the tags into the preheated oven. Watch the tags closely through the oven door as they bake. They will curl up, shrink dramatically, and then flatten out. This process usually takes between 1 to 5 minutes, depending on your oven and the thickness of the shrink plastic. Do not overbake, as this can cause the plastic to become brittle or discolored.
- 8
**Step 8: Gently Flatten (Optional but Recommended).** While the tags are still hot and pliable in the oven, and just as they begin to flatten, you might need to gently flatten them further. You can use a metal spatula or the flat side of a ruler to carefully press down on the tag. Be extremely cautious as the plastic and oven are very hot. This step helps ensure your tags are as flat as possible for a more professional finish. Alternatively, some crafters place a piece of parchment paper over the shrunken tag and then place a heavy, flat object like a book on top for a few minutes as it cools.
- 9
**Step 9: Allow to Cool Completely.** Once the tags have shrunk and flattened, carefully remove the baking sheet from the oven using oven mitts. Allow the tags to cool completely on the baking sheet. They will continue to harden as they cool. Resist the urge to touch them while they are still warm, as they can be quite hot and may warp if handled too soon.
- 10
**Step 10: Add Color and Detail (Optional).** If you didn't print your designs with full color, or if you want to add extra dimension, you can use permanent markers or colored pencils to add details and shading to your shrunken tags. This is a great way to personalize them further. For colored pencils, you'll want to apply them *before* baking, as the heat will help set the color into the plastic. If using markers, you can add details before or after baking, but be aware that markers applied after baking might smudge if not sealed.
- 11
**Step 11: Seal the Tags.** To protect your designs from wear and tear, and to make them waterproof, it's essential to seal both sides of each pet ID tag. Use a clear-coat spray sealant. Apply several thin, even coats, allowing each coat to dry completely before applying the next. Ensure you are in a well-ventilated area when using spray sealants. This step is crucial for the longevity of your custom pet tags.
- 12
**Step 12: Attach the Keyring or S-Hook.** Once the sealant is completely dry and cured (this may take several hours or overnight, depending on the product), thread a keyring or an S-hook through the hole you punched in the top of each tag. Ensure the keyring or hook is securely fastened.
- 13
**Step 13: Secure to Pet's Collar.** Finally, attach the keyring or S-hook with your beautifully crafted shrink plastic ID tag to your pet's collar, harness, carrier, or leash. Ensure it's securely fastened so it won't fall off during your pet's adventures. Congratulations, you've created a unique and functional piece of pet identification!
- 14
**Step 14: Test Durability.** After a few days of wear, check the tag to ensure it's holding up well. The sealant should protect the design, and the shrink plastic is surprisingly durable for everyday use. If you notice any signs of wear, you can always apply another coat of sealant.
- 15
**Step 15: Create Matching Accessories.** Consider making matching accessories for yourself, like a keychain with your pet's face, or smaller charms for their carrier. The possibilities are endless with shrink plastic!
- 16
**Step 16: Organize and Store.** Keep any leftover shrink plastic sheets stored flat in a cool, dry place away from direct sunlight to prevent them from warping or becoming unusable. Store your finished tags in a small box or pouch when not in use to keep them organized.
- 17
**Step 17: Consider Different Shrink Plastic Types.** Explore different brands and types of shrink plastic. Some are designed for inkjet printers, while others are for laser printers or even for coloring with permanent markers directly. Each type might have slightly different shrinking properties and finishes.
- 18
**Step 18: Experiment with Stamping.** For a different artistic approach, try using permanent ink stamps on your shrink plastic before baking. This can create interesting textures and patterns that shrink down beautifully with your design.
- 19
**Step 19: Add Glitter or Embellishments (Before Baking).** For extra sparkle, you can add fine glitter or small embellishments like tiny rhinestones to your design *before* baking. Ensure they are securely adhered to the plastic, as they will also shrink and fuse into the plastic.
- 20
**Step 20: Use a Heat Gun for Flattening (Advanced).** If you find it difficult to flatten the tags in the oven, a heat gun can be used with extreme caution. Once the tag has shrunk, you can carefully apply heat with a heat gun from a distance to make it pliable enough to flatten with a metal spatula. This requires practice and careful temperature control to avoid melting or warping the plastic excessively.
Tips & Troubleshooting
- 1**Print Quality Matters:** Always use the highest print quality setting on your printer when printing onto shrink plastic. This will ensure your designs are crisp and vibrant, and the colors will translate best after shrinking. Low-quality prints can result in blurry images or faded colors.
- 2**Ink Drying Time is Crucial:** Be patient and allow the ink to dry completely on the shrink plastic before cutting. Smudged ink is difficult to fix and can ruin your design. If you're in a hurry, a quick blast from a hairdryer on a cool setting can help speed up the drying process, but always test on a scrap piece first.
- 3**Test Shrinkage:** Before committing to your final design, it's a good idea to print and bake a small test piece. This will help you understand how much your specific brand of shrink plastic shrinks and how your colors will appear. It's also a good way to practice the flattening technique.
- 4**Ventilation for Sealing:** When using spray sealants, always work in a well-ventilated area, preferably outdoors or near an open window. The fumes from spray sealants can be strong and harmful if inhaled. Wear a mask if you are sensitive to fumes.
- 5**Layering Sealant:** Apply multiple thin layers of sealant rather than one thick coat. This provides better coverage and a smoother finish. Allow each layer to dry thoroughly before applying the next. This also helps prevent the sealant from pooling or running.
- 6**Consider the Back:** Don't forget to seal the back of your tag as well! This protects the design from scratches and adds an extra layer of durability. You can even add a small design or your pet's initial to the back for an extra personal touch.
- 7**Hole Size for Durability:** Ensure the hole you punch for the keyring is not too close to the edge of the tag, as this can cause the plastic to tear over time, especially with active pets. A slightly larger hole in the center is generally more durable.
- 8**Permanent Markers for Detail:** For writing fine details like phone numbers, use ultra-fine tip permanent markers. These markers provide precision and prevent the ink from bleeding or smudging on the shrink plastic surface. Practice your lettering on a scrap piece first.
Related Activities You Might Enjoy
Frequently Asked Questions
What kind of shrink plastic should I use for printable pet tags?
For printable pet tags, you'll want to use printable shrink plastic sheets specifically designed for inkjet or laser printers, depending on your printer type. These sheets have a special coating that allows ink to adhere properly. Always check the packaging to ensure it's compatible with your printer. Printable shrink plastic comes in frosted or clear varieties, with frosted often being preferred for a matte finish that resembles traditional tags. Ensure you print on the correct side of the plastic as indicated by the manufacturer, as this is crucial for the ink to adhere and shrink correctly. Using the wrong type of shrink plastic or printing on the wrong side will result in faded or smudged designs that won't look good.
How do I ensure my pet tag is durable and waterproof?
The durability and waterproof nature of your shrink plastic pet tag come from a combination of factors. First, the shrink plastic itself is a sturdy material once baked and cooled. However, to truly make it waterproof and protect the printed or drawn design from scratches, moisture, and general wear and tear, sealing it with a clear-coat spray sealant is essential. Apply several thin, even coats of a good quality sealant like Mod Podge or a clear acrylic spray, allowing each layer to dry completely. This creates a protective barrier that will keep your tag looking great for a long time, even when exposed to rain or your pet's enthusiastic adventures.
Can I use colored pencils or markers directly on shrink plastic?
Yes, you absolutely can use colored pencils and permanent markers directly on shrink plastic! If you're using colored pencils, it's best to apply them *before* baking. The heat from the oven will help set the color into the plastic, creating a vibrant and permanent design. For permanent markers, you can draw your design before baking, or add details after the tag has shrunk and cooled. However, be aware that markers applied after baking might be more prone to smudging if not sealed properly. Experimenting with both methods can lead to unique artistic effects and textures on your pet tags.
My shrink plastic tag curled up unevenly. How can I fix this?
It's common for shrink plastic to curl up significantly during the baking process. The key to getting a flat tag is to gently flatten it while it's still hot and pliable in the oven. As soon as the plastic has shrunk and is mostly flat but still warm, carefully use a metal spatula or the flat side of a ruler to press down on the tag. Be very cautious as everything is extremely hot. Alternatively, you can place a piece of parchment paper over the shrunken tag and then place a heavy, flat object like a book on top for a few minutes as it cools. This manual flattening is crucial for a smooth finish.
What is the best way to attach the tag to my pet's collar?
The most common and secure way to attach your shrink plastic pet tag to your pet's collar is by using a keyring or an S-hook. Ensure the hole you punched in the tag is large enough to comfortably fit your chosen hardware. A keyring offers a classic and secure connection, while an S-hook can be easier to attach and detach. For very active pets or those who tend to chew on their tags, consider using a split ring (like those found on keychains) as they are less likely to open accidentally. Make sure the attachment is snug and won't snag on anything.
Can I make these tags for my cat as well as my dog?
Absolutely! These shrink plastic name tags are perfect for both cats and dogs. The lightweight nature of shrink plastic makes them comfortable for cats, who can sometimes be sensitive to heavier tags. You can design smaller, more delicate tags for cats, perhaps with their name and your phone number, or even a cute paw print. Just ensure the tag is securely attached to their collar and not so large that it could get caught on something. The customization options mean you can create a tag that suits any pet's size and personality.
How long will my shrink plastic pet tag last?
With proper care and sealing, your shrink plastic pet tag can last for a very long time. The shrink plastic itself is quite durable and resistant to bending and breaking. The clear-coat sealant is crucial for protecting the design from fading, scratching, and water damage. If your pet is particularly rough on their tags, or if the tag is constantly exposed to harsh elements, you might notice some wear over several years. However, for most pets, a well-made and sealed shrink plastic tag can easily last for several years, maintaining its appearance and functionality.
What Next?
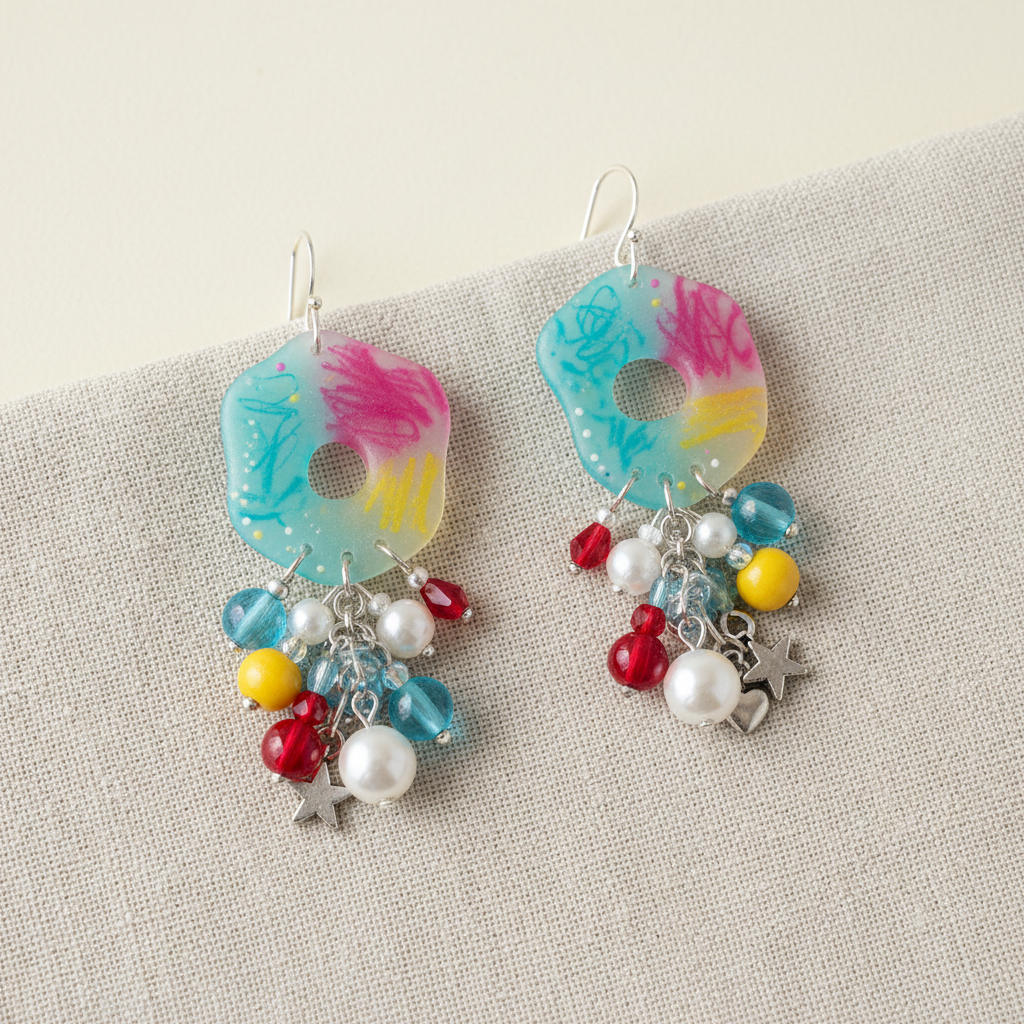
Once your shrink plastic pet tags are complete and sealed, they're ready for action! You can attach them to your pet's collar, harness, or even a leash for added visibility. For a truly special touch, consider creating a matching set for multiple pets or a themed tag for holidays. If you have extra tags, they make fantastic personalized gifts for fellow pet parents. Store any unused shrink plastic sheets in a cool, dry place away from direct sunlight to maintain their quality for future projects. This project opens the door to many other shrink plastic crafts, like keychains, charms, and even earrings!
Free: 10 Paper Crafts Anyone Can Make in 5 Minutes
Get our beginner guide + new craft ideas weekly.
No spam. Unsubscribe anytime.
Did you complete this activity?
Related
You might also like
Shrink Plastic Charms & Jewelry
Shrink Plastic Pet Charms
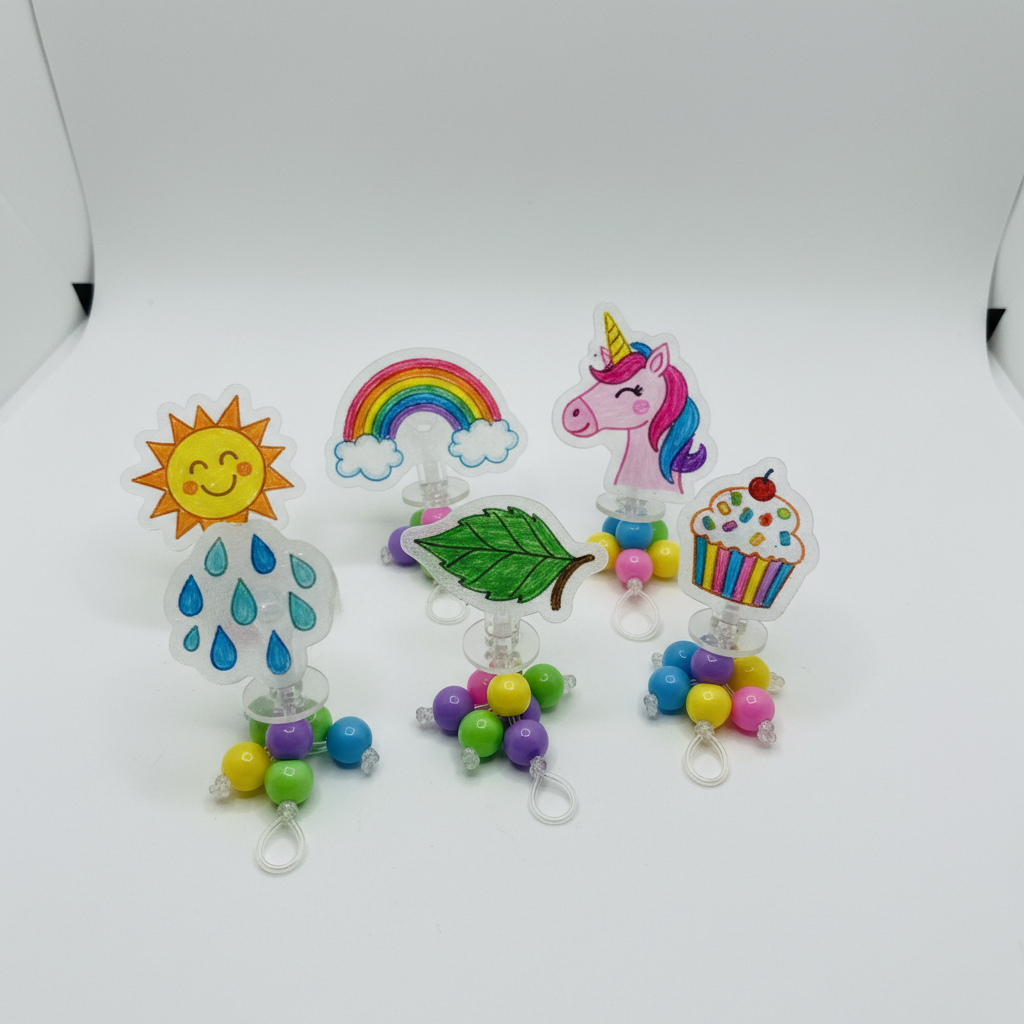
Shrink Plastic Charms for Crocs/Shoes
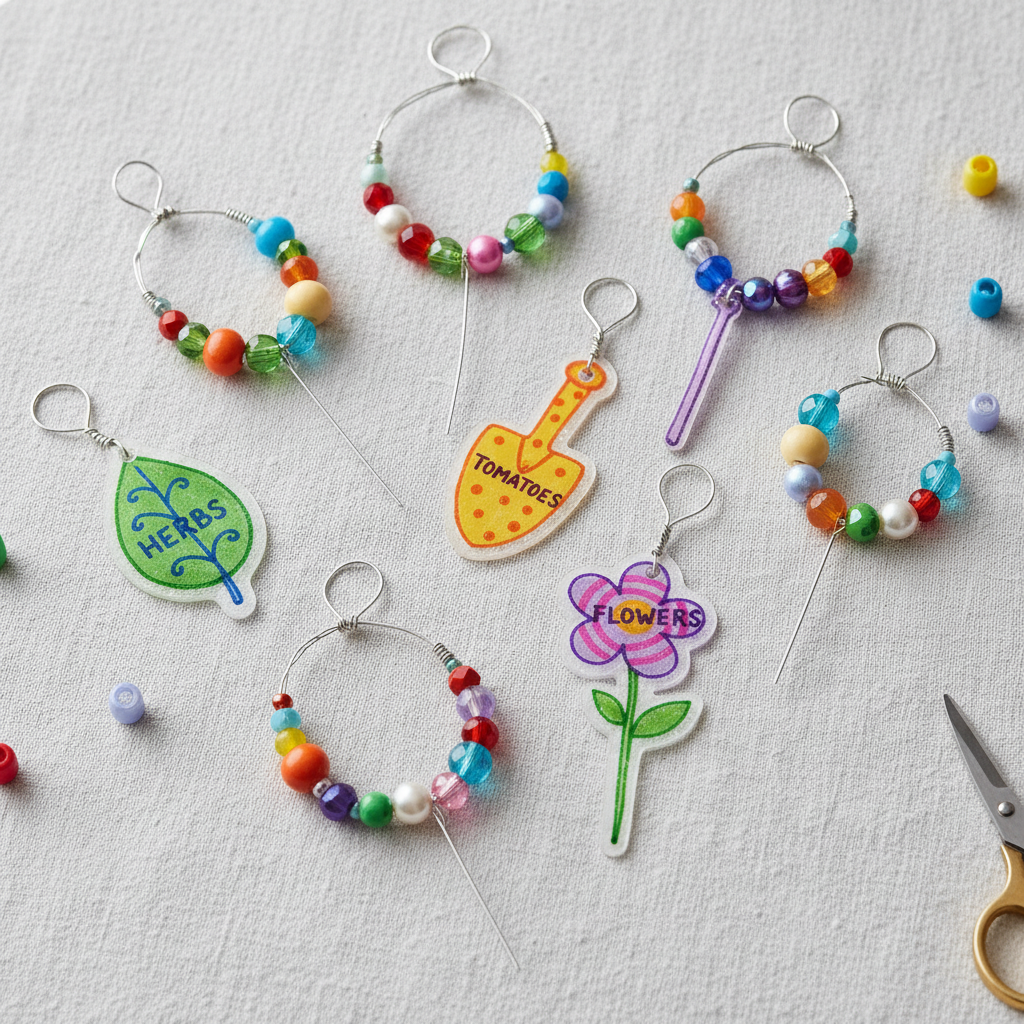
Shrink Plastic Plant Markers
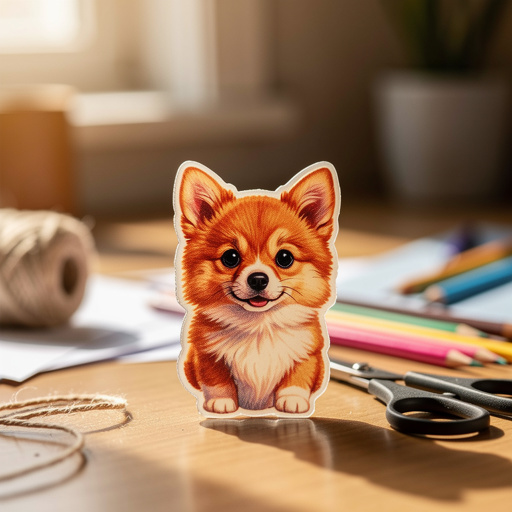
Shrink Plastic Pet Portraits