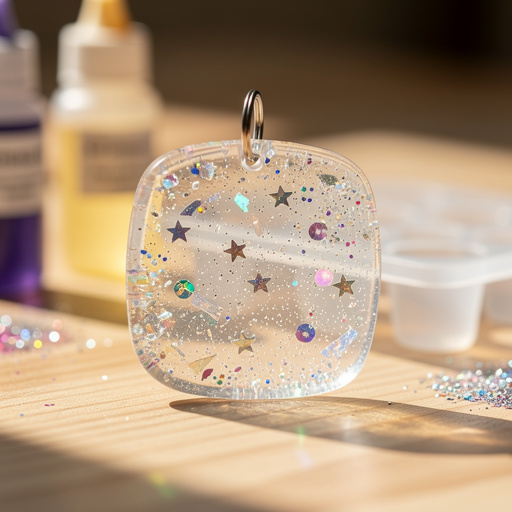
How to Make Metal Stamped Charms — Easy Step-by-Step Guide
Discover how to transform simple metal blanks into personalized stamped charms. This fun, screen-free activity is perfect for creating unique jewelry pieces. Learn to stamp letters, numbers, and symbols onto metal for custom pendants, earrings, and more. Ideal for beginners and families, this project offers a rewarding way to express your creativity.
Quick answer
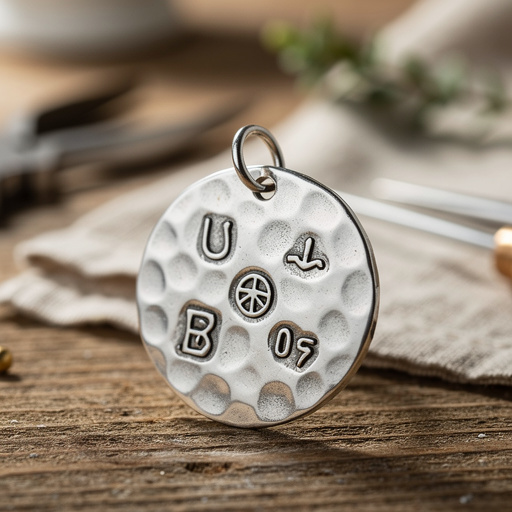
To make metal stamped charms, you need metal blanks (e.g., aluminum, brass, copper discs), metal letter/number stamps, a steel stamping block, a jeweler's hammer, and a marker pen. The process involves striking stamps onto metal blanks to create impressions, then inking them to make the design visible. This beginner-friendly activity takes about 30 minutes per charm and is perfect for families with older children. Start by practicing your stamping on scrap metal to get a feel for the hammer strike and ensure clear impressions.
What you need
Shop on Amazon · As an Amazon Associate we earn from qualifying purchases. Links above are affiliate links — we may earn a commission at no extra cost to you.
Unleash your inner artisan and create truly unique jewelry with the satisfying art of metal stamping. This project is a fantastic way to personalize gifts, commemorate special occasions, or simply craft pieces that reflect your individual style. Unlike intricate jewelry making techniques, metal stamping is remarkably accessible, requiring only a few basic tools and a bit of practice. It's a wonderful screen-free activity that can be enjoyed by crafters of all ages, making it an ideal choice for family craft sessions or a relaxing solo endeavor. Get ready to transform plain metal into wearable art!
On this page
Step-by-Step Instructions
- 1
Gather all your materials on a sturdy, flat surface, such as a workbench or a thick cutting board, ensuring good lighting to clearly see your workspace and the stamping impressions. Having everything within reach will streamline the process and prevent interruptions.
- 2
Place a metal stamping blank flat on your steel stamping block, ensuring it is centered and stable. The steel block provides a solid, non-marring surface that absorbs the hammer's impact, allowing for a clean impression without damaging your work surface or the stamp.
- 3
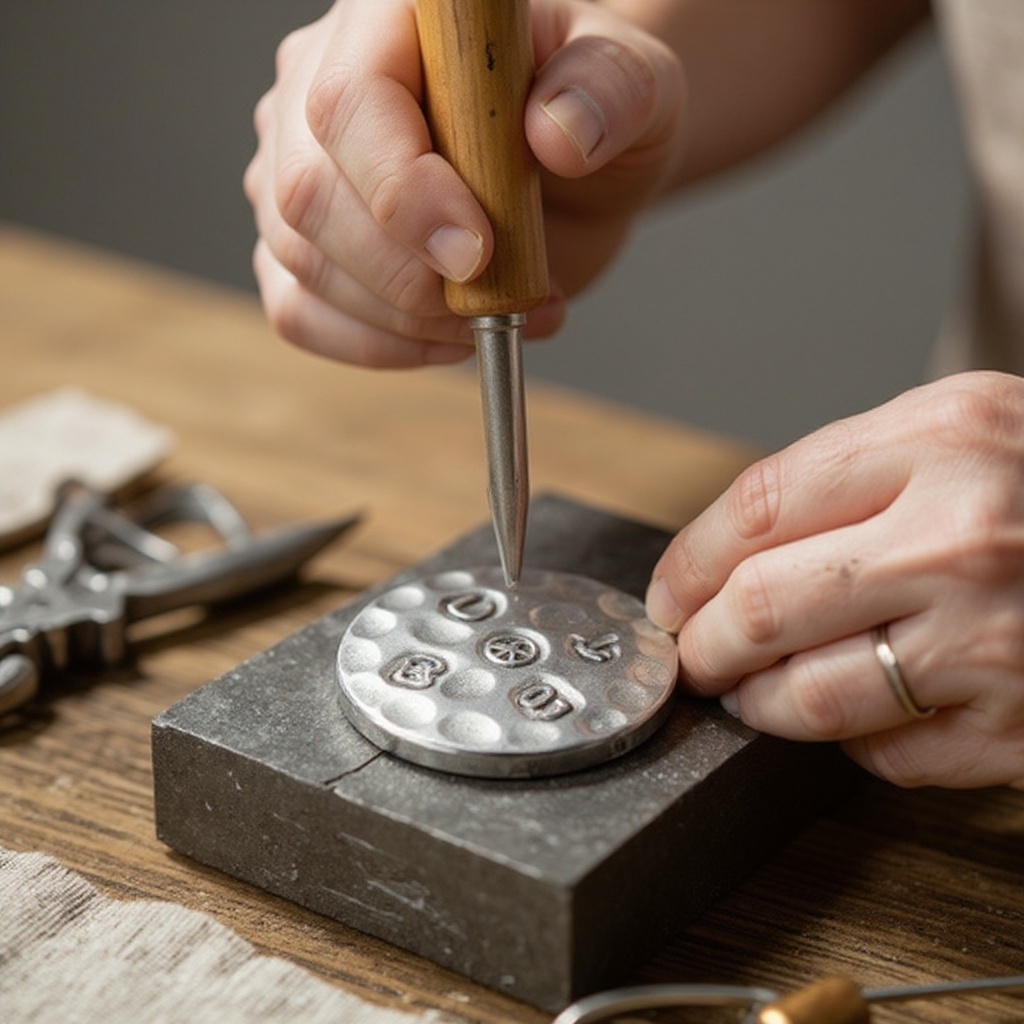
Choose your first stamp, for example, a letter like 'A'. Hold it firmly upright, with the raised letter facing down, directly over the center of the metal blank. Ensure the stamp is perpendicular to the metal surface to avoid a skewed impression.
- 4
Gently tap the top of the stamp with your jeweler's hammer to lightly seat it and ensure it's positioned exactly where you want it. This initial light tap helps prevent the stamp from slipping when you deliver the main strike, giving you more control over placement.
- 5
Lift the hammer and strike the top of the stamp with a firm, decisive blow. Aim for a single, strong hit to create a clear and deep impression. Avoid multiple light taps, as this can result in a weak or distorted mark.
- 6
Carefully remove the stamp and examine the impression on the metal blank. If the impression is too light, you can attempt to strike it again in the exact same spot, but be extremely cautious not to double-strike, which can cause the metal to distort or create a blurry effect.
- 7
Repeat steps 3-6 for each subsequent letter, number, or symbol you wish to stamp, carefully spacing them evenly across the blank. Take your time to ensure consistent spacing and alignment for a professional look.
- 8
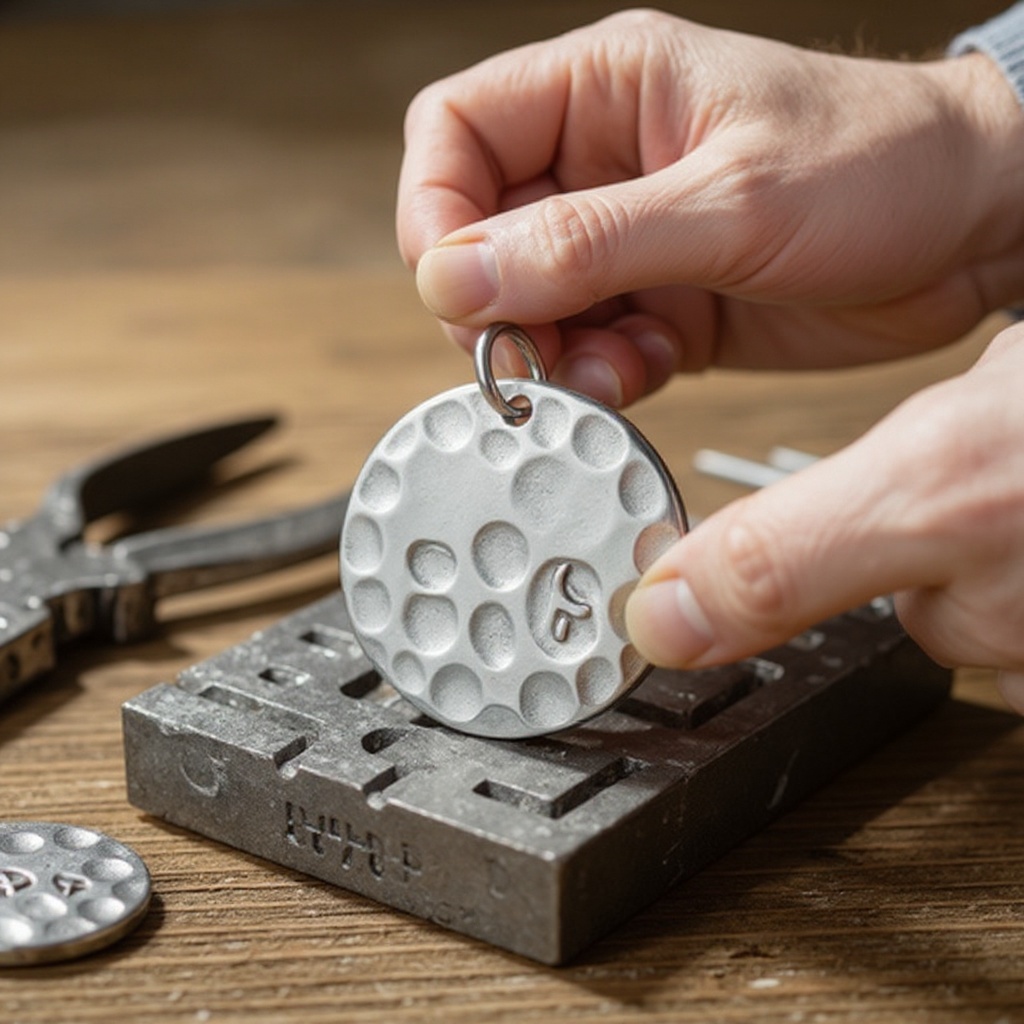
Once all stamping is complete, use a permanent marker pen to fill in the stamped impressions. Apply the marker directly into the indented lines, ensuring the ink saturates the stamped areas completely. This step is crucial for making the stamped design stand out.
- 9
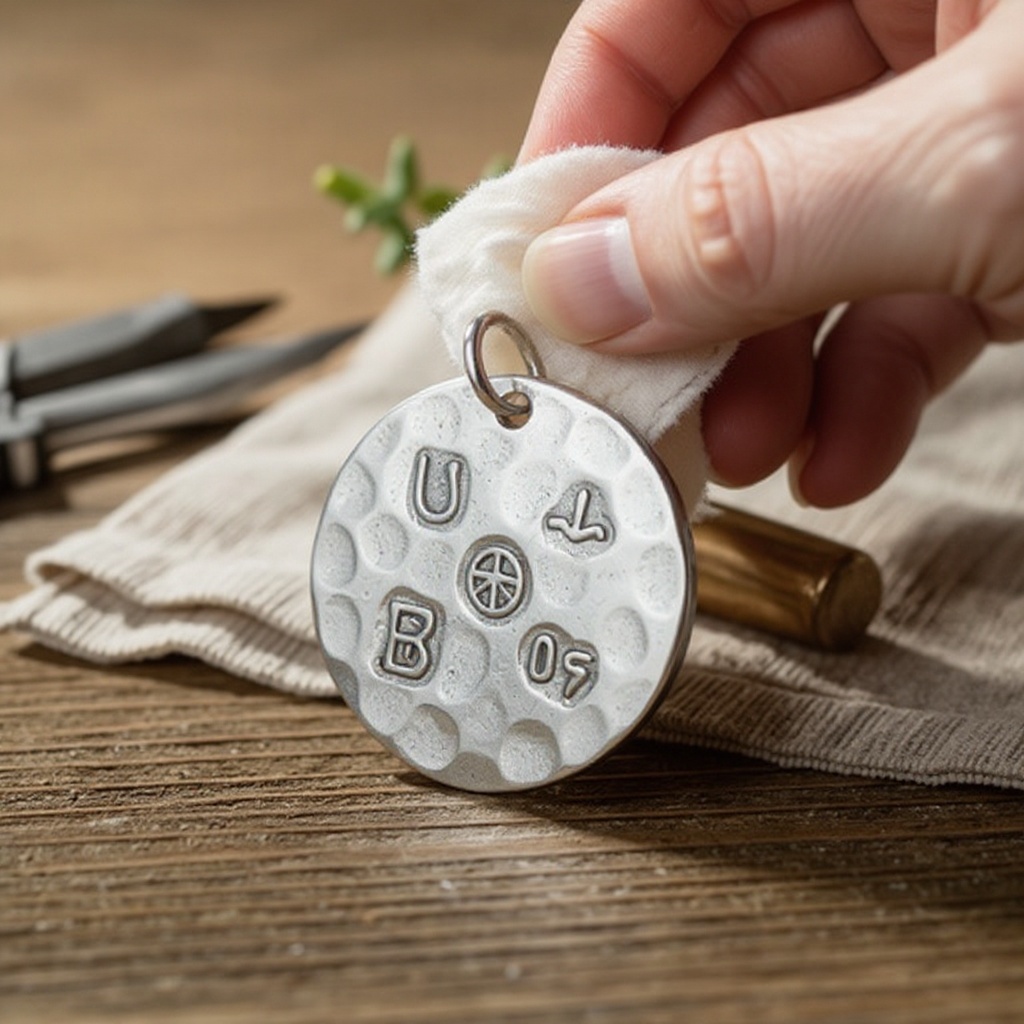
Allow the marker ink to dry for a minute or two. Then, gently wipe away the excess marker ink from the surface of the metal blank with a polishing cloth or a slightly damp paper towel. The ink should remain only within the stamped lines, highlighting your design.
- 10
If desired, use fine-grit sandpaper to lightly buff the surface of the metal blank for a smoother finish, paying attention to any rough edges. Alternatively, you can use a metal polishing compound on a cloth to achieve a polished sheen.
- 11
To finish your charm, use jewelry pliers to gently open a jump ring and attach it through the hole in your stamped blank. Then, connect this jump ring to an earring hook, necklace chain, or other jewelry findings as desired.
- 12
Close the jump ring securely with your pliers, ensuring it is firmly closed to prevent the charm from falling off. Your personalized metal stamped charm is now ready to be worn or gifted!
Tips & Troubleshooting
- 1Practice stamping on scrap metal or the back of a blank before committing to your final design. This helps you get a feel for the hammer strike, understand how much force is needed for a clear impression, and practice your spacing and alignment.
- 2For straighter lines of text, you can use a piece of masking tape as a visual guide, drawing a straight line on the tape and aligning your stamps along it. Alternatively, invest in a metal stamping jig, which provides a channel to guide your stamps for more precise alignment.
- 3If your impressions are consistently too faint, try a slightly harder hammer strike or ensure your stamp is held perfectly perpendicular to the metal. If impressions are too deep, distorted, or the metal is spreading, you might be hitting too hard, the stamp isn't held straight, or the metal is too soft for the force applied.
- 4Experiment with different metal types like aluminum (soft, easy to stamp, hypoallergenic), brass (warm golden color, durable), and copper (rich reddish-brown, develops a patina). Each metal offers a unique look, feel, and stamping experience, so try them all to see your favorites.
- 5Consider adding decorative stamps like hearts, stars, flowers, or intricate patterns for extra flair and visual interest. Layering different stamps or combining text with icons can create truly unique and eye-catching designs.
- 6Clean your stamps regularly with a brass brush or a stiff toothbrush and a bit of cleaner to remove any metal residue. This ensures clear impressions for every stamping session and prolongs the life of your stamps.
- 7When filling impressions with marker, work in small sections if you are stamping a longer word or phrase. This prevents the ink from drying too quickly before you can wipe away the excess, ensuring a clean finish.
- 8For a more professional finish, consider using a tumbling machine with polishing media to smooth edges and give your charms a professional shine. This is an optional step but can elevate the final look of your handmade jewelry.
Related Activities You Might Enjoy
Frequently Asked Questions
What is the best metal to use for stamping jewelry?
Aluminum is an excellent choice for beginners due to its softness, making it easy to achieve clear impressions with less force. It's also hypoallergenic and affordable. Brass and copper are also popular, offering beautiful, warm tones and a slightly more durable stamping experience. They require a bit more force than aluminum but yield lovely results. Stainless steel is very durable and resistant to tarnishing but is significantly harder to stamp, often requiring specialized tools or more advanced techniques. For most DIY projects, starting with aluminum, brass, or copper is highly recommended.
How do I make my stamped metal jewelry stand out?
The most effective way to make your stamped metal jewelry stand out is by filling the impressions with ink. After stamping, use a permanent marker (black is classic, but colored markers add a fun twist) to color directly into the indented lines. Let the ink dry for a minute or two, then gently wipe away the excess ink from the surface of the metal with a polishing cloth or a slightly damp paper towel. The ink will remain in the stamped grooves, creating a stark contrast that makes your design pop. For an antiqued look, you can also use liver of sulfur or a black patina solution.
Can I use any hammer for metal stamping?
While you can technically use any hammer with a flat, steel striking surface, a jeweler's hammer is highly recommended for metal stamping. Jeweler's hammers are designed for precision striking and typically weigh around 1 pound, providing sufficient force without being overly heavy. Crucially, the striking face should be smooth, flat steel; avoid hammers with textured or rounded faces, as these will mar the stamp and create poor impressions. Rubber or plastic mallets are unsuitable as they absorb too much impact and will not create a clear, defined stamp.
How do I prevent my stamps from being crooked?
Preventing crooked stamps requires a combination of technique and tools. First, practice holding the stamp firmly and upright, ensuring it's perpendicular to the metal surface before striking. For better alignment, you can use a piece of masking tape as a guide; draw a straight line on the tape and align the base of your stamp along it. For even greater precision, consider investing in a metal stamping jig, which is a tool designed to hold your stamp in place and guide it for perfectly straight impressions. Consistent practice is key to developing the muscle memory for straight stamping.
What are the best practices for spacing letters and words?
Achieving even spacing between letters and words is crucial for a professional-looking stamped piece. Start by lightly tapping the first letter into place. Then, place the second stamp next to the first, ensuring there's a consistent gap between them. You can use the width of the stamp itself as a rough guide for spacing. For longer words, consider using a piece of masking tape with a line drawn on it as a visual guide for the bottom of your letters. Some crafters also use a ruler to measure the distance between stamps. Patience and practice are essential; don't rush the process.
How do I clean and care for my metal stamped jewelry?
To keep your metal stamped jewelry looking its best, regular cleaning is important. For most metals like aluminum, brass, and copper, a soft polishing cloth is usually sufficient for removing fingerprints and light tarnish. If more significant tarnish appears, you can use a mild metal polish specifically designed for the type of metal you're using, following the product's instructions. For inked designs, avoid harsh chemicals or abrasive cleaners, as they can remove the ink. Store your jewelry in a dry place, preferably in a jewelry box or a soft pouch, to prevent scratching and tarnishing.
What Next?
Congratulations on creating your own beautiful metal stamped charms! The possibilities are truly endless, from stamping inspirational quotes to creating personalized pet ID tags. For variations, consider using decorative stamps for added flair, or explore different metal finishes like antiquing or patinas. These charms can be incorporated into necklaces, bracelets, earrings, keychains, or even zipper pulls. Store your finished pieces in a jewelry box or a small pouch to prevent scratching. As you gain confidence, you might want to explore more advanced techniques like doming metal or adding wire wrapping for even more intricate designs. Happy crafting!
Free: 10 Paper Crafts Anyone Can Make in 5 Minutes
Get our beginner guide + new craft ideas weekly.
No spam. Unsubscribe anytime.
Did you complete this activity?
Related
You might also like
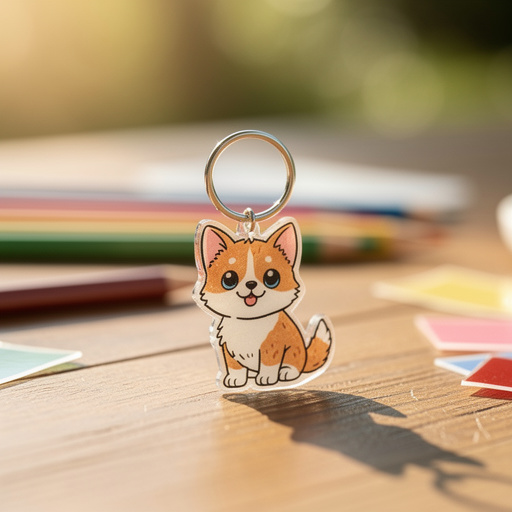
Shrink Plastic Pet Charms
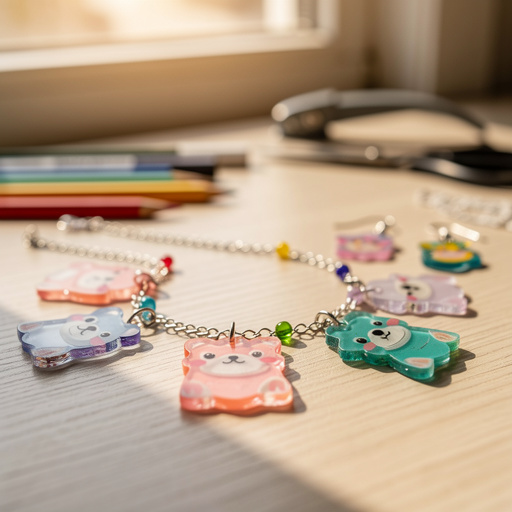
Shrink Plastic Charms & Jewelry

Rainbow Stretch Bead Bracelets
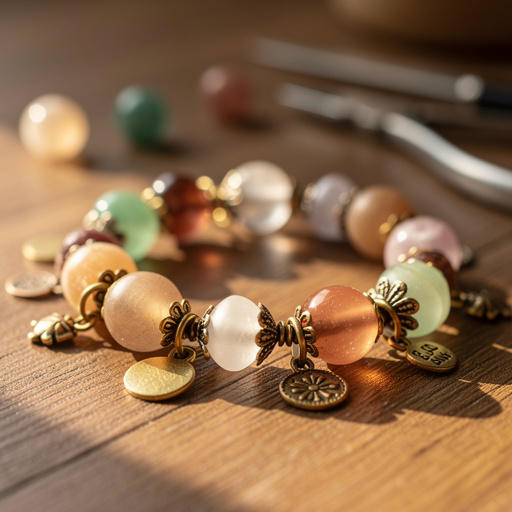
Wholesale Charm Bracelet Creation
DIY Friendship Bracelets with Beads