How to Make Friendship Bracelets with Beads — Easy Step-by-Step Guide
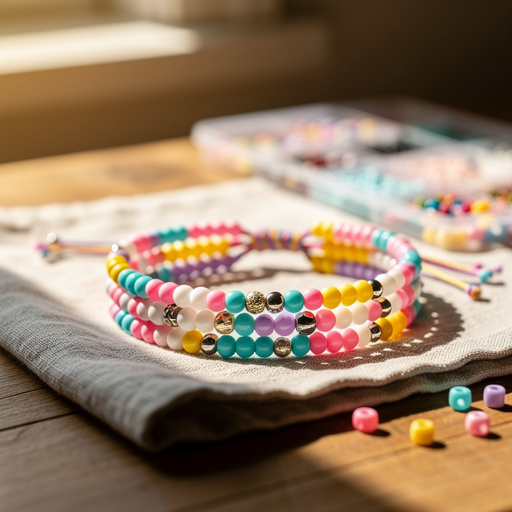
Create colorful and personalized beaded friendship bracelets! This fun craft is perfect for developing fine motor skills and expressing creativity.

Quick answer
To make beaded friendship bracelets, you need embroidery floss, beads, scissors, and tape, taking about 30 minutes per bracelet. Start by knotting the floss. This beginner-friendly activity has 10 steps and is perfect for kids aged 6-12.
What you need
Shop on Amazon · As an Amazon Associate we earn from qualifying purchases. Links above are affiliate links — we may earn a commission at no extra cost to you.
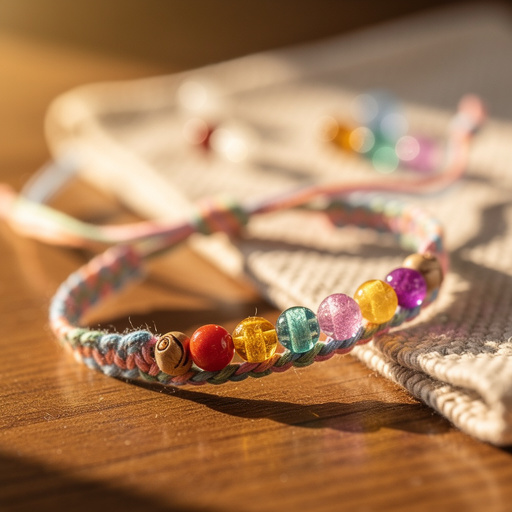
Friendship bracelets are more than just accessories; they're tangible symbols of connection and shared memories. This DIY project takes the classic friendship bracelet and elevates it with the sparkle and color of beads, making it even more personal and special. It's a wonderful way for crafters of all ages, especially children aged 6-12, to express their creativity, develop fine motor skills, and create meaningful gifts for their loved ones. The process is simple, rewarding, and the end result is a beautiful, wearable piece of art that celebrates friendship.
On this page
Step-by-Step Instructions
- 1
Cut three strands of embroidery floss, each about 24 inches long. For thicker bracelets, use more strands, and always cut them longer than you think you'll need to account for knots and potential mistakes. If you're aiming for a wider bracelet, consider using 4-6 strands instead of three.
- 2
Tie a knot at one end of the three strands, leaving about a 2-inch tail for tying the bracelet onto a wrist later. Ensure this knot is firm and secure, as it will be the anchor point for your braiding. You can make a simple overhand knot or a series of small knots for added security.
- 3
Secure the knotted end to a flat surface using masking tape or a clipboard. This keeps your strands taut and prevents them from shifting as you work, which is crucial for creating even knots and a neat bracelet. Make sure the tape is strong enough to hold without damaging the floss.
- 4
Separate the three strands of floss. Lay them out flat and ensure they are not tangled. You'll be working with these three strands as your base for knotting.
- 5
Take the leftmost strand and bring it over the middle strand, creating a '4' shape. The leftmost strand should be on top, and the middle strand should form the curve of the '4'. This is the beginning of your forward knot.
- 6
Bring the leftmost strand under the middle strand and pull it through the loop of the '4' shape. Gently pull the knot upwards towards the secured end, ensuring it's snug but not so tight that it distorts the floss. This completes your first forward knot.
- 7
Repeat the forward knot on the same two strands (left over middle, under and through). Making two identical knots on the same strand is essential for creating a flat, even braid. This ensures the color of the knotting strand progresses correctly across the bracelet.
- 8
Move to the next strand to the right. The strand that was originally in the middle is now the leftmost strand. Take this new leftmost strand and make two forward knots around the strand immediately to its right. Again, ensure you make two identical knots for consistency.
- 9
Continue this process, always making two forward knots with the leftmost strand around the strand next to it, until the bracelet is the desired length. As you knot, the leftmost strand will gradually move across to the right, and the other strands will shift to become the new leftmost strand. This systematic approach creates the characteristic diagonal pattern of a friendship bracelet.
- 10
Once the bracelet is long enough to fit around a wrist, tie a knot at the end of the braided section, similar to the starting knot. This secures the knotted portion and prevents it from unraveling. You can use an overhand knot or a series of small knots, ensuring it's tight enough to hold.
- 11
Trim any excess floss, leaving a tail of about 2-3 inches on both ends for tying. These tails are essential for securing the bracelet onto a wrist. You can also use these tails to thread beads onto later, adding an extra decorative element.
- 12
Now, it's time to add beads! You can thread beads directly onto the remaining floss tails before tying the bracelet onto a friend's wrist, or you can carefully thread beads onto the bracelet itself by sliding them over the knotted floss. For smaller beads, a bead needle can be very helpful.
- 13
To add beads directly to the bracelet, carefully slide a bead onto one of the floss strands in the knotted section. You can then continue knotting around the bead, or tie a knot on either side of the bead to secure its position. This allows for strategic placement of beads within the pattern.
- 14
If you want to create a more intricate look, consider adding beads after completing a few rows of knots. This allows you to create sections of braided floss interspersed with beaded areas. Experiment with different bead sizes and colors to create unique patterns and visual interest.
- 15
For a more secure bracelet, especially if you're adding heavier beads, you can add a few extra knots at the end of the braided section before trimming. This reinforces the tie-off point and ensures the bracelet won't come undone easily. You can also tie a small knot around the bead itself to keep it from sliding.
- 16
If your floss starts to fray during the knotting process, gently twist the frayed strands together tightly before continuing to knot. This helps to keep the floss smooth and prevents further fraying, ensuring a neater finished product. You can also apply a tiny bit of beeswax or clear nail polish to the ends to prevent fraying.
- 17
If you run out of floss or want to add more colors mid-bracelet, tie a new strand onto an existing one with a secure knot, such as a square knot or a surgeon's knot. Try to hide the knot within the braid or behind a bead to keep the bracelet looking tidy. Ensure the new knot is as flat as possible.
- 18
Experiment with different bead sizes and colors to create unique patterns and textures. Larger beads can be added after a few rows of knots, or you can create entire sections dedicated to larger beads. Mixing matte and shiny beads can also add visual depth.
- 19
For a more secure bracelet, you can add a few extra knots at the end of the braided section before trimming. This reinforces the tie-off point and ensures the bracelet won't come undone easily. Consider tying a knot around each of the tail strands as well for extra security.
- 20
If you run out of floss, tie a new strand onto an existing one with a secure knot and continue braiding, hiding the knot within the braid. This is a common technique for extending the length of your bracelet or introducing new colors seamlessly. Make sure the knot is small and tight.
- 21
Try using different knotting techniques, like backward knots, for more complex patterns. Backward knots are the mirror image of forward knots and can be used to create chevron patterns or other intricate designs. Combining forward and backward knots opens up a world of design possibilities.
- 22
Consider using a bead needle if your bead holes are particularly small. This specialized needle has a flexible eye and a thin shaft, making it easier to thread floss through even the tiniest bead openings. This is especially useful for seed beads.
- 23
Before you start knotting, lay out your beads in the order you want them to appear on the bracelet. This visual planning helps ensure you achieve the desired pattern and makes the beading process smoother. You can even sketch out your bead pattern beforehand.
- 24
When adding beads, try to keep the tension of your knots consistent. This will ensure that the beads sit evenly and the bracelet has a uniform look. Uneven tension can cause beads to sit at odd angles or make the bracelet look lopsided.
- 25
If you're making a bracelet for someone with a larger wrist, you'll need to cut your floss strands longer than the standard 24 inches. It's always better to err on the side of caution and cut them a few inches longer to avoid running out of material mid-project.
- 26
To create a more substantial bracelet, you can use more strands of floss. Instead of three, try using four, five, or even six strands. This will result in a wider and thicker bracelet, which can accommodate more beads and create a bolder statement.
- 27
When tying off the bracelet, you can create a loop and a button closure instead of just tying knots. This can be a more decorative and secure way to fasten the bracelet. You can use a larger bead as a button and create a loop with the floss tails.
- 28
For a truly unique look, consider using different types of stringing material in addition to embroidery floss, such as thin leather cord or satin ribbon, and incorporate beads that complement these materials. This can add a different texture and aesthetic to your friendship bracelets.
Tips & Troubleshooting
- 1If your floss starts to fray, you can twist it together tightly before knotting. This helps to keep the floss smooth and prevents further fraying, ensuring a neater finished product. You can also apply a tiny bit of beeswax or clear nail polish to the ends to prevent fraying.
- 2Experiment with different bead sizes and colors to create unique patterns and textures. Larger beads can be added after a few rows of knots, or you can create entire sections dedicated to larger beads. Mixing matte and shiny beads can also add visual depth.
- 3For a more secure bracelet, you can add a few extra knots at the end of the braided section before trimming. This reinforces the tie-off point and ensures the bracelet won't come undone easily. Consider tying a knot around each of the tail strands as well for extra security.
- 4If you run out of floss, tie a new strand onto an existing one with a secure knot and continue braiding, hiding the knot within the braid. This is a common technique for extending the length of your bracelet or introducing new colors seamlessly. Make sure the knot is small and tight.
- 5Try using different knotting techniques, like backward knots, for more complex patterns. Backward knots are the mirror image of forward knots and can be used to create chevron patterns or other intricate designs. Combining forward and backward knots opens up a world of design possibilities.
- 6Consider using a bead needle if your bead holes are particularly small. This specialized needle has a flexible eye and a thin shaft, making it easier to thread floss through even the tiniest bead openings. This is especially useful for seed beads.
- 7Before you start knotting, lay out your beads in the order you want them to appear on the bracelet. This visual planning helps ensure you achieve the desired pattern and makes the beading process smoother. You can even sketch out your bead pattern beforehand.
- 8When adding beads, try to keep the tension of your knots consistent. This will ensure that the beads sit evenly and the bracelet has a uniform look. Uneven tension can cause beads to sit at odd angles or make the bracelet look lopsided.
Related Activities You Might Enjoy
Frequently Asked Questions
What are the best beads for friendship bracelets?
Seed beads, pony beads, and alphabet beads work exceptionally well for friendship bracelets due to their variety in size, color, and material. Ensure the bead hole is large enough for your embroidery floss to pass through easily; if not, a bead needle can be a lifesaver. Experiment with different materials like glass for a sophisticated sheen, wood for a natural feel, or plastic for durability and vibrant colors. Mixing and matching different types of beads can create unique textures and visual interest, making each bracelet truly one-of-a-kind. Consider the overall aesthetic you're aiming for when selecting your beads.
How long should the embroidery floss be for a friendship bracelet?
For a standard wrist size, it's recommended to start with about 24 inches of floss per strand. However, it's always better to have a little extra than not enough, as knotting consumes floss and mistakes can happen. For thicker bracelets using more strands, or if you plan on adding many beads, consider cutting your strands even longer, perhaps 30-36 inches. You can always trim the excess at the end, but running out of floss mid-project can be frustrating. Measuring your wrist and adding a generous amount for knots and tying tails is a good practice.
Can I make friendship bracelets without beads?
Absolutely! The basic knotting technique used here creates beautiful, classic friendship bracelets on its own. Beads are an optional, but delightful, decorative element that adds extra sparkle and personalization. The fundamental process of knotting embroidery floss is what forms the structure of a friendship bracelet. You can create stunning patterns using just different colored floss and various knotting techniques, such as forward knots, backward knots, and combinations thereof, to achieve intricate designs. Beads simply offer another dimension of creativity and customization.
How do I tie off a friendship bracelet?
To tie off a friendship bracelet, once you've reached your desired length, tie a secure knot at the end of your braided section, just like you did at the beginning. This knot prevents the braided part from unraveling. Leave a tail of about 2-3 inches of floss on both ends. These tails are what you'll use to tie the bracelet onto a friend's wrist. You can simply tie a double knot to secure it, or get creative with closures like loops and buttons for a more polished finish. Ensure the knot is tight enough to hold but not so tight that it damages the floss.
How do I add beads to my friendship bracelet?
There are a few ways to add beads. The simplest is to thread beads onto the remaining floss tails before tying the bracelet onto a wrist, allowing them to dangle. For beads integrated into the bracelet, you can carefully slide a bead onto one of the floss strands in the knotted section. You can then continue knotting around the bead, or tie a small knot on either side of the bead to secure its position. For very small bead holes, a bead needle can be extremely helpful in threading the floss through. Plan your bead placement beforehand for the best results.
My floss keeps fraying, what can I do?
Floss fraying is a common issue, especially with frequent handling. To combat this, gently twist the frayed strands together tightly before continuing to knot. This helps to consolidate the fibers and create a smoother surface. You can also try applying a tiny amount of beeswax or a clear, quick-drying nail polish to the ends of the floss. This acts as a sealant, preventing further fraying and making the floss easier to work with. If fraying is severe, consider using a fresh strand of floss and tying it in securely.
Can I make thicker or thinner bracelets?
Yes, you can easily adjust the thickness of your friendship bracelets. To make a thicker bracelet, simply use more strands of embroidery floss. Instead of the standard three, try using four, five, or even six strands. This will result in a wider and more substantial bracelet. Conversely, to make a thinner bracelet, you can use fewer strands, perhaps two, or even just one strand for a very delicate look. Keep in mind that using fewer strands might require slightly different knotting tension to maintain a neat appearance.
What Next?
Once your beaded friendship bracelet is complete, you have a beautiful, handcrafted piece that's ready to be gifted or worn. Consider creating a matching set for you and your best friend, or explore different bead patterns and color combinations for a truly unique collection. For storage, roll them gently or keep them in a small jewelry box to prevent tangling. As a next step, you could explore more intricate knotting patterns or even incorporate charms alongside your beads for an extra personal touch. This project is a fantastic gateway into the world of fiber crafts and personalized accessories.
Free: 10 Paper Crafts Anyone Can Make in 5 Minutes
Get our beginner guide + new craft ideas weekly.
No spam. Unsubscribe anytime.
Did you complete this activity?
Related
You might also like
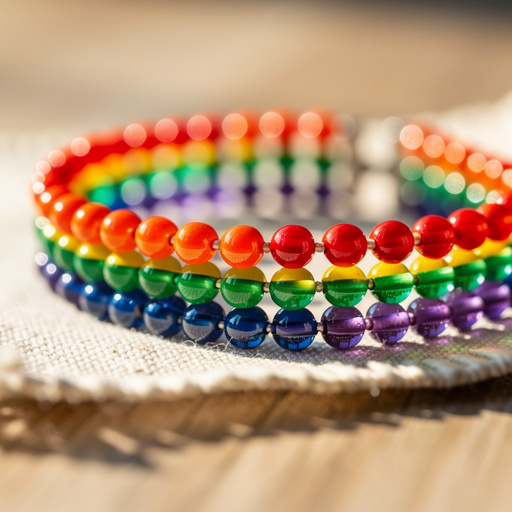
Rainbow Stretch Bead Bracelets
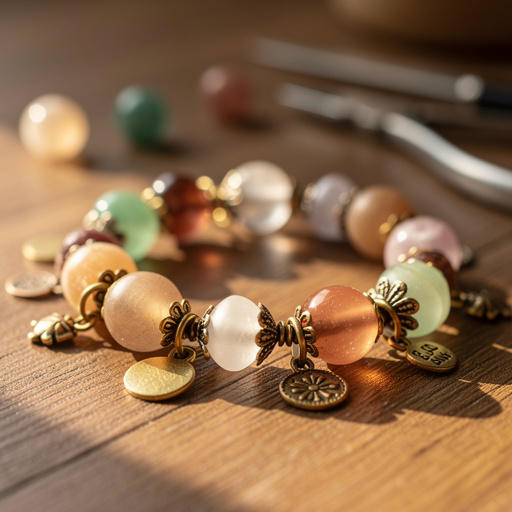
Wholesale Charm Bracelet Creation
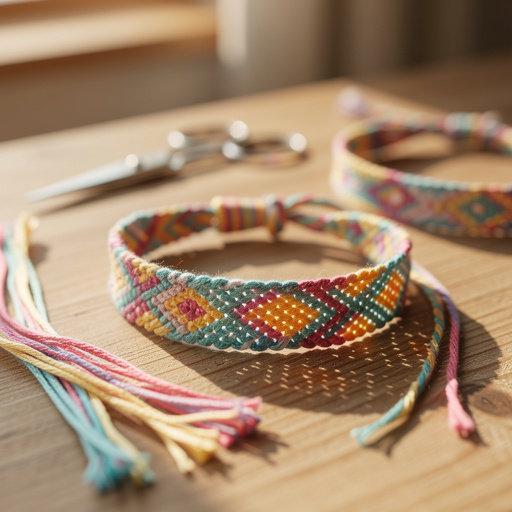
DIY Friendship Bracelet Kits
Shrink Plastic Pet Charms
Friendship Bracelet Bead Kits