How to Make a Bird Feeder with Waste Material — Easy Step-by-Step Guide
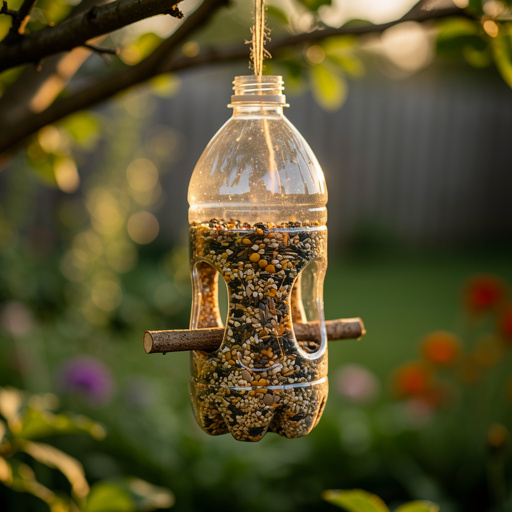
Transform everyday household waste into a charming bird feeder! This fun and eco-friendly craft is perfect for families looking for screen-free activities. Learn how to make a bird feeder with waste material in just a few simple steps.

Quick answer
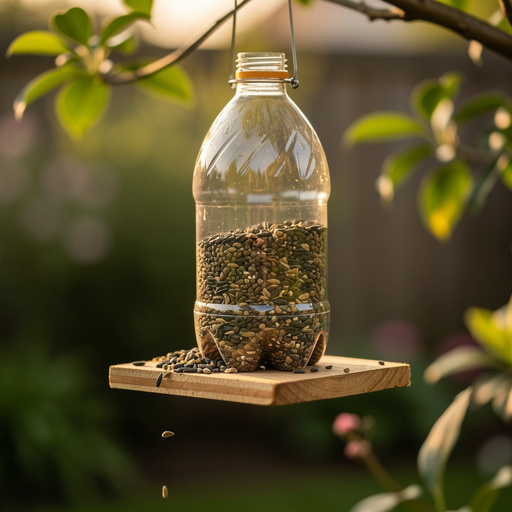
To make a bird feeder with waste material, you need a clean plastic bottle (like a 1-liter soda bottle), two wooden spoons, scissors or a craft knife (with adult supervision), twine or sturdy string (about 2 feet), and birdseed. The project takes approximately 30 minutes to complete. Start by thoroughly cleaning and drying the bottle, then carefully poke holes for the spoons to act as perches and seed dispensers. This beginner-friendly activity has 7 core steps and is perfect for families with children aged 6 and up, offering a wonderful way to connect with nature.
What you need
Shop on Amazon · As an Amazon Associate we earn from qualifying purchases. Links above are affiliate links — we may earn a commission at no extra cost to you.
Embrace sustainability and delight your local feathered friends with this incredibly simple yet rewarding DIY project! Crafting a bird feeder from recycled materials is not only a fantastic way to reduce waste but also provides a wonderful opportunity to observe nature up close. This project is perfect for families seeking engaging, hands-on activities that foster creativity and environmental awareness. It’s a screen-free adventure that brings the beauty of birds right to your doorstep, making it an ideal activity for a weekend afternoon or a fun educational session with children.
On this page
Step-by-Step Instructions
- 1
Begin by ensuring your plastic bottle is impeccably clean and completely dry inside and out. Remove any sticky residue from labels by soaking the bottle in warm, soapy water or using a gentle adhesive remover. A clean bottle is crucial for bird health and prevents mold growth.
- 2
Using your marker pen, carefully mark two points directly opposite each other, approximately 2 inches up from the base of the bottle. These marks will guide where you'll create the openings for your first wooden spoon perch and seed dispenser.
- 3
With adult supervision, use your scissors or craft knife to carefully puncture and cut out small holes at the marked points. The holes should be just large enough for the handle of a wooden spoon to slide through snugly. Avoid making the holes too large, as this can lead to excessive seed spillage.
- 4
Now, mark another set of holes for the second wooden spoon. Position these approximately 2 inches above the first set of holes, and crucially, rotate them 90 degrees around the bottle. This staggered placement ensures the spoons don't interfere with each other and provides more perching space.
- 5
Carefully cut out the second pair of holes, mirroring the size and shape of the first set. Again, ensure the holes are just large enough for the spoon handles to pass through without being too loose. Precision here will make the feeder more stable and functional.
- 6
Take one of your wooden spoons and gently push its handle through one of the lower holes you created. Continue pushing until the handle emerges from the opposite hole. The spoon's bowl should now be positioned horizontally, ready to catch and dispense seeds.
- 7
Repeat step 6 with the second wooden spoon, inserting its handle through the upper set of holes. Ensure both spoons are securely in place and extend outwards, providing stable perches for birds. Check that the spoons are level and don't wobble excessively.
- 8
To prepare the bottle for dispensing seed, you'll need to make small openings in the spoon bowls. On the underside of each spoon's bowl, carefully cut a small slit or hole. This opening should be just large enough for birdseed to trickle out onto the spoon's surface.
- 9
Now, it's time to create the hanging mechanism. Take your twine or sturdy string and tie a secure knot around the neck of the bottle, just below the cap threads. Ensure the knot is tight and won't slip. You can then form a loop by tying the ends of the string together, creating a sturdy hanger.
- 10
If you wish to decorate your bird feeder, now is the perfect time to do so. Use non-toxic paints or permanent markers to add colorful designs. Allow any paint or markers to dry completely before proceeding to the next step to avoid any fumes that could be harmful to birds.
- 11
With the bottle upright, it's time to fill it with birdseed. If your bottle has a narrow opening, a small funnel can be incredibly helpful to prevent spillage. Fill the bottle generously, but leave enough space at the top to easily screw the cap back on.
- 12
Once filled, screw the cap back onto the bottle tightly. This will help keep the birdseed dry and prevent it from spilling out of the top. Your recycled bottle bird feeder is now ready to be hung and enjoyed by your local avian visitors.
Tips & Troubleshooting
- 1When cutting the holes for the spoon handles, aim for a snug fit. If the holes are too loose, the spoons might shift, and seed could spill out too quickly. Conversely, if they are too tight, it will be difficult to insert the spoons, and the seed may not dispense properly.
- 2If you're using a bottle with a particularly wide mouth, a funnel will be your best friend for filling. This prevents a mess and ensures all the precious birdseed makes it into the feeder, ready for hungry birds.
- 3Personalizing your bird feeder can make it even more special. Use non-toxic acrylic paints or permanent markers to create patterns, draw birds, or simply add bright colors. Ensure all decorations are completely dry and odorless before filling with seed.
- 4For added stability, especially if your bottle feels a bit flimsy or the spoon handles are slightly loose, you can apply a small dab of non-toxic, waterproof glue where the spoon handles meet the bottle. This is an optional step but can help ensure the feeder lasts longer.
- 5Consider the type of birdseed you use. Different seeds attract different species. Sunflower seeds are a popular choice for many birds, while millet and cracked corn can also be appealing. Research local birds to find out their preferences.
- 6When hanging your feeder, choose a location that offers some protection from the elements, like under the eaves of a house or within the branches of a dense tree. This will help keep the seed dry and provide birds with a sense of security.
- 7Regularly check the feeder for any signs of damage or wear. If the plastic becomes brittle from sun exposure or if the spoons become loose, it might be time to replace the feeder. Bird safety should always be the top priority.
- 8To prevent squirrels from raiding your feeder, consider hanging it on a thin wire or in a location where squirrels would find it difficult to access. There are also squirrel baffle products available that can be attached to feeders or poles.
Related Activities You Might Enjoy
Frequently Asked Questions
What kind of waste material can I use to make a bird feeder?
The beauty of this project lies in its versatility with recycled materials. Beyond the classic plastic bottle, you can adapt this design using clean milk or juice cartons, sturdy cardboard tubes (though these are less weather-resistant), or even clean, empty tin cans. For cartons and cans, you'll need to ensure there are no sharp edges after cutting and that they are thoroughly cleaned to remove any food residue or odors. The key is to select materials that are safe for birds, can hold a reasonable amount of seed, and can be easily modified to include perches and dispensing holes. Always prioritize materials that are free from toxic chemicals or coatings.
How do I make a bird feeder that is safe for birds?
Bird safety is paramount when crafting any feeder. Always ensure that all materials used are thoroughly cleaned and free from any chemical residues, such as cleaning agents or previous contents. Avoid using anything with sharp edges; if you must cut metal or plastic, ensure all edges are smoothed down. The birdseed itself should be appropriate for local bird species and free from mold or spoilage. Regularly cleaning the feeder is also crucial to prevent the spread of diseases among birds. Avoid using any materials that could trap or injure birds, such as small openings they could get stuck in or materials that degrade into sharp fragments.
Where is the best place to hang a homemade bird feeder?
The ideal location for your homemade bird feeder balances accessibility for birds with safety from predators and the elements. Hanging it from a sturdy tree branch or a dedicated shepherd's hook in your garden is generally recommended. Placing the feeder within sight of a window allows for easy observation, but ensure it's not so close that birds might collide with the glass; a distance of at least 10-15 feet is often suggested. Proximity to natural cover, like bushes or shrubs, can make birds feel more secure as they have a place to retreat to if startled. Avoid hanging feeders too close to areas where cats or other predators can easily reach them.
How often should I refill and clean my waste material bird feeder?
Regular maintenance is key to keeping your bird feeder a healthy and attractive spot for your feathered visitors. Refill the feeder whenever the seed level gets low, typically every few days to a week, depending on the number of birds visiting and the weather conditions. Cleaning is even more critical; aim to thoroughly clean your feeder at least every two weeks, and more often if you notice any signs of mold or spoilage. To clean, empty out any old seed, wash the feeder with warm, soapy water (using a mild dish soap), rinse it thoroughly, and allow it to air dry completely before refilling. This prevents the buildup of bacteria and fungi that can make birds sick.
Can children make this bird feeder, and what age is appropriate?
This recycled bottle bird feeder is an excellent project for children, fostering creativity, environmental awareness, and a love for nature. It's generally considered appropriate for children aged 6 and up, with adult supervision. Younger children can assist with cleaning the bottle, decorating it, filling it with seed, and tying knots with help. The most critical step, cutting the holes for the spoons, absolutely requires adult supervision and execution due to the use of sharp tools like scissors or a craft knife. This collaborative approach ensures safety while allowing children to feel a sense of accomplishment in creating something functional.
What kind of birdseed is best to use?
The best birdseed to use depends on the types of birds you want to attract to your garden. Black oil sunflower seeds are a universal favorite among a wide variety of bird species, including finches, chickadees, nuthatches, and cardinals, due to their high fat content and thin shells. Safflower seeds are another good option that many birds enjoy but are often less appealing to squirrels. For smaller birds like sparrows and finches, millet and cracked corn can be attractive. A good quality mixed birdseed blend can also be effective, but be mindful that some birds may pick through and leave certain seeds behind. It's often beneficial to research the common bird species in your local area to tailor your seed choice.
What Next?
Congratulations on creating your very own recycled bottle bird feeder! This project is a testament to how everyday items can be transformed into something beautiful and functional. Consider variations like using different sized bottles or adding decorative elements with non-toxic paints. For your next project, explore making suet feeders or simple seed trays. Once filled and hung, remember to observe which birds visit and perhaps research their favorite seeds. Store any leftover birdseed in an airtight container in a cool, dry place to keep it fresh for future refills.
Free: 10 Paper Crafts Anyone Can Make in 5 Minutes
Get our beginner guide + new craft ideas weekly.
No spam. Unsubscribe anytime.
Did you complete this activity?
Related
You might also like
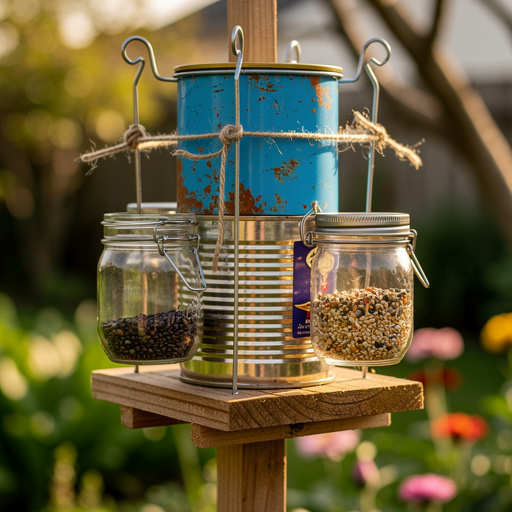
Recycled Container Bird Buffet
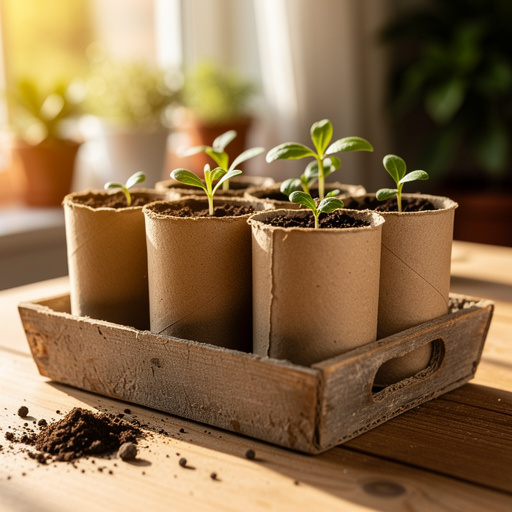
Cardboard Tube Seed Starters
Plastic Bottle Bird Feeder
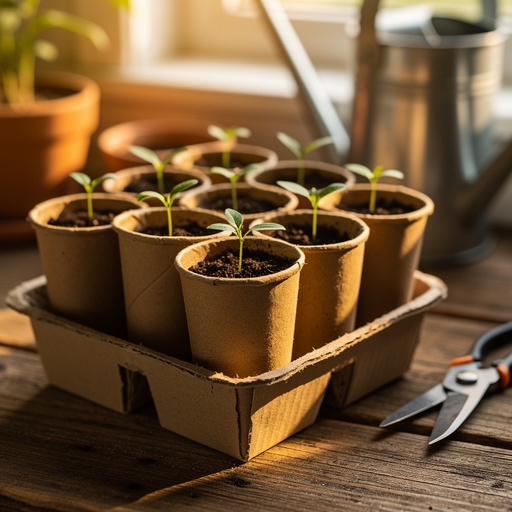
Cardboard Tube Seedling Starters
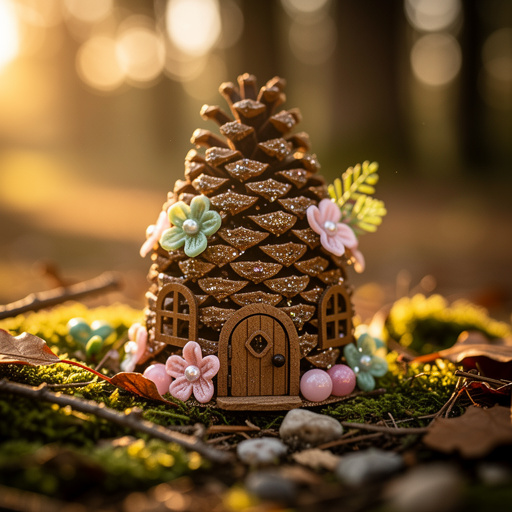
Sparkling Pinecone Fairy Homes