How to Make Cardboard Tube Seedling Starters — Easy Step-by-Step Guide
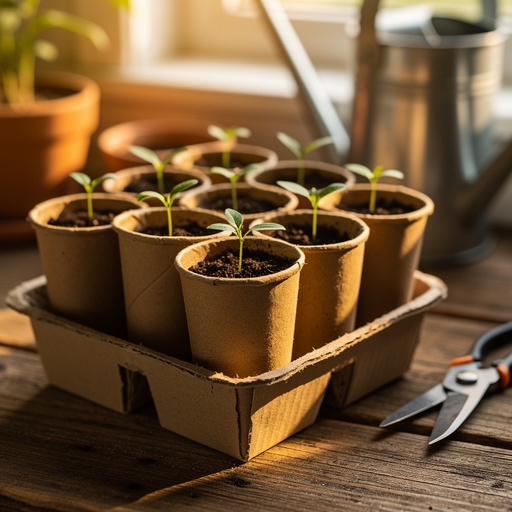
Transform toilet paper rolls into biodegradable seedling starters for your garden. A fun and sustainable way to get your plants growing!
Quick answer
To make cardboard tube seedling starters, you need toilet paper rolls, scissors, and soil, taking about 15 minutes. Start by cutting slits in one end of the tube. This beginner-friendly activity has 7 steps and is perfect for families and aspiring young gardeners.
What you need
Shop on Amazon · As an Amazon Associate we earn from qualifying purchases. Links above are affiliate links — we may earn a commission at no extra cost to you.
Embarking on the journey of growing your own plants from seed is incredibly rewarding, and starting that journey with eco-friendly materials makes it even better. These cardboard tube seedling starters are a brilliant way to repurpose common household items, turning what would be waste into a vital component for your garden's success. This project is not only budget-friendly but also provides a fantastic educational opportunity for children, teaching them about plant life cycles and sustainability. Get ready to cultivate your green thumb with this simple yet impactful DIY endeavor!
On this page
Step-by-Step Instructions
- 1
Gather your empty toilet paper rolls. Ensure they are clean and free of any residual paper or debris. If using paper towel rolls, cut them in half to achieve a similar size to toilet paper rolls, making them easier to handle and plant.
- 2
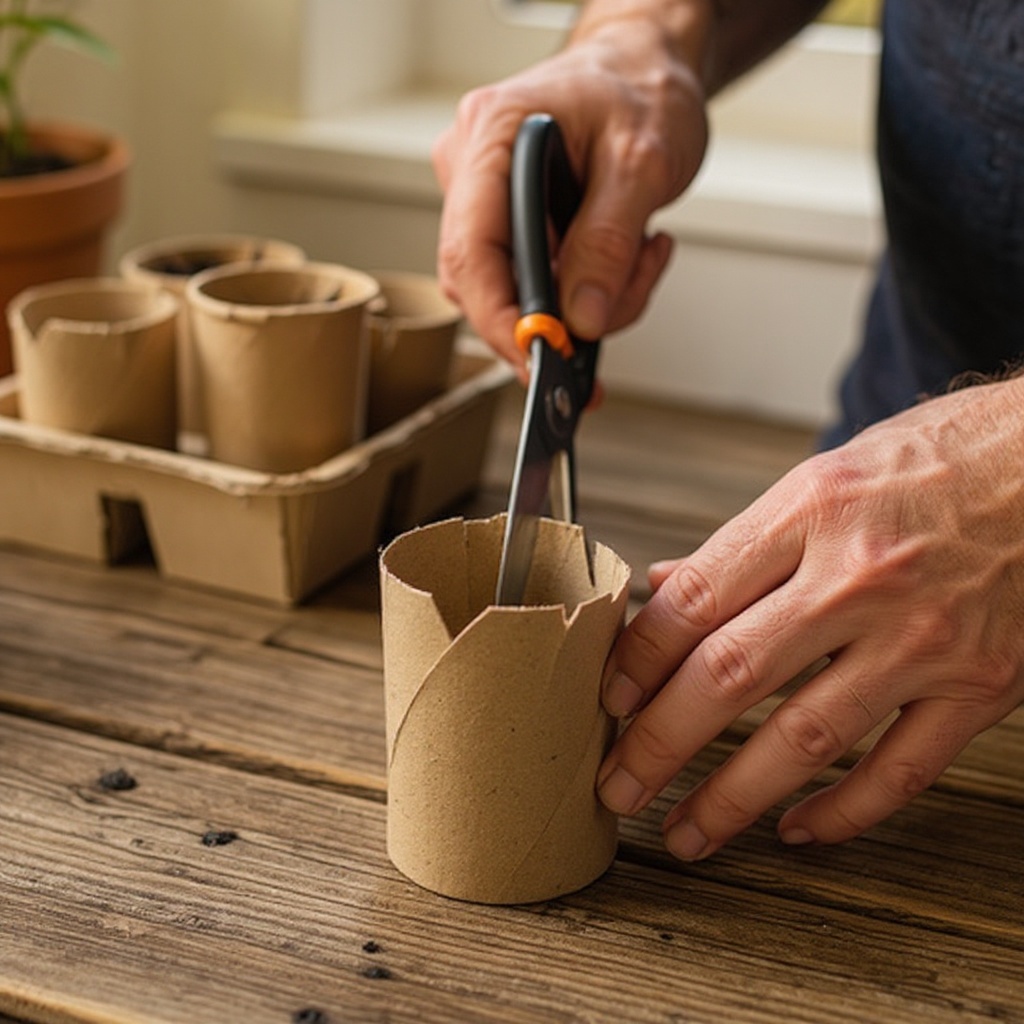
Using sharp scissors, carefully cut 4 evenly spaced slits into one end of each toilet paper roll. These slits should be about 1 inch deep, creating flaps that will form the base of your seedling starter.
- 3
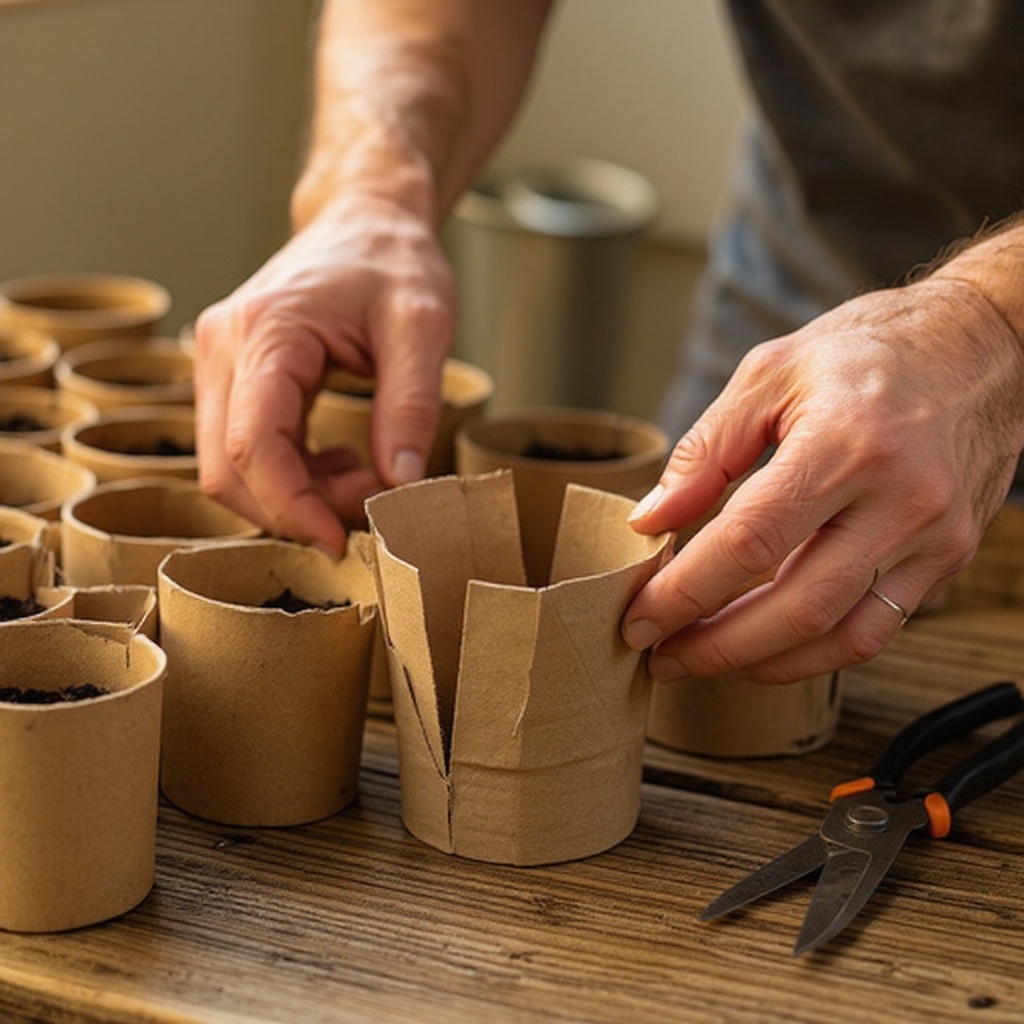
Gently fold the cut flaps inward, overlapping them to create a flat, stable bottom for the tube. Press down firmly on the overlapped flaps to help them hold their shape and create a secure base.
- 4
Stand the tube upright on its newly formed bottom. Ensure it sits level and doesn't wobble; if it feels unstable, adjust the folded flaps until it stands securely on its own.
- 5
Place your prepared cardboard tubes into a tray or shallow container. This will help contain any soil and water, making the entire process cleaner and easier to manage.
- 6
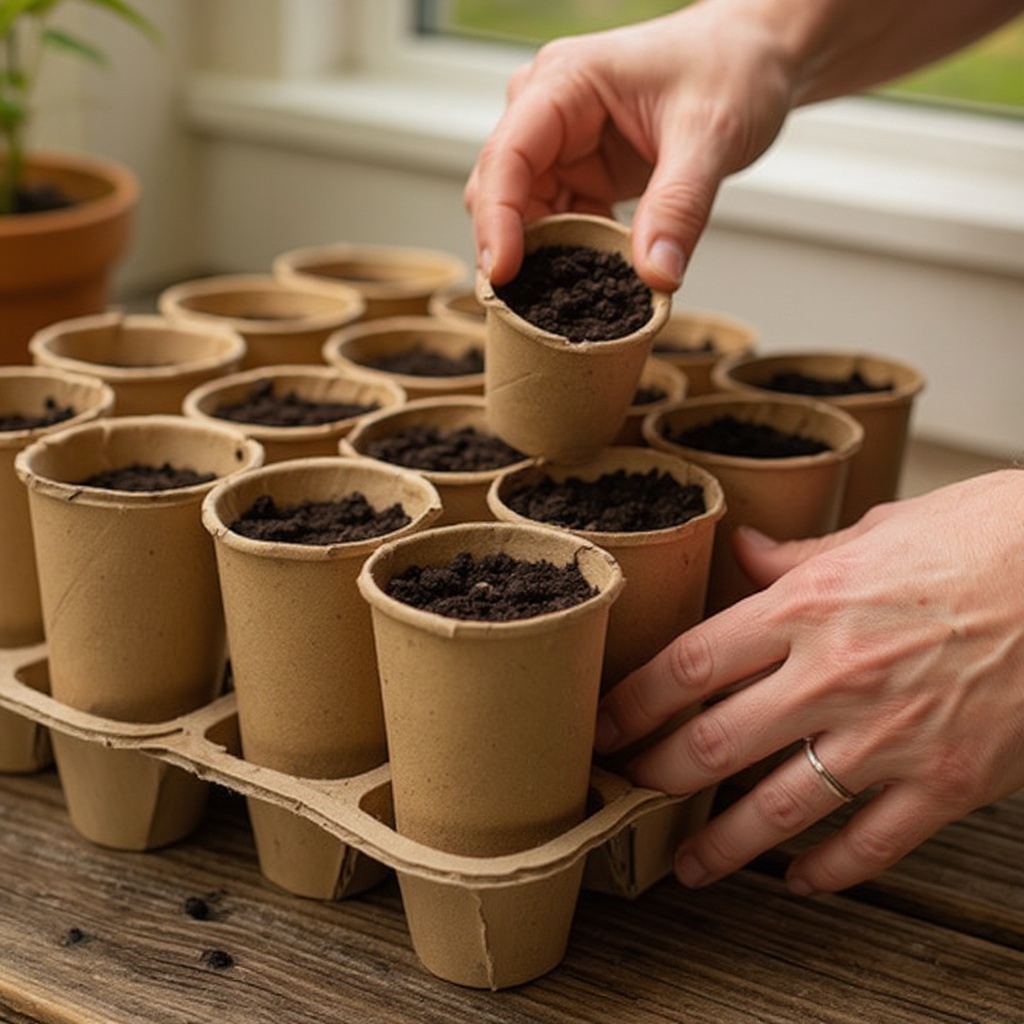
Fill each tube about two-thirds full with your chosen potting soil or seed-starting mix. Gently tap the sides of the tube to settle the soil, but avoid compacting it too much, as roots need air circulation.
- 7
Create small indentations in the soil for your seeds. The depth will depend on the seed type, so refer to your seed packet for specific instructions. Typically, seeds are planted at a depth of about two to three times their diameter.
- 8
Plant your chosen seeds according to the seed packet instructions. It's often recommended to plant 2-3 seeds per tube to increase the chances of germination, and you can thin out the weaker seedlings later if multiple sprout.
- 9
Add a thin layer of soil on top of the seeds, covering them completely. Ensure the soil layer is even and consistent across all your tubes.
- 10
Gently pat down the soil surface. This helps to ensure good seed-to-soil contact, which is crucial for germination, but be careful not to press too hard, which can compact the soil.
- 11
Water the soil gently but thoroughly. Use a watering can with a fine spout or a spray bottle to moisten the soil without dislodging the seeds or disturbing the delicate structure of the cardboard tubes.
- 12
Ensure the soil is consistently moist but not waterlogged. The cardboard will absorb some moisture, so check the soil daily and water as needed to maintain a damp, but not soggy, environment.
- 13
Place the tray of seedling starters in a warm location that receives adequate light. A sunny windowsill or a grow light setup is ideal for promoting healthy germination and early growth.
- 14
Monitor your seedlings daily for signs of germination. Once the first sprouts emerge, ensure they continue to receive ample light to prevent them from becoming leggy and weak.
- 15
As your seedlings grow, continue to water them gently, always aiming for moist, not saturated, soil. You may need to adjust watering frequency based on temperature and humidity levels.
- 16
Once your seedlings have grown a few inches tall and developed a set of true leaves, they are getting ready for transplanting. This is a sign they are strong enough to begin acclimating to outdoor conditions.
- 17
When the weather is consistently warm enough and all danger of frost has passed for your region, you can plant the entire tube directly into the ground. The cardboard will naturally decompose, enriching the soil and minimizing transplant shock for the young plants.
Tips & Troubleshooting
- 1If the flaps don't stay folded securely to create a stable base, you can use a small piece of biodegradable tape, like paper tape, to hold them in place. However, this is usually not necessary if the slits are cut correctly and the flaps are folded firmly.
- 2Experiment with a wide variety of seeds to discover what grows best in your climate and what you enjoy most. From vibrant flowers to aromatic herbs and delicious vegetables, the possibilities are endless.
- 3When it's time to transplant, simply dig a hole slightly larger than the cardboard tube and place the entire starter into the soil. The cardboard will break down over time, providing nutrients to the developing roots and reducing the risk of transplant shock.
- 4Maintain consistent moisture levels for optimal germination and seedling health. The soil should feel like a wrung-out sponge – moist but not dripping wet. Overwatering can lead to root rot and fungal diseases.
- 5Consider labeling each tube with the type of seed planted and the date. This is especially helpful when growing multiple varieties or if you're new to gardening, ensuring you know what's what as they grow.
- 6If you notice multiple seeds germinating in one tube, it's best to thin them out by gently snipping the weaker seedlings at the soil line. This allows the strongest seedling to receive all the available nutrients and space to grow.
- 7Protect your young seedlings from harsh weather conditions, strong winds, and pests. As they grow, you might need to provide temporary covers or move them to a more sheltered location.
- 8As your seedlings mature, gradually acclimate them to outdoor conditions before transplanting. This process, known as 'hardening off,' involves exposing them to increasing amounts of time outdoors over a week or two.
Related Activities You Might Enjoy
Frequently Asked Questions
Can I use paper towel rolls for seedling starters?
Absolutely! Paper towel rolls are an excellent alternative to toilet paper rolls for creating seedling starters. The only difference is their length. To make them a more manageable size, similar to toilet paper rolls, simply cut each paper towel roll in half. This ensures they are not too tall, making them easier to handle, fill with soil, and plant directly into the garden later on. Just follow the same cutting and folding techniques for the ends, and you'll have a batch of larger biodegradable pots ready for your seeds.
What kind of soil should I use for seedling starters?
For the best results, opt for a high-quality potting mix or a specialized seed-starting mix. These mixes are formulated to be light, airy, and well-draining, which is crucial for young, delicate roots. They typically contain ingredients like peat moss, perlite, and vermiculite, providing the ideal environment for germination and early seedling growth. Avoid using garden soil, as it can be too dense, may contain weed seeds or pathogens, and doesn't offer the same aeration needed for tiny sprouts.
How do I water my cardboard tube seedlings?
Watering your cardboard tube seedlings requires a gentle touch to avoid disturbing the seeds or young sprouts. A watering can with a fine spout or a spray bottle is ideal. Aim to moisten the soil thoroughly but avoid saturating it. The goal is to keep the soil consistently damp, like a wrung-out sponge. Check the moisture level daily by touching the soil; if the top feels dry, it's time to water. The cardboard itself will absorb some moisture, so be mindful of that when determining watering frequency.
When can I plant my seedlings outdoors?
The timing for planting your seedlings outdoors is critical and depends on your specific climate and the type of plant you are growing. Generally, you should wait until all danger of frost has passed in your area. Additionally, your seedlings should have developed a few sets of 'true leaves' – the leaves that appear after the initial seedling leaves (cotyledons) and resemble the mature plant's foliage. Always consult your seed packet or a local gardening guide for the optimal planting dates for your chosen plants.
Can I reuse these cardboard tube starters?
These cardboard tube seedling starters are designed to be biodegradable and are intended for single use. The beauty of this project lies in their ability to be planted directly into the ground along with the seedling. As the cardboard decomposes, it enriches the soil and minimizes transplant shock for the plant. Attempting to reuse them would likely result in a soggy, degraded tube that wouldn't hold its shape or provide adequate support for new seedlings. For multiple planting seasons, it's best to create new ones from fresh cardboard rolls.
What if my seeds don't sprout?
If your seeds don't sprout, don't get discouraged! Several factors could be at play. First, double-check the planting depth and ensure the seeds are covered with the correct amount of soil. Secondly, verify that the soil has been kept consistently moist but not waterlogged, as dryness or excessive moisture can inhibit germination. Also, ensure the seedlings are in a warm location, as most seeds require a certain temperature to germinate. Lastly, consider the age and viability of your seeds; older seeds may have a lower germination rate. You can always try planting a few more seeds in fresh soil.
What Next?
Congratulations on creating your own sustainable seedling starters! You've successfully transformed everyday items into a launchpad for your garden's future bounty. Consider experimenting with different seed types or even decorating the outside of the tubes with non-toxic markers for a personalized touch. Once your seedlings are ready, planting them directly into the ground is a satisfying next step. For future projects, explore other recycled materials like egg cartons or plastic bottles for seed starting, or perhaps try propagating cuttings from existing plants. Happy gardening!
Free: 10 Paper Crafts Anyone Can Make in 5 Minutes
Get our beginner guide + new craft ideas weekly.
No spam. Unsubscribe anytime.
Did you complete this activity?
Related
You might also like
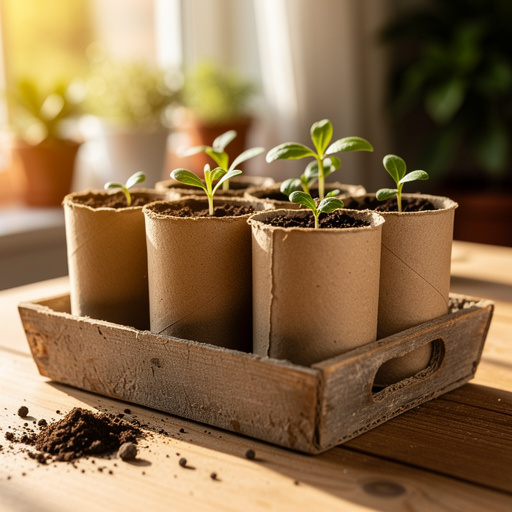
Cardboard Tube Seed Starters
Plastic Bottle Bird Feeder
Indoor Seedling Station Setup
Recycled Bottle Bird Feeder
Heart-Shaped Seed Paper Valentines