How to Make Pretend Play Toys — Easy Step-by-Step Guide
Transform everyday cardboard boxes into imaginative pretend play toys like ovens, refrigerators, and more. A fun, screen-free activity for creative kids!
Quick answer
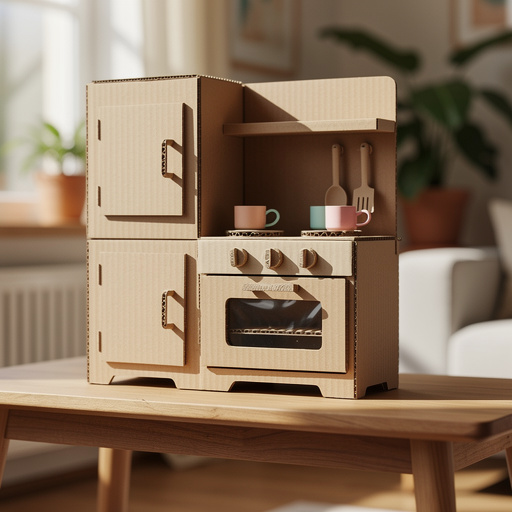
To make pretend play toys, you need cardboard boxes, scissors, tape, and decorating supplies, taking about 1-2 hours. Start by cutting out shapes for your appliance. This beginner-friendly activity has 10 steps and is perfect for kids aged 4+.
What you need
Shop on Amazon · As an Amazon Associate we earn from qualifying purchases. Links above are affiliate links — we may earn a commission at no extra cost to you.
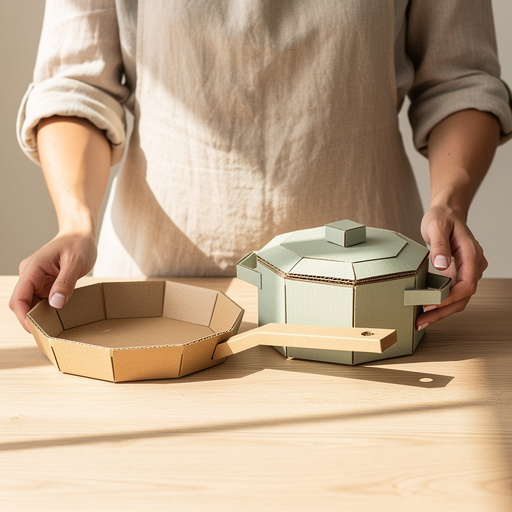
Unleash your child's imagination with this incredibly rewarding and eco-friendly DIY project! Transforming ordinary cardboard boxes into elaborate pretend play kitchens is a fantastic way to encourage creativity, problem-solving, and hours of screen-free fun. This activity is perfect for families looking for engaging ways to spend quality time together, and it’s especially ideal for children aged 4 and up who are developing their imaginative play skills. Get ready to build a miniature world of culinary adventures right in your living room!
On this page
Step-by-Step Instructions
- 1
Gather your cardboard boxes. Choose ones that are roughly the size of appliances like a refrigerator, oven, or washing machine; larger boxes will offer more play space and detail opportunities. Ensure they are clean and free of any debris.
- 2
Decide which appliance each box will become. For example, one large box can be a refrigerator, another a stove, and a third a washing machine or dishwasher. Planning ahead will help you visualize the final outcome and allocate boxes effectively.
- 3
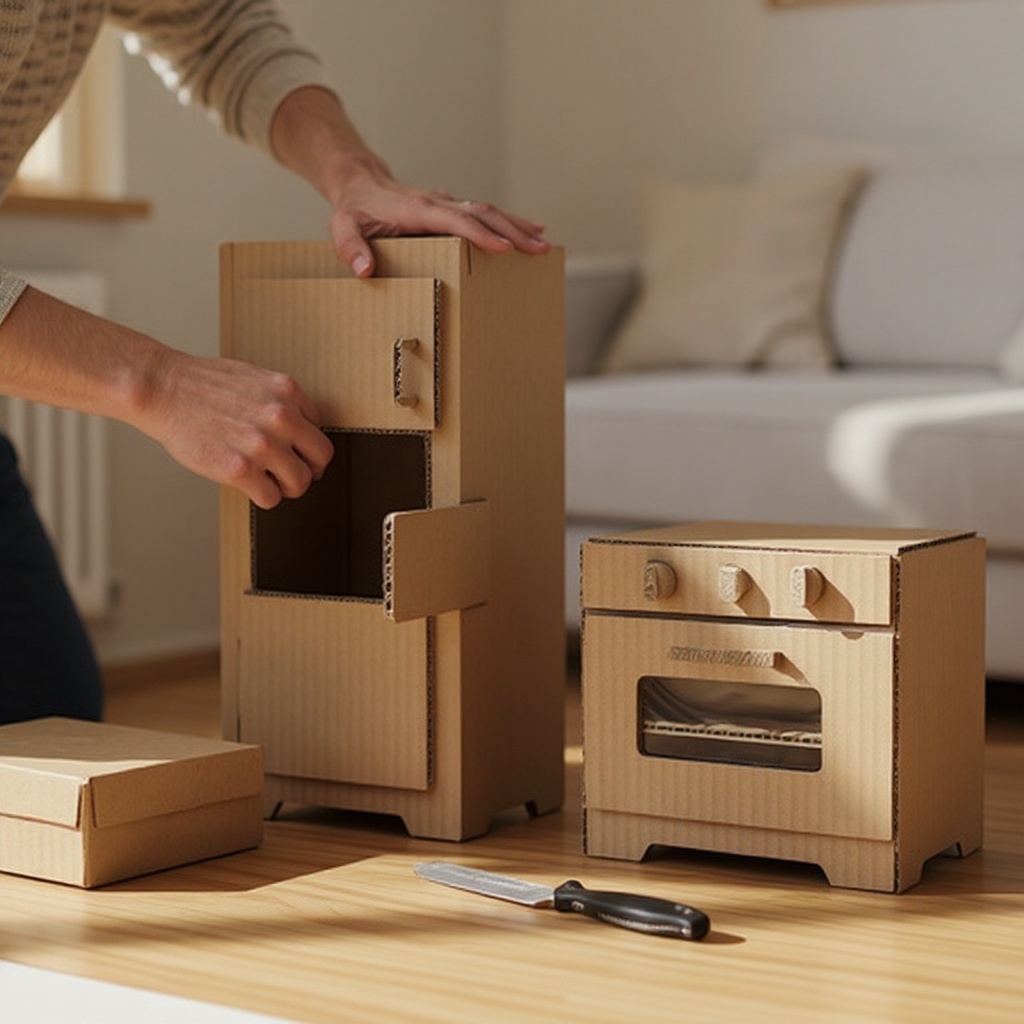
For a refrigerator: On the front of one large box, measure and draw a large rectangular door opening. Carefully cut along three sides of the rectangle, leaving one vertical side attached to act as a hinge, allowing the door to swing open and closed.
- 4
For an oven: Similar to the refrigerator, cut a door opening on the front of a box, leaving one side attached as a hinge. You can also cut a smaller rectangular or circular opening on the top surface of the box to represent the stovetop burners.
- 5
For a washing machine: Cut a circular door opening on the front of a box, ensuring it's large enough for small toys or hands to reach inside. Consider reinforcing the edges of this circular cut with tape to prevent fraying.
- 6
Reinforce all cut edges with packing tape or masking tape. This not only prevents the cardboard from tearing and makes the edges smoother and safer for little hands, but it also adds a clean, finished look to your appliance.
- 7
Use tape to secure any loose flaps on the boxes, ensuring a sturdy structure for your pretend play toys. Pay special attention to the bottom and any seams that might have opened during transport or storage.
- 8
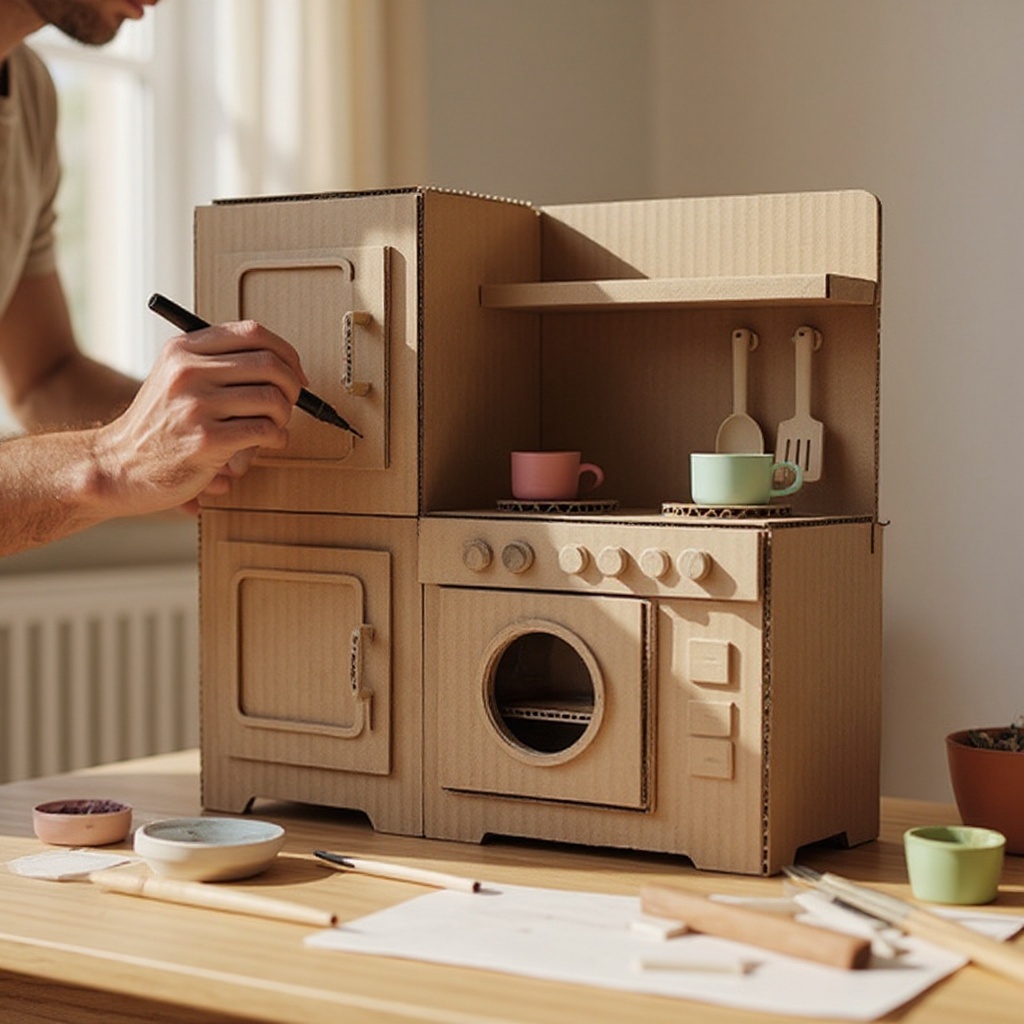
Begin decorating the outside of your appliances. Use markers, crayons, or paint to draw or paint details like handles, control panels, windows, and brand logos. Let your creativity flow and involve the children in this exciting stage.
- 9
Attach bottle caps or small cardboard circles with glue to create realistic knobs for the oven or washing machine controls. You can arrange them in rows or patterns to mimic actual appliance panels, making the play experience more immersive.
- 10
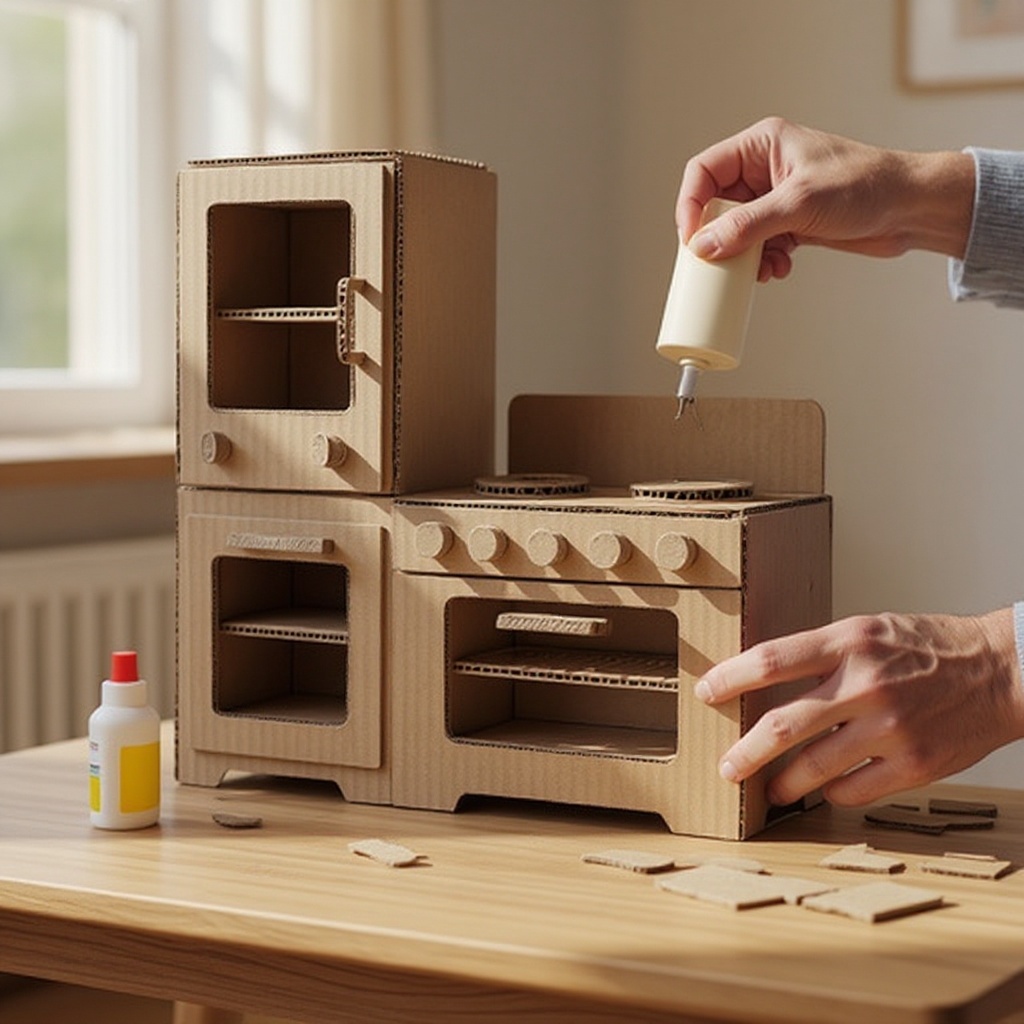
Cut out additional cardboard shapes for shelves inside the refrigerator or oven by using smaller boxes or leftover cardboard. You can also cut out a circular design from cardboard to represent stovetop burners for the oven.
- 11
Glue these extra details onto your appliances to add more realism and play value. For example, glue the stovetop burner design onto the top of the oven box, and secure the shelves inside the refrigerator compartment.
- 12
Allow all paint and glue to dry completely before allowing children to play with their new kitchen creations. This ensures that the decorations are durable and won't smudge or peel off during enthusiastic play sessions.
- 13
Add a handle to the refrigerator or oven door. You can create a handle by folding a piece of sturdy cardboard and taping or gluing it securely to the door, or by attaching a piece of rope or fabric.
- 14
Consider adding a window to the oven or washing machine door. Cut a smaller square or rectangle within the door opening and cover it with clear plastic wrap or a piece of clear packaging tape for a see-through effect.
- 15
Create a control panel for the oven or washing machine. Draw or glue on buttons, dials, and a digital display using markers, paint, or cut-out pieces of construction paper for a more interactive element.
- 16
If making a refrigerator, cut small slits or create small cardboard boxes to act as drawers or compartments inside. This adds an extra layer of detail and organization for storing pretend food items.
- 17
For a stovetop, you can draw circles or cut out cardboard rings to represent burners. You could even add a small cardboard 'hood' above the stovetop to mimic a range hood.
- 18
Ensure all taped edges are smooth and secure. Run your hand over them to check for any sharp points or loose tape that could be a hazard during play.
- 19
Test the functionality of any moving parts, like doors and drawers, to ensure they open and close smoothly. Make any necessary adjustments with tape or by trimming excess cardboard.
- 20
Once everything is dry and secure, present the finished kitchen appliances to your children and watch their imaginations soar as they embark on countless culinary adventures!
Tips & Troubleshooting
- 1Use a ruler and pencil to draw straight cutting lines for cleaner edges and a more professional look. This precision will make your appliances appear more polished and less like simple boxes.
- 2Consider adding a small shelf inside the refrigerator or oven by cutting a piece of cardboard and taping it in place. This provides a designated spot for pretend food items and enhances the play experience.
- 3For extra durability, consider covering the entire appliance with contact paper or packing tape before decorating. This creates a smooth, wipeable surface that can withstand more vigorous play and makes cleaning easier.
- 4Encourage children to help with the decorating process to foster ownership and creativity. Let them choose colors, draw designs, and even glue on embellishments, making the toy truly their own.
- 5Safety first! Always have an adult handle the box cutter or sharp scissors. Younger children can assist with drawing lines, applying tape, and decorating once the cutting is complete.
- 6Don't be afraid to mix and match materials. Use fabric scraps for curtains, old buttons for dials, or even aluminum foil for shiny accents to add unique textures and visual interest.
- 7Think about the scale of your appliances in relation to your child's play space and existing toys. Ensure they are manageable in size for easy movement and integration into their play scenarios.
- 8If you're creating multiple appliances, consider a cohesive color scheme or theme to make them look like a matching set, further enhancing the pretend play environment.
Related Activities You Might Enjoy
Frequently Asked Questions
What are the best materials for making pretend play toys?
Cardboard boxes are excellent for creating sturdy pretend play toys due to their versatility, affordability, and eco-friendliness. Combine them with strong packing tape or masking tape for secure construction, and scissors or a box cutter (with adult supervision) for shaping. For decoration, a wide range of materials work well, including markers, crayons, acrylic paints, construction paper, fabric scraps, and even recycled items like bottle caps for knobs. The key is to use materials that are safe for children and allow for creative expression, transforming simple boxes into imaginative playthings.
How can I make pretend play toys more durable?
To make your pretend play toys more durable, reinforce all cut edges with strong tape, such as packing tape or duct tape, to prevent tearing and fraying. You can also cover the entire structure with packing tape or contact paper before decorating for added resilience and a smooth, wipeable surface. Ensure all glued components are firmly attached and allow ample drying time. Using thicker cardboard boxes from larger appliances will also contribute to the overall sturdiness of the finished toy, ensuring it can withstand enthusiastic play for a long time.
What age is appropriate for making cardboard pretend play toys?
This activity is best suited for children aged 4 and up, as they have developed the fine motor skills and imagination necessary for engaging in pretend play. Younger children, around ages 2-3, can participate in the decorating process under close supervision, helping with simple tasks like coloring or applying stickers. Older children, aged 5 and above, can take on more responsibility, assisting with cutting (with adult supervision), taping, and designing the appliances. The project can be adapted to suit various skill levels, making it a great family activity.
How long does it take to make cardboard pretend play toys?
The time it takes can vary significantly depending on the complexity of the design and the number of appliances you're creating, but typically it takes about 1 to 2 hours to create a few simple pretend play toys from cardboard. This estimate includes gathering materials, cutting, assembling, and decorating. Drying time for paint or glue should also be factored in, which can add several hours or overnight depending on the products used. For more elaborate designs or if children are heavily involved in the decorating, the project might extend over a couple of sessions.
Can I make other types of pretend play toys from cardboard boxes?
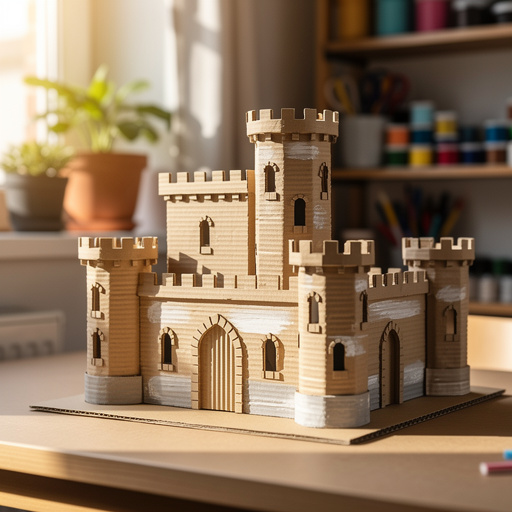
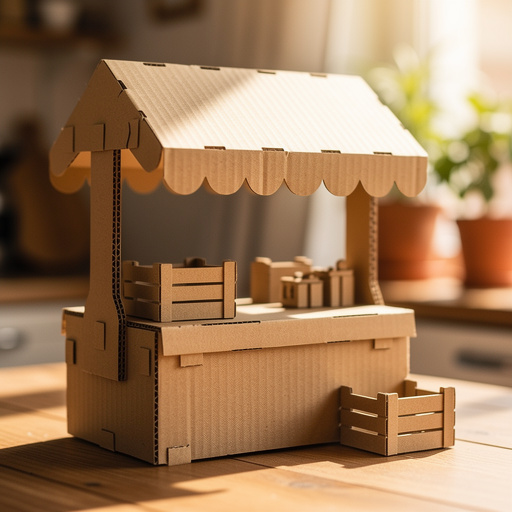
Absolutely! Cardboard boxes are incredibly versatile and can be transformed into a vast array of pretend play toys beyond kitchen appliances. Consider creating a playhouse, a car, a rocket ship, a dollhouse, a castle, a shop counter, or even a puppet theater. The possibilities are limited only by your imagination and the size of the boxes you have available. Simply adapt the cutting and decorating techniques used for kitchen appliances to suit the new design, encouraging endless creative exploration.
How should I store these cardboard creations?
Storing your cardboard kitchen creations is straightforward. For smaller items like individual appliances, they can often be stacked on top of each other or placed neatly in a corner of a playroom or bedroom. If space is limited, consider designs that can be partially disassembled or folded for easier storage. For larger structures like a playhouse, you might need to designate a specific area for them. Alternatively, some parents choose to keep them as semi-permanent fixtures in a playroom, adding to the overall ambiance and encouraging continuous imaginative play.
What Next?
Once your cardboard kitchen creations are complete and dry, the real magic begins! Encourage your little chefs to explore their new appliances, preparing imaginary feasts and hosting delightful dinner parties. These toys can be easily stored by stacking or placing them in a designated play area. For future projects, consider expanding your cardboard kitchen with accessories like toasters, blenders, or even a miniature grocery store. This project is a gateway to endless imaginative possibilities, fostering a love for DIY and creative play.
Free: 10 Paper Crafts Anyone Can Make in 5 Minutes
Get our beginner guide + new craft ideas weekly.
No spam. Unsubscribe anytime.
Did you complete this activity?
Related