How to Build an Acoustic Guitar — Easy Step-by-Step Guide
Embark on a creative journey and build your very own playable acoustic guitar from simple materials. This project is perfect for families looking for a hands-on, screen-free activity that results in a musical instrument. Discover the joy of making music with a homemade instrument!
Quick answer
To make a simple acoustic guitar, you need a sturdy cardboard box (approx. 12x18x4 inches), a paper towel tube, 4-6 rubber bands of varying thicknesses, scissors, a craft knife (adult supervision required), a ruler, a pencil, and strong tape. This project takes about 60 minutes. Start by preparing the box as the guitar body by cutting a soundhole. Then, attach the paper towel tube as a bridge and neck support. Finally, stretch rubber bands across the soundhole to create strings. This beginner-friendly activity has 12 steps and is perfect for families with children aged 8+.
What you need
Shop on Amazon · As an Amazon Associate we earn from qualifying purchases. Links above are affiliate links — we may earn a commission at no extra cost to you.
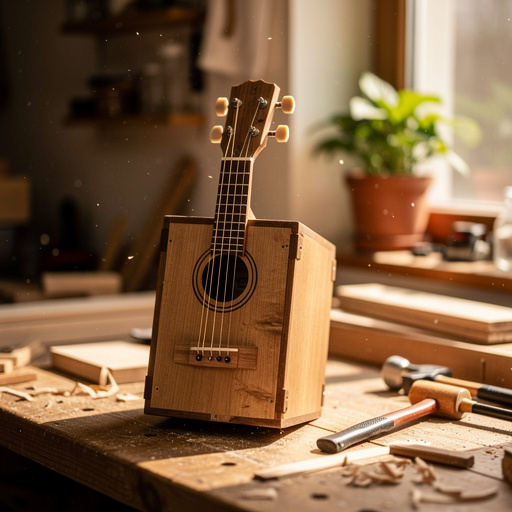
Unleash your inner luthier and embark on a delightful DIY adventure with this Resonant Box Guitar craft! In a world often dominated by screens, this project offers a refreshing, hands-on experience that culminates in a functional musical instrument. It’s an ideal activity for families seeking quality time, educators looking for engaging classroom projects, or anyone who simply wants to explore the joy of creating something tangible and musical. With just a few common household items, you’ll be strumming your own tune in no time, making it a truly rewarding and accessible craft for all ages.
On this page
Step-by-Step Instructions
- 1
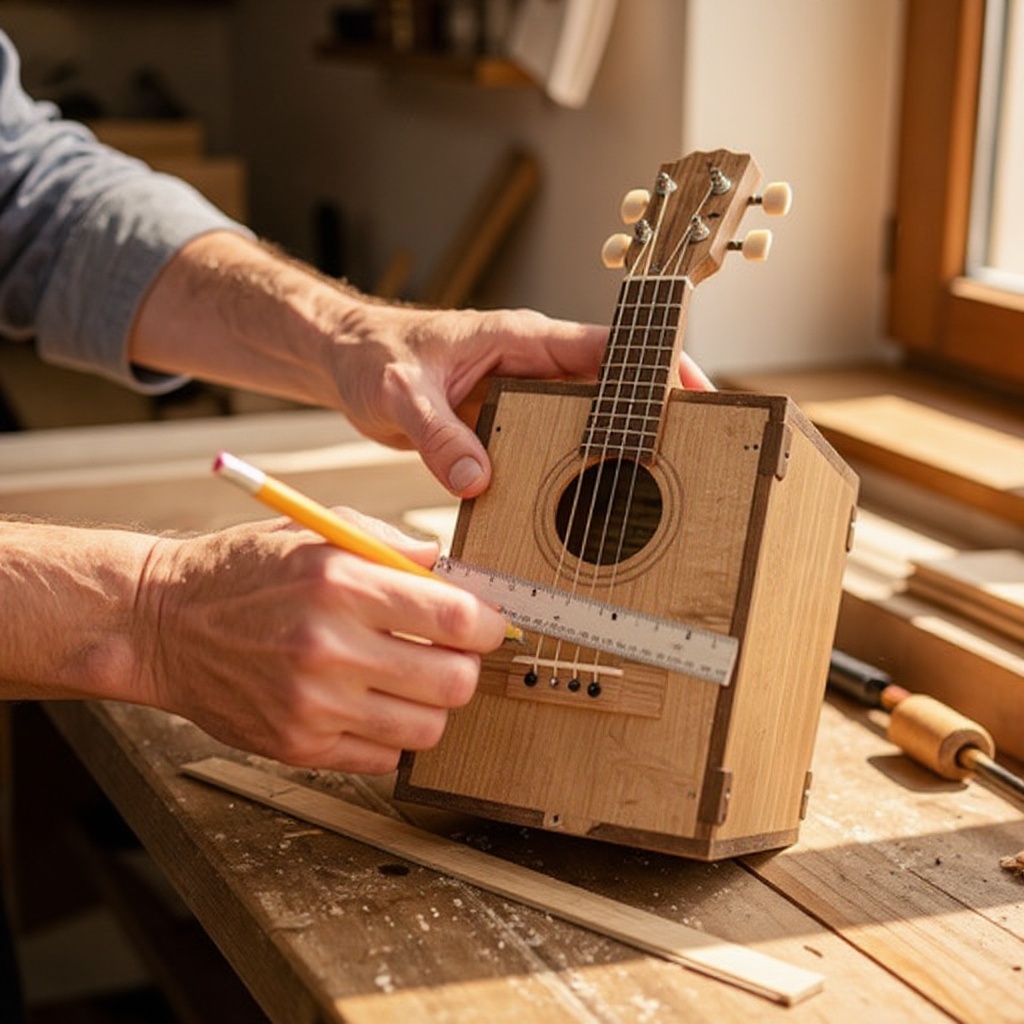
Step 1: On one of the larger, flat sides of the cardboard box, use your ruler and pencil to carefully trace a circle approximately 4 inches in diameter. This circle will serve as the soundhole, allowing the vibrations of the rubber bands to resonate within the box and project sound.
- 2
Step 2: With adult supervision, carefully cut out the traced circle using a craft knife or very sturdy scissors. Take your time to ensure a clean cut, as a smooth edge will prevent the rubber bands from snagging or tearing the cardboard.
- 3
Step 3: Take your paper towel tube and measure and mark two parallel lines along its length, ensuring they are about 1 inch apart. These lines should run the entire length of the tube and will create the slots where the rubber bands will be anchored, acting as the bridge and neck support.
- 4
Step 4: Carefully cut along the marked lines on the paper towel tube to create two long, narrow slots. These slots should be just wide enough to snugly hold the rubber bands without them slipping out easily.
- 5
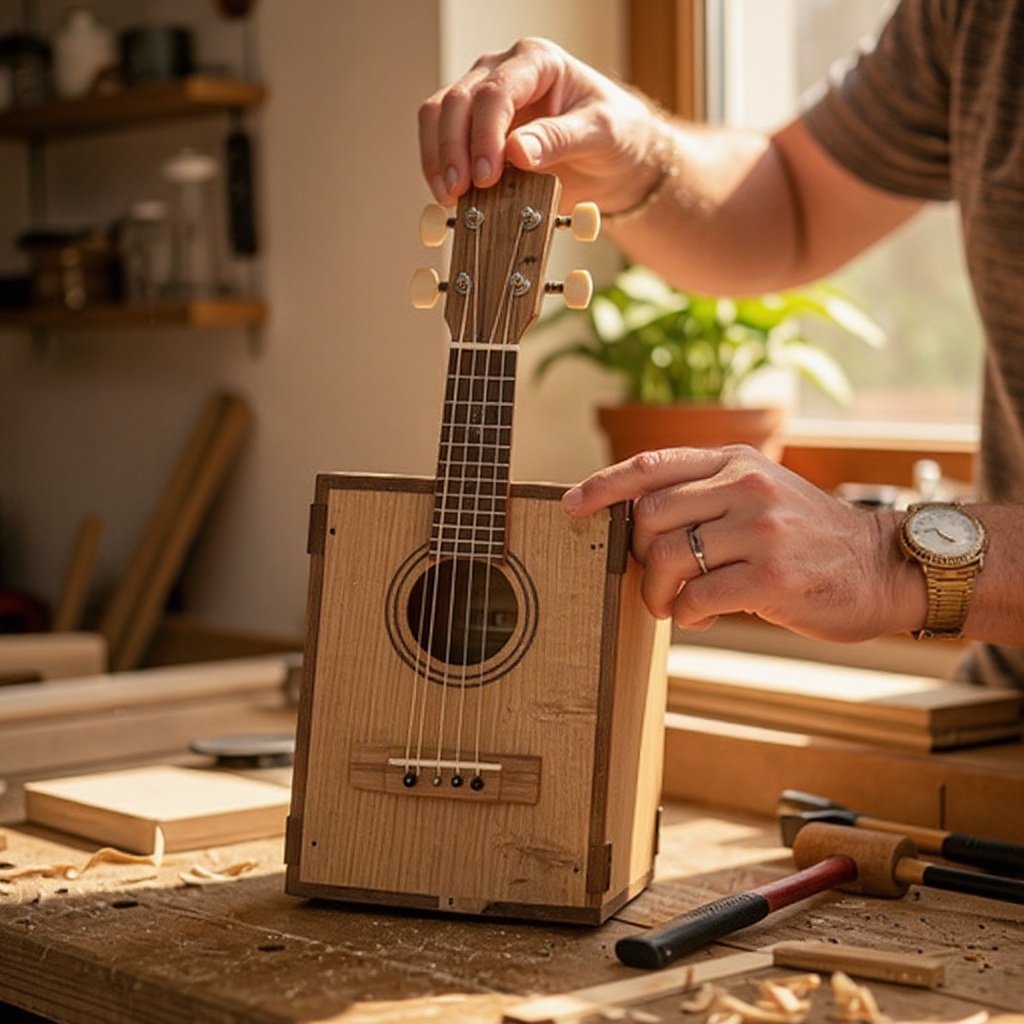
Step 5: Gently insert the paper towel tube through the soundhole of the cardboard box. Position it so that approximately 2 inches of the tube extends out from the soundhole on the inside of the box, forming the neck and bridge support.

- 6
Step 6: Secure the paper towel tube firmly in place by taping it to the inside of the box around the soundhole. Use generous amounts of strong tape, ensuring the tube is stable and won't wobble or shift when the rubber bands are under tension.
- 7
Step 7: Begin placing the rubber bands around the cardboard box, stretching them across the soundhole and over the paper towel tube. Aim for even tension and spacing between each rubber band to create distinct 'strings'.
- 8
Step 8: Adjust the rubber bands so they are spaced out evenly across the soundhole and create different pitches when plucked. Generally, thicker rubber bands will produce lower notes, while thinner, tighter bands will produce higher notes. Experiment with their placement for optimal sound.
- 9
Step 9: Reinforce the edges of the box and the soundhole area with extra tape if they seem weak or prone to tearing, especially where the rubber bands will exert pressure. This will increase the durability of your guitar.
- 10
Step 10: Now for the fun part! If desired, decorate the outside of your guitar with paint, markers, stickers, or any other craft supplies you have on hand. Let your creativity shine and personalize your instrument.
- 11
Step 11: Once any decorations are completely dry, gently stretch the rubber bands again to ensure they are taut and ready to play. Check that they are securely seated in the slots of the paper towel tube.
- 12
Step 12: Your Resonant Box Guitar is complete! Pluck the rubber bands with your fingers to create music. Listen to the unique sounds each band produces and enjoy your handmade instrument.
- 13
Step 13: Test the tension of each rubber band. If one feels too loose and produces a dull thud, try tightening it by adjusting its position or using a slightly shorter or thicker band. Conversely, if a band seems too tight and might tear the cardboard, loosen it slightly.
- 14
Step 14: Gently tap the body of the guitar with your finger while plucking a rubber band. Notice how the sound changes when you tap different areas of the box, demonstrating how the resonance chamber works.
- 15
Step 15: Consider adding a small piece of cardboard or a craft stick underneath the rubber bands where they cross the paper towel tube. This can help lift the bands slightly, potentially improving their clarity and reducing buzzing.
- 16
Step 16: If you find the sound is a bit too muted, try using a box with a thinner cardboard or ensure the soundhole is sufficiently large to allow for better sound projection. Experimentation is key!
- 17
Step 17: Before extensive playing, gently strum the guitar to ensure all rubber bands are securely in place and not slipping. Make any necessary adjustments to their tension or position.
- 18
Step 18: Once you're happy with the sound and stability, give your guitar a final decorative flourish if you wish, perhaps adding some 'tuning pegs' made from bottle caps or painted on.
- 19
Step 19: Practice different strumming techniques. You can use your fingers, a soft pick, or even a ruler to strum across the rubber bands, discovering how each method affects the sound.
- 20
Step 20: Share your creation! Play a song for family and friends, or use it as a prop for imaginative play. This DIY guitar is a testament to your creativity and ingenuity.
Tips & Troubleshooting
- 1If your rubber bands are slipping off the paper towel tube or the box, try using wider rubber bands that have more surface area to grip. Alternatively, you can add a small piece of tape to the box where the rubber band rests to create a slightly stickier surface for better grip.
- 2Experiment with different numbers and thicknesses of rubber bands to achieve a wider range of sounds and pitches. You can even use different types of elastic materials like hair ties or bungee cords (cut to size) for unique tonal qualities.
- 3For a more robust soundboard and a richer tone, consider using a slightly thicker cardboard box or reinforcing the soundhole area with an extra layer of cardboard glued or taped securely around the opening. This will help the box resonate more effectively.
- 4Ensure the paper towel tube is securely taped inside the box. A loose tube can significantly affect the sound quality, causing buzzing or a duller tone, and compromise the stability of the rubber bands when they are under tension.
- 5If the rubber bands are too loose and produce a weak sound, try using shorter ones or stretching them more firmly across the box. Be careful not to overtighten, as this could tear the cardboard or snap the rubber bands.
- 6To achieve a more distinct separation between notes, ensure your rubber bands are not touching each other. You can achieve this by carefully spacing them out or by using small cardboard spacers between them.
- 7Consider the type of cardboard box you use. A box with a smoother, less porous surface might produce a clearer sound, while a more textured box could offer a warmer, more muted tone. Experiment to find what you prefer.
- 8When cutting the soundhole, a clean, circular cut is ideal. If your scissors are struggling, try making small, incremental cuts or using a craft knife (with extreme caution and adult supervision) for a neater finish. A ragged edge can affect sound projection.
Related Activities You Might Enjoy
Frequently Asked Questions
Can I make a real acoustic guitar with this method?
This craft creates a fun, playable instrument that mimics the sound of an acoustic guitar using simple materials. It's a fantastic educational tool and a wonderful way to introduce children to the concept of stringed instruments and sound production. However, it's important to understand that this is a simplified model designed for enjoyment and learning, not a professional-grade musical instrument. The materials and construction methods are not designed for the precision and durability required for concert performance, but they are perfect for home-based musical exploration and creative play.
What kind of sound can I expect from this DIY guitar?
You'll get a plucky, resonant sound from the rubber bands vibrating against the cardboard box. The sound will vary depending on the tension and thickness of the rubber bands used, as well as the size and material of the cardboard box. Thicker rubber bands will produce lower, more mellow tones, while thinner, tighter rubber bands will create higher, brighter notes. The cardboard box acts as a resonance chamber, amplifying the vibrations and giving the instrument its unique voice. It's a charmingly lo-fi sound that's perfect for singalongs and creative jamming.
How do I make different notes on my guitar?
Different notes are achieved by using rubber bands of varying thicknesses and tensions. Thicker bands produce lower notes, while thinner, tighter bands produce higher notes. To create a range of notes, select a variety of rubber bands – some thick and some thin. Stretch them across the soundhole and the paper towel tube, adjusting their position and tightness. You can experiment by plucking each band individually to hear its pitch. The goal is to create distinct pitches for each 'string' so you can play simple melodies.
Can I add more strings to my guitar?
Yes, you can absolutely add more rubber bands to create more 'strings' on your guitar! The paper towel tube is designed to accommodate multiple rubber bands, and the cardboard box provides ample space. Just ensure they are spaced out evenly and have enough tension to produce distinct sounds without interfering with each other. Adding more strings will allow for a wider range of musical possibilities and a fuller sound. Experiment with different arrangements and tensions to see what kind of musical textures you can create.
Is this project messy?
This project is remarkably clean! The primary materials – cardboard and rubber bands – are not inherently messy. The most 'messy' part of the project would be if you choose to paint or decorate the guitar. If you opt for painting, you might want to lay down some newspaper or a drop cloth to protect your work surface. Using markers, stickers, or glitter glue is generally quite tidy. Overall, it's a low-mess craft that can be enjoyed indoors without significant cleanup concerns.
What age is this project suitable for?
This Resonant Box Guitar craft is ideal for children aged 8 and up, especially when supervised by an adult. Younger children can certainly participate with assistance, particularly when it comes to using scissors or a craft knife. The steps are straightforward and engaging, making it a perfect family activity. The project encourages creativity, fine motor skills, and an introduction to basic physics and music concepts. It’s a wonderful way for families to bond over a shared creative endeavor and produce a tangible, musical outcome.
How long does it take to build this guitar?
This project is designed to be relatively quick and easy, making it perfect for a single crafting session. You can expect to complete the construction of your Resonant Box Guitar in approximately 60 minutes. This timeframe includes gathering materials, cutting the soundhole and tube slots, assembling the components, and adding the rubber bands. If you choose to decorate the guitar with paint or intricate designs, allow additional drying time for those elements, which could extend the overall project duration but not the core construction time.
What Next?
Congratulations on building your very own Resonant Box Guitar! This simple instrument is a fantastic introduction to the principles of sound and music. Feel free to experiment further by adding more rubber bands, trying different box sizes, or even attaching a longer tube for a more pronounced neck. Once your masterpiece is complete, you can proudly display it as a decorative piece or store it carefully in a dry place to preserve its sound. Consider this your first step into a world of musical instrument creation – perhaps your next project could be a ukulele or a simple drum!
Free: 10 Paper Crafts Anyone Can Make in 5 Minutes
Get our beginner guide + new craft ideas weekly.
No spam. Unsubscribe anytime.
Did you complete this activity?
Related
You might also like
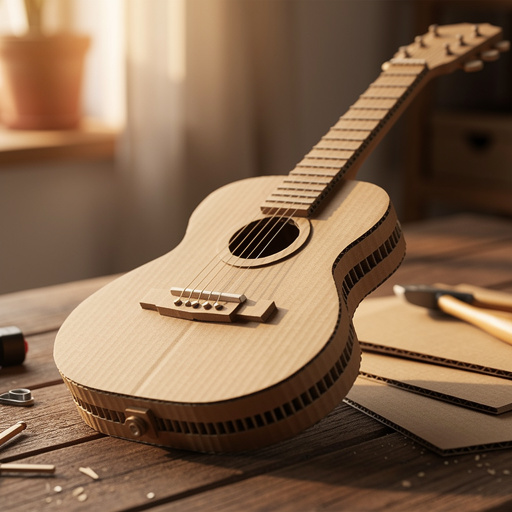
Cardboard Strummer Guitar
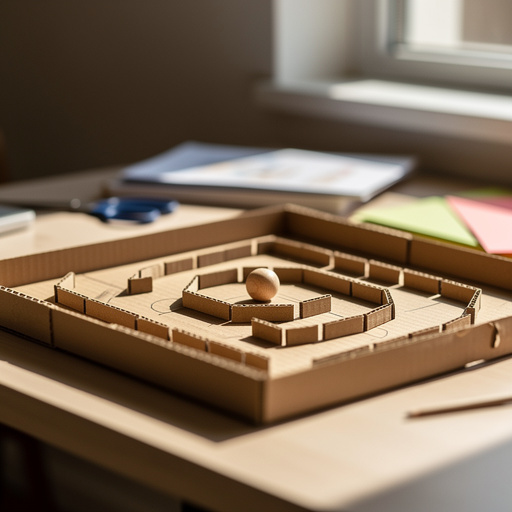
Cardboard Path Finder Game
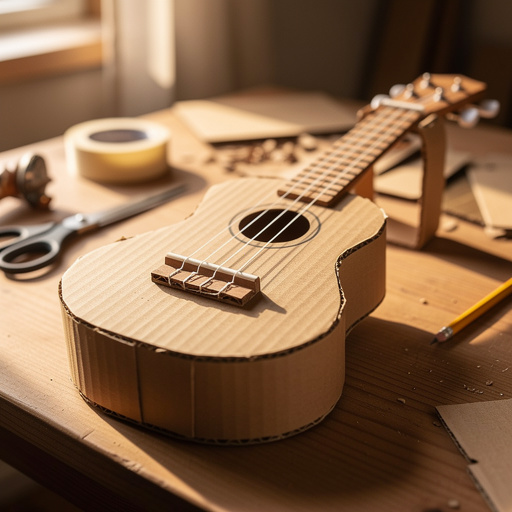
Cardboard Box Ukulele
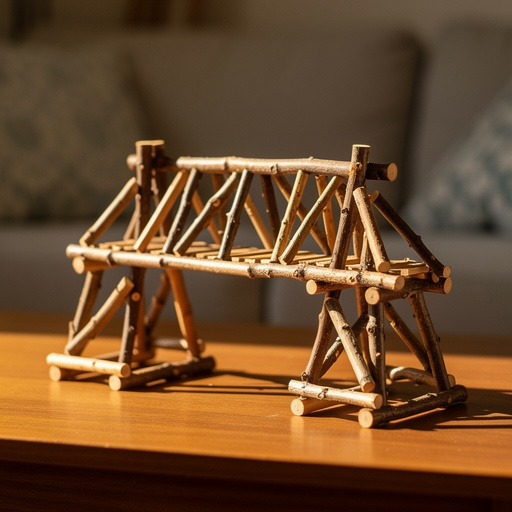
Sturdy Stick Span Builders
Popsicle Stick Lanterns