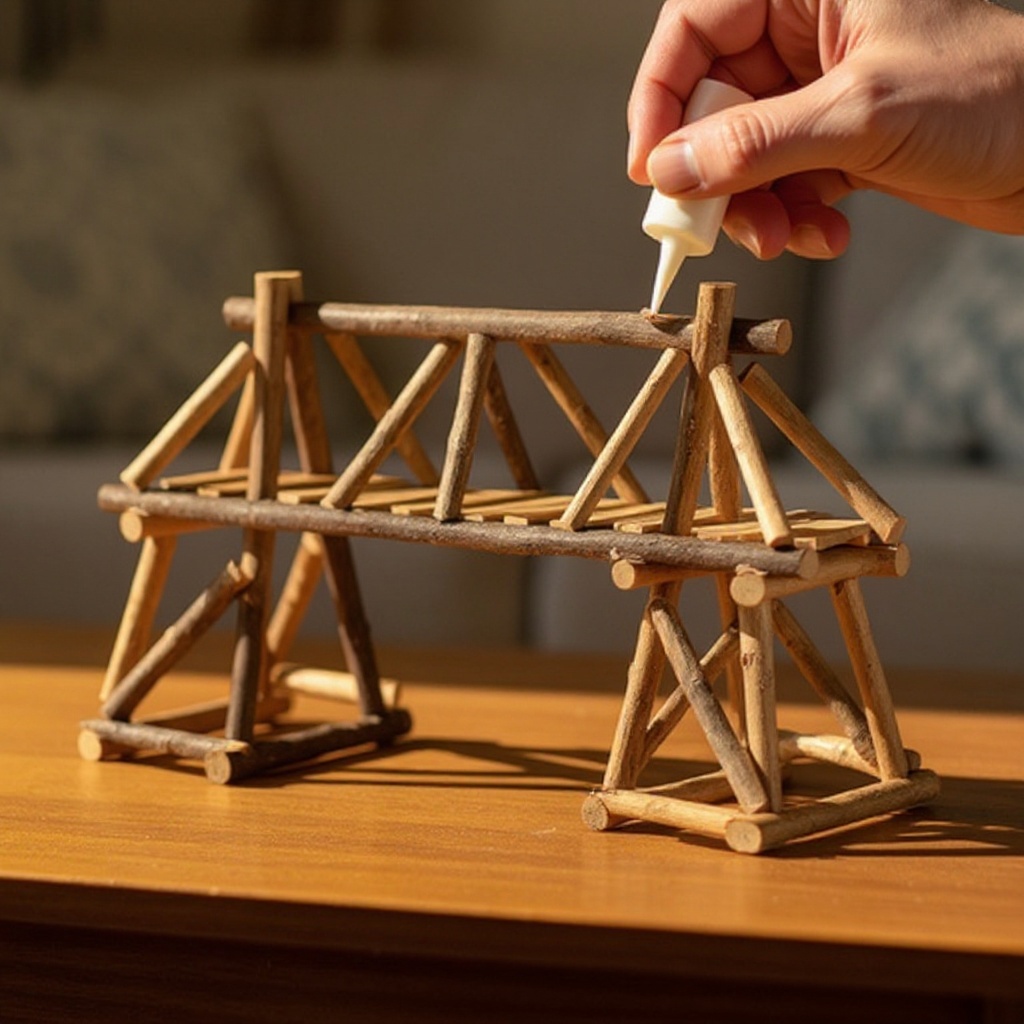
How to Build a Sturdy Stick Span — Easy Step-by-Step Guide
Discover the joy of engineering by building your own sturdy bridge using simple craft sticks and glue. This fun activity teaches structural principles in a hands-on way. Perfect for aspiring young engineers and creative families, this project offers a tangible way to understand how simple materials can be transformed into strong structures.
Quick answer
To make a sturdy stick span, you need craft sticks, glue, and about 60 minutes of active building time, plus drying time. Start by creating a strong base and reinforcing it with crossbeams and diagonal supports. This beginner-friendly activity has 10 core steps (expanded to more for detail) and is perfect for families and kids aged 6+.
What you need
Shop on Amazon · As an Amazon Associate we earn from qualifying purchases. Links above are affiliate links — we may earn a commission at no extra cost to you.
Embark on a fun and educational journey into the world of structural engineering with this easy-to-follow guide on building a sturdy stick span. This project is more than just a craft; it's a hands-on lesson in physics and design, perfect for sparking curiosity in young minds and providing a rewarding experience for crafters of all ages. Gather your materials and prepare to construct a miniature marvel that demonstrates the power of simple materials and smart construction.
On this page
Step-by-Step Instructions
- 1
Lay out a large sheet of wax paper or parchment paper on a flat, stable surface like a table or floor. This protective layer is essential to prevent your bridge components from sticking to the surface as the glue dries, ensuring a clean release.
- 2
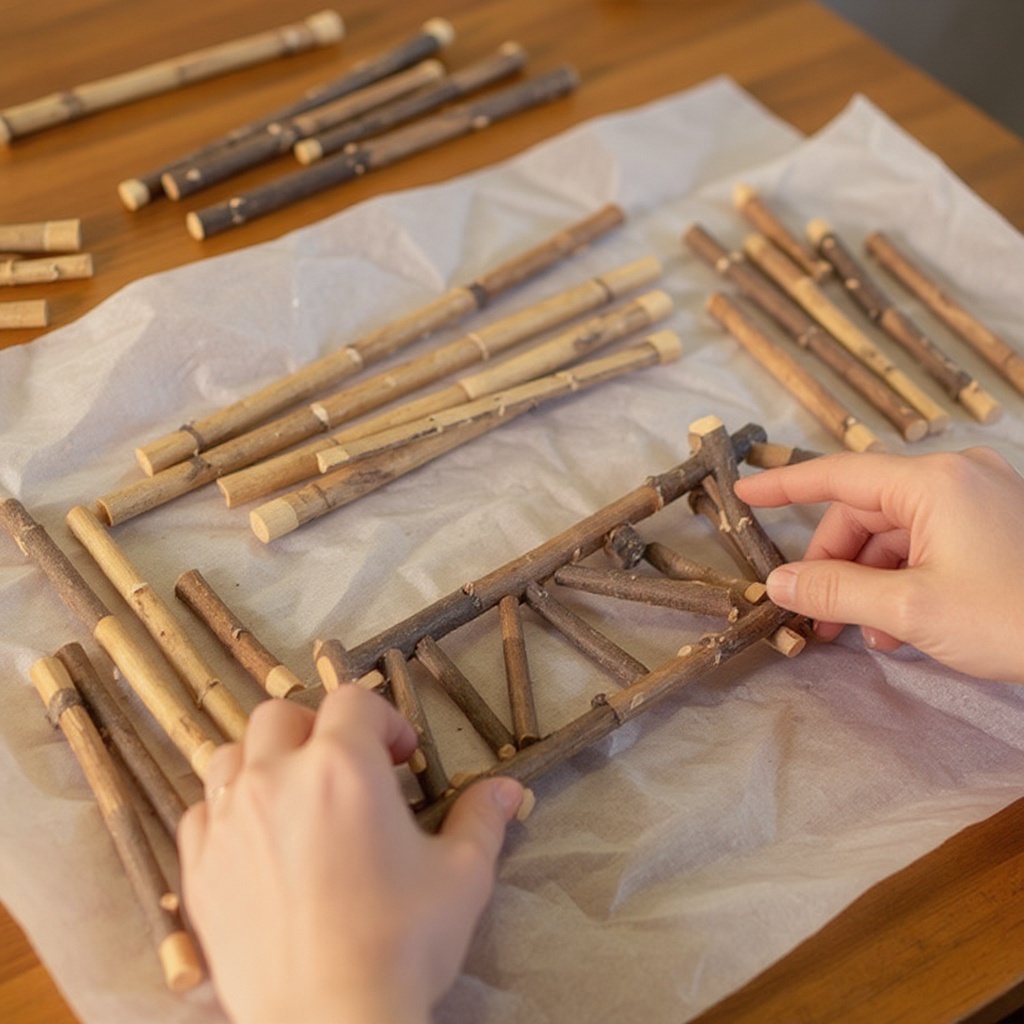
Begin by constructing the two main side beams of your bridge, which will form the primary structural support. Lay out craft sticks end-to-end on the wax paper, overlapping them slightly at the ends to create a continuous, strong line. Aim for beams that are approximately 10-12 craft sticks long, ensuring they are as straight and even as possible.
- 3
Apply a generous amount of glue along the overlapping ends of the craft sticks for each side beam. Press the sticks firmly together and ensure a good bond, then add another layer of sticks on top of the first layer, staggering the joints for maximum strength, effectively creating a double-layered beam. This layering significantly increases the beam's rigidity and load-bearing capacity.
- 4
Allow the side beams to dry completely. This is a critical step for the structural integrity of your bridge; rushing this process will result in a weak and potentially collapsing structure. Let them sit undisturbed for at least 1-2 hours, or ideally longer, until the glue is fully hardened and the beams feel solid to the touch.
- 5
Once the side beams are thoroughly dry, carefully peel them off the wax paper. If any areas are sticking, gently work a thin, flat object like a ruler edge or a palette knife underneath to loosen them. Inspect the beams for any weak points or gaps in the glue and reinforce them if necessary with a bit more glue and another craft stick.
- 6
Now, prepare to build the bridge deck, which is the surface the bridge will span. Lay out craft sticks side-by-side on a fresh sheet of wax paper, ensuring they are tightly packed together to form a solid, rectangular surface. Make this deck slightly wider than your side beams to provide a stable platform.
- 7
Apply glue along the top edges of the side beams. Carefully position and press the side beams onto the edges of the bridge deck, ensuring they are perfectly parallel to each other and centered along the deck's length. Use a ruler to check for alignment and make any necessary adjustments before the glue begins to set.
- 8
Introduce crossbeams to further strengthen the bridge deck and connect the two side beams. Glue craft sticks perpendicularly across the width of the bridge deck, spanning from one side beam to the other at regular intervals. These crossbeams prevent the deck from sagging and distribute weight more evenly.
- 9
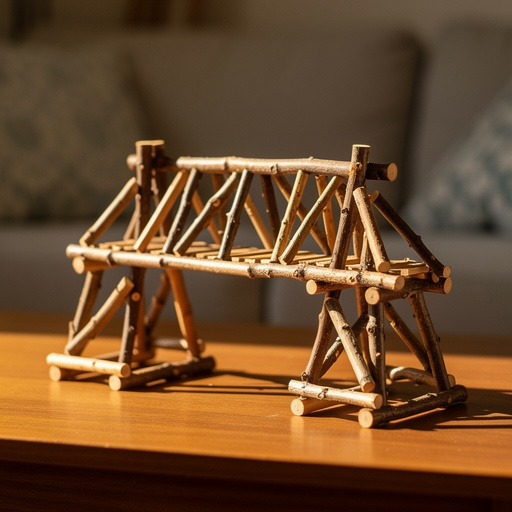
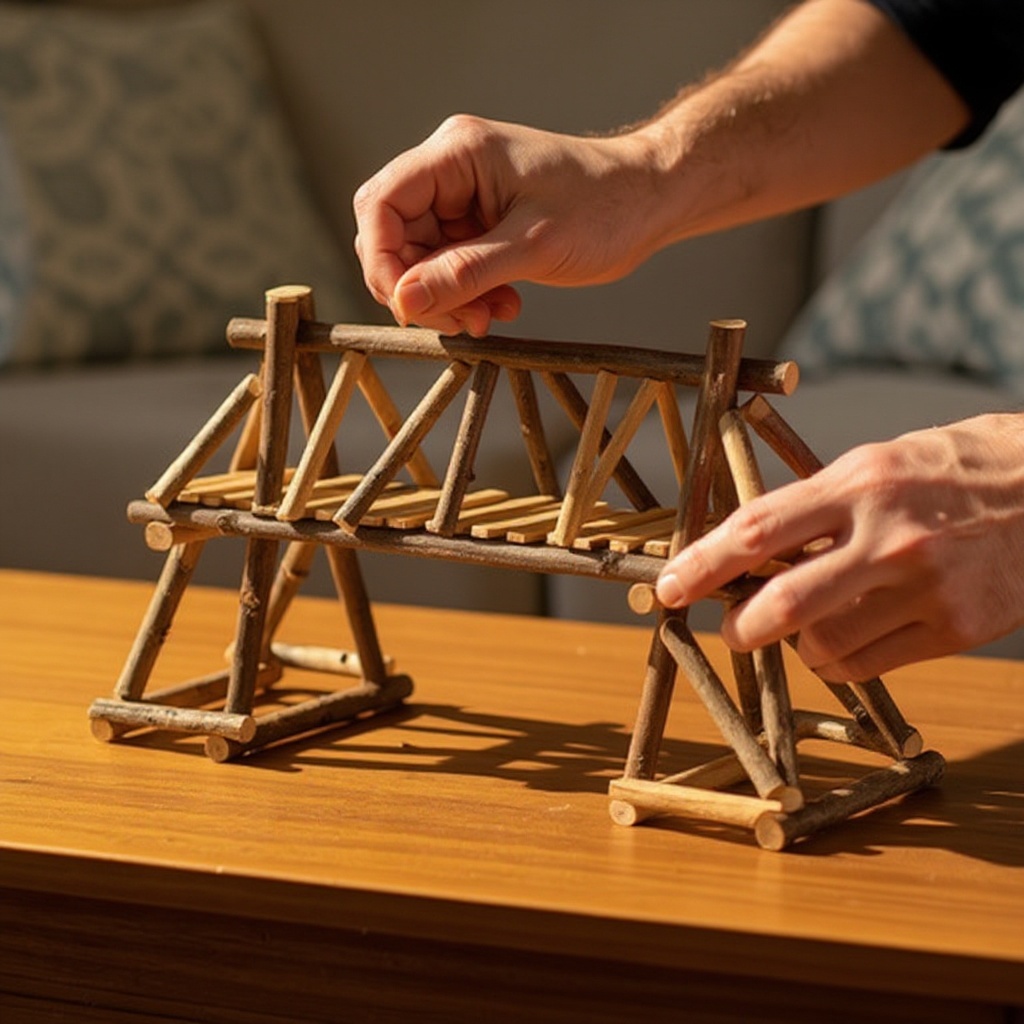
Add diagonal supports to enhance the overall stability and rigidity of your bridge. Glue craft sticks from the bottom of one side beam to the top of the other, forming an 'X' shape on each side of the bridge. These triangular supports are incredibly effective at resisting lateral forces and preventing the bridge from twisting or buckling.
- 10
For even greater strength, consider adding a second layer to the bridge deck. Lay another set of craft sticks on top of the first layer, again ensuring they are tightly packed and glued securely to the layer beneath and the side beams. This creates a much more robust and load-bearing surface.
- 11
Reinforce the connection points where the side beams meet the deck and crossbeams. Apply extra glue to these junctions and, if possible, add small triangular pieces of craft stick as gussets to further strengthen these critical areas. This attention to detail in the joints will significantly improve the bridge's durability.
- 12
Allow the entire bridge structure to dry thoroughly. This is arguably the most important step for achieving a truly sturdy span. Depending on the amount of glue used and humidity levels, this can take several hours, or even overnight for maximum strength. Resist the urge to test it too early!
- 13
Once the glue is completely dry and the bridge feels solid and rigid, carefully lift your sturdy stick span from the wax paper. Gently flex it to ensure all joints are secure and there are no wobbly sections. If any parts feel loose, apply a bit more glue and allow it to dry.
- 14
Test the strength of your bridge by gradually placing light objects on it. Start with very light items like a single coin or a small eraser, and slowly increase the weight to see how much it can hold before it shows signs of stress. This testing process is a fun way to understand its load-bearing capacity.
Tips & Troubleshooting
- 1For a stronger bridge, consider using wood glue instead of white craft glue, as it generally creates a more robust bond. However, ensure good ventilation when working with wood glue, as it can have stronger fumes, and be aware that it may require a longer drying time.
- 2Experiment with different bridge designs! Try adding more layers to the deck, creating arched supports beneath the deck, or incorporating triangular trusses along the sides for increased stability. The possibilities for structural innovation are vast.
- 3If your bridge seems wobbly or weak, don't despair! Add more crossbeams or diagonal supports to reinforce the structure. Patience is key – always allow the glue to dry fully between each step to ensure maximum strength and prevent unintended structural compromises.
- 4Test your bridge's weight-bearing capacity gradually. Start with very light objects and increase the weight slowly to see how much it can hold before it breaks. This incremental testing helps you understand the limits of your design and identify areas for potential improvement in future builds.
- 5Consider using clamps or rubber bands to hold glued pieces together while they dry, especially for the side beams and deck. This pressure ensures a tight bond and prevents the sticks from shifting, leading to a stronger and more precisely built structure.
- 6For a smoother finish and to remove any rough edges, you can lightly sand the craft sticks before gluing or gently sand the completed bridge. This not only improves the appearance but can also help glue adhere better in some instances.
- 7When creating your side beams, ensure they are as straight as possible. Any significant curvature in the main support beams will translate into a weaker overall structure and can make it harder to align other components accurately.
- 8Don't be afraid to use plenty of glue, especially at the joints and connection points. While you don't want excessive oozing, a good amount of glue ensures a strong bond between the wooden surfaces. Wipe away any major drips before they dry.
Related Activities You Might Enjoy
Frequently Asked Questions
What is the best glue for building a craft stick bridge?
White craft glue, also known as PVA glue, is an excellent choice for building craft stick bridges due to its ease of use, non-toxic nature, and relatively quick drying time, making it ideal for younger builders. For maximum strength and a more permanent bond, consider using wood glue. Wood glue typically creates a stronger, more durable connection, but it's important to ensure good ventilation when using it, as some formulations can have stronger fumes. Wood glue also often requires a longer drying time to reach its full strength. Regardless of the glue type, ensuring all glued joints are completely dry before proceeding to the next step is paramount for a sturdy final product.
How can I make my craft stick bridge stronger?
To make your craft stick bridge stronger, focus on reinforcing key structural elements. Utilize more craft sticks for the main side beams and the bridge deck, creating multiple layers and staggering the joints to prevent weak points. Adding a generous number of crossbeams across the deck and robust diagonal supports on the sides significantly increases stability and weight-bearing capacity by distributing forces effectively. Ensure all glue joints are completely dry and consider using wood glue for a stronger bond. Paying close attention to the integrity of the connections between beams, deck, and supports is crucial for overall structural soundness.
What kind of test can I do for my craft stick bridge?
You can test your bridge's strength by gradually placing small, lightweight objects on top of it. Start with very light items like coins, erasers, or small pebbles, and slowly add more weight to see how much it can support before it shows signs of stress or breaks. You can create a 'testing platform' by placing a small container on the bridge and adding weight to it incrementally. This method allows you to observe the bridge's performance under increasing load and identify its breaking point, providing valuable insights into your design's effectiveness.
Can I build a bridge with just craft sticks and glue?
Absolutely! You can build a functional and surprisingly sturdy bridge using only craft sticks and glue. The key to success lies in understanding basic structural principles and applying them diligently. By creating strong foundational beams and a solid, well-supported deck, and then reinforcing the entire structure with additional crossbeams and diagonal supports, you can achieve impressive strength. The quality and thoroughness of your gluing and drying process are just as important as the number of sticks used.
How long does it take to build a craft stick bridge?
The active building time for a sturdy craft stick bridge typically ranges from 45 minutes to 1.5 hours, depending on the complexity of the design and the builder's experience. However, the most crucial factor is the drying time for the glue. Each step requiring glue needs adequate time to dry completely, which can range from 1-2 hours for basic joints to several hours or even overnight for the entire structure to achieve maximum strength. Therefore, while the hands-on construction is relatively quick, the entire project, including drying, can span over a day or two.
What are the basic structural principles demonstrated by this project?
This craft stick bridge project beautifully demonstrates several fundamental structural engineering principles. The side beams act as the primary load-bearing elements, showcasing the concept of beams and their ability to resist bending. The crossbeams and deck illustrate how a surface can distribute weight and how interconnected components create a more rigid structure. The diagonal supports are a prime example of the strength of triangles in engineering; triangles are inherently rigid shapes that prevent deformation, making them ideal for bracing and stabilizing structures against forces like shear and lateral movement. This project also highlights the importance of strong joints and the impact of material properties on structural integrity.
Can I use other types of wood for this project?
While standard wooden craft sticks are readily available and work very well, you can experiment with other types of thin wood if you have them. For instance, balsa wood strips or thin plywood pieces could be incorporated, though they might require different cutting and gluing techniques. However, for the simplicity and accessibility of this beginner project, standard craft sticks are highly recommended. They are uniform in size and shape, making them easy to work with and predict their structural behavior, which is ideal for learning the basics of bridge building.
What Next?
Congratulations on building your sturdy stick span! This project is a fantastic introduction to the principles of structural integrity. You can further enhance your bridge by painting or decorating it, or even challenge yourself to build a longer or stronger version. Consider displaying your creation on a shelf as a testament to your engineering skills, or use it as a prop for imaginative play. For your next project, explore different bridge designs like suspension or arch bridges to continue your engineering adventure.
Free: 10 Paper Crafts Anyone Can Make in 5 Minutes
Get our beginner guide + new craft ideas weekly.
No spam. Unsubscribe anytime.
Did you complete this activity?
Related
You might also like
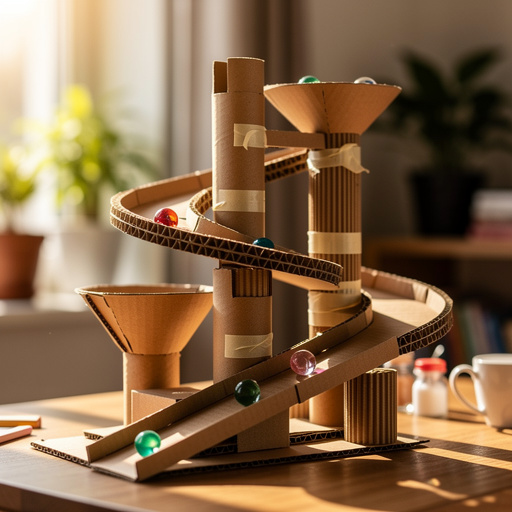
Cardboard Marble Run
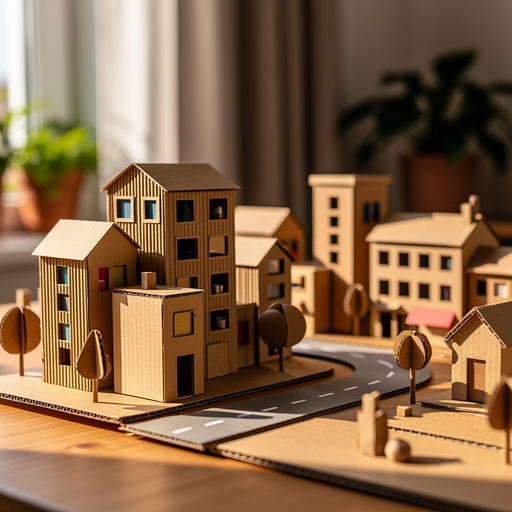
Cardboard Cityscape Diorama

Resonant Box Guitar Craft
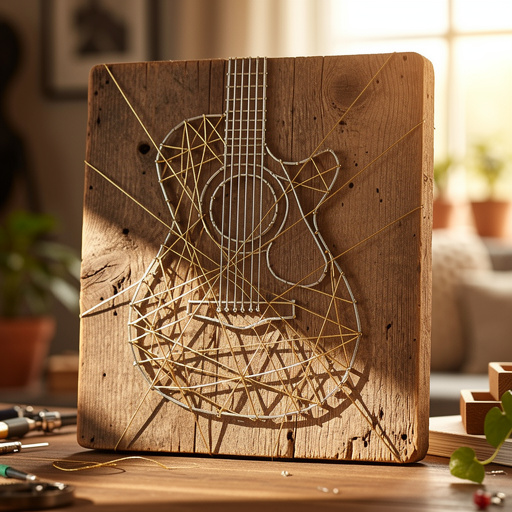
Recycled Guitar String Art
Popsicle Stick Photo Frames