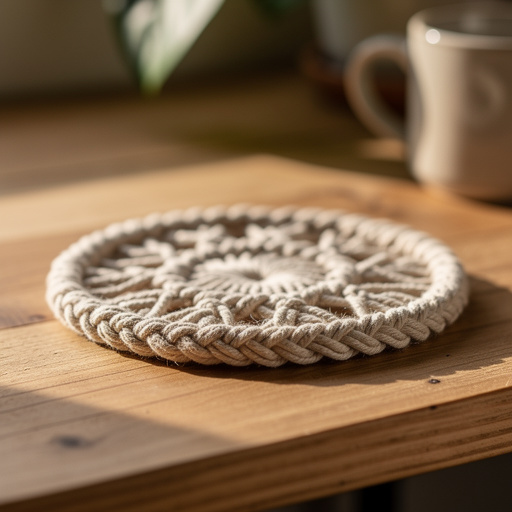
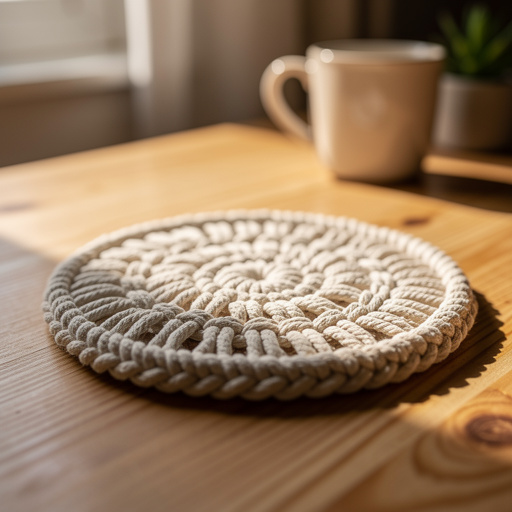
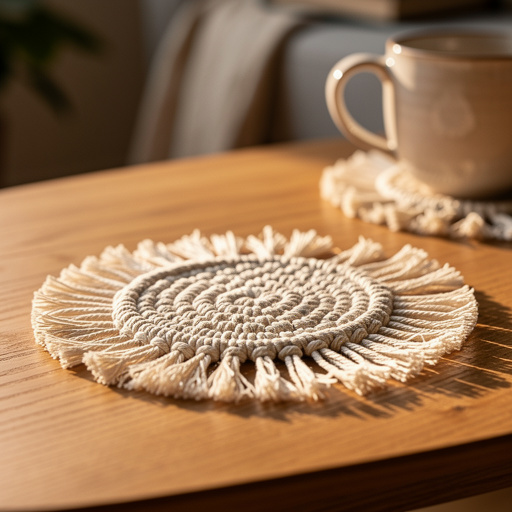
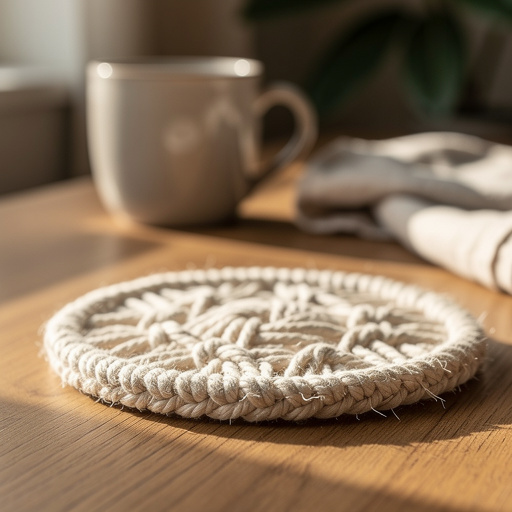
How to Make Beginner Macrame Coasters — Easy Step-by-Step Guide
Discover the joy of macrame with this beginner-friendly tutorial to create beautiful, handmade coasters. A perfect screen-free activity for the whole family.
Quick answer
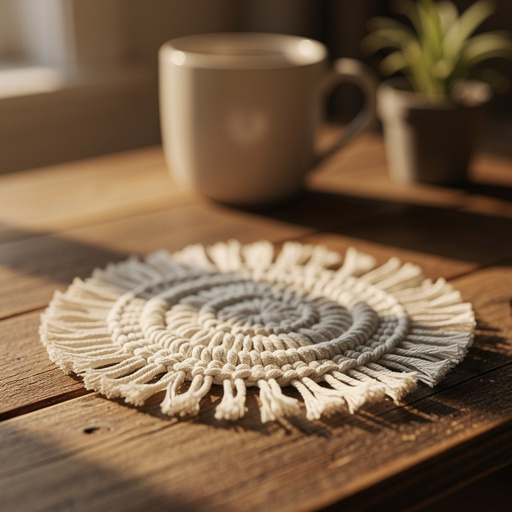
To make beginner macrame coasters, you need cotton cord and scissors, taking about 30 minutes. Start by creating a Lark's Head knot. This easy 8-step activity has minimal mess and is perfect for families and beginners.
What you need
Shop on Amazon · As an Amazon Associate we earn from qualifying purchases. Links above are affiliate links — we may earn a commission at no extra cost to you.
Embark on a creative journey with this simple macrame coaster project, designed specifically for absolute beginners. Macrame, with its intricate knotting techniques, might seem daunting, but these coasters break it down into manageable, satisfying steps. You'll discover the tactile pleasure of working with natural fibers and the rewarding feeling of creating something beautiful with your own hands. This project is an ideal way to disconnect from screens, engage your focus, and create charming, functional decor for your home or thoughtful, handmade gifts for loved ones. Gather your materials and let's begin this relaxing crafting adventure!
On this page
Step-by-Step Instructions
- 1
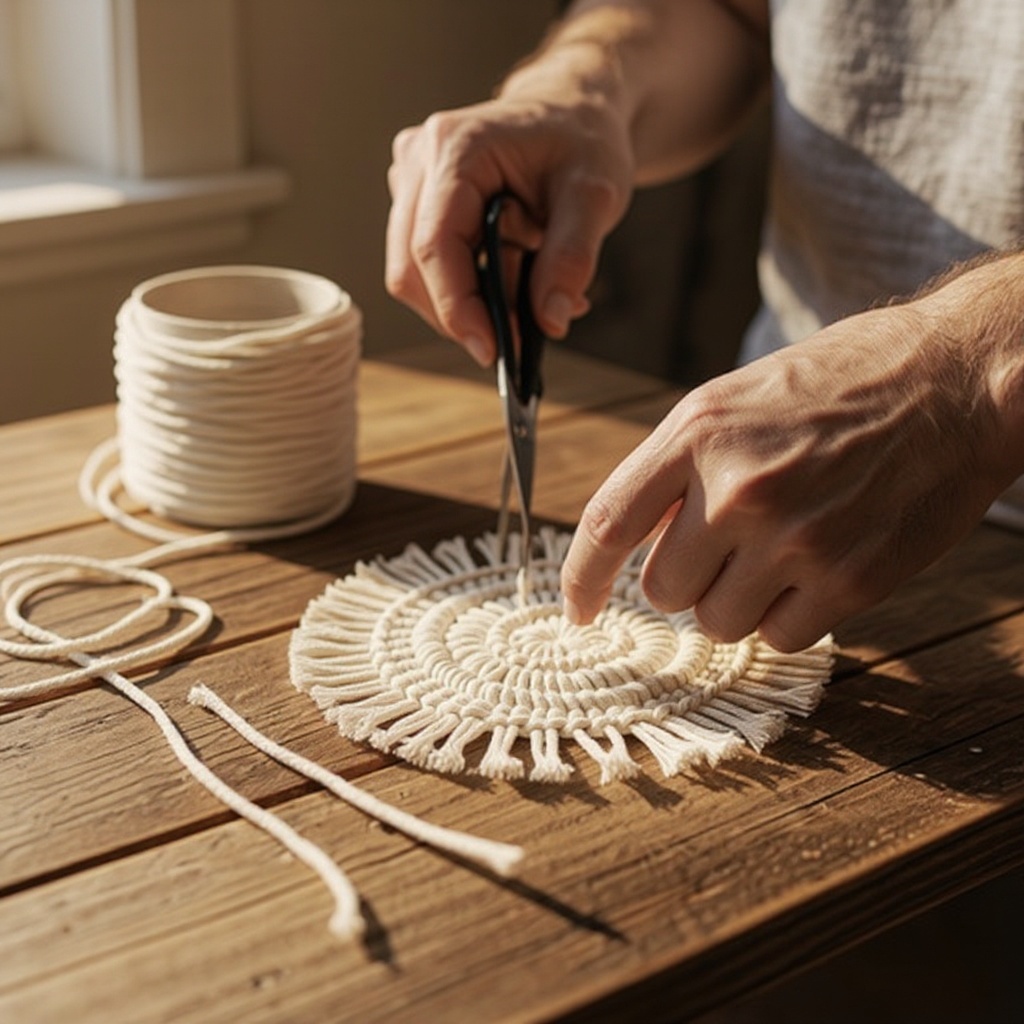
Cut your macrame cord into four equal lengths, each about 2.5 yards long. Ensure your cuts are as straight as possible to avoid uneven fringe later on. Using a measuring tape will help you achieve consistent lengths for all your cords.
- 2
Take one of your cut cords and fold it exactly in half, creating a distinct loop at the top. This loop will be the anchor point for your first knot.
- 3
Take a second, separate cord and place it behind the folded cord from the previous step. Position it so that it forms a U-shape, with the two ends of this second cord hanging down.
- 4
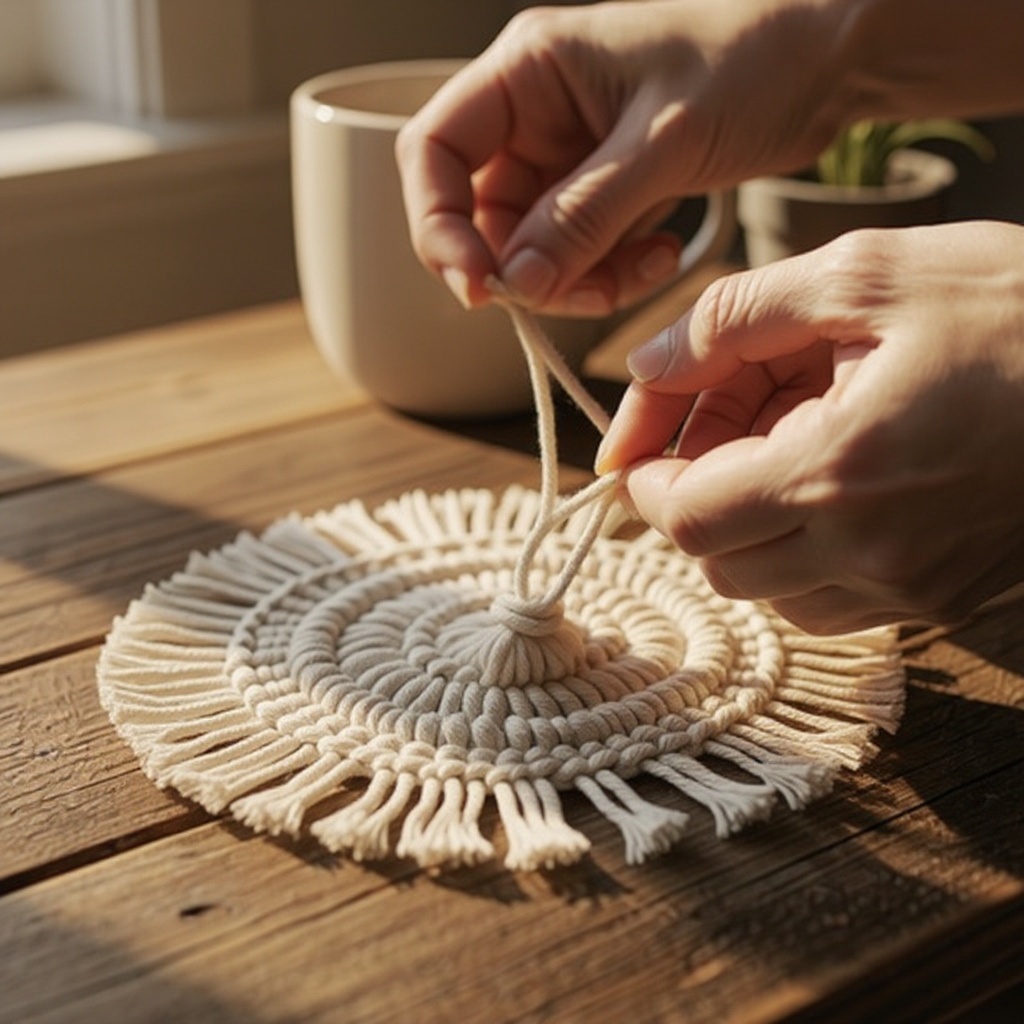
Carefully bring the two ends of the second cord up and through the loop you created with the first cord. Gently pull both ends downwards simultaneously until the knot is snug against the top of the loop. This is your Lark's Head knot, and it should look neat and secure.
- 5
Repeat steps 2 through 4 with the remaining two cords. Attach these new Lark's Head knots right next to the first one, ensuring they are all aligned closely together. This forms the base of your coaster, with four cords hanging down from the initial knots.
- 6
Now, you'll begin creating the woven pattern. Separate the four hanging cords into two pairs. Take the leftmost cord from one pair and the rightmost cord from the adjacent pair to form a new, working pair. This cross-over technique is crucial for the Square Knot.
- 7
Tie a Square Knot using this newly formed pair. To do this, bring the left cord over the two middle cords and then under the right cord. Next, bring the right cord over the two middle cords and then under the left cord, completing the knot. Pull both working cords firmly to tighten the knot, ensuring it lies flat against the previous row.
- 8
Repeat step 6 and 7 for the other two cords to complete the first row of Square Knots. You should now have two Square Knots in your first row, with the cords from each knot now positioned in the center. This alternating pattern is key to the macrame weave.
- 9
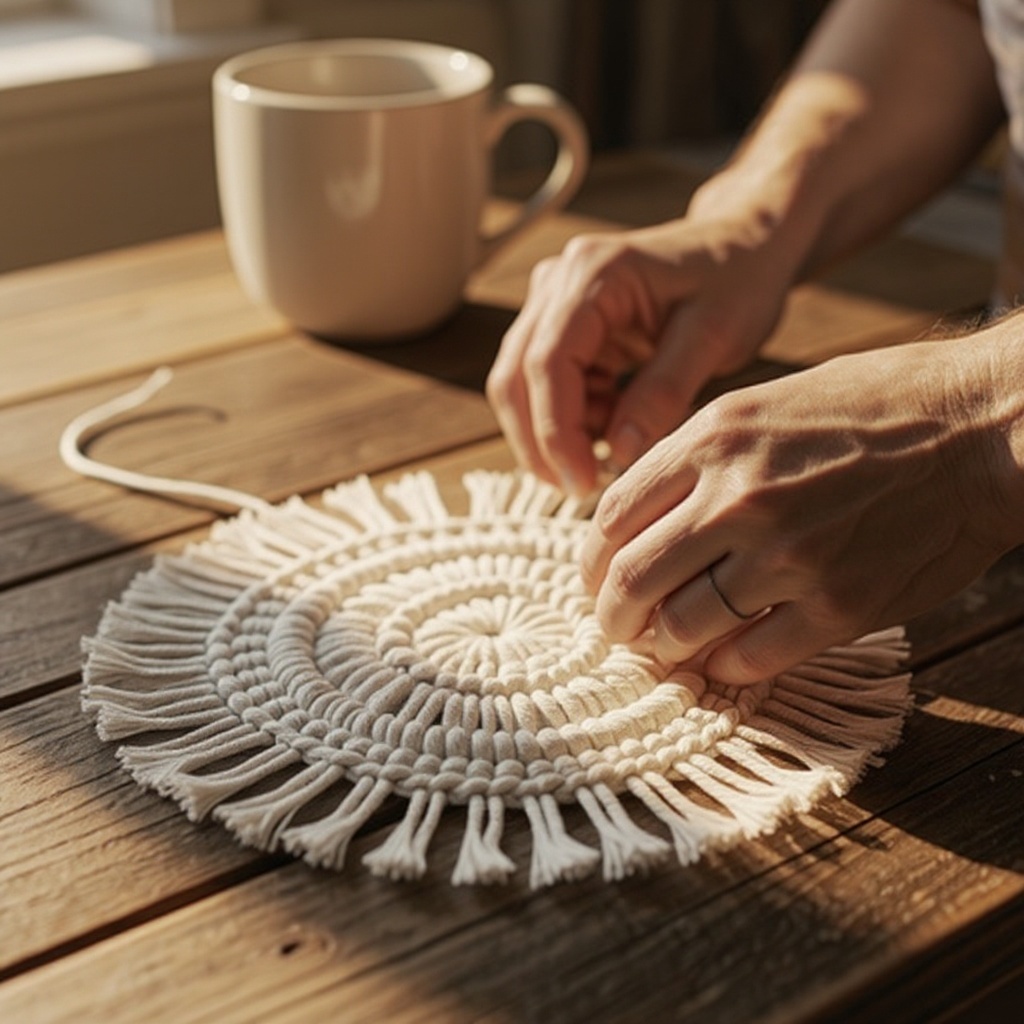
Continue tying Square Knots, working your way down the coaster. For each new row, you will alternate the cords you use. Take the leftmost available cord and the rightmost available cord from the adjacent knot to form a new pair, and tie a Square Knot. This alternating of cords creates the characteristic diagonal pattern of the Square Knot series.
- 10
Keep tying rows of Square Knots, ensuring each knot is pulled tight and lies flat. Pay attention to the spacing between your knots; consistent spacing will result in a more uniform and professional-looking coaster. Aim to create a flat, woven section that is approximately 4 inches long. This length provides a good surface area for a drink.
- 11
Once your woven section has reached the desired length of about 4 inches, it's time to prepare the fringe. Trim the excess cord ends to about 1 inch below the last row of knots. Use your sharp scissors for a clean cut; this will make the fraying process much easier and neater.
- 12
Gently fray the trimmed ends with your fingers to create a tassel effect. You can also use a craft comb or a stiff brush to gently brush out the fibers, creating a softer, fuller fringe. Continue brushing until you achieve the desired fluffiness for your tassel.
- 13
Inspect your coaster for any loose knots. If you notice any that are not as tight as the others, gently pull on the working cords to tighten them up. This ensures the structural integrity and aesthetic appeal of your coaster.
- 14
For a more polished look, you can optionally apply a small dab of fabric glue or a touch of clear nail polish to the very end of the fringe. This helps prevent the individual strands from unraveling further over time, especially after washing.
- 15
Repeat the entire process for each additional coaster you wish to make. Consistency in cord length and knot tension will ensure your set of coasters looks cohesive and professional.
- 16
Once all your coasters are complete, lay them flat to dry and to prevent them from creasing. This will help them maintain their shape and appearance.
Tips & Troubleshooting
- 1If your knots appear loose or have gaps, gently pull on the working cords to tighten them. You can also try re-tying the knot, ensuring you pull evenly on both sides to create a firm, flat knot. Consistent tension is key to a professional finish.
- 2Experiment with different cord colors to create a personalized touch for your coasters. You can use a single color for a classic look, or combine multiple colors for a vibrant and unique design. Consider coordinating with your home decor.
- 3For a larger coaster or a different aesthetic, you can tie a few extra rows of Square Knots before trimming the fringe. This will extend the woven section and create a more substantial coaster. Always measure your desired size before trimming.
- 4Ensure your scissors are exceptionally sharp for a clean cut on the macrame cord. Blunt scissors can fray the ends unevenly, making the fringe look messy and unprofessional. Invest in good quality fabric scissors for all your crafting needs.
- 5To achieve a softer and fuller fringe, use a craft comb or a stiff brush to gently brush out the trimmed ends. Work from the knot downwards, teasing out the fibers until you achieve the desired fluffy texture. This step significantly enhances the visual appeal of the tassel.
- 6If you plan to gift these coasters, consider tying a small, decorative knot with a contrasting color cord around the fringe before trimming. This adds an extra layer of detail and makes the gift even more special.
- 7Store your finished coasters flat to prevent them from creasing or losing their shape. Stacking them directly on top of each other without support can cause the woven sections to become distorted. Consider using a decorative tray or a flat surface.
- 8For added durability and to prevent fraying, especially if the coasters will be used frequently, you can tie a small overhand knot with the entire bundle of fringe cords at the very end. Alternatively, a tiny dab of fabric glue or clear nail polish can secure the ends.
Related Activities You Might Enjoy
Frequently Asked Questions
What are the basic macrame knots for beginners?
The most fundamental and essential beginner macrame knots are the Lark's Head knot and the Square Knot. The Lark's Head knot is used to attach your cords to a starting point, like the loop you create at the beginning of this coaster project. The Square Knot is the workhorse of macrame, forming the basis for most woven patterns. Mastering these two knots will unlock a vast array of macrame projects, from simple coasters and keychains to more complex plant hangers and wall hangings. Practicing these knots until they feel natural is the best way to build confidence for more intricate designs.
How much macrame cord do I need for a coaster?
For a small, standard-sized macrame coaster, you'll typically need about 10 yards of 3mm or 4mm cotton macrame cord. This amount allows for enough length to comfortably tie the Lark's Head knots, create several rows of Square Knots, and still have enough cord left over to create a nice, full fringe. It's always a good idea to have a little extra cord on hand, perhaps an extra yard or two per coaster, just in case of any mistakes or if you decide to make your fringe longer or add more knotting rows.
Can I make macrame without special tools?
Yes, absolutely! For simple projects like these beginner macrame coasters, you only need a few basic supplies: macrame cord and a pair of sharp scissors. No other special tools are required, making this craft incredibly accessible and budget-friendly. You don't need a macrame board, dowels, or fancy knotting tools to get started. Your hands are your primary tools for tying the knots, and sharp scissors are essential for a clean finish. This simplicity is one of the many reasons macrame is such a popular and approachable craft for beginners.
How do I keep my macrame knots from unraveling?
Properly tying and tightening your knots is the first and most crucial step to prevent unraveling. Ensure each knot is pulled snug and lies flat. For extra security on finished ends, especially on projects that might get a lot of handling, you can add a small dab of fabric glue or a touch of clear nail polish to the very end of the fringe. Alternatively, you can tie a small overhand knot with the entire bundle of fringe cords at the very end, or even tie a decorative knot around the fringe before trimming.
What is the best type of cord for beginner macrame coasters?
For beginner macrame coasters, 3mm or 4mm cotton macrame cord is highly recommended. Cotton is a natural, soft fiber that is easy to handle and forgiving for new knot-tiers. It has a good grip, which helps your knots stay in place, and it frays beautifully for a lovely tassel effect. Avoid synthetic cords like polyester or nylon for your first projects, as they can be slippery and harder to control. The 3mm or 4mm thickness is ideal because it's substantial enough to see your knots clearly but not so thick that it becomes cumbersome to work with.
How long does it take to make one macrame coaster?
With practice, you can expect to make one beginner macrame coaster in approximately 30 to 45 minutes. This timeframe includes cutting the cords, tying the Lark's Head knots, creating the Square Knot pattern, and finishing the fringe. Your first coaster might take a little longer as you get familiar with the steps and the feel of the knots. However, as you become more proficient, you'll find your rhythm, and subsequent coasters will likely be completed more quickly. It's a satisfying project that yields beautiful results in a relatively short amount of time.
What Next?
Congratulations on creating your beautiful macrame coasters! You've mastered the foundational Lark's Head and Square Knots, opening the door to countless other macrame projects. Consider experimenting with different cord colors, thicknesses, or even adding beads for a unique touch. These coasters can be displayed proudly on your coffee table or gifted to friends and family. For storage, lay them flat to maintain their shape and prevent creasing. Ready for your next macrame challenge? Try a plant hanger or a wall hanging, building upon the skills you've honed here.
Free: 10 Paper Crafts Anyone Can Make in 5 Minutes
Get our beginner guide + new craft ideas weekly.
No spam. Unsubscribe anytime.
Did you complete this activity?