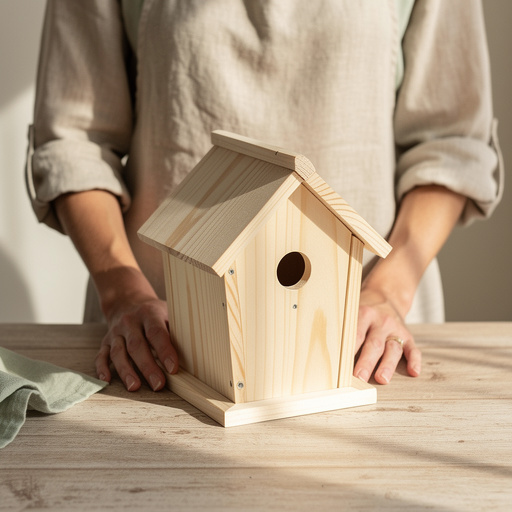
How to Build a Mason Jar Bird Feeder — Easy Step-by-Step Guide
Create a charming and functional bird feeder using a simple mason jar. This project is a wonderful way to connect with nature and observe local bird species. It's a beginner-friendly activity that takes about 30 minutes and is perfect for families looking for a fun, outdoor craft.
Quick answer
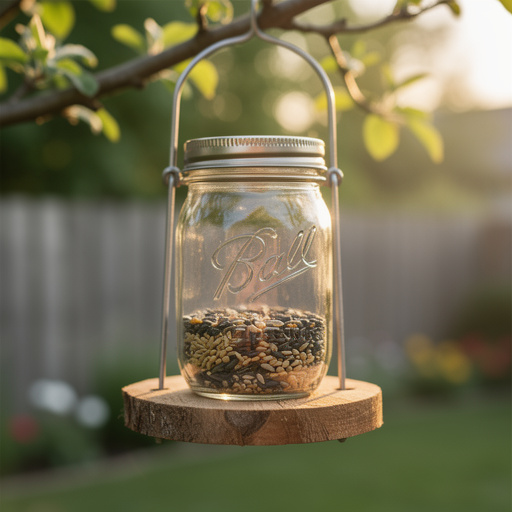
To make a mason jar bird feeder, you need a wide-mouth mason jar with lid, about 18 inches of sturdy craft wire, wire cutters, pliers, and birdseed. The process involves securing wire around the jar's neck to create a hanging loop and perches, then filling it with seed. This beginner-friendly activity takes approximately 30 minutes and is perfect for families.
What you need
Shop on Amazon · As an Amazon Associate we earn from qualifying purchases. Links above are affiliate links — we may earn a commission at no extra cost to you.
Welcome to the delightful world of backyard birdwatching! This simple DIY project transforms an everyday mason jar into a charming and functional bird feeder, offering a fantastic opportunity to connect with nature right outside your window. It's an incredibly rewarding craft, perfect for families, scout troops, or anyone looking for an easy and inexpensive way to attract feathered friends to their garden. You'll be amazed at the variety of birds you can entice with this simple creation, providing them with a reliable food source and you with hours of delightful observation.
On this page
Step-by-Step Instructions
- 1
Begin by thoroughly washing and drying both the mason jar and its lid. This ensures a clean environment for the birds and prevents any unwanted residue from contaminating the seed.
- 2
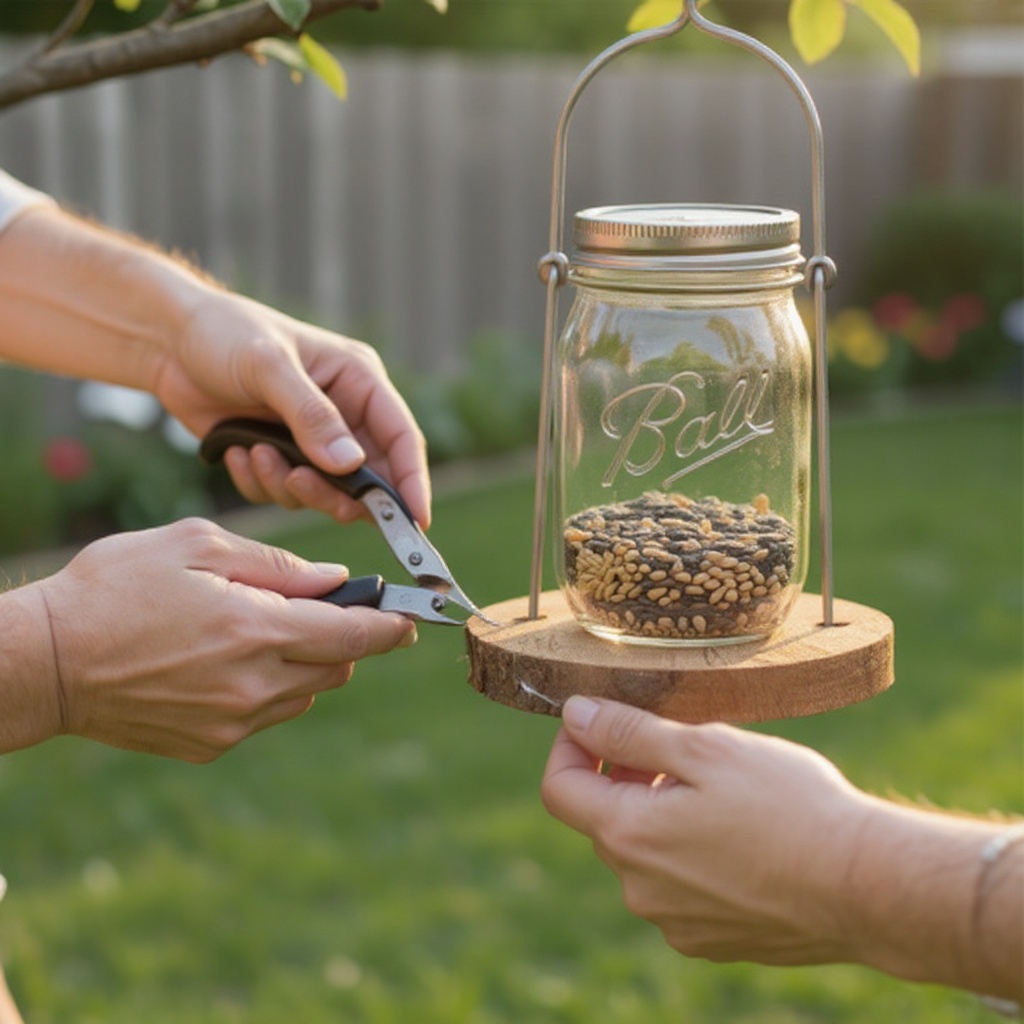
Using your wire cutters, carefully cut an 18-inch piece of sturdy craft wire. Ensure the cut is clean and free of burrs, which could snag or injure birds.
- 3
Locate the center of your 18-inch wire piece. Wrap this center point snugly around the neck of the mason jar, just below the threaded portion where the lid screws on. This forms the primary loop for hanging your feeder.
- 4
Twist the two ends of the wire together tightly at the top of the jar's neck, directly above where you wrapped it. This secures the hanging loop and ensures it won't slip off.
- 5
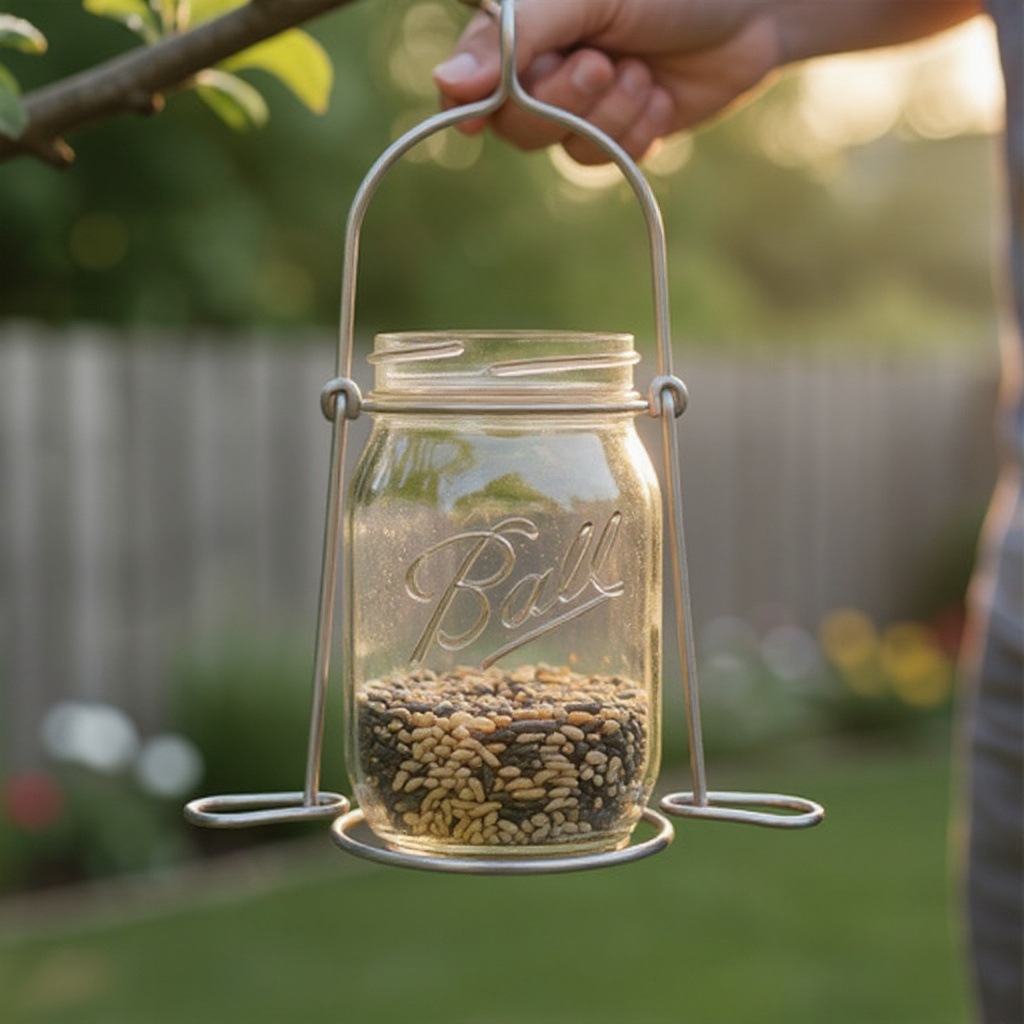
Now, take your pliers and gently bend the remaining wire ends downwards on either side of the jar. These will form the perches for the birds to land on.
- 6
Continue bending the wire downwards, creating perches that extend outwards from the jar. Aim for them to be roughly equal in length, providing a balanced landing spot for birds.
- 7
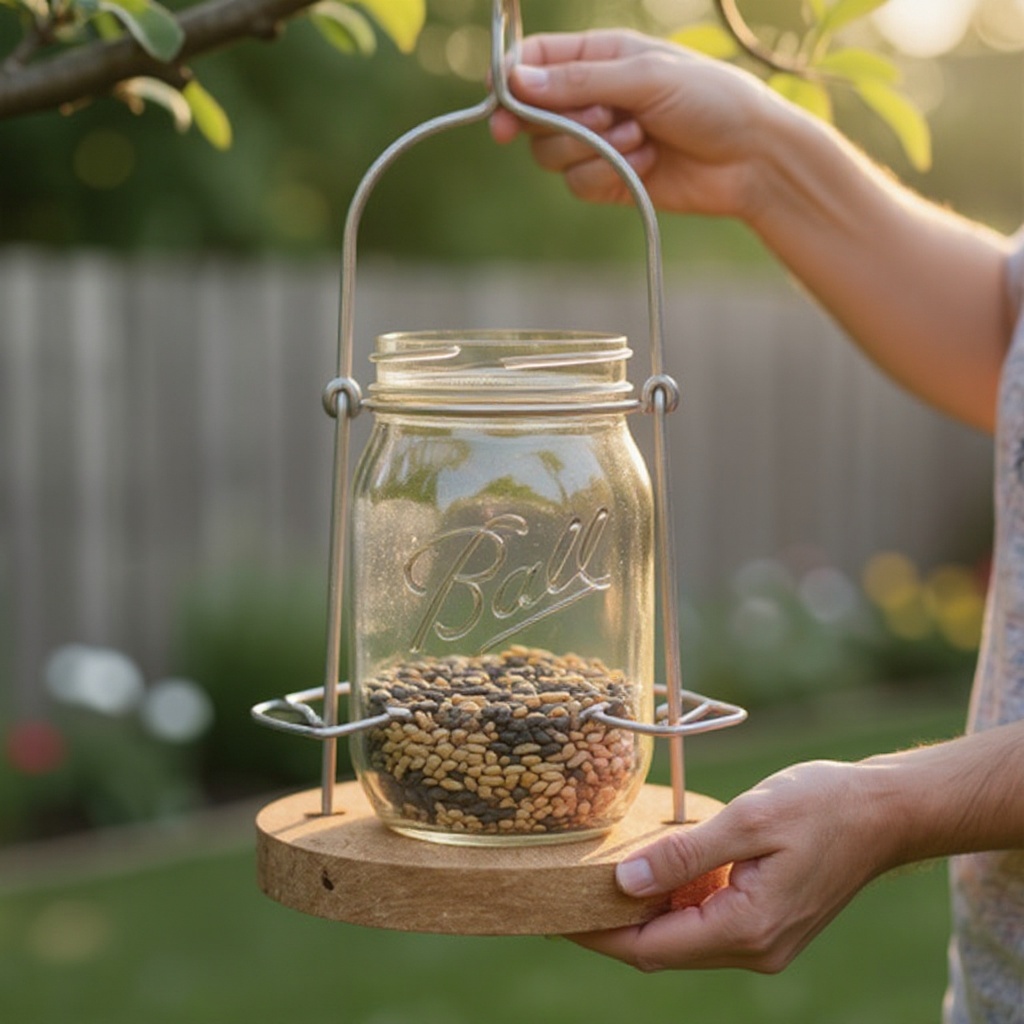
Ensure the perches are securely attached to the main wire loop and are sturdy enough to support the weight of birds. You can use your pliers to crimp the wire further if needed for extra stability.
- 8
Gently test the perches to make sure they are firmly in place and won't wobble when a bird lands on them. If they feel loose, use your pliers to tighten the twists at the top.
- 9
If you wish to create a more comfortable perch for the birds, you can use your pliers to gently curve the ends of the perches slightly upwards. This can help prevent birds from sliding off.
- 10
Now, it's time to fill your feeder. Carefully pour your chosen birdseed into the clean, dry mason jar. Leave about an inch of space at the top to prevent spillage when the lid is screwed on.
- 11
Screw the lid onto the jar tightly. This will keep the seed dry and protected from the elements, as well as deter larger pests.
- 12
Your mason jar bird feeder is now complete and ready to be hung! Find a suitable location in your garden or yard.
- 13
To hang the feeder, simply loop the wire handle over a sturdy hook, a strong tree branch, or a shepherd's hook designed for bird feeders. Ensure it is securely fastened.
- 14
Observe your new feeder from a distance to see which birds are attracted to it. You might be surprised by the variety that visits!
- 15
Periodically check the seed level and refill as needed. It's also a good idea to monitor the seed for spoilage or mold, especially in damp weather.
- 16
If you notice any signs of mold or spoilage, it's best to empty the feeder, wash it thoroughly with soap and water, and allow it to dry completely before refilling.
Tips & Troubleshooting
- 1If the craft wire feels too stiff to bend easily with your pliers, a gentle blast from a hairdryer can make it more pliable. Hold the wire in the path of the warm air for a minute or two, then try bending it again.
- 2Experiment with different types of birdseed to attract a wider variety of birds to your feeder. Sunflower seeds, nyjer (thistle) seeds, and mixed seed blends are popular choices that appeal to many species.
- 3Hang your feeder from a tree branch or shepherd's hook in a location that is visible from a window for easy birdwatching, but also away from potential predators like cats. Placing it near shrubs or trees can provide birds with a safe haven.
- 4Periodically check the feeder for mold or spoilage, especially after periods of rain or high humidity. Clean it with a mild soap and water solution, rinse thoroughly, and allow it to dry completely before refilling to ensure the health of your feathered visitors.
- 5To prevent squirrels from raiding your feeder, consider hanging it from a thin wire or using a squirrel baffle. Squirrels often struggle to navigate thin, unstable surfaces.
- 6If you live in an area with strong winds, ensure the wire is twisted very tightly and the perches are securely bent. You might also consider adding a small washer or bead to the wire before twisting to help keep the perches in place.
- 7For a more decorative touch, you can wrap colorful yarn or twine around the wire perches or the hanging loop. Just ensure these materials are securely attached and won't unravel easily.
- 8Consider the placement of your feeder in relation to other bird-friendly features in your yard, such as bird baths or native plants that provide natural food sources. This can create a more inviting habitat for birds.
Related Activities You Might Enjoy
Frequently Asked Questions
What kind of wire is best for a mason jar bird feeder?
Sturdy craft wire, such as 18-gauge or thicker, is ideal for constructing your mason jar bird feeder. This gauge of wire is strong enough to reliably support the weight of the birdseed, even when the jar is full, and it can withstand outdoor conditions without bending, kinking, or breaking under pressure. Thicker wire also provides a more stable perch for the birds. Avoid thinner wires like floral wire, as they will likely bend or break under the load, rendering your feeder unusable and potentially unsafe for birds.
How do I hang the mason jar bird feeder?
The wire loop you create at the top of the jar is specifically designed for hanging. You can easily loop this wire handle over a hook, such as those found on shepherd's hooks or specialized bird feeder poles. Alternatively, if you have a sturdy tree branch with a suitable angle, you can loop the wire directly over it. Ensure the branch is strong enough to support the feeder's weight and that the loop is securely seated to prevent it from slipping off.
How often should I refill the bird feeder?
The frequency of refilling your mason jar bird feeder will depend on several factors, including the number of birds that visit your feeder, the type of seed you use, and the prevailing weather conditions. As a general guideline, check the seed level every few days. If the seed is getting low, refill it to ensure a consistent food source. In busy periods or during colder months when natural food is scarce, you may need to refill it more often. Always check for spoilage before refilling.
Can I decorate the mason jar bird feeder?
Yes, you can certainly decorate the outside of the mason jar to make your bird feeder more visually appealing. Use non-toxic, outdoor-safe paints or permanent markers to add designs or colors. It's crucial to avoid decorating the inside of the jar or the lid where the birds will be eating or where the lid seals, as these decorations could be ingested by birds or interfere with the feeder's function. Keep decorations on the exterior glass only.
What are the benefits of making a DIY mason jar bird feeder?
Making a DIY mason jar bird feeder offers numerous benefits. Firstly, it's an incredibly cost-effective way to attract wildlife to your garden, as mason jars are readily available and inexpensive. Secondly, it's a fantastic educational activity for children, teaching them about nature, recycling, and basic crafting skills. Thirdly, it provides a sustainable food source for local bird populations, especially during seasons when natural food is scarce. Finally, it allows for a unique, personalized touch to your garden decor, creating a charming and functional piece of outdoor art.
How do I ensure the perches are secure and safe for birds?
To ensure the perches are secure and safe, use sturdy 18-gauge or thicker craft wire. After bending the wire downwards to form the perches, use your pliers to tightly twist the wire ends together at the top of the jar's neck. This creates a strong anchor point. Gently tug on the perches to test their stability; they should not wobble or feel loose. You can also use pliers to crimp the wire further around the main loop for added security. Ensure there are no sharp or jagged edges on the wire that could harm the birds.
What Next?
Congratulations on creating your very own mason jar bird feeder! This project is just the beginning of your journey into backyard bird conservation. Consider creating multiple feeders to hang in different locations, or experiment with different jar sizes and styles for a unique look. For a more permanent fixture, you could paint the exterior of the jar with bird-safe, outdoor acrylics. When not in use or during harsh weather, store your feeder indoors to prolong its life and keep it clean for your avian visitors.
Free: 10 Paper Crafts Anyone Can Make in 5 Minutes
Get our beginner guide + new craft ideas weekly.
No spam. Unsubscribe anytime.
Did you complete this activity?
Related