How to Create Your Own Story Dice Game — Easy Step-by-Step Guide
Craft your own set of story dice to inspire imaginative tales and collaborative gameplay. A screen-free way to boost creativity for the whole family.

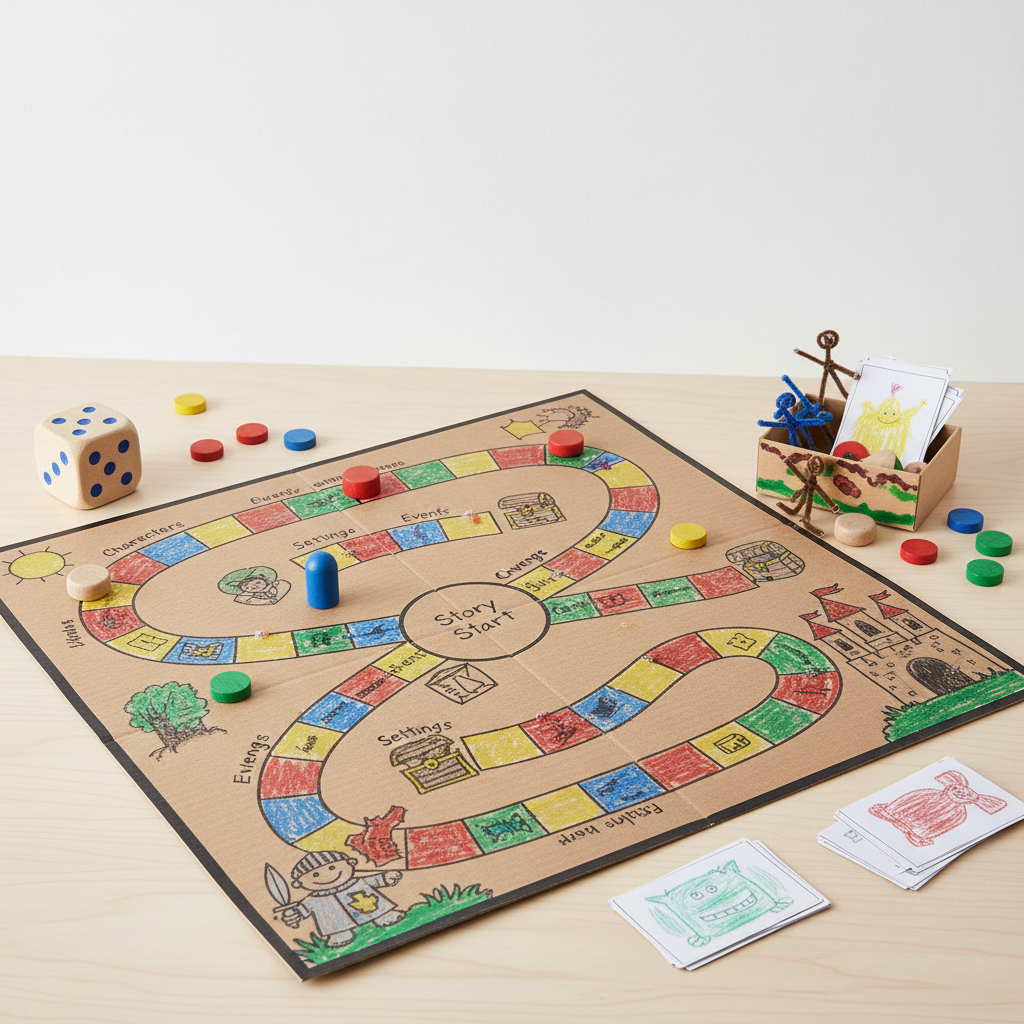
Quick answer
To make custom story dice, you need 6-8 small wooden cubes (approx. 1.5-inch), acrylic paints, fine-tip permanent markers, paintbrushes, and optional clear sealant. This beginner-friendly activity involves about 10-15 steps and takes approximately 90 minutes to 2 hours, perfect for families with kids aged 6+. Start by painting the cubes, then sketch and paint your chosen icons or words onto each face.
What you need
Shop on Amazon · As an Amazon Associate we earn from qualifying purchases. Links above are affiliate links — we may earn a commission at no extra cost to you.
Unleash your family's imagination with a custom-made story dice game! This delightful DIY project transforms simple wooden cubes into powerful storytelling tools, perfect for sparking creativity and fostering connection. Unlike pre-made sets, crafting your own allows you to tailor the themes, images, and words to your family's interests, inside jokes, or even specific learning goals. It's a wonderfully screen-free activity that encourages collaboration, problem-solving, and the joy of creating unique narratives together, making it an ideal project for rainy afternoons or family game nights.
On this page
Step-by-Step Instructions
- 1
Prepare your workspace by covering it with paper or plastic sheeting to protect surfaces from paint and marker. Ensure good ventilation, especially if using sealant.
- 2
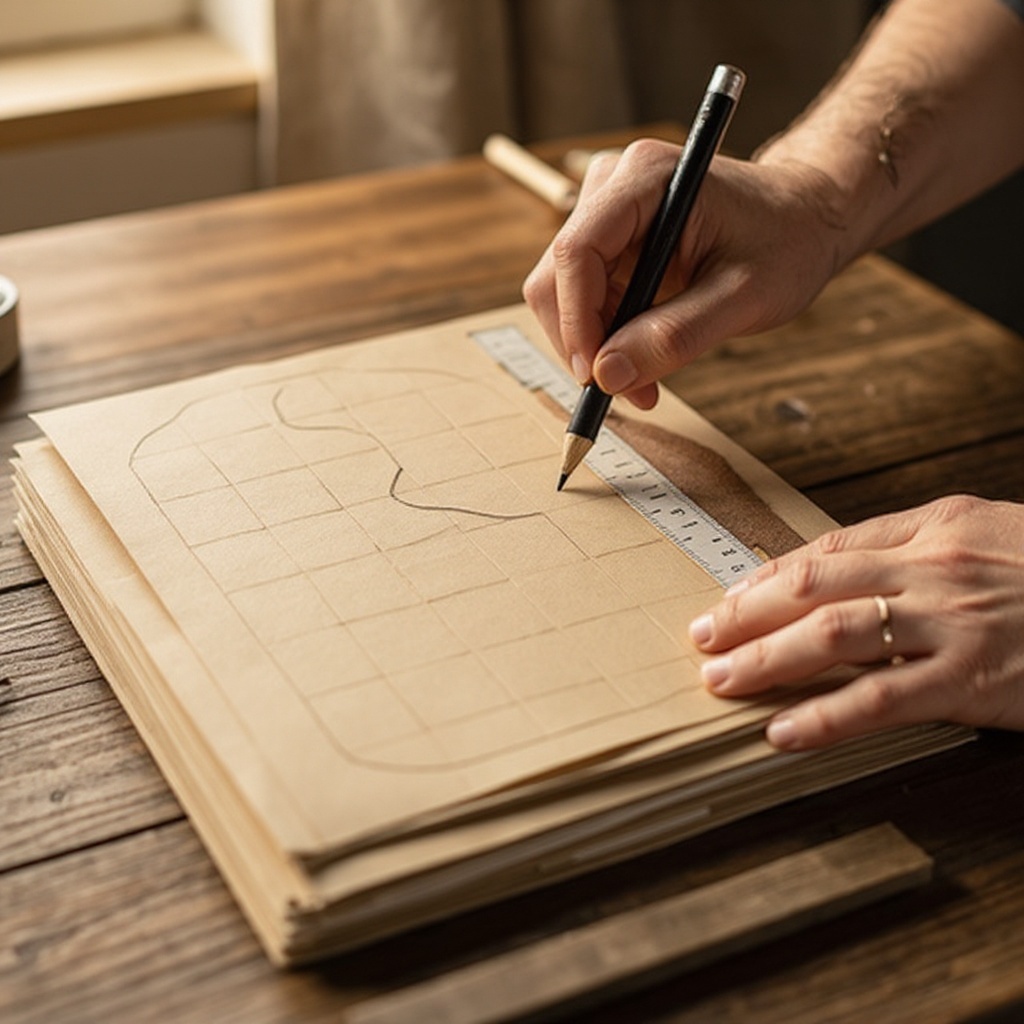
If your wooden cubes have any rough edges or splinters, lightly sand them with fine-grit sandpaper until smooth. Wipe away any dust with a dry cloth.
- 3
Paint each wooden cube a solid base color using acrylic paints. Apply thin, even coats, allowing each layer to dry before applying another if needed for full coverage. Aim for a smooth, consistent finish on all six sides.
- 4
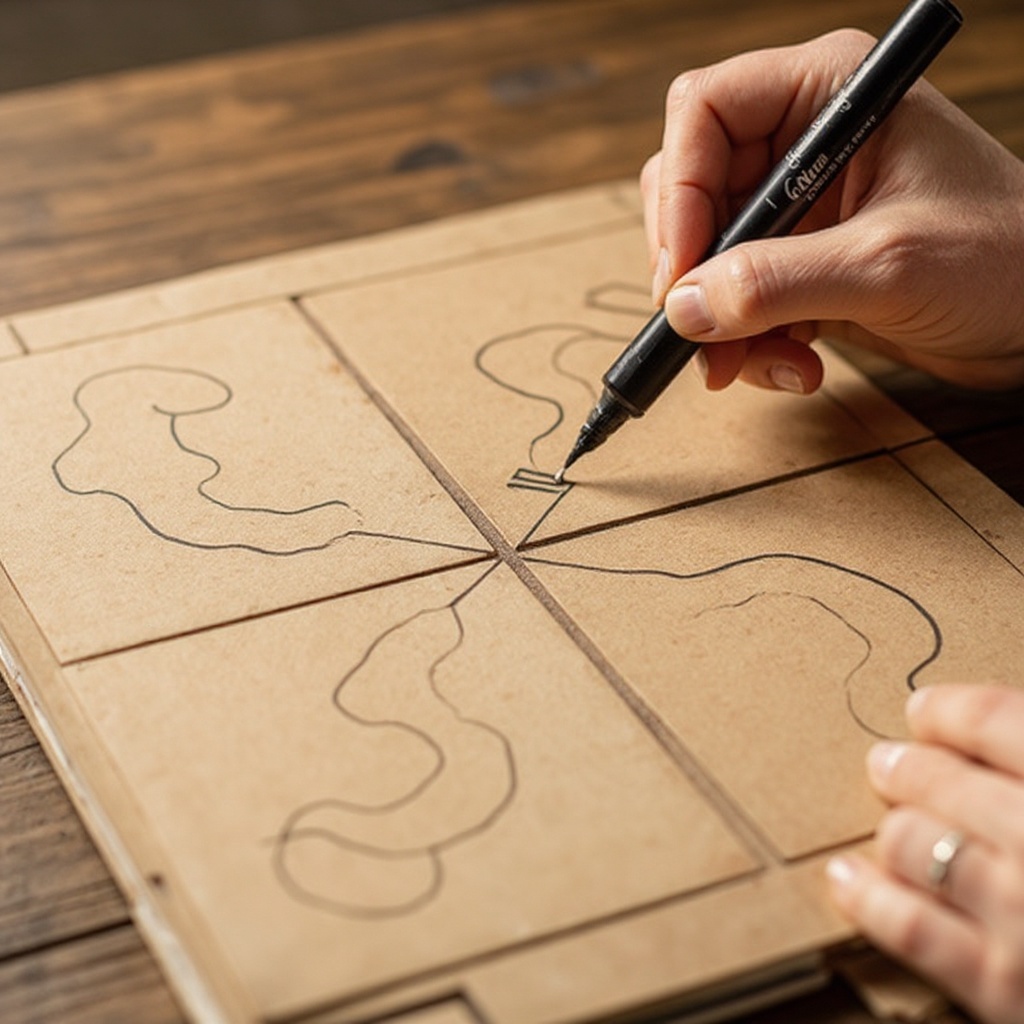
Allow the base coats of paint to dry completely. This is crucial to prevent smudging when you start sketching. You can speed up drying with a hairdryer on a cool setting, but natural drying is often best for evenness.
- 5
Once dry, carefully sketch simple icons or words onto each face of the cubes using a pencil. Think about categories like characters (e.g., knight, alien), objects (e.g., key, book), settings (e.g., castle, spaceship), or actions (e.g., running, flying). Keep the designs relatively simple and small enough to fit comfortably on each cube face.
- 6
Review your pencil sketches. Erase any mistakes and refine the outlines to ensure they are clear and easy to trace. Consider the overall balance of images across the set of dice.
- 7
Carefully trace over your pencil sketches with a fine-tip permanent marker. Apply steady pressure to create clean, crisp lines. If you make a mistake, try to incorporate it into the design or carefully wipe it away immediately with a damp cloth before it dries permanently.
- 8
Once the marker outlines are completely dry, begin filling in the traced images with acrylic paint. You can use multiple colors per cube or keep them simple with one or two colors. Use a smaller brush for detailed areas.
- 9
Allow the painted icons to dry thoroughly. This may take a few hours depending on the paint thickness and humidity. Avoid touching the painted areas until they are completely dry to prevent smudges or lifting.
- 10
Add any final details or outlines with your permanent marker to make the icons pop and define edges. This step can add depth and clarity to your illustrations, making them more visually appealing.
- 11
If desired, apply a thin coat of clear sealant or Mod Podge to protect the painted faces and increase durability. Use a soft brush and apply it evenly, ensuring all painted areas are covered. Avoid applying too much, which can obscure the artwork.
- 12
Let the sealant dry completely according to the product's instructions. This might take several hours or even overnight. Ensure the dice are placed on a protected surface where they won't stick.
- 13
Once all cubes are dry and sealed, your custom story dice are ready to play! Inspect each die to ensure the paint and sealant are fully cured and there are no sticky spots.
- 14
Gather your family and roll the dice to create unique stories together! Encourage everyone to contribute to the narrative, building upon the images rolled.
- 15
Consider creating a second set of dice with different themes or images to expand your storytelling possibilities. This could include emotions, sounds, or even abstract concepts.
- 16
If you plan on making many sets, consider investing in a larger quantity of wooden cubes and bulk acrylic paints to save money.
Tips & Troubleshooting
- 1If you're not confident with drawing freehand, you can find simple icon templates online, print them, trace them onto tracing paper, and then transfer the outline to the dice using a pencil. This method ensures clean and consistent designs, especially for beginners.
- 2Consider creating thematic dice sets to guide your stories more effectively. For example, you could have one set focused on characters, another on settings, a third on actions, and a fourth on emotions or plot twists, allowing for more structured storytelling.
- 3For younger children, use simpler, highly recognizable images like a sun, a house, a dog, a car, or a simple smiley face. These are easier for them to understand and incorporate into their narratives, building their confidence.
- 4Store your story dice in a small cloth bag, a decorative box, or even a repurposed tin to keep them together, protected from dust, and easily accessible for spontaneous play sessions.
- 5Experiment with different paint finishes. While standard acrylics work well, you could try metallic paints for a magical touch or glow-in-the-dark paints for nighttime storytelling adventures.
- 6Don't be afraid to get creative with your icons! Include abstract concepts like 'idea,' 'question,' or 'surprise,' or even personal inside jokes that only your family will understand, making the game uniquely yours.
- 7If you want to add text, consider using stencils or practicing your lettering on paper first. Ensure the marker is truly permanent and won't smudge when painted over.
- 8Clean your paintbrushes thoroughly with water immediately after use to keep them in good condition for future projects. Dried acrylic paint can be difficult to remove.
Related Activities You Might Enjoy
Frequently Asked Questions
What are the best images to put on story dice?
The best images for story dice are a diverse mix of concrete and abstract concepts that can spark imagination. Include common characters like a prince, a dragon, a robot, or an animal. Objects such as a key, a treasure chest, a map, or a magical wand are also excellent. Settings like a castle, a forest, a spaceship, or a bustling city provide context. Don't forget actions like running, flying, jumping, or whispering, and even emotions like happy, sad, or surprised. A good balance of these elements ensures that players have a wide range of prompts to build their stories, encouraging creativity and preventing repetitive narratives.
How can I make the story dice more durable?
To make your custom story dice more durable and resistant to wear and tear, the most effective method is to apply a clear sealant or Mod Podge over the painted icons once the paint is completely dry. Choose a matte or gloss finish depending on your preference. Apply thin, even coats with a soft brush, ensuring all painted surfaces are covered. Allow each coat to dry thoroughly before applying another, and let the final coat cure completely according to the product's instructions, which can sometimes take 24-72 hours for maximum hardness. This protective layer will shield the artwork from scuffs and fading during play.
Can I use stickers instead of painting?
While using stickers might seem like a quicker option for decorating story dice, they are generally not recommended for wooden cubes. Stickers tend to peel off easily, especially with frequent handling and rolling, which can lead to frustration and a less durable game. Painting offers a more permanent, integrated, and customizable design that becomes part of the wood itself. If you're concerned about your drawing skills, consider using stencils or tracing methods as mentioned in the tips to achieve clean, painted designs that will last much longer than stickers.
What age is this activity suitable for?
This activity is wonderfully suitable for a wide range of ages, typically starting from around 6 years old and up. Younger children (ages 6-8) can actively participate by helping to choose images, paint base colors, or even paint simpler icons under supervision. Older children (ages 9+) and teenagers can take on more complex designs and enjoy the storytelling aspect more independently. Adults will also find this a relaxing and creative project, and the collaborative storytelling element makes it a fantastic intergenerational activity for the whole family to enjoy together.
How many dice should I make?
The ideal number of dice for a story game is typically between 6 and 8. This number provides enough variety to generate interesting story prompts without becoming overwhelming. With 6 dice, each having 6 faces, you have 36 possible combinations. Increasing to 8 dice gives you 48 combinations. You can also create themed sets, such as a set of 6 character dice, another 6 setting dice, and a third 6 action dice, which can be used individually or combined for more complex storytelling. The key is to have enough variety to keep the game fresh and engaging.
What if I'm not a good artist? How can I still make great-looking dice?
Don't let artistic skill be a barrier to creating your own story dice! There are several effective techniques for achieving great-looking results even if you're not a confident artist. You can find simple icon templates online, print them, and then trace them onto tracing paper. Place the tracing paper over the wooden cube face and trace the outline with a pencil, transferring the design. Alternatively, use small stencils available at craft stores. For text, consider using letter stencils or practicing your handwriting on paper until you feel comfortable. The goal is clear, recognizable images that spark imagination, not photorealistic art.
What Next?
Once your custom story dice are complete and thoroughly dry, you'll have a unique and cherished game that can be enjoyed for years to come. Consider creating themed sets for different occasions – perhaps a spooky set for Halloween, a magical set for fantasy lovers, or even a set based on your favorite books or movies. Store your dice in a decorative drawstring bag or a small wooden box to keep them organized and protected. This project is a fantastic springboard for further creative endeavors, like writing down the stories you create or illustrating them, making it a truly enriching family experience.
Free: 10 Paper Crafts Anyone Can Make in 5 Minutes
Get our beginner guide + new craft ideas weekly.
No spam. Unsubscribe anytime.
Did you complete this activity?
Related