Repurposed Book Secret Storage Made Simple — Quick Start Guide for Beginners
Transform an old book into a clever secret storage box. This unique, personalized gift is perfect for adults who appreciate hidden treasures and sustainable crafting.
Quick answer
To make a Repurposed Book Secret Storage box, you need an old hardcover book, PVA craft glue, a sharp craft knife, and about 90-120 minutes. This project creates a unique, personalized hidden compartment perfect for small valuables or keepsakes, making an impressive and thoughtful gift.
What you need
Shop on Amazon · As an Amazon Associate we earn from qualifying purchases. Links above are affiliate links — we may earn a commission at no extra cost to you.
Adulting is hard, but finding the perfect gift shouldn't be! This tutorial guides you through creating an impressive Repurposed Book Secret Storage box – a truly unique, personalized gift for any adult. Imagine their delight discovering a hidden compartment within a seemingly ordinary book, perfect for stashing keys, jewelry, or a secret note. It's a fantastic way to upcycle an old book into a sophisticated piece of home decor, blending sentimentality with practicality. Let's turn that forgotten tome into a treasure!
On this page
Step-by-Step Instructions
- 1
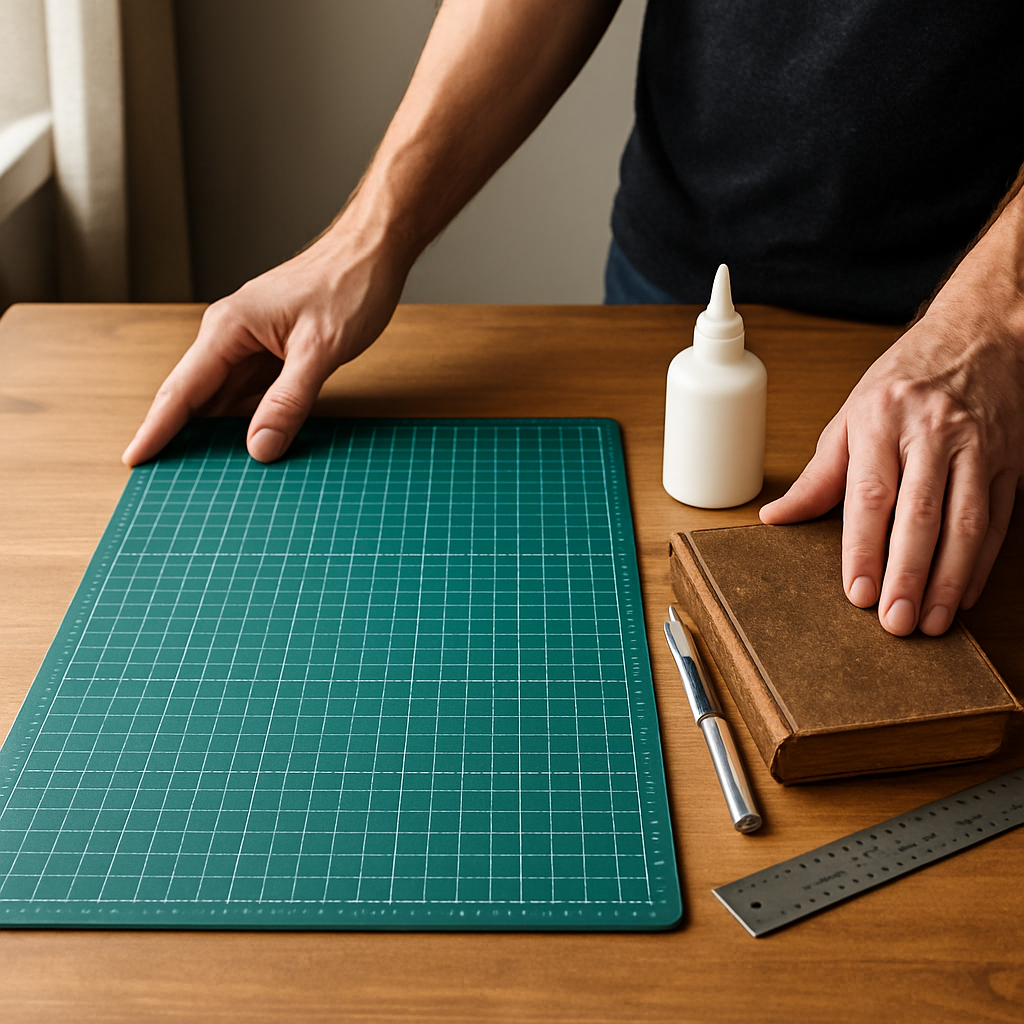
Step 1: Prepare Your Workspace. Lay your cutting mat on a stable, well-lit surface. Gather your old hardcover book, PVA glue, craft knife, metal ruler, pencil, paintbrush, and heavy weights. Ensure your craft knife has a fresh, sharp blade for clean cuts.
- 2
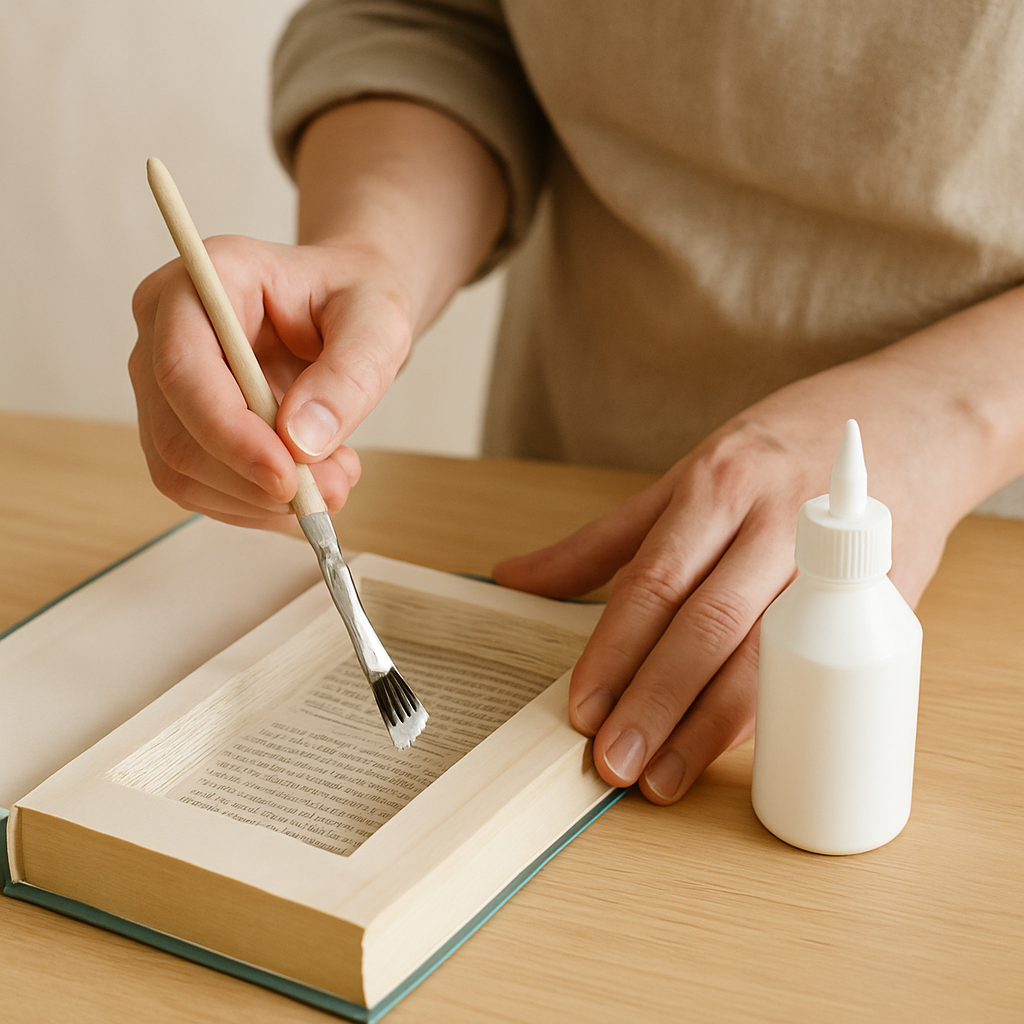
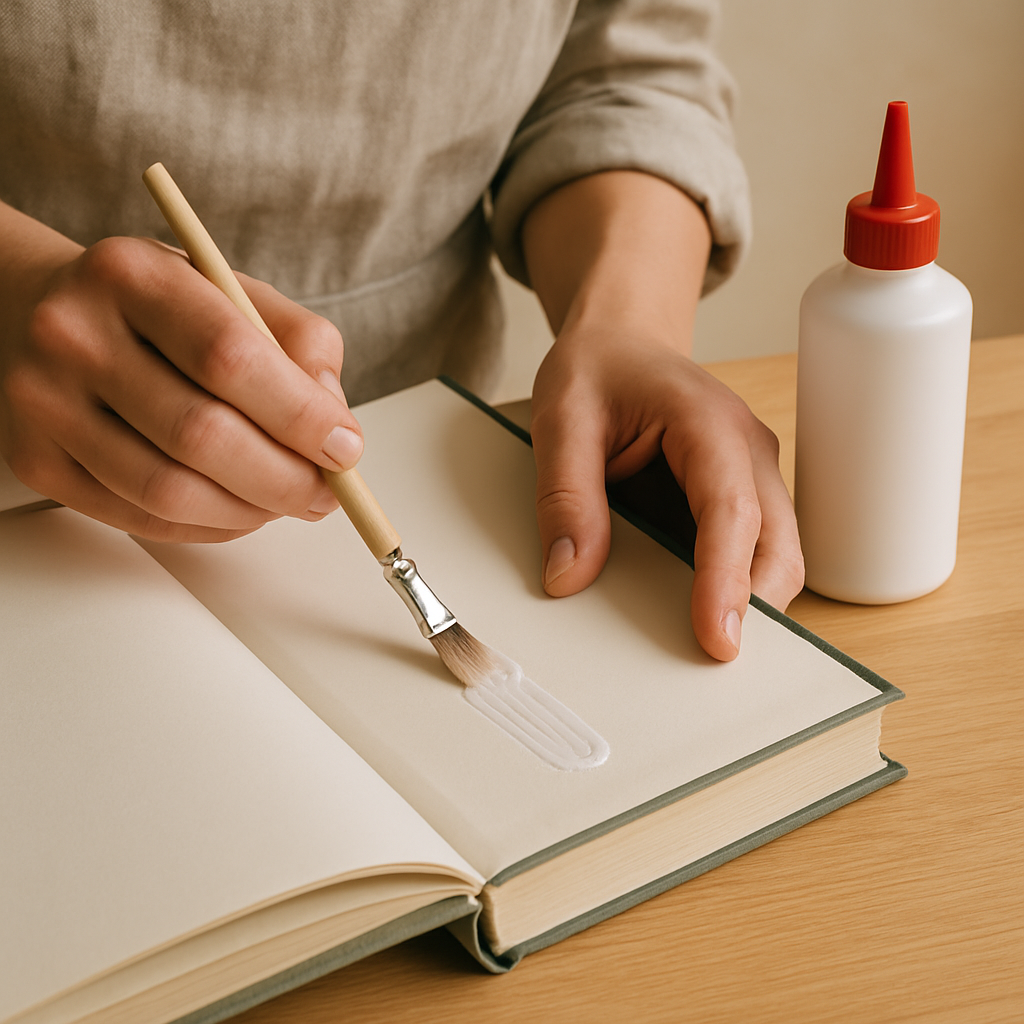
Step 2: Glue the First Few Pages. Open your book to the first page you want to keep intact (typically page 3-5, often a title page or blank flyleaf). Apply a thin, even layer of PVA glue along the *inside edges* of the remaining pages, about 0.5 cm in from the spine, top, bottom, and outer edge. This glues the pages together, forming a solid block.
- 3
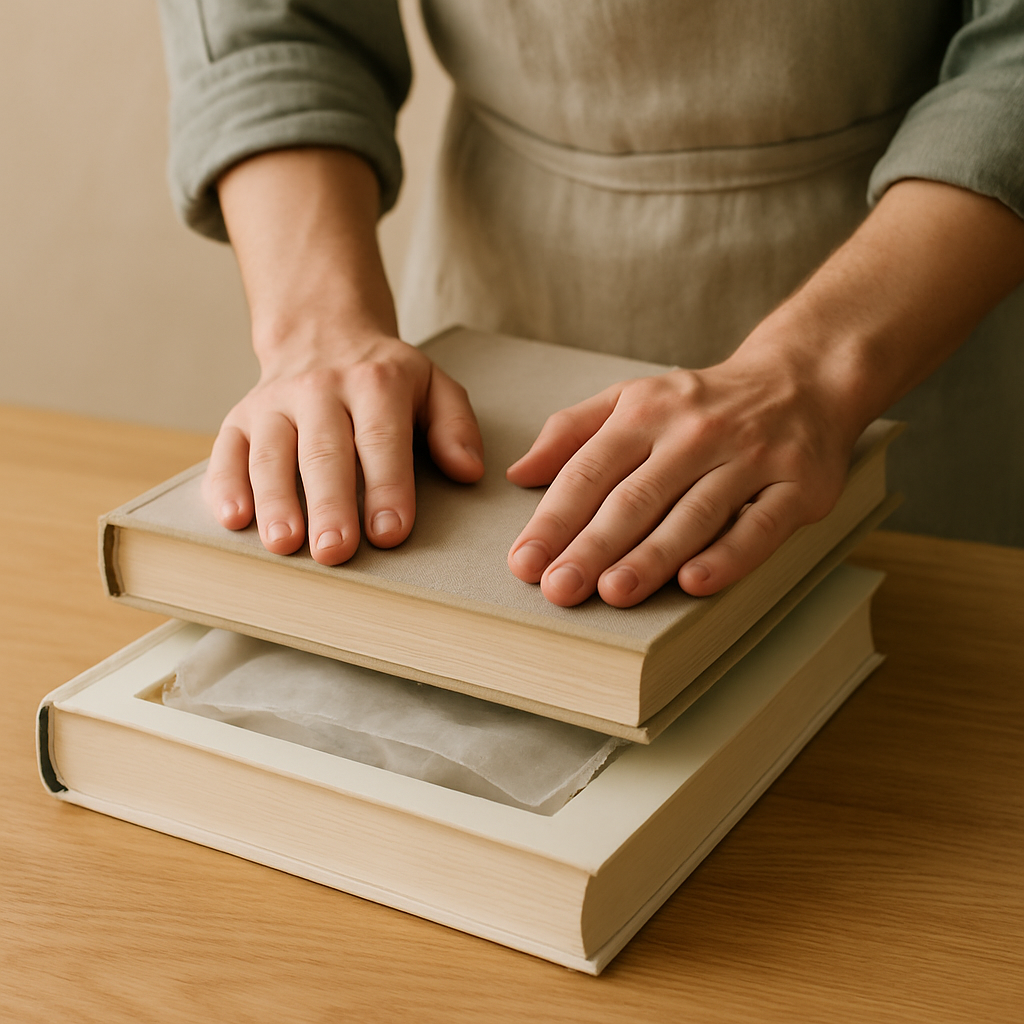
Step 3: Seal the Edges. Close the book firmly, ensuring the glued edges are pressed together. Place a sheet of wax paper or plastic wrap between the glued pages and the front cover to prevent sticking. Place heavy weights evenly on top of the closed book and let it dry for at least 30 minutes. This crucial step creates a stable block for cutting.

- 4
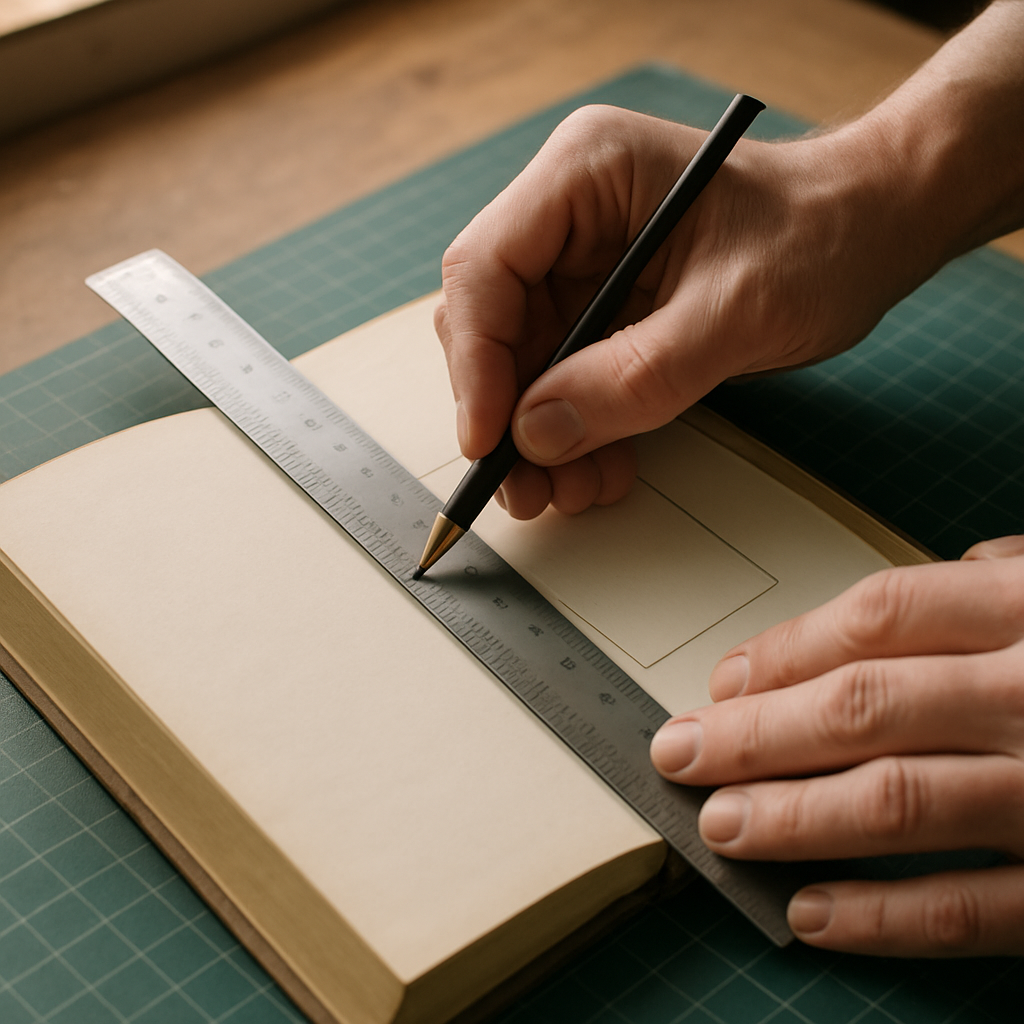
Step 4: Mark Your Cutting Area. Once the glue is dry and the pages are fused, open the book to the first glued page. Using your metal ruler and pencil, carefully draw a rectangle on this top page, outlining your secret compartment. Aim for a border of 1.5-2 cm from the top, bottom, and outer edges, and 0.5 cm from the spine edge (which is already glued).
- 5
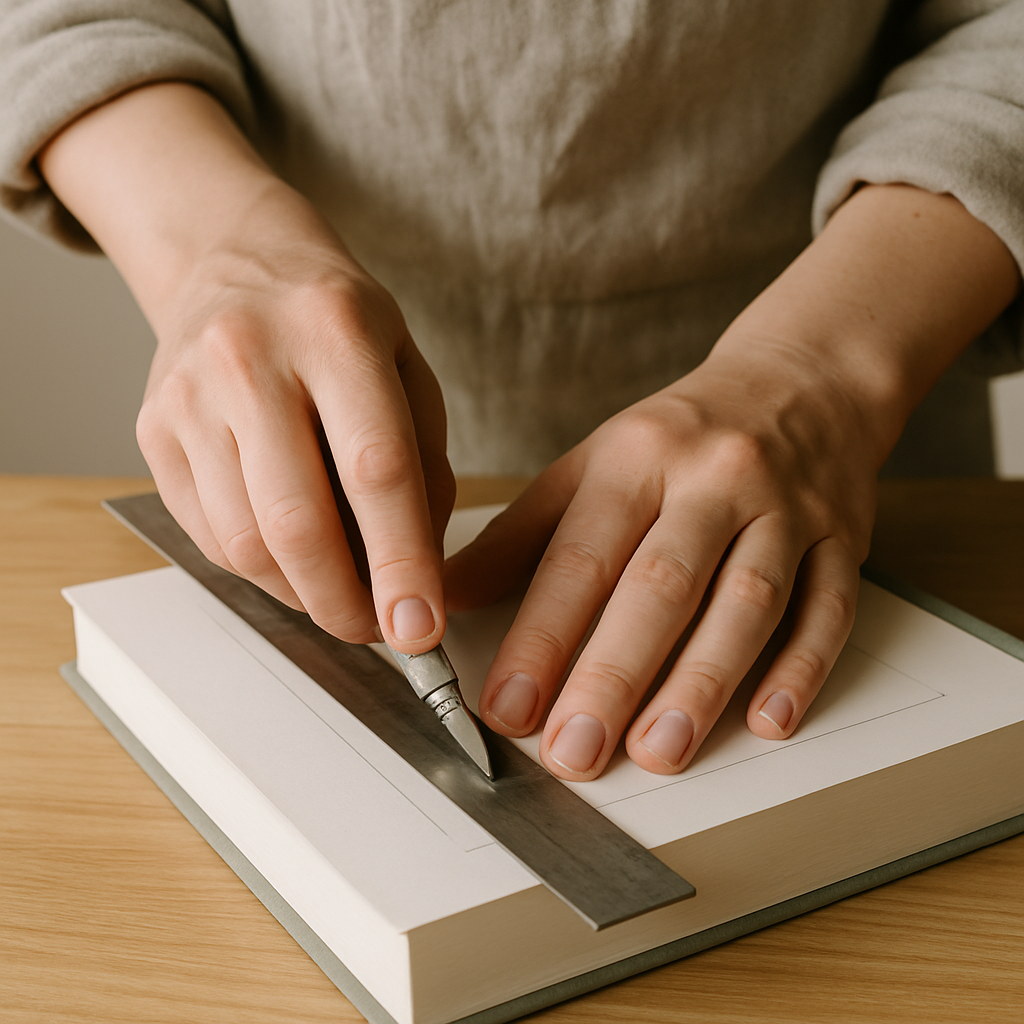
Step 5: Initial Cuts - The Spine Edge. Place your metal ruler precisely along the pencil line closest to the spine. Using your craft knife, carefully make a shallow cut along this line, pressing firmly but not trying to cut through all pages at once. *Failure Mode: If your blade slips, you'll have a jagged edge. Always use a fresh, sharp blade and apply steady, even pressure against the ruler to maintain a straight line.*
- 6
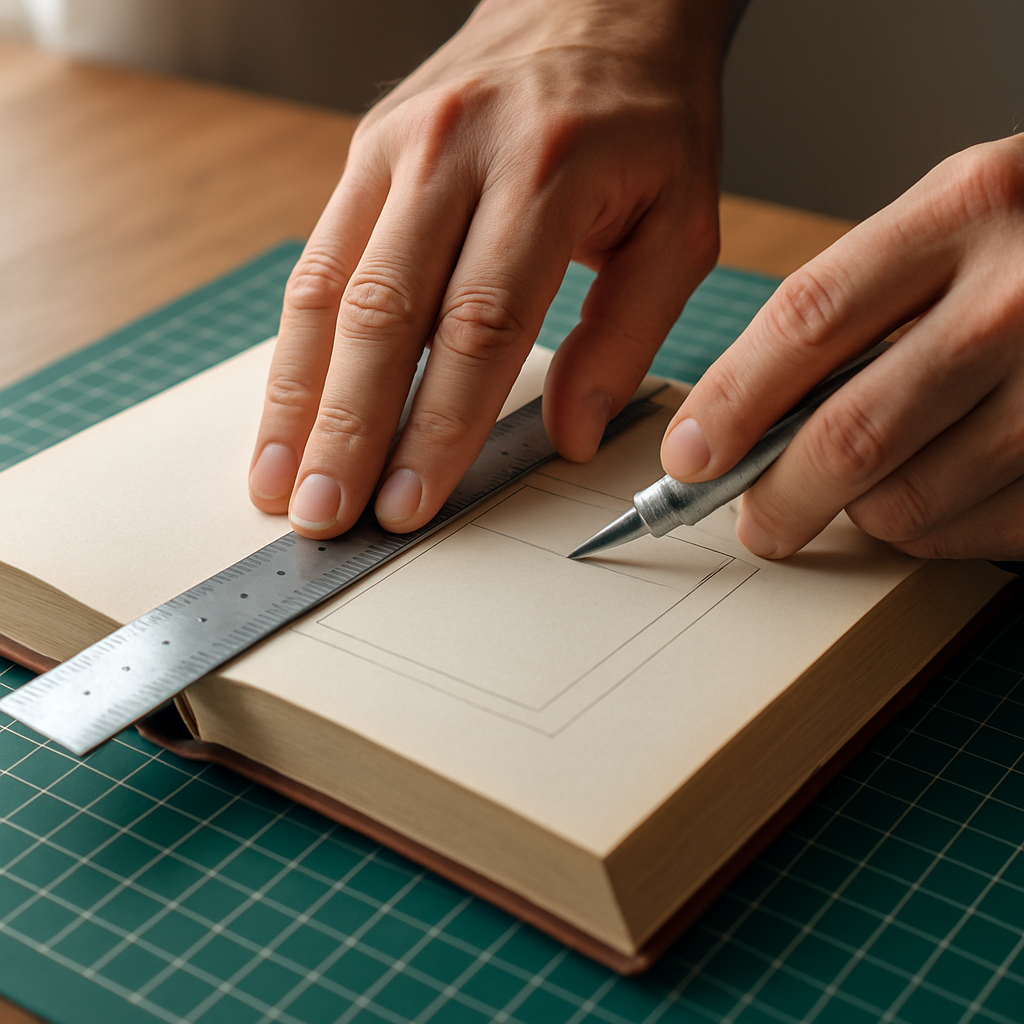
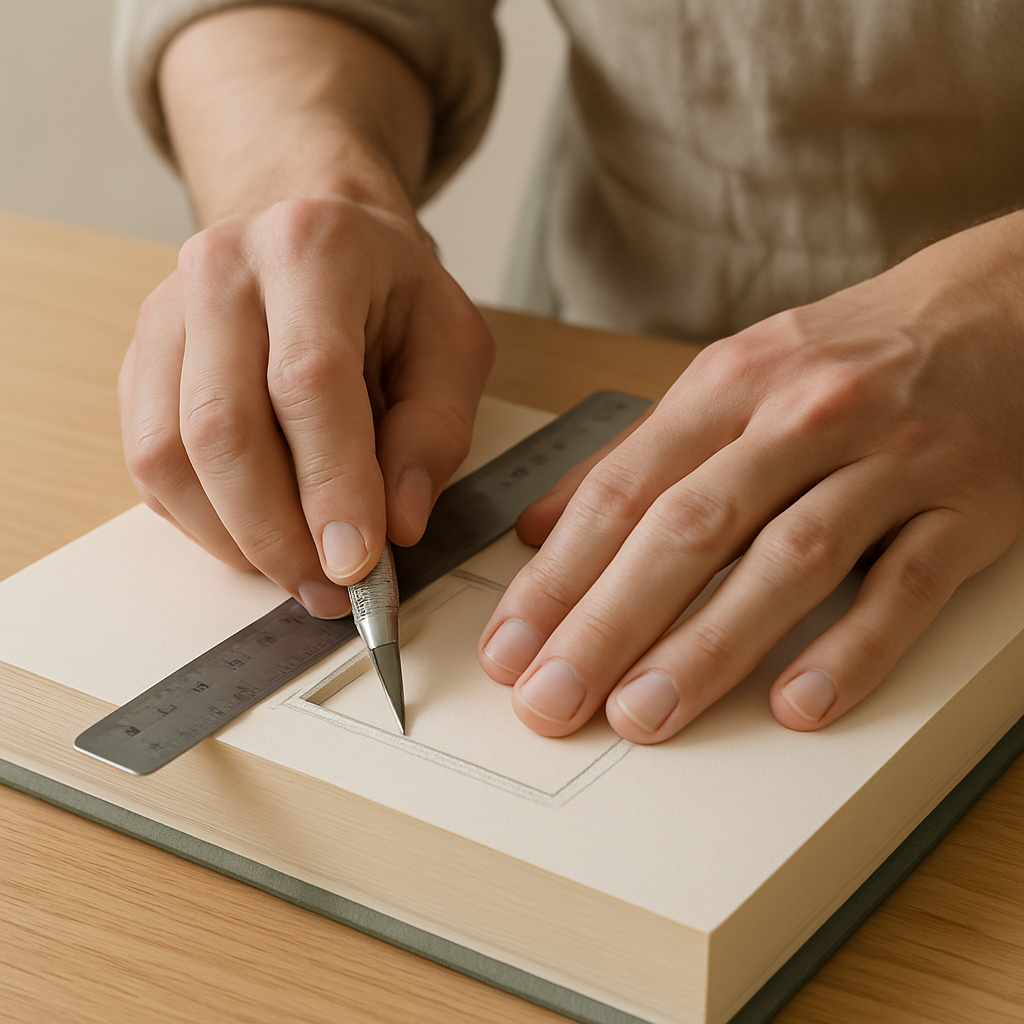
Step 6: Continue Initial Cuts - Other Edges. Repeat the shallow cutting process for the top, bottom, and outer edges of your marked rectangle. Ensure each cut is straight and follows your pencil lines, creating a clear outline for your compartment.
- 7
Step 7: Deepen the Cuts - Layer by Layer. Go back to your first cut (spine edge) and deepen it by making several passes with the craft knife, always using the metal ruler as a guide. Work slowly, cutting through 5-10 pages at a time, gradually increasing depth. *Failure Mode: Rushing can cause the blade to snag, tear pages, or slip. Take your time, and if the blade feels dull or resistant, replace it immediately for cleaner cuts.*
- 8
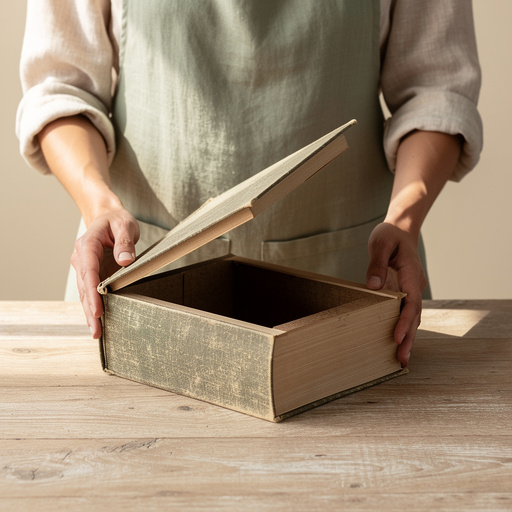
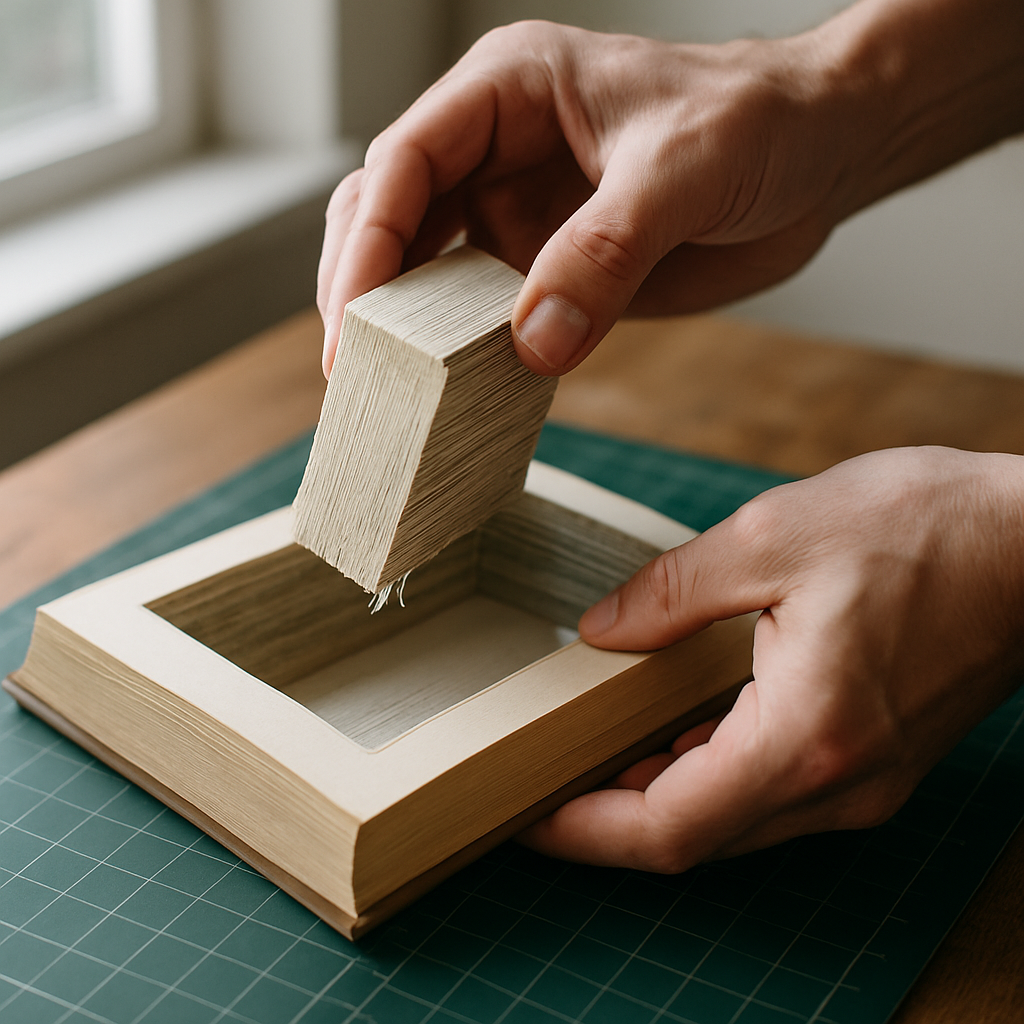
Step 8: Remove the Inner Block. Continue deepening all four cuts until you've cut through most of the pages within your marked rectangle, leaving only the bottom few pages intact. Carefully try to lift out the central block of cut pages. If it doesn't come out easily, identify where the pages are still connected and make additional precise cuts until the block is free.
- 9
Step 9: Smooth the Edges (Optional but Recommended). Once the inner block is removed, use your fine-grit sandpaper to gently smooth the inside edges of your newly cut compartment. This removes any rough paper fibers, creating a cleaner, more professional finish and preventing snags.

- 10
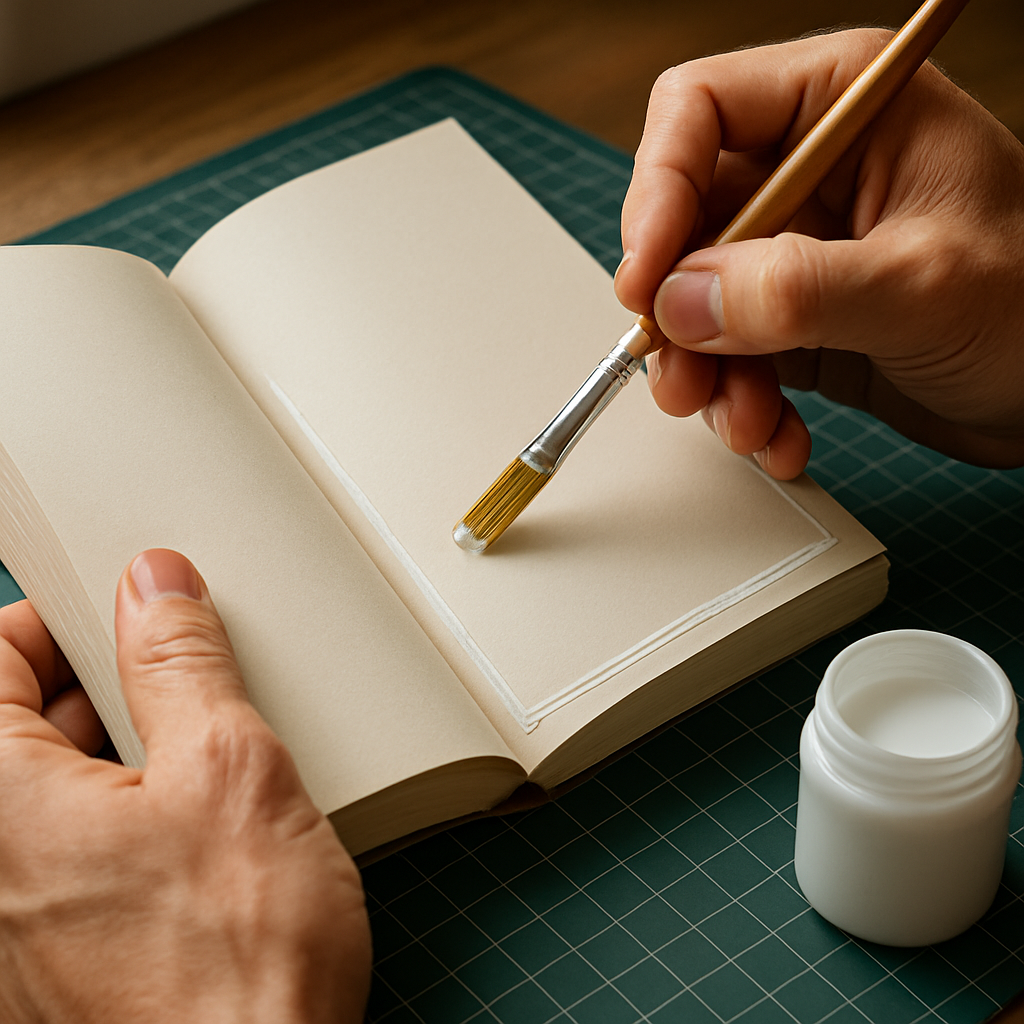
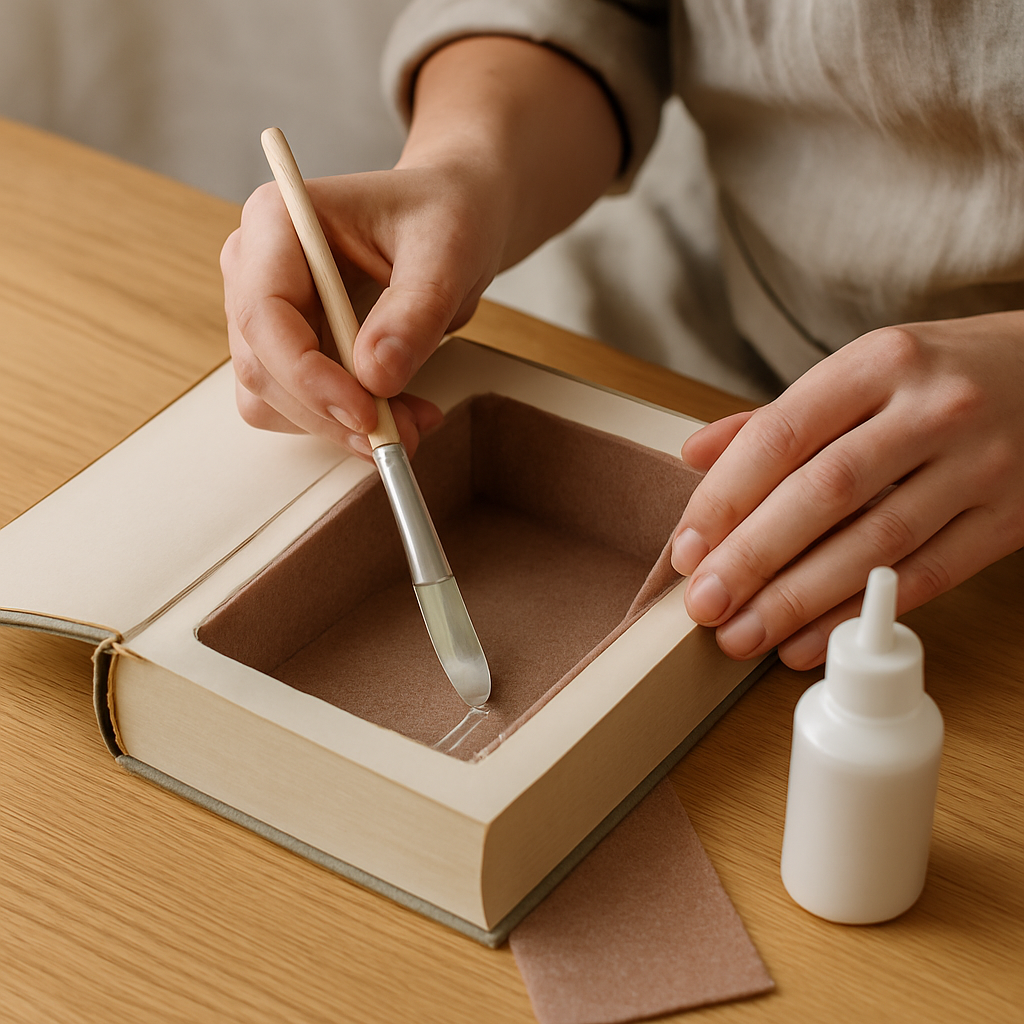
Step 10: Seal the Compartment Walls. Apply a thin, even layer of PVA glue to the inside walls of your cut compartment using the small paintbrush. This strengthens the walls, prevents individual pages from peeling, and gives a finished look. Be careful not to get glue on the top intact page or the bottom of the compartment.
- 11
Step 11: Dry and Press Again. Close the book, placing a fresh piece of wax paper or plastic wrap inside the compartment to prevent the glued walls from sticking together. Place heavy weights on top and let it dry completely for at least 1-2 hours, or ideally overnight for maximum strength and stability.
- 12
Step 12: Reinforce the Cover (Optional). For added durability and a polished look, apply a thin, even layer of PVA glue to the *inside* of the front and back covers, especially along the spine area where they meet the page block. Close the book and press under weights for another hour to ensure a strong bond.
- 13
Step 13: Personalize the Interior (Optional). Once fully dry, you can line the inside of the compartment for a luxurious touch. Use felt, decorative paper, or a small piece of fabric, securing it with a thin layer of craft glue. Measure and cut your lining material precisely to fit the compartment walls and bottom.
- 14
Step 14: Final Inspection. Open your book and admire your secret compartment! Check that all edges are smooth, the glue is completely dry, and the compartment is clean and ready for use. From the outside, it should look like a regular book, but reveal a hidden treasure within.

- 15
Step 15: Gift Packaging. Present your secret book box with a small, thoughtful item already tucked inside, like a handwritten note, a special coin, or a piece of jewelry, to enhance the surprise and delight. Wrap it simply with natural twine and a personalized tag, emphasizing its handmade charm.
Tips & Troubleshooting
- 1Blade Sharpness is Key: A dull craft knife is your worst enemy for this project. If you notice tearing, snagging, or difficulty cutting, immediately replace your blade. A fresh, sharp blade makes cleaner, more precise cuts with less effort, significantly reducing the risk of slips and improving the overall finish.
- 2Patience with Glue: Do not rush the drying process for the initial page gluing or the compartment sealing. Incomplete drying can lead to pages sticking where they shouldn't, or a less durable final product that might fall apart over time. Always use ample weights for consistent, even pressure during drying.
- 3Tailoring for the Recipient: To make this gift truly special, choose a book that reflects the recipient's interests – a classic novel for a literature lover, a cookbook for a foodie, or a travel guide for an adventurer. You can even leave a few pages at the front with a personalized inscription or a clever clue to the hidden compartment's existence.
- 4Elevating the Finish: To ensure your gift feels truly 'adult' and sophisticated, consider adding a velvet or felt lining to the compartment using fabric glue for a luxurious touch. You could also subtly paint the exposed edges of the book block (the part that shows when the book is closed) with a metallic paint for a refined shimmer.
- 5Troubleshooting Uneven Cuts: If your cuts aren't perfectly straight, don't panic. For minor imperfections, use your craft knife to carefully trim away small bits of paper, always cutting *away* from yourself for safety. For larger issues, a thicker lining material can sometimes camouflage the unevenness, or you can embrace the handmade charm.
- 6Age Adaptations for Older Teens (14+): While younger children should never use a craft knife, older teens (14+) can participate in this project with close adult supervision. They can handle the gluing, marking, sanding, and lining steps. An adult should always manage all cutting, or guide the teen with extreme caution, emphasizing proper safety techniques and blade handling.
- 7Sustainable Choices: Maximize the eco-friendly aspect of this gift by opting for a book from a thrift store, a library sale, or one you no longer read. Use non-toxic, eco-friendly PVA glues where possible. For lining the compartment, consider repurposing fabric scraps or using recycled decorative paper to further reduce waste.
Related Activities You Might Enjoy
Frequently Asked Questions
What kind of book works best for this project?
The ideal book for this project is a hardcover with a sturdy binding, at least 2.5 cm thick, and a minimum size of 20x15 cm. Older books often work exceptionally well as their pages tend to be more compact and less prone to tearing. Avoid very thin books or paperbacks, as they won't provide enough depth for a functional compartment or the necessary stability for precise cutting. Consider the recipient's interests when choosing the book's title or genre to add an extra layer of personalization to your gift.
How can I make sure my cuts are perfectly straight?
Achieving perfectly straight cuts is crucial for a professional-looking finish. The key is a combination of a very sharp craft knife and a heavy metal ruler. Always press the metal ruler down firmly with your non-dominant hand, ensuring it doesn't shift even slightly during cutting. Instead of trying to cut through all pages at once, make multiple shallow passes with the knife. Each pass should deepen the groove slightly, guided by the ruler. If you try to force a deep cut, the blade can easily wander or snag, resulting in an uneven edge. Take your time and maintain steady pressure.
What if the pages stick together where they shouldn't?
Pages sticking together unexpectedly usually occurs if too much glue is applied or if insufficient wax paper/plastic wrap is used during the drying stages. If you discover stuck pages, gently try to pry them apart with a thin, blunt object like a butter knife or a ruler. If the glue is still wet, you might be able to separate them without damage. If the glue has dried, you might need to carefully trim the stuck edges with your craft knife, or simply accept a slightly imperfect finish as part of its handmade charm. Prevention is key: use thin, even glue layers and always use protective barriers.
Can I make the compartment a different shape?
While a rectangular compartment is the easiest to cut precisely using a ruler, you can absolutely experiment with other shapes like circles, ovals, or even custom silhouettes. However, attempting non-rectangular shapes significantly increases the difficulty and requires a very steady hand for freehand cutting or specialized templates. For a first-timer, sticking to a rectangle is highly recommended to ensure success and minimize frustration. If you do attempt a curved shape, draw it clearly, make many shallow passes, and consider using a swivel-blade craft knife for better maneuverability around curves.
How can I personalize this gift further for a specific adult?
Beyond choosing a meaningful book, consider what the recipient might store inside. For a jewelry lover, line the compartment with soft velvet. For a writer, tuck in a small, elegant pen and a tiny notebook. For a traveler, include a vintage postcard and a few foreign coins. You can also add a small, engraved plaque or a custom bookplate inside the front cover with a personal message, the recipient's name, or a significant date. The inherent hidden nature of the gift itself is a huge part of its charm and personalization, making it truly unique.
What Next?
You've successfully transformed an old book into a clever, personalized secret storage box! This project is a fantastic example of how sustainable crafting can lead to truly unique and thoughtful gifts. For your next creation, try experimenting with different book sizes or adding a decorative lining to the compartment. If you enjoyed the precision of this project, consider tackling a DIY wooden keepsake box next for another impressive adult gift.
Free: 10 Paper Crafts Anyone Can Make in 5 Minutes
Get our beginner guide + new craft ideas weekly.
No spam. Unsubscribe anytime.
Did you complete this activity?
Related
You might also like

Cardboard Tube Desk Organizer
Cardboard Critter Masks
Cardboard Box Accordion
Hammered Metal Stamped Charms
Cardboard Tube Seedling Starters