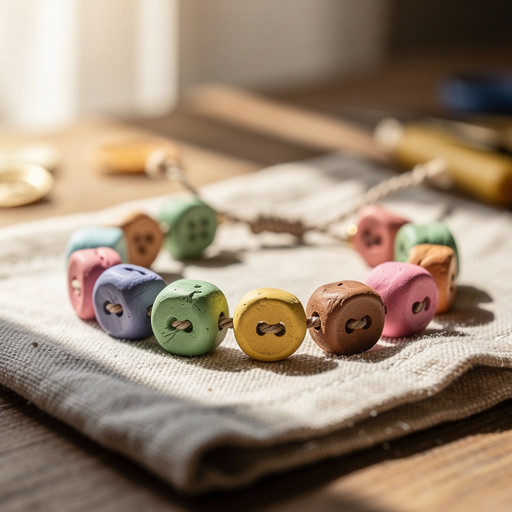
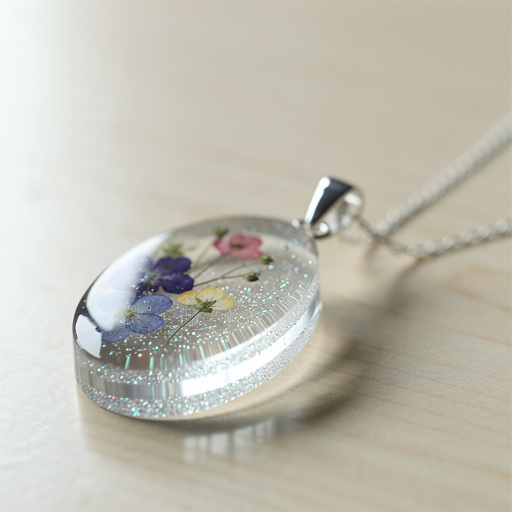
How to Make Botanical Layered Resin Pendants — Tips, Tricks & Common Mistakes to Avoid
Ever wanted to capture nature's beauty in a wearable piece? This detailed tutorial guides you through creating gorgeous botanical layered resin pendants, perfect for beginners and families.

Quick answer
To make Botanical Layered Resin Pendants, you need an epoxy resin kit, silicone molds, dried botanicals, glitter, and basic jewelry tools. The project takes about 3 hours of active crafting, plus 12-24 hours for curing, resulting in beautiful, personalized jewelry.
What you need
Shop on Amazon · As an Amazon Associate we earn from qualifying purchases. Links above are affiliate links — we may earn a commission at no extra cost to you.
Many crafters dive into resin with excitement, only to be frustrated by bubbles, sticky pieces, or dull finishes. It's a common challenge! But don't worry, you're in the right place. This comprehensive tutorial will demystify resin jewelry making, guiding you step-by-step to create stunning botanical layered pendants. We'll cover everything from precise mixing and embedding delicate flowers to achieving a professional, crystal-clear finish, ensuring your first resin creations are truly dazzling.
On this page
Step-by-Step Instructions
- 1
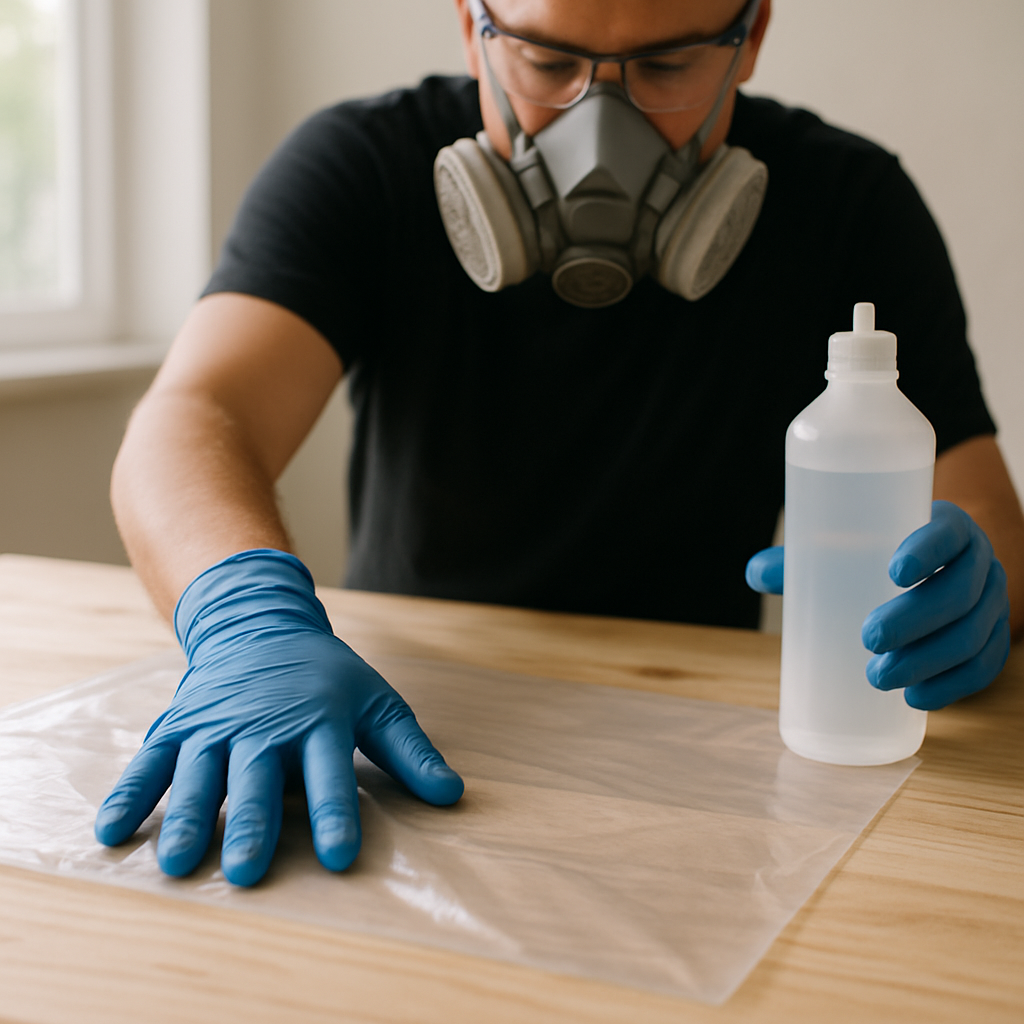
**1. Safety First! Prepare Your Workspace:** Lay down a protective plastic sheet or silicone mat (approx. 60x60cm) on a flat, level surface in a well-ventilated area. Don your nitrile gloves, safety glasses, and respirator mask *before* opening any resin bottles to protect your skin, eyes, and lungs from fumes.
- 2
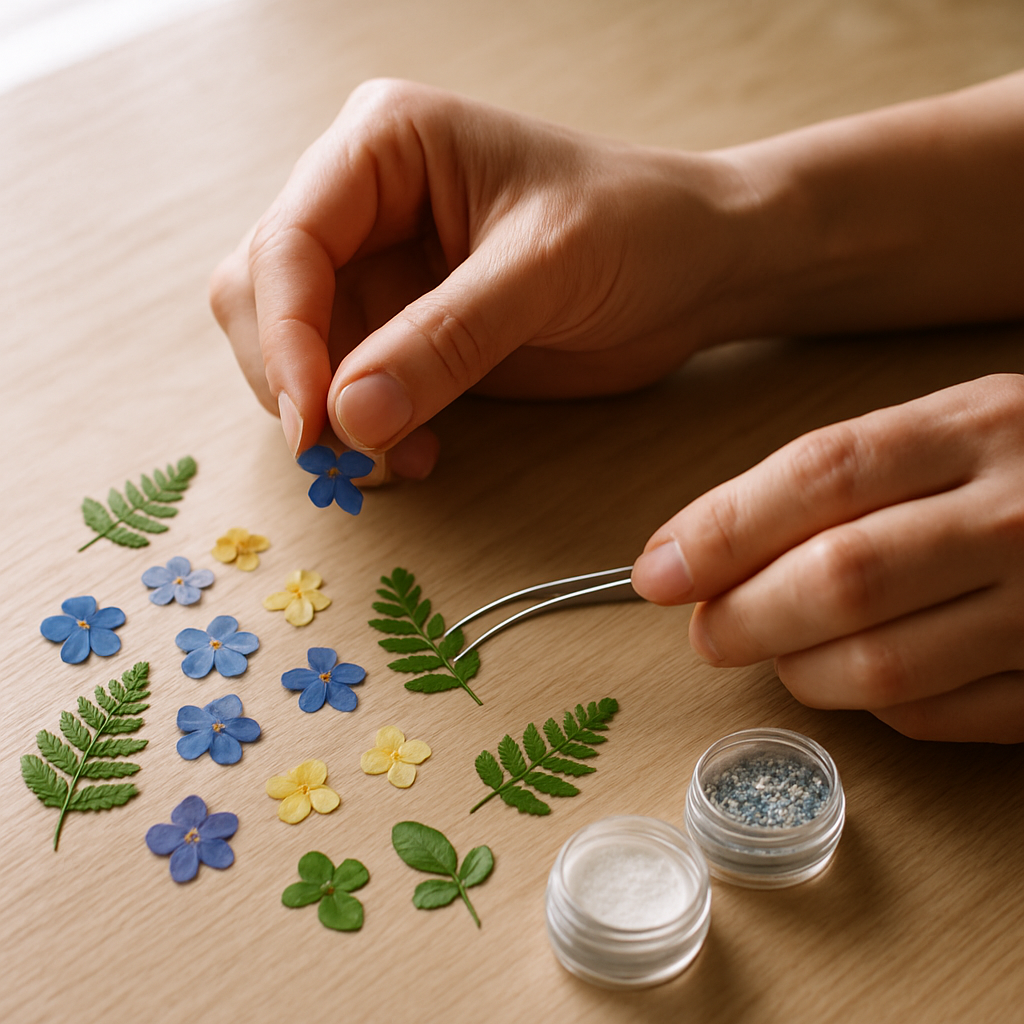
**2. Gather Your Embellishments:** Select your dried botanicals, glitter, and mica powder. Arrange them near your molds so they are easily accessible for embedding, ensuring all botanicals are completely dry and flat to prevent moisture issues.
- 3
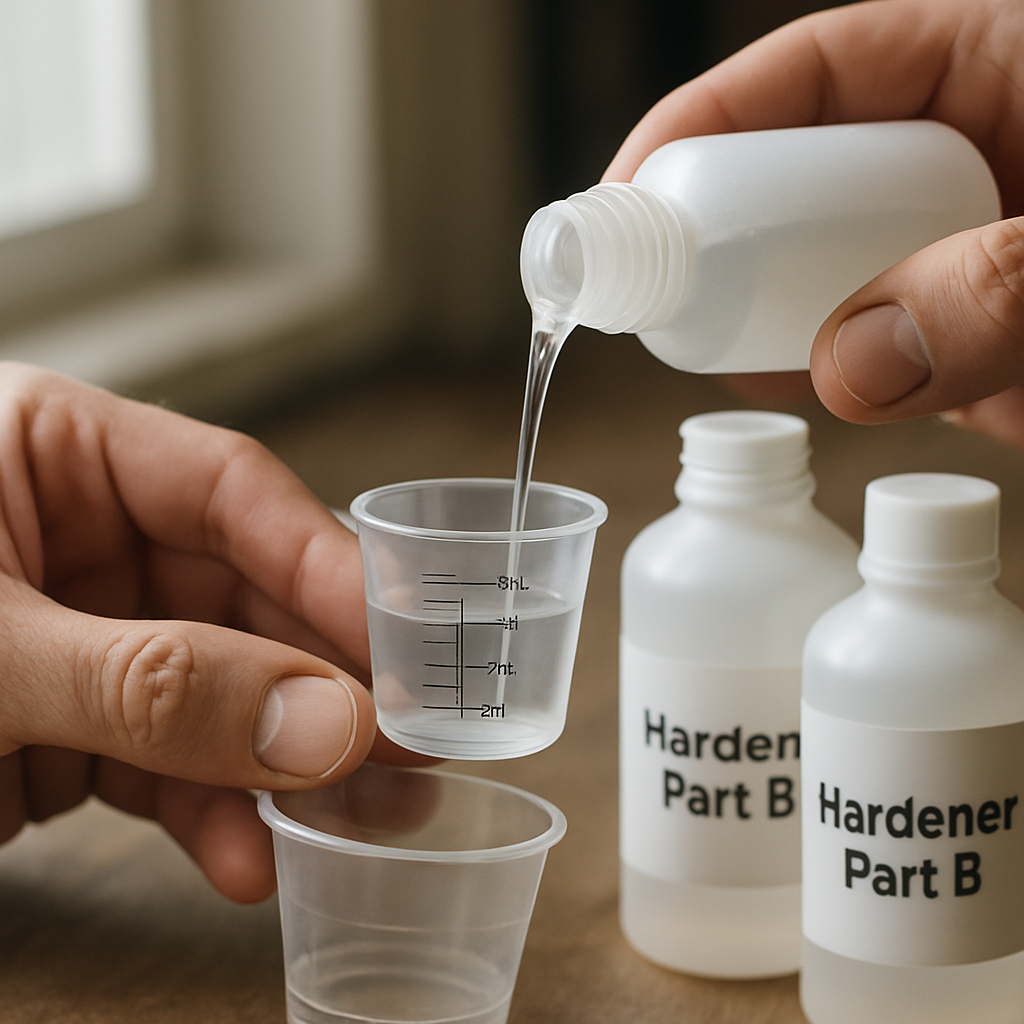
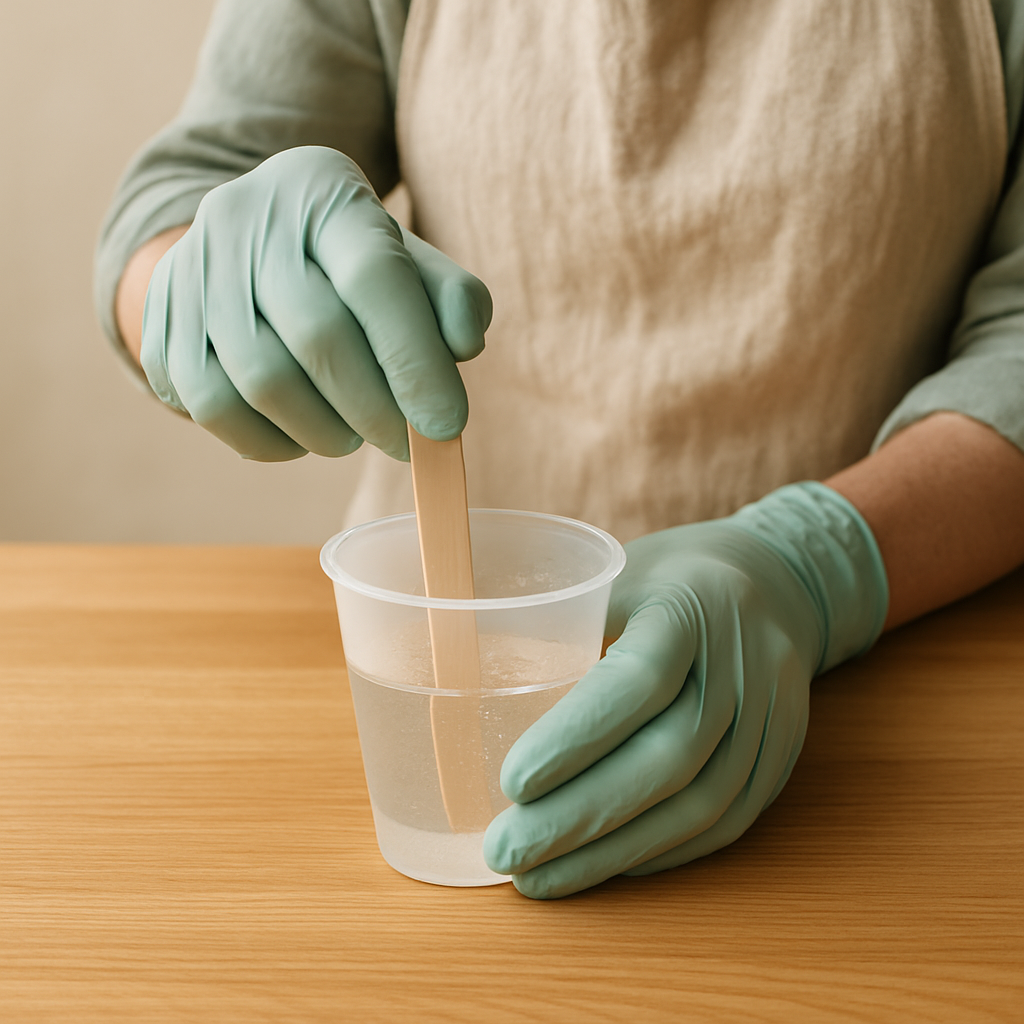
**3. Measure Resin Precisely:** Pour 15ml of Resin Part A into a clean, disposable mixing cup. Then, pour exactly 15ml of Hardener Part B into the *same* cup, ensuring the total volume is 30ml for a 1:1 ratio. *Failure Mode: Inaccurate measurements will lead to sticky, uncured resin; use precise markings on your cups and measure at eye level.*
- 4
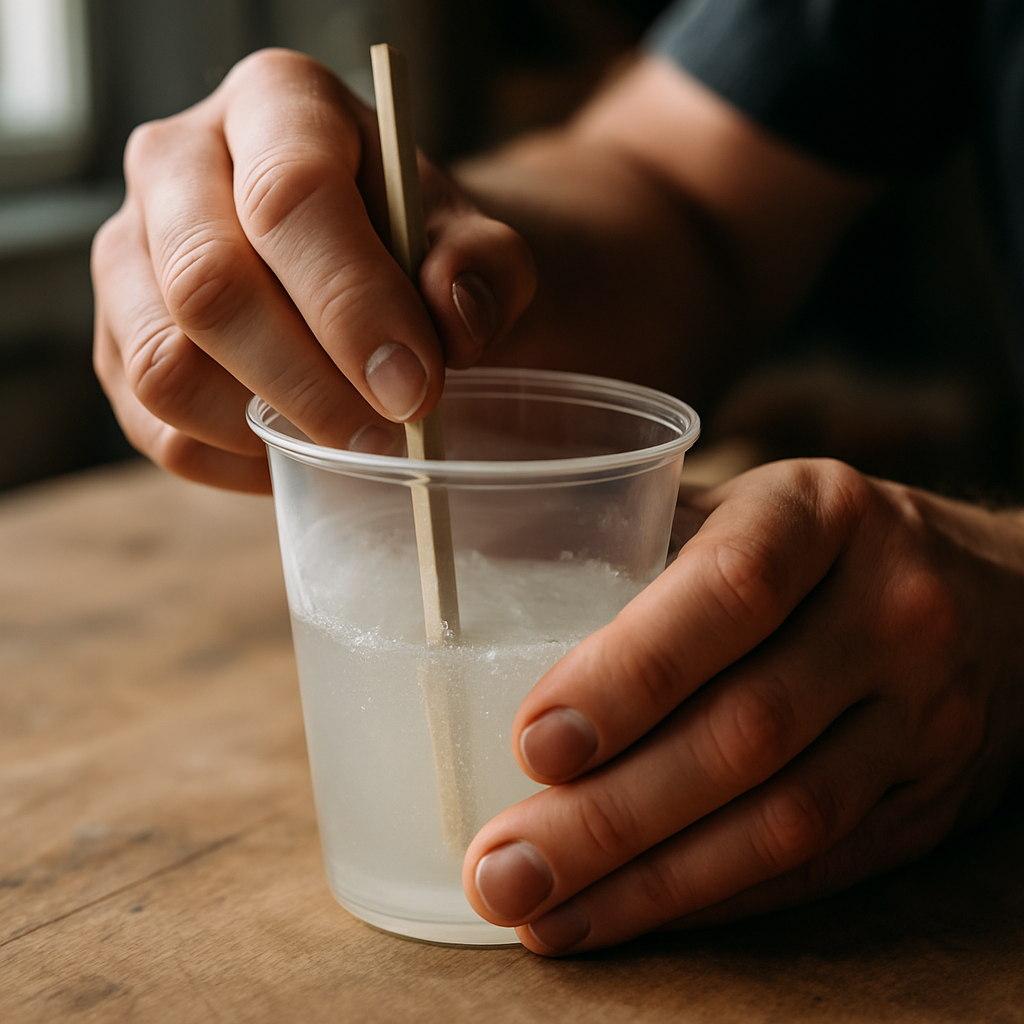
**4. Mix Thoroughly and Slowly:** Using a wooden stir stick, gently stir the resin mixture for 3-5 minutes, scraping the sides and bottom of the cup frequently. Stir slowly to minimize air bubbles; the mixture will look cloudy at first but should become clear and streak-free.
- 5
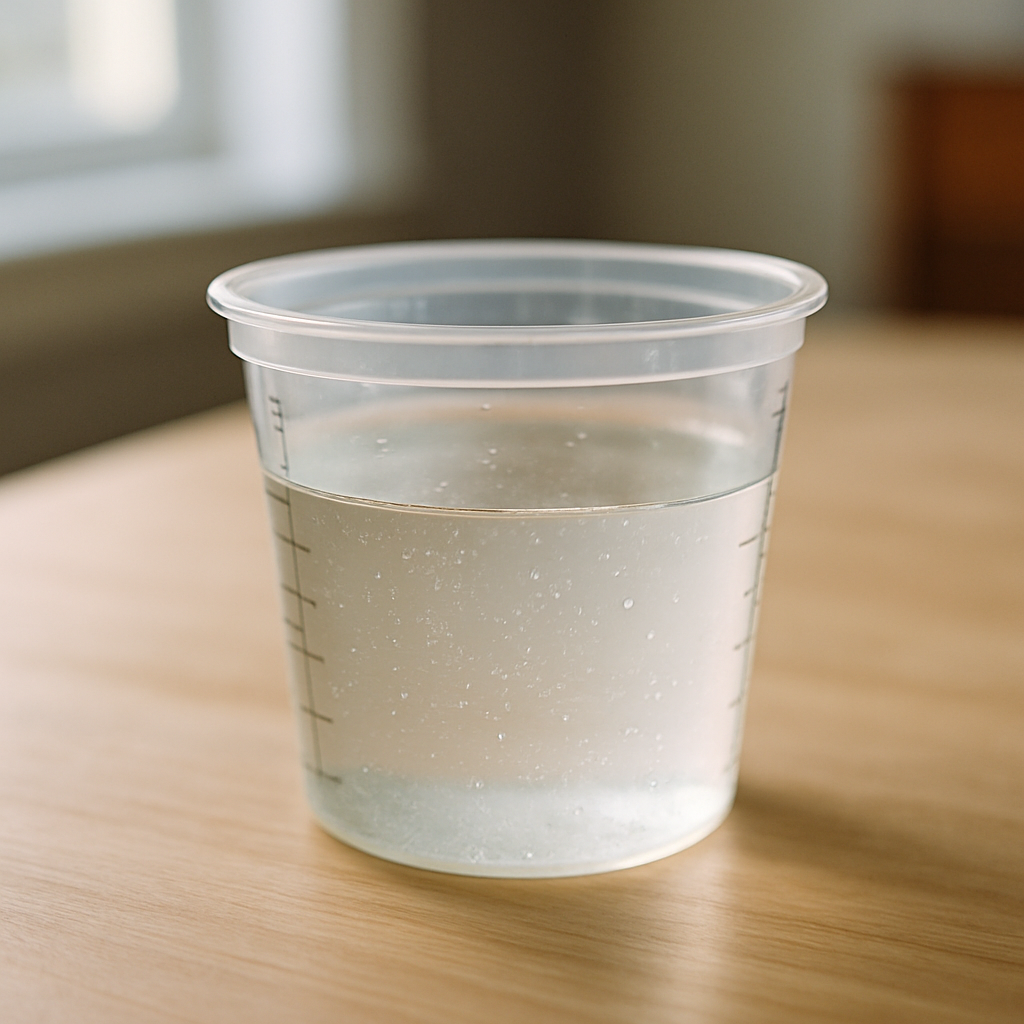
**5. Let it Degas (Optional but Recommended):** After mixing, let the resin sit undisturbed for 5-10 minutes. This allows many of the tiny air bubbles to rise to the surface and pop naturally, leading to a clearer final product.
- 6
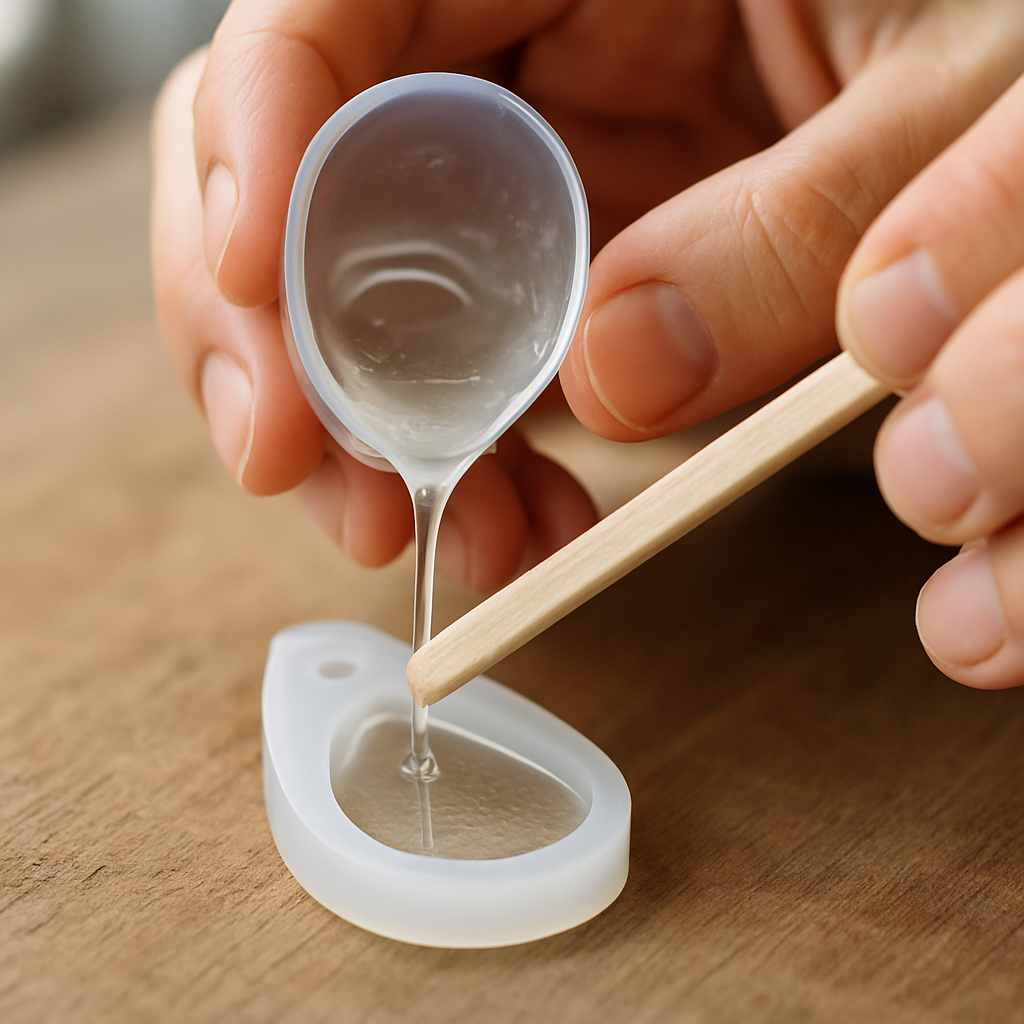
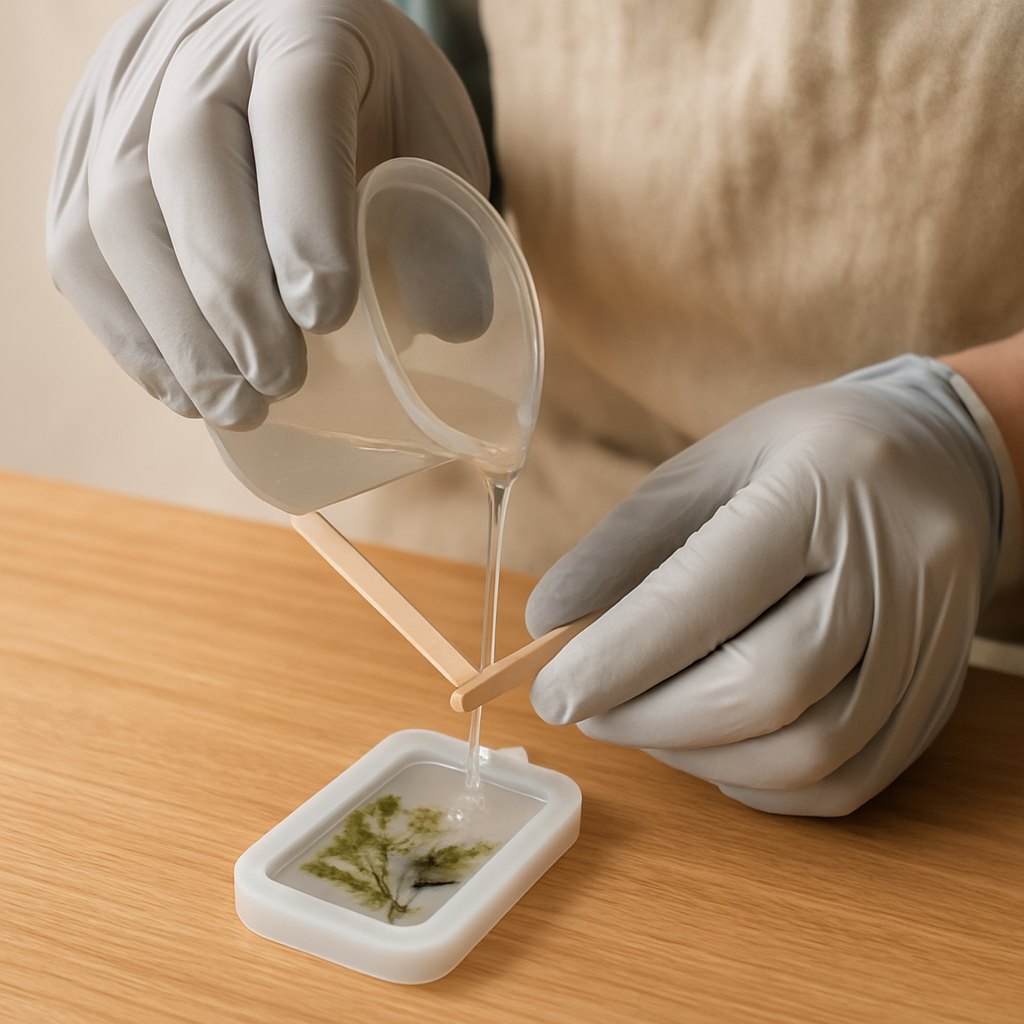
**6. Pour the Base Layer:** Carefully pour a thin layer of clear resin into your chosen silicone pendant molds, filling them approximately 1/4 to 1/3 full (about 2-3mm deep). Use a stir stick to guide the resin if needed, ensuring an even base across the mold cavity.
- 7
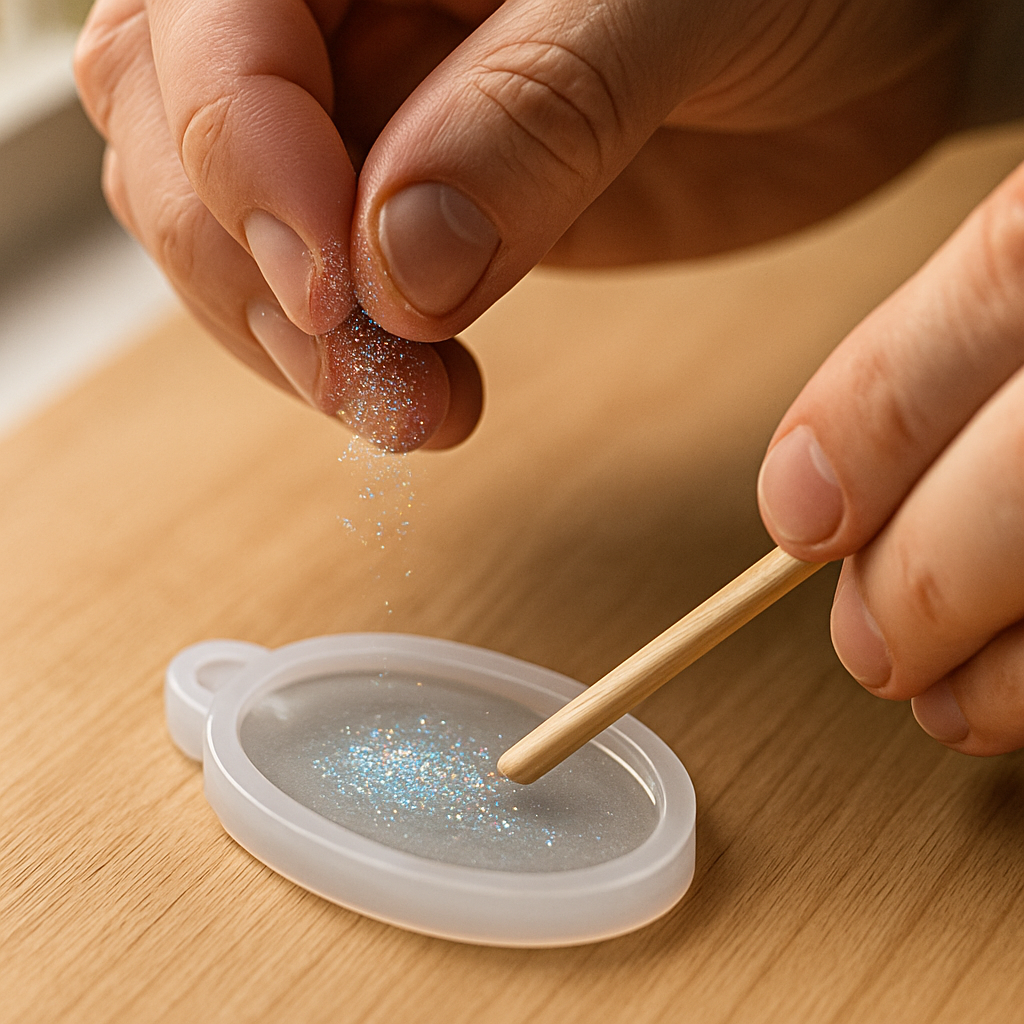
**7. Add First Embellishments (Glitter/Mica):** While the base layer is still wet, sprinkle a tiny pinch (about 0.5g) of fine glitter or a small amount (0.2g) of mica powder into the wet resin using your stir stick or a clean toothpick. Gently swirl to create a subtle effect, avoiding overmixing which can introduce more bubbles.
- 8
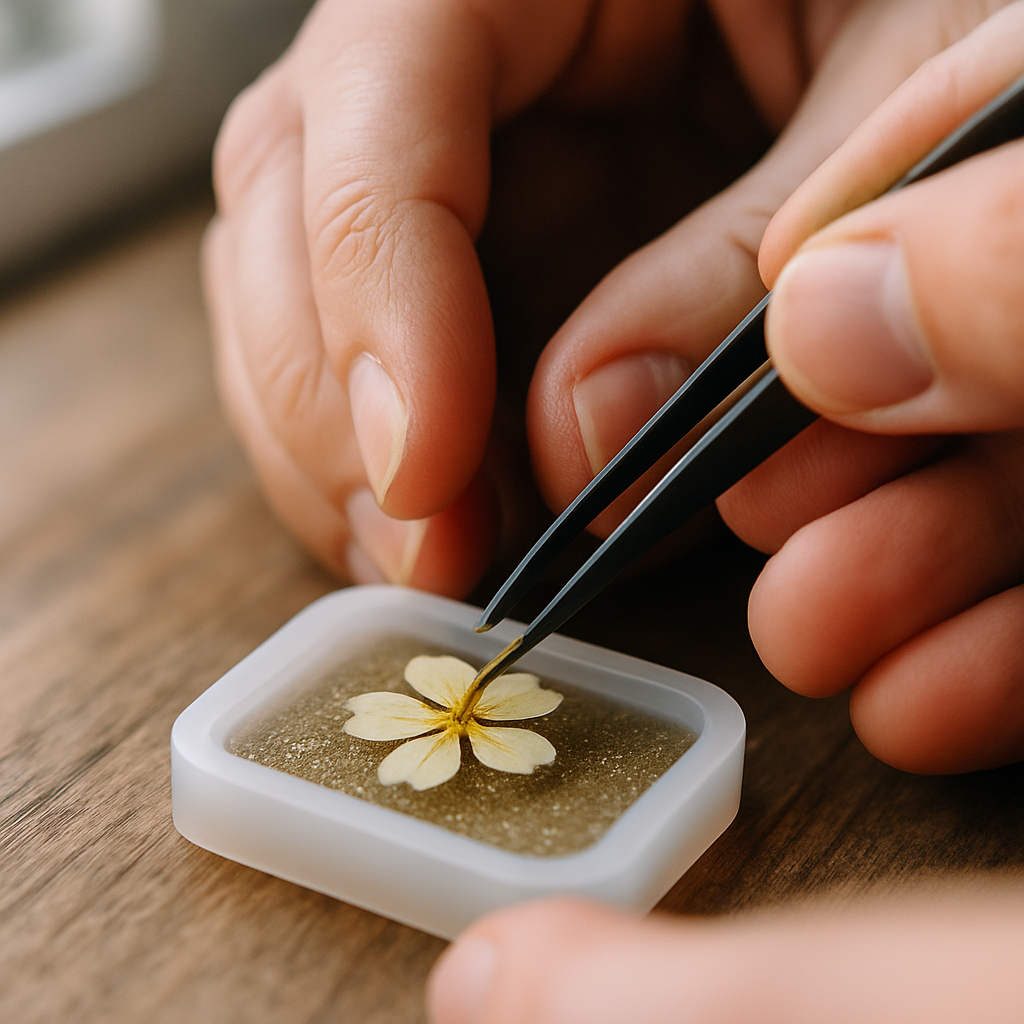
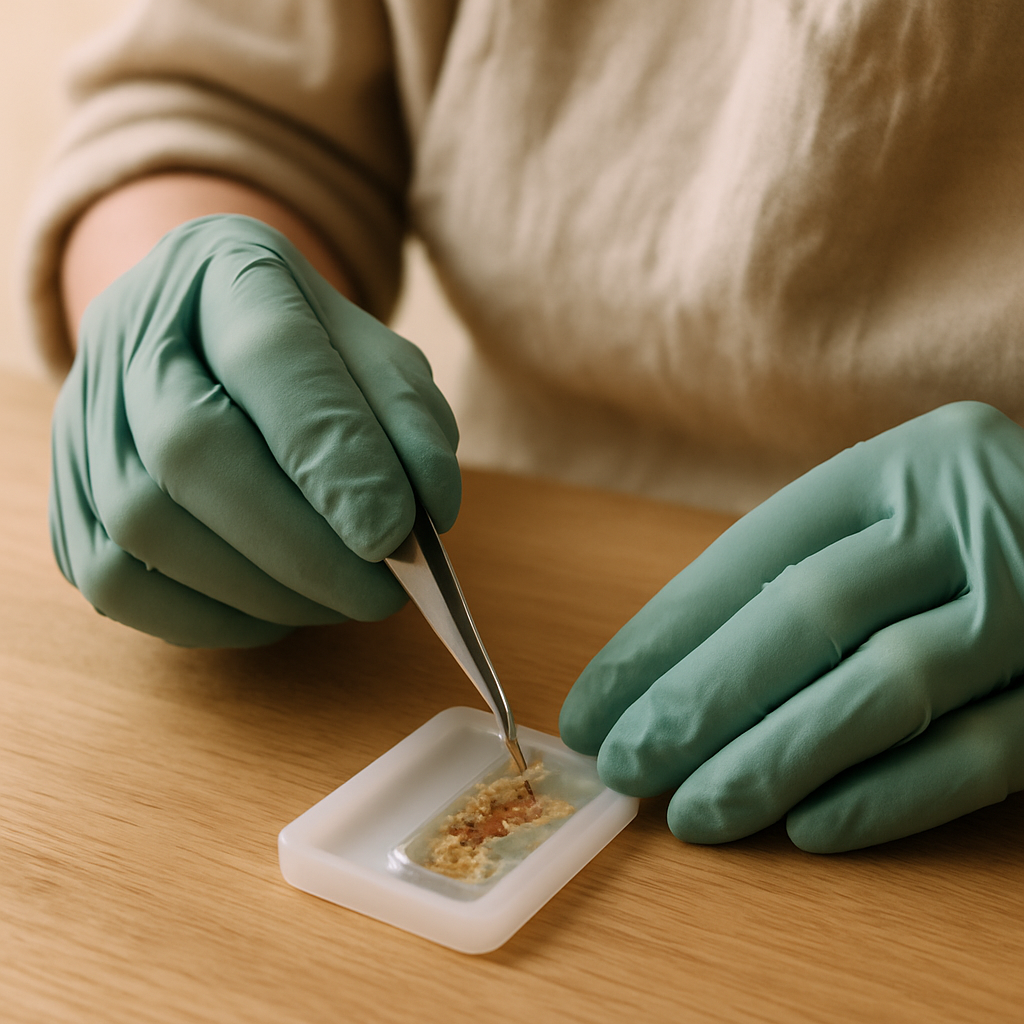
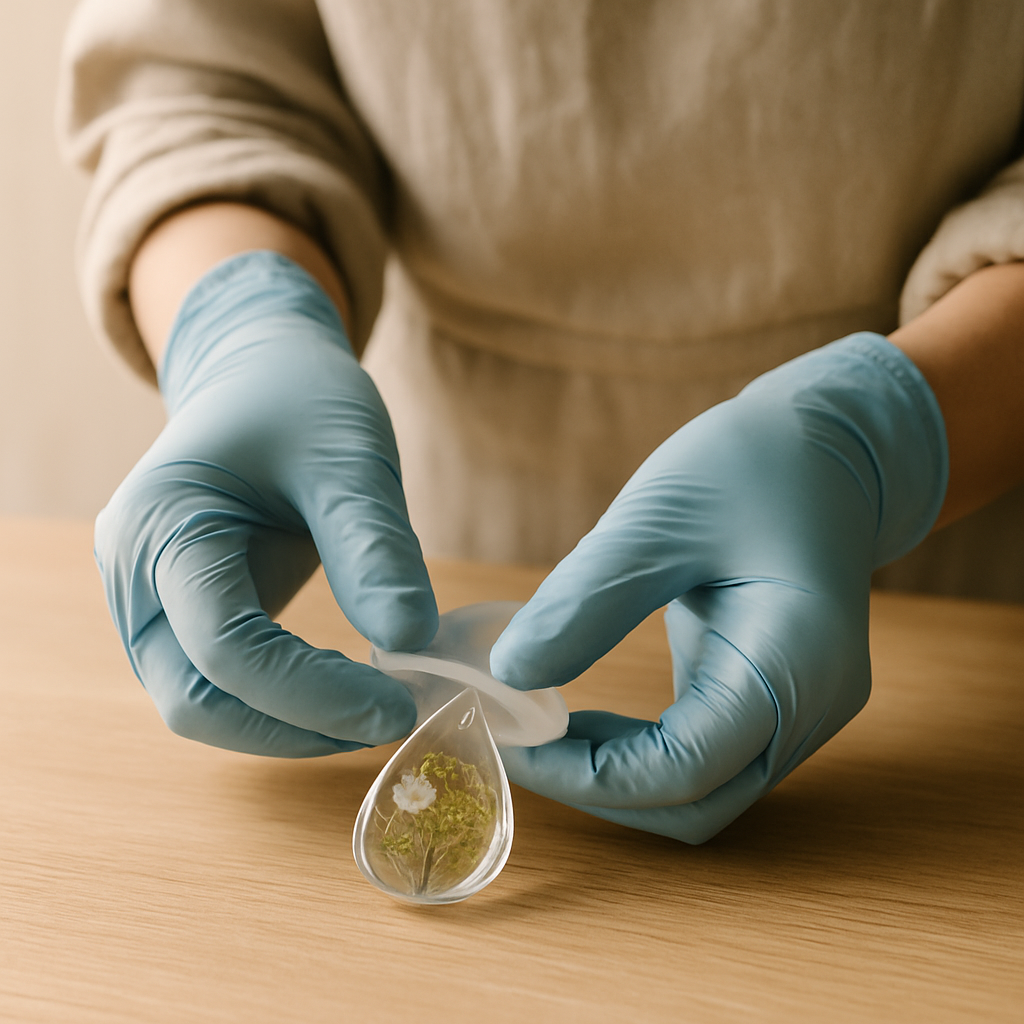
**8. Embed Your Botanicals:** Using craft tweezers, carefully place your dried botanicals onto the glitter/mica layer. Position them face-down if you want the front of the pendant to show the top of the flower, pressing gently to ensure they are fully submerged in the resin.
- 9
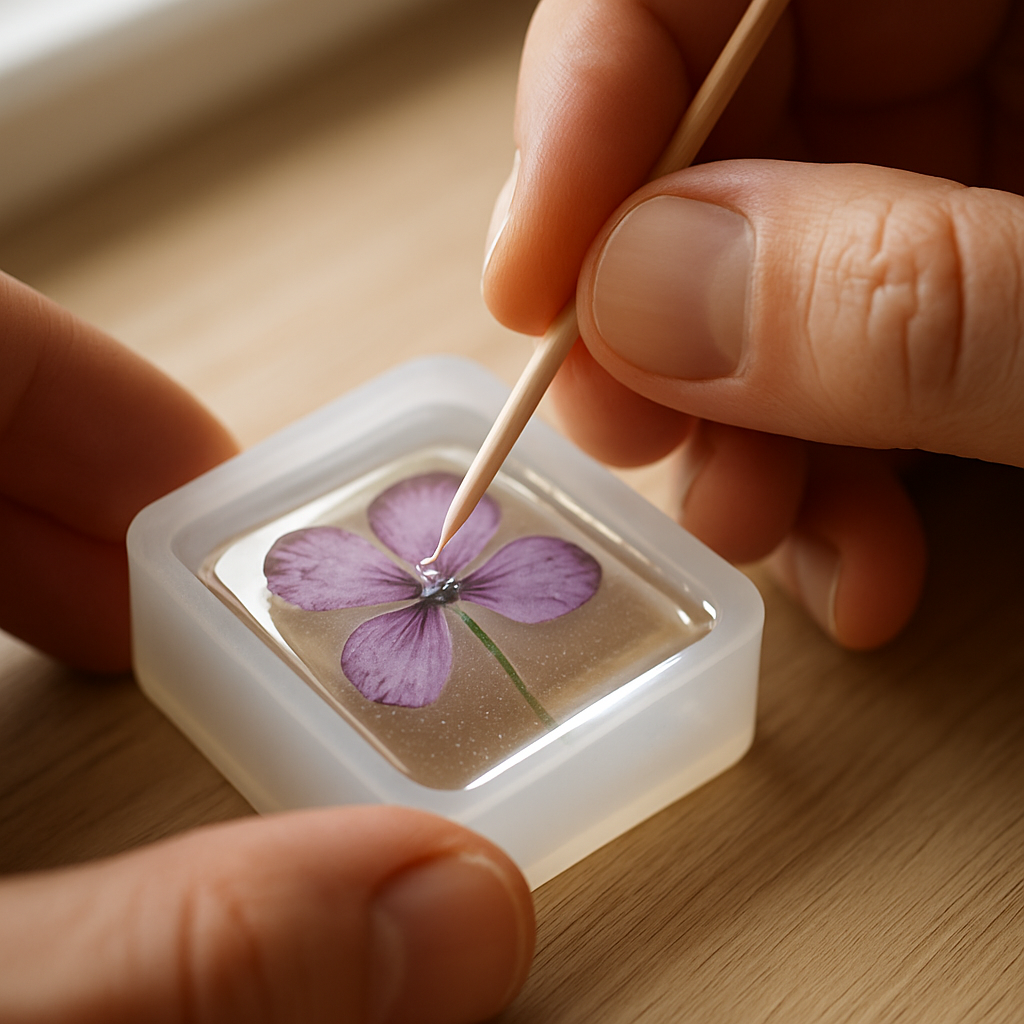
**9. Remove Trapped Bubbles:** Use a toothpick or a heat gun (briefly, from a safe distance of 10-15cm, sweeping quickly) to pop any visible bubbles around your botanicals. Be gentle to avoid disturbing the placement of your items; *overheating can damage the resin or mold*.
- 10
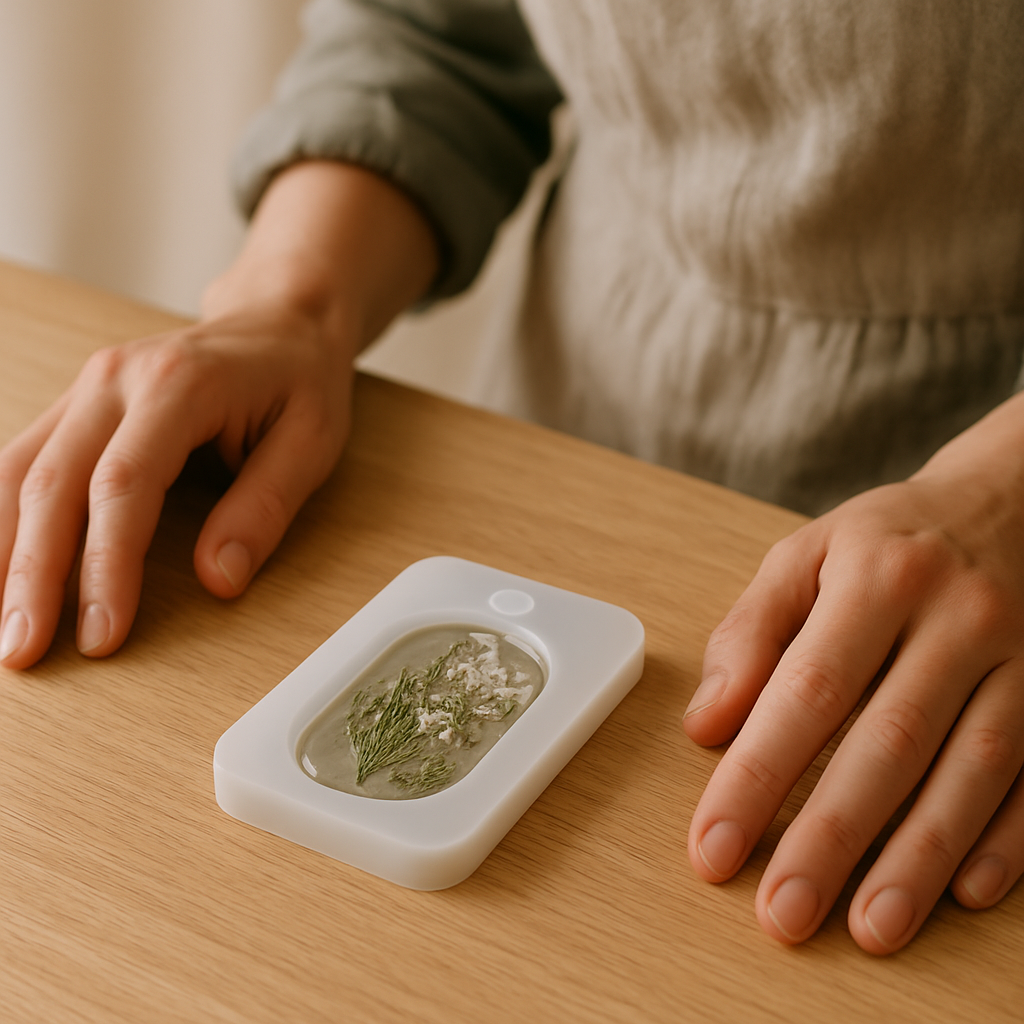
**10. Partial Cure for Layering:** Allow this first layer to partially cure for 2-4 hours, or until it's tacky but no longer liquid. This prevents your embedded items from floating to the top or shifting when you add the next layer.
- 11
**11. Prepare Second Resin Batch:** Repeat steps 3-5 to mix another 30ml batch of fresh resin, ensuring precise measurements and thorough, slow stirring. Always use clean cups and sticks for each batch to prevent contamination.
- 12
**12. Pour the Second Layer:** Carefully pour the newly mixed resin over your partially cured first layer, filling the molds almost to the top (leaving about 1mm from the rim). This encapsulates your botanicals and creates depth.
- 13
**13. Add More Embellishments (Optional):** If desired, add a few more tiny pieces of glitter or a very small botanical (e.g., a single tiny flower petal) to this second layer for added dimension. Use tweezers to place them precisely, ensuring they are fully submerged.
- 14
**14. Final Bubble Check:** Perform a final bubble check with a toothpick or quick pass of a heat gun. Cover your molds with a cardboard box or dome to protect them from dust and pet hair while curing.

- 15
**15. Full Cure Time:** Allow the resin to cure completely for at least 12-24 hours (or according to your kit's instructions) at room temperature (20-24°C). Do not disturb the molds during this time; *premature handling can cause fingerprints or deform the soft resin*.
- 16
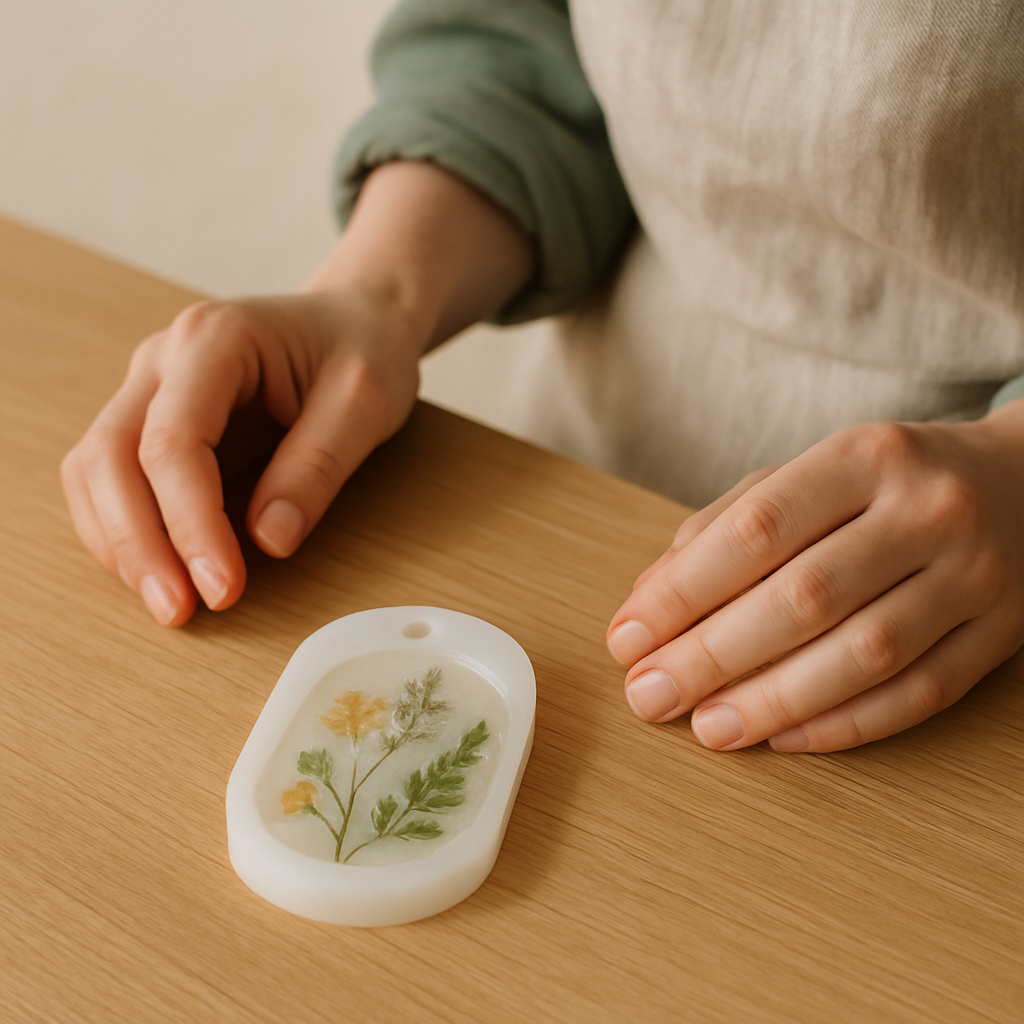
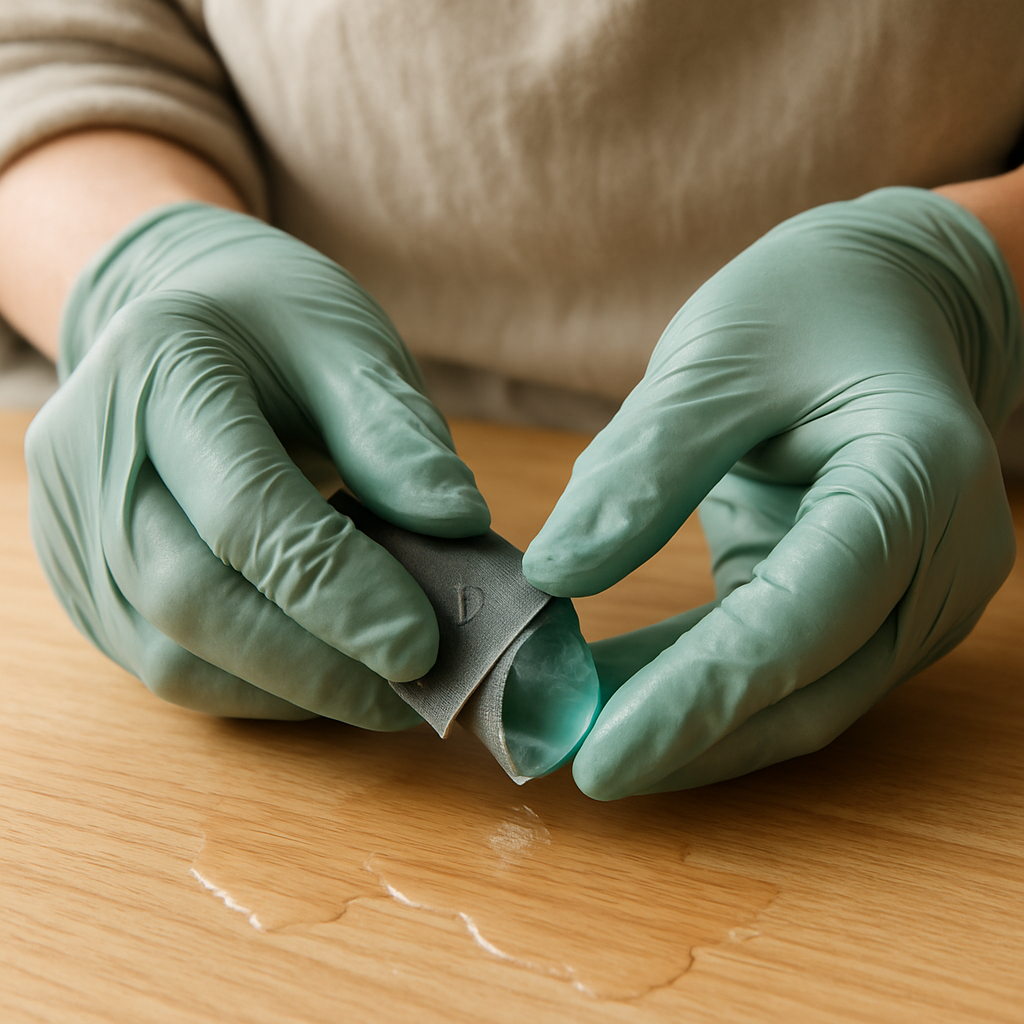
**16. Demold Your Pendants:** Once fully cured and hard to the touch, gently flex the silicone mold to release your resin pendants. They should pop out easily. *Failure Mode: If the resin is still flexible or sticky, it needs more cure time or was improperly mixed; do not force it out.*
- 17
**17. Inspect and Trim Edges:** Examine your demolded pendants for any sharp edges or excess resin ("flashing"). Use a craft knife or fine-grit sandpaper (400-grit) to carefully trim or sand away any imperfections, working slowly to avoid gouging.

- 18
**18. Wet Sanding for Smoothness:** For a truly professional finish, wet sand the edges and back of your pendant. Start with 400-grit wet/dry sandpaper, then move to 800-grit, and finally 1500-grit, rinsing the pendant and sandpaper frequently. This removes scratches and creates a smooth surface.
- 19
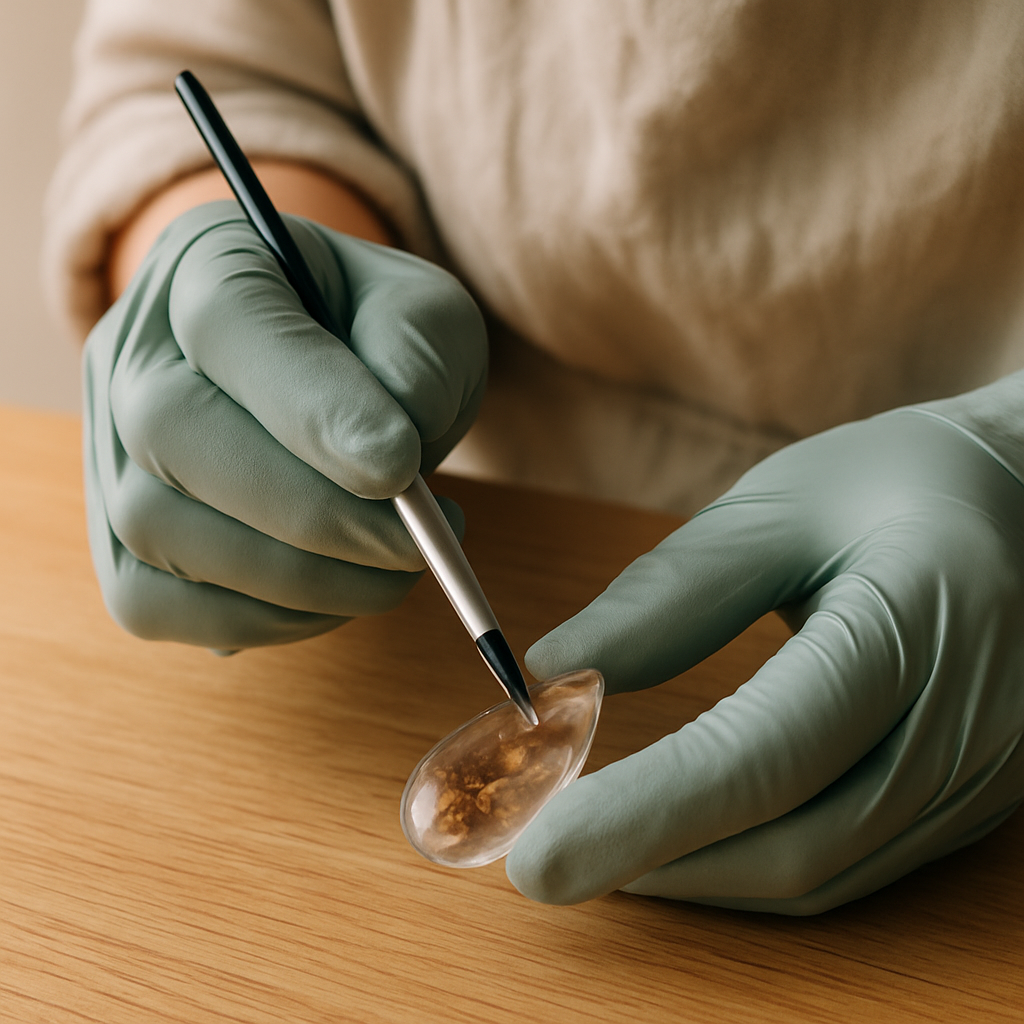
**19. Polish and Shine:** After sanding, dry your pendant thoroughly. Apply a small amount of jewelry glaze or topcoat with a brush to the sanded areas, or use a polishing cloth to buff the entire piece until it shines. This restores clarity and luster.
- 20
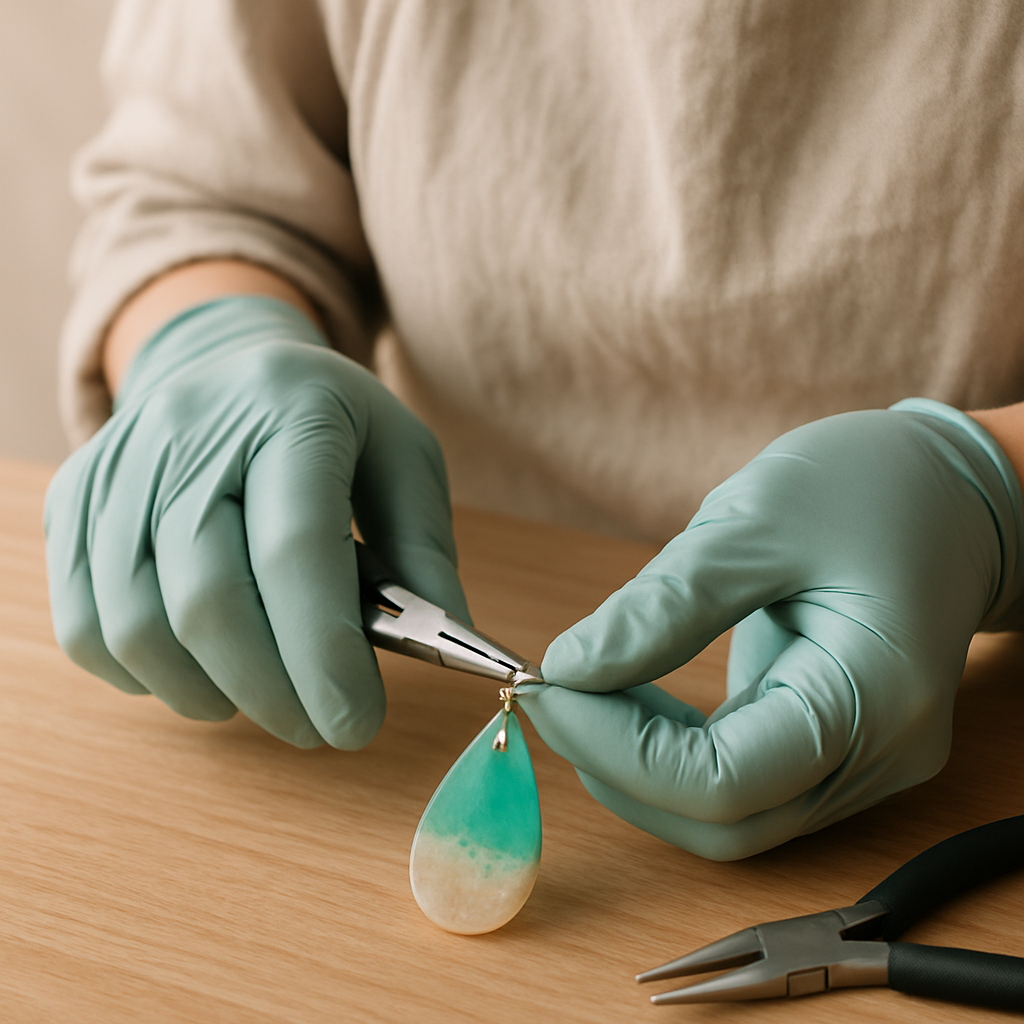
**20. Attach Jump Rings:** Using jewelry pliers, gently open a 6mm jump ring by twisting the ends apart (not pulling them open). Thread it through the pre-formed hole in your resin pendant (if your mold had one) or through a small drilled hole if you added one. Close the jump ring securely with the pliers.
- 21
**21. Final Inspection and Enjoy!** Admire your beautiful, handcrafted botanical resin pendant! Attach it to a necklace chain, keychain, or earring hook to wear or gift. Clean any tools with rubbing alcohol immediately after use.
Tips & Troubleshooting
- 1**Mastering Bubble Control:** Bubbles are the bane of resin crafters! To minimize them, always stir resin slowly and deliberately for the recommended time (3-5 minutes). After mixing, let the resin sit for 5-10 minutes (degassing) before pouring. For stubborn bubbles, a quick pass with a heat gun (held 10-15cm away, sweeping quickly) or a toothpick can pop them. *For younger crafters (10-12), focus on slow stirring and using a toothpick; adult supervision is essential for heat guns.*
- 2**Achieving a Flawless Finish:** After demolding, if your resin pieces have dull spots or minor imperfections, don't despair! Wet sanding with progressively finer grits (400, 800, 1500, 2000) will smooth them out. Always keep the resin and sandpaper wet to prevent dust and achieve a smoother finish. Follow up with a clear jewelry glaze or a dedicated resin polishing compound and microfiber cloth to restore brilliant shine.
- 3**Troubleshooting Sticky Resin:** If your resin piece is still sticky or tacky after the recommended cure time, it's almost always due to inaccurate measurement of Part A and Part B, or insufficient mixing. Unfortunately, the best fix is often to discard the piece and start over, ensuring precise ratios and thorough stirring. Sometimes, if only slightly tacky, a thin topcoat of properly mixed resin can salvage it, but it's not a guaranteed fix.
- 4**Embedding Objects Successfully:** When embedding dried flowers or other objects, ensure they are completely dry and free of moisture, as any water can react with the resin and cause cloudiness or uncured spots. For lighter objects that tend to float, pour a thin base layer, let it partially cure until tacky (2-4 hours), then place your objects and pour the final layer. This "tacky layer" method prevents items from shifting and ensures they are fully encapsulated.
- 5**Age Adaptation for Younger Crafters (10+):** While resin crafting requires adult supervision due to chemicals and precision, younger crafters (ages 10-14) can absolutely participate! Have an adult handle all resin measuring and initial mixing. Kids can then take over the slow stirring, carefully placing botanicals with tweezers, and adding glitter. Emphasize wearing all PPE (gloves, safety glasses, mask) and working in a very well-ventilated space.
- 6**Choosing the Right Resin Kit:** For beginners, an "all-in-one" epoxy resin kit that includes measuring cups, stir sticks, and basic molds is an excellent starting point. Look for kits with a 1:1 mixing ratio by volume, as these are generally easier to measure accurately. Always check reviews for clarity, ease of use, and low odor. Avoid kits with vague instructions or poor safety warnings; a good kit will clearly outline safety precautions.
Related Activities You Might Enjoy
Frequently Asked Questions
What's the difference between UV resin and epoxy resin for jewelry making?
UV resin cures quickly (minutes) under a UV lamp or direct sunlight, making it great for small, quick projects or doming thin layers. It's typically thicker and comes pre-mixed, but can be more expensive per ounce and prone to yellowing over time if not properly formulated. Epoxy resin, used in most kits, is a two-part system that cures slowly (hours to days) through a chemical reaction, offering a longer working time and generally stronger, more durable results. It's ideal for larger pours, embedding objects, and achieving crystal-clear finishes, though it requires precise measurement and patience. For beginners, epoxy resin kits are often more versatile and cost-effective for a range of jewelry projects.
How do I prevent and fix bubbles in my resin jewelry?
Preventing bubbles starts with slow, deliberate mixing of your resin and hardener for the recommended time, scraping the sides and bottom of your cup. After mixing, let the resin sit for 5-10 minutes to "degas," allowing bubbles to rise. Pour slowly into your molds. To fix bubbles, a quick pass with a heat gun (held 10-15cm away, sweeping quickly) can pop surface bubbles. For tiny bubbles around embedded objects, use a toothpick to gently coax them out. If you have a pressure pot, that's the ultimate bubble solution, but it's an advanced tool not typically found in beginner kits.
My resin is still sticky after curing. What went wrong and can I fix it?
Sticky or tacky resin is almost always a sign of incorrect resin-to-hardener ratio or insufficient mixing. Epoxy resin relies on a precise chemical reaction, so even a slight deviation in measurement or incomplete blending will prevent it from fully curing. Unfortunately, once cured improperly, it's difficult to fully fix. You can try leaving it in a warmer environment for another 24-48 hours, or, if only slightly tacky, apply a very thin, properly mixed topcoat of resin. For best results, it's usually better to learn from the mistake, discard the piece, and start fresh with careful measurement and thorough mixing.
Is resin jewelry making safe for kids? What safety precautions should I take?
Resin crafting can be done with older children (10+) *under strict adult supervision*. The primary safety concerns are skin contact, inhalation of fumes, and eye exposure. Always work in a very well-ventilated area, ideally outdoors or with an open window and fan. Everyone involved *must* wear nitrile gloves, safety glasses, and a respirator mask (N95 or P100 with organic vapor cartridges is best). Avoid eating or drinking in the workspace. Clean up spills immediately with rubbing alcohol. Dispose of uncured resin waste (cups, sticks) in a sealed bag in household trash; cured resin is inert and safe. Emphasize that resin is not a toy and requires careful handling.
Should I buy an all-in-one resin jewelry kit or individual components?
For beginners, an all-in-one resin jewelry kit is an excellent starting point. Kits typically provide a balanced amount of resin, basic molds, mixing tools, and sometimes even embellishments like glitter or dried flowers, all at a reasonable price. This allows you to try the craft without a significant upfront investment in many separate items. As you gain experience and discover your preferred styles, buying individual components (specific types of resin, unique molds, specialized pigments, and tools) becomes more cost-effective and allows for greater creative freedom. Start with a kit to learn the ropes, then upgrade to individual components as your skills grow.
What Next?
You've just created a beautiful, unique piece of wearable art! Remember, the keys to successful resin crafting are precise measurement, thorough but slow mixing, and patience during the curing process. Don't be discouraged by a few bubbles or a less-than-perfect first attempt; even experienced crafters face challenges. With each pendant you make, your skills will grow, and you'll soon be experimenting with advanced techniques. Keep practicing, stay safe, and most importantly, have fun bringing your creative visions to life!
Free: 10 Paper Crafts Anyone Can Make in 5 Minutes
Get our beginner guide + new craft ideas weekly.
No spam. Unsubscribe anytime.
Did you complete this activity?
Related
You might also like
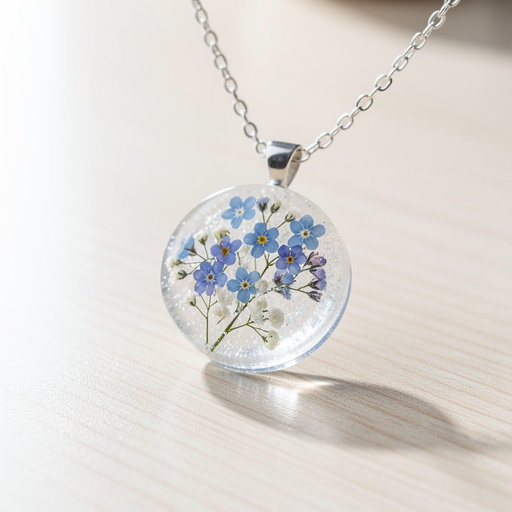
Layered Botanical Resin Pendant
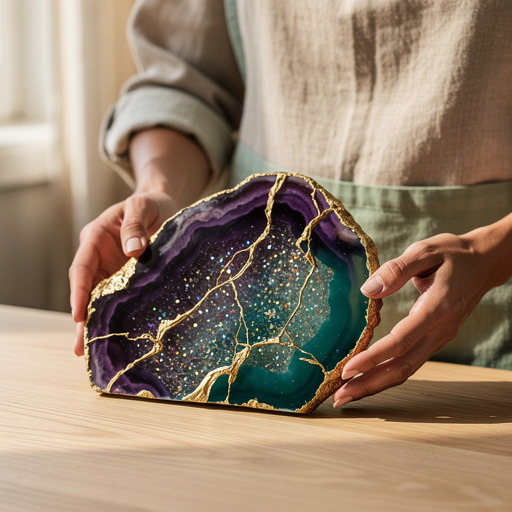
Crystal Resin Geode Slices
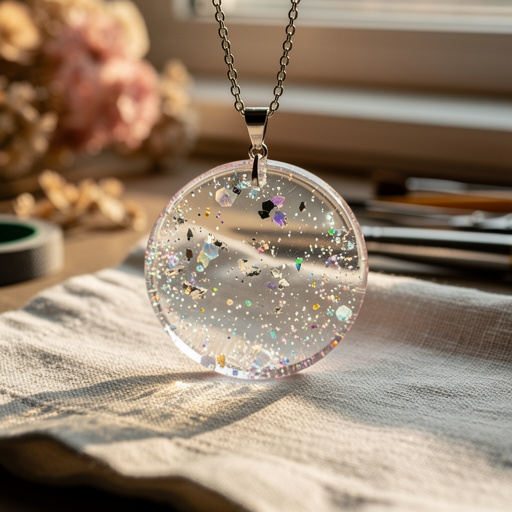
Floating Glitter Resin Pendants
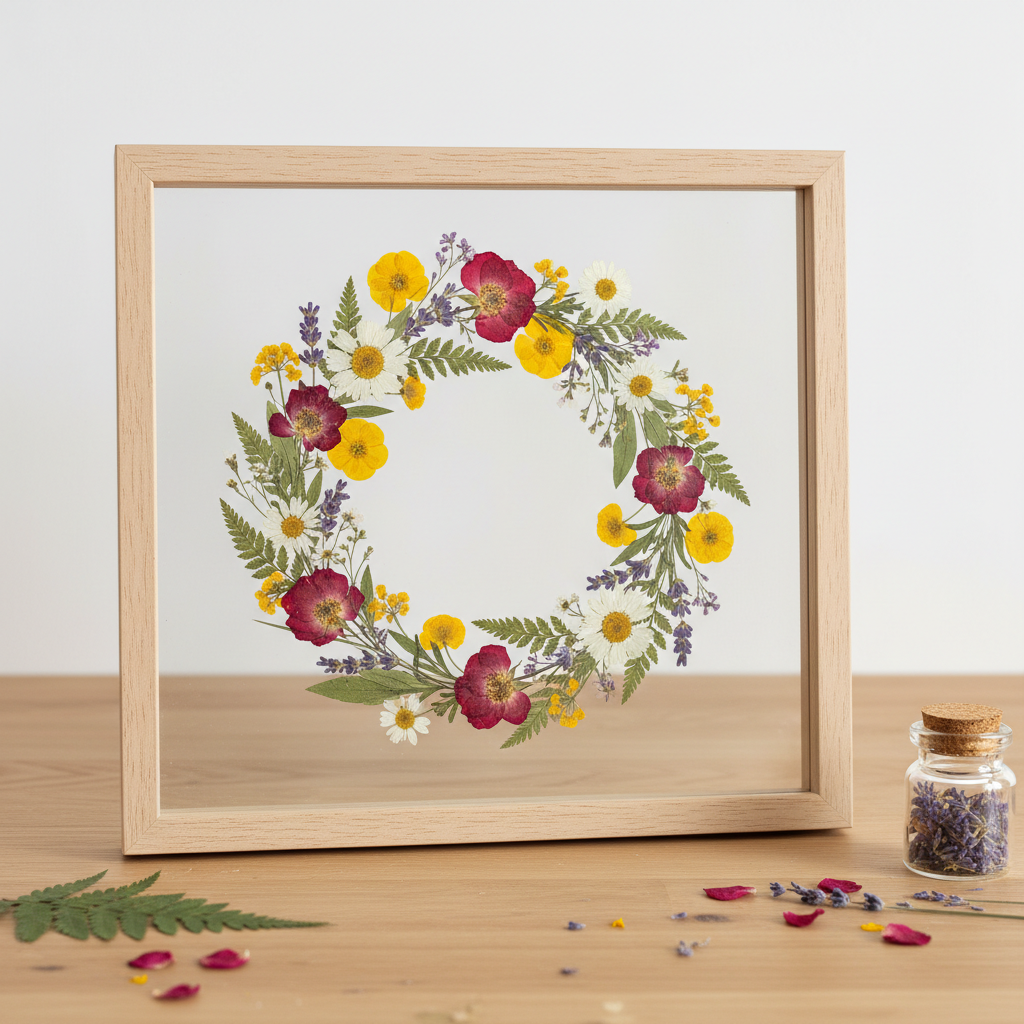
Pressed Flower Resin Coasters

Resin Paperweight with Found Objects