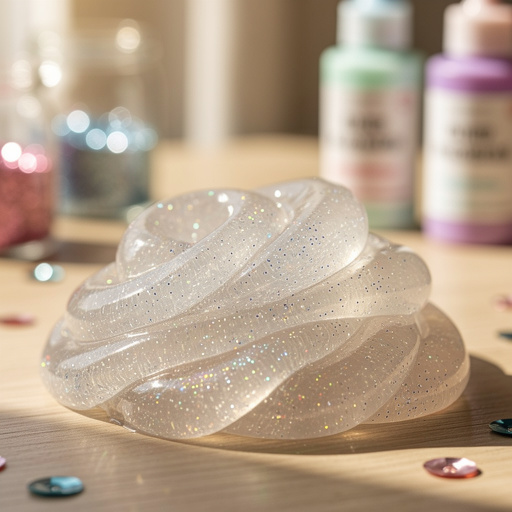
Edible Gummy Bear Slime: A Sweet Science Adventure
Dive into the delightful world of edible slime with this fun and easy Gummy Bear Slime recipe. This project is a fantastic way to explore basic science principles like melting points and polymer chains while creating a treat that's both fun to play with and safe to eat. It's a perfect activity for rainy days, birthday parties, or any time you want a hands-on, sensory experience that engages both creativity and taste buds.
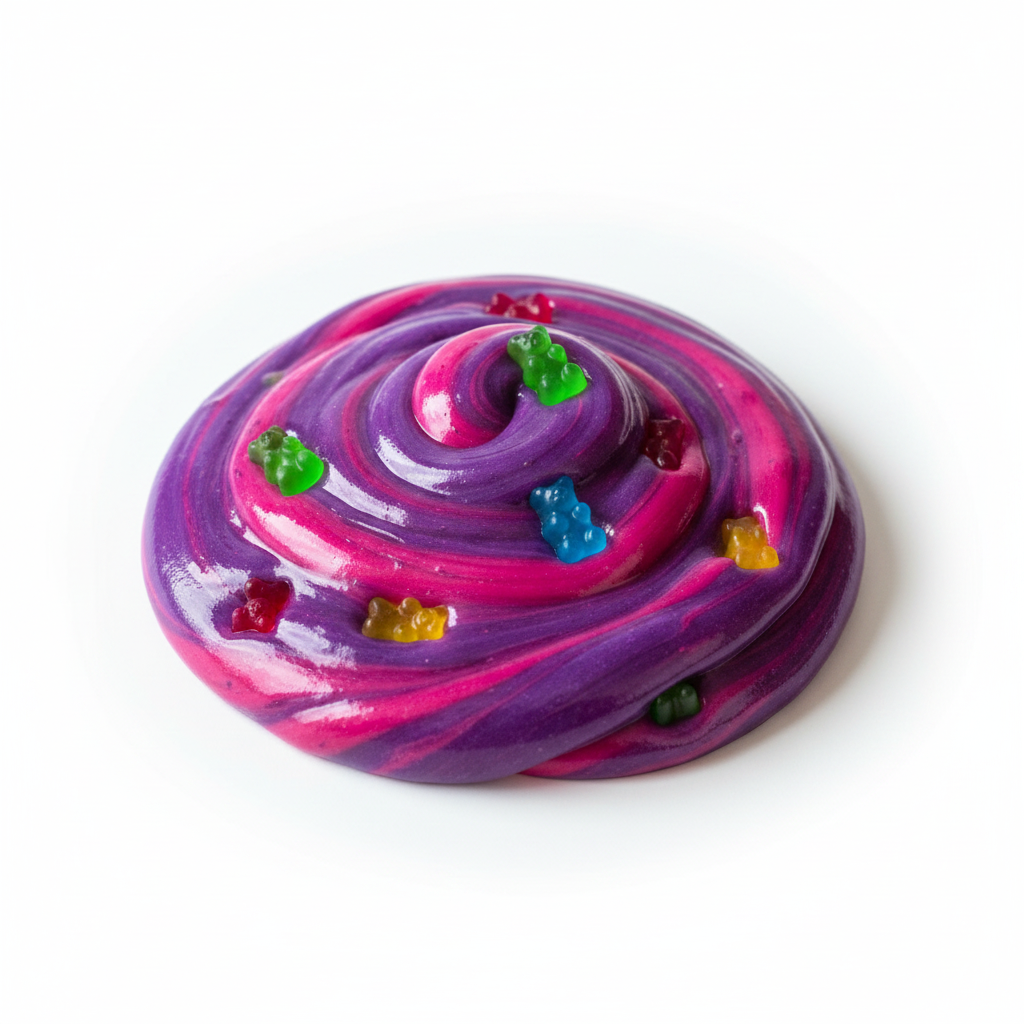
Quick answer
Melt gummy bears, mix with cornstarch and powdered sugar, cool, and knead until a stretchy, edible slime forms. Add oil for extra elasticity.
What you need
Shop on Amazon · As an Amazon Associate we earn from qualifying purchases. Links above are affiliate links — we may earn a commission at no extra cost to you.
Get ready for a truly unique and delicious crafting experience with our Edible Gummy Bear Slime! This project is a fantastic blend of science experiment and sensory play, making it an absolute hit for kids and adults alike. Imagine transforming your favorite chewy candies into a stretchy, squishy, and most importantly, edible slime. It’s a wonderful way to introduce fundamental scientific concepts in a hands-on, engaging manner, proving that learning can be incredibly sweet. Perfect for parties, educational fun, or just a delightful afternoon activity, this slime is sure to bring smiles and giggles.
On this page
Step-by-Step Instructions
- 1
**Step 1: Gather Your Sweet Ingredients and Tools.** Before you begin, ensure you have all your materials laid out and ready. This includes your gummy bears, cornstarch, powdered sugar, vegetable oil, a microwave-safe bowl, a spoon, measuring tools, and a clean surface for kneading. Having everything at hand will make the process smoother and more enjoyable.
- 2
**Step 2: Prepare the Gummy Bears for Melting.** Open your bag of gummy bears and measure out approximately one cup. You can use a single color for a uniform slime or mix different colors for a vibrant, multi-hued creation. The type of gummy bear can slightly affect the texture, so feel free to experiment with your favorites.
- 3
**Step 3: Initiate the Melting Process.** Place the measured gummy bears into your microwave-safe bowl. It's important to use a bowl that's large enough to accommodate the gummy bears as they melt and expand slightly, and also to allow for easy stirring.
- 4
**Step 4: First Microwave Melt.** Microwave the gummy bears on high power for 30 seconds. This initial burst of heat is designed to start breaking down the gelatin and sugar in the gummy bears, initiating the melting process.
- 5
**Step 5: Assess and Stir for Smoothness.** After the first 30 seconds, carefully remove the bowl from the microwave. Use your spoon to stir the gummy bears thoroughly. You're looking for signs of melting; they should be becoming gooey and starting to combine.
- 6
**Step 6: Targeted Reheating for Complete Liquidity.** If there are still significant lumps or un-melted pieces, return the bowl to the microwave. Reheat in very short intervals of 10-15 seconds, stirring well after each interval. This prevents overheating and potential scorching, ensuring a smooth, liquid consistency.
- 7
**Step 7: Achieve Perfect Melted Gummy Bear Consistency.** Continue the short reheating and stirring process until the gummy bear mixture is completely smooth and has a liquid, syrup-like consistency. It should resemble melted candy or a thick sauce. Avoid over-microwaving, which can make the mixture too thick or even burn it.
- 8
**Step 8: Begin the Cooling Phase.** Once your gummy bears are fully melted and smooth, it's crucial to let the mixture cool down. Stir the melted gummy bear mixture gently for a minute or two. This helps to dissipate some of the heat and encourages even cooling.
- 9
**Step 9: Safety First: Cool to a Safe Temperature.** **Caution: The melted gummy bear mixture will be extremely hot!** Allow it to cool in the bowl until it's warm to the touch but no longer dangerously hot. You should be able to comfortably hold your finger in it for a few seconds without discomfort. This step is vital to prevent burns and to ensure the mixture doesn't prematurely cook the dry ingredients.
- 10
**Step 10: Prepare Your Dry Binding Agents.** While the gummy bear mixture is cooling, prepare your dry ingredients. In a separate, clean bowl, combine the cornstarch and powdered sugar. Whisk them together gently to ensure they are evenly distributed.
- 11
**Step 11: Create Your Initial Slime Base.** Place about half of the combined cornstarch and powdered sugar mixture onto your clean cutting board or countertop. Create a shallow well in the center of this dry mixture, like a volcano shape. This will serve as the base for your slime.
- 12
**Step 12: Introduce the Melted Gummy Bears to the Dry Mix.** Carefully pour the cooled, but still warm, melted gummy bear mixture into the well you created in the dry ingredients. The warmth of the gummy bears will help to activate the cornstarch and begin the thickening process.
- 13
**Step 13: The Initial Kneading Stage.** Once the gummy bear mixture is cool enough to handle without burning your fingers, begin to gently knead it. Use your hands to fold the dry ingredients into the wet mixture. It will be very sticky and messy at this initial stage, which is completely normal.
- 14
**Step 14: Gradually Incorporate Remaining Dry Ingredients.** As you knead, gradually add the remaining cornstarch and powdered sugar mixture. Sprinkle it over the sticky mass and continue to knead, incorporating it bit by bit. This gradual addition is key to achieving the right slime consistency without making it too dry or too crumbly.
- 15
**Step 15: Develop the Slime Texture.** Keep kneading the mixture. As you work it, the cornstarch and powdered sugar will absorb the moisture from the gummy bears, transforming the sticky mass into a more cohesive and less sticky dough-like substance. This process can take several minutes of consistent kneading.
- 16
**Step 16: Assess Stickiness and Adjust.** Continue kneading until the slime is no longer excessively sticky and holds its shape reasonably well. If it's still too sticky to handle comfortably, you can add a tiny bit more of the dry mixture, a teaspoon at a time, and knead it in. Be careful not to add too much, or the slime will become stiff.
- 17
**Step 17: Enhance Stretchiness with Oil.** Once the slime has reached a manageable, non-sticky consistency, it's time to add the oil. Add a small amount of vegetable oil, starting with about 1/2 teaspoon. This oil acts as a plasticizer, making the slime more stretchy and elastic.
- 18
**Step 18: Knead in the Oil for Elasticity.** Knead the oil thoroughly into the slime. You'll notice the texture becoming smoother, more pliable, and significantly stretchier. Continue kneading until the oil is fully incorporated and the slime has a satisfying elasticity.
- 19
**Step 19: Fine-Tune Oil Addition (If Necessary).** You likely won't need the full amount of oil. If the slime still feels a bit stiff or not stretchy enough after the initial addition, add another 1/4 teaspoon of oil and knead it in. The goal is a smooth, stretchy, and pliable slime that doesn't break easily.
- 20
**Step 20: Final Texture Check and Playtime Preparation.** Once you've achieved the desired stretchiness and texture, give your edible gummy bear slime one last good knead. It should feel smooth, slightly elastic, and be fun to pull and stretch without tearing too quickly. Your creation is now ready for sensory exploration!
- 21
**Step 21: Enjoy Your Edible Creation!** Your edible gummy bear slime is now ready to play with! Stretch it, squish it, and when you're done playing, you can even enjoy a sweet treat. Remember, this slime is made from edible ingredients, making it a safe and fun sensory experience.
- 22
**Step 22: Proper Storage for Longevity.** When you're finished playing with your edible gummy bear slime, it's important to store it correctly. Place it in an airtight container at room temperature. This will prevent it from drying out and keep it fresh for your next play session.
Tips & Troubleshooting
- 1**Experiment with Gummy Bear Flavors and Colors:** Don't be afraid to mix and match different gummy bear flavors and colors. This can lead to unique slime colors and even subtle flavor combinations, making your slime even more exciting and personalized.
- 2**Adjust Cornstarch and Powdered Sugar Ratios:** The exact ratio of cornstarch to powdered sugar might need slight adjustments depending on the humidity and the specific gummy bears you use. If your slime is too sticky, add a little more dry mixture; if it's too stiff, a tiny bit more oil might help.
- 3**Be Patient with Cooling:** Rushing the cooling process is a common mistake. Ensure the gummy bear mixture is cool enough to handle safely before you start kneading. Touching hot slime can cause burns and will also make the dry ingredients clump up unevenly.
- 4**Kneading is Key to Texture:** The kneading process is where the magic happens. Don't get discouraged if it's very sticky at first. Consistent kneading will gradually transform the mixture into a smooth, pliable slime. Think of it like kneading bread dough – the more you work it, the better the texture becomes.
- 5**Oil for Stretchiness, Not Just Stickiness:** The vegetable oil isn't just to combat stickiness; it's crucial for developing the slime's elasticity. Add it gradually and knead it in well to achieve that satisfying stretchy quality that makes slime so fun to play with.
- 6**Cleanliness is Crucial:** Ensure your hands, bowls, and work surface are clean before you start. This not only makes the process more hygienic but also prevents unwanted debris from getting into your edible slime, ensuring it's safe and enjoyable to play with and consume.
- 7**Microwave Power Varies:** Microwave wattages differ, so the initial melting time might need slight adjustments. Always start with the recommended time and add more in very short increments to avoid burning the gummy bears, which can result in a bitter taste and a less desirable texture.
Related Activities You Might Enjoy
Frequently Asked Questions
Is this slime truly edible, and what are the safety considerations?
Yes, this gummy bear slime is designed to be completely edible, as it's made from common food ingredients like gummy bears, cornstarch, and powdered sugar. However, it's important to remember that while edible, it's primarily intended for play. Ensure that the slime is made with clean hands and on clean surfaces. Also, be mindful of any allergies your participants might have to the ingredients. While the ingredients are food-grade, the texture and taste are optimized for play rather than being a gourmet treat. It's best enjoyed in moderation as a fun sensory experience.
What kind of gummy bears work best for making slime?
Most standard gummy bears will work well for this recipe. The key components in gummy bears that allow them to melt and form slime are gelatin and sugar. Brands like Haribo, Trolli, or even store-brand gummy bears are generally suitable. You can experiment with different flavors and colors to create unique slime variations. Some users find that bears with a higher gelatin content might result in a slightly chewier slime, while those with more pectin might be a bit softer. Ultimately, the goal is a smooth, melted consistency, so any gummy bear that melts easily should be a good starting point.
My slime is too sticky. What can I do to fix it?
If your edible gummy bear slime is too sticky, don't worry, it's a common issue that can usually be resolved. The primary solution is to gradually incorporate more of the dry ingredient mixture (cornstarch and powdered sugar). Add it a teaspoon at a time, kneading thoroughly after each addition, until the slime becomes less sticky and more manageable. Be patient, as it might take a few additions. If it's still a bit sticky after adding dry ingredients, a tiny drop of vegetable oil can also help to reduce tackiness and improve the texture.
My slime is too stiff or crumbly. How can I make it stretchier?
If your slime is too stiff, crumbly, or breaks easily, it likely needs more elasticity, which the vegetable oil helps to provide. Add a small amount of vegetable oil, starting with about 1/4 to 1/2 teaspoon, and knead it thoroughly into the slime. The oil acts as a plasticizer, making the slime more pliable and stretchy. Continue kneading until the oil is fully incorporated and the slime feels smoother and more elastic. You might need to add another tiny bit of oil, but be careful not to add too much, as this can make the slime greasy.
How long does edible gummy bear slime last, and how should I store it?
Edible gummy bear slime is best enjoyed fresh, but it can be stored for a few days if kept properly. To maintain its texture and prevent it from drying out, store the slime in an airtight container at room temperature. Avoid refrigerating it, as this can make the cornstarch and sugar mixture harden. If the slime starts to feel a bit dry after a day or two, you can try kneading in a tiny bit more vegetable oil to revive its elasticity. Always check for any signs of spoilage before playing with or consuming it.
Can I add other edible ingredients like glitter or food coloring?
Absolutely! Adding edible glitter or food coloring can make your gummy bear slime even more visually appealing. For edible glitter, ensure it's specifically labeled as food-grade. You can sprinkle it in during the kneading process. If you want to add food coloring, it's best to add a drop or two to the melted gummy bear mixture *before* you start incorporating the dry ingredients. This ensures the color is evenly distributed. Be aware that some food colorings can slightly alter the slime's texture, so start with a small amount.
What Next?
Your homemade edible gummy bear slime is a testament to the fun that can be had with simple ingredients and a little scientific curiosity. Feel free to experiment with different gummy bear flavors and colors to create a rainbow of slimes! For an even more exciting display, consider layering different colored slimes or even adding edible glitter. When playtime is over, remember to store your slime in an airtight container at room temperature to keep it fresh and pliable for your next sensory adventure. Ready for more sweet science? Try making edible playdough or candy-infused bath bombs next!
Free: 10 Paper Crafts Anyone Can Make in 5 Minutes
Get our beginner guide + new craft ideas weekly.
No spam. Unsubscribe anytime.
Did you complete this activity?
Related
You might also like
Cloud Dough Slime Creation
Super Fluffy Cloud Slime
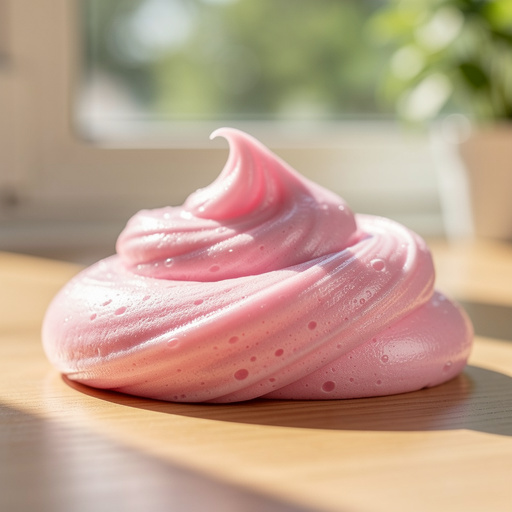
Fluffy Glue Slime Fun
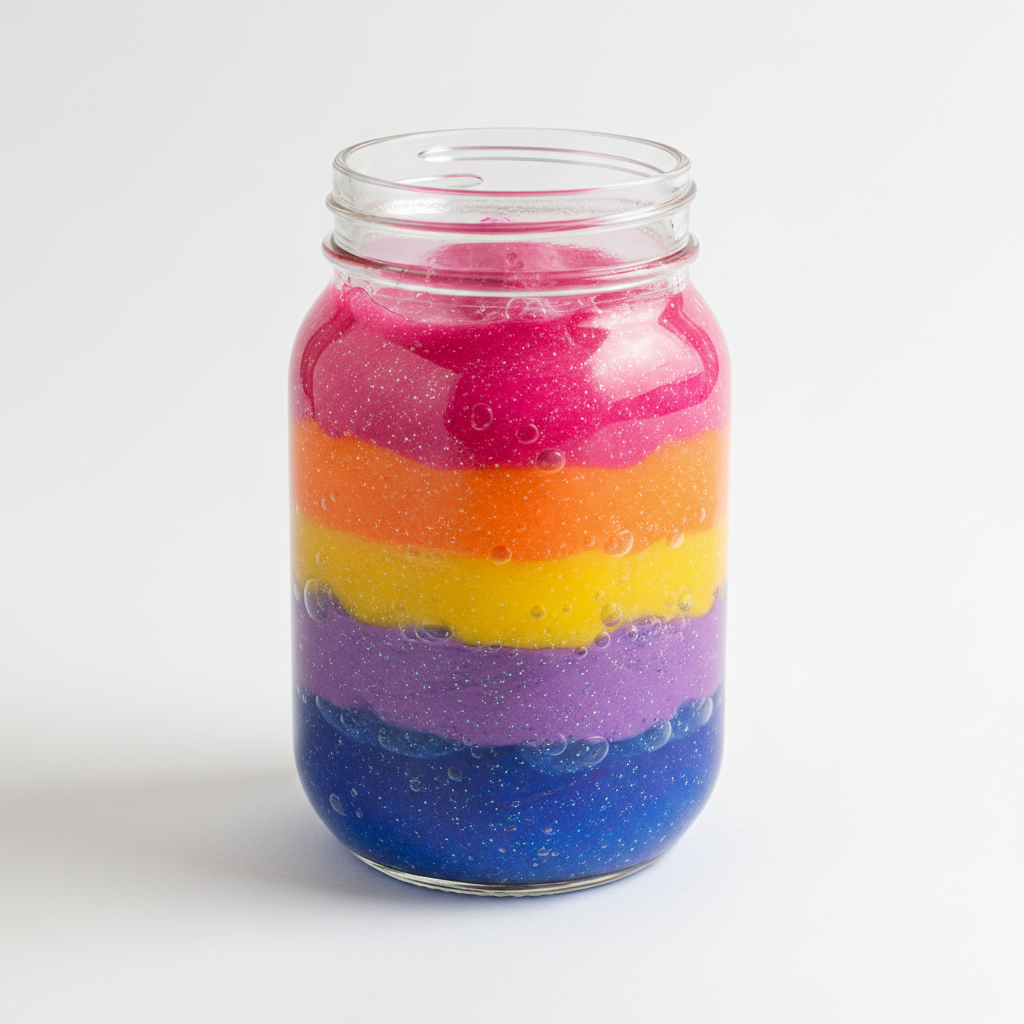
Rainbow Layered Slime Jar
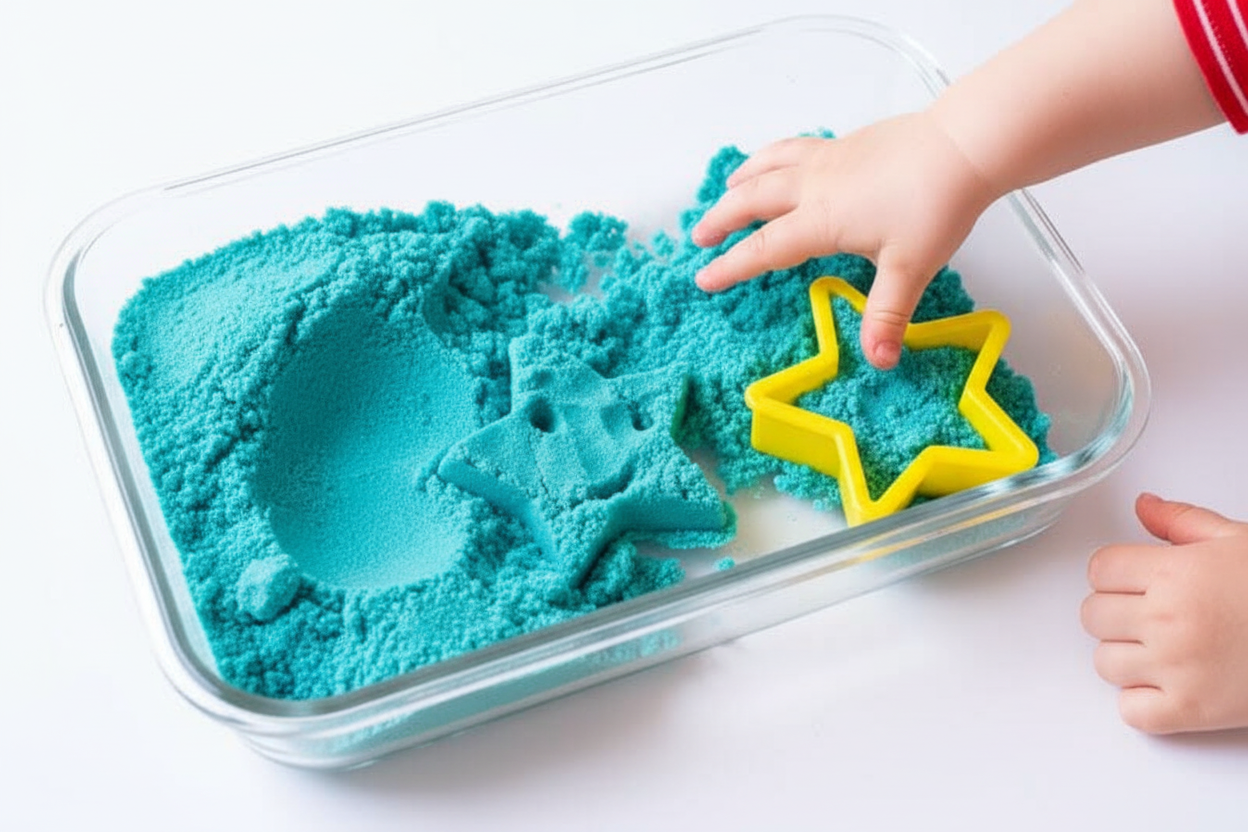
Homemade Kinetic Sand