How to Make Slime with Glue — Easy Step-by-Step Guide
Discover the magic of making your own sparkly slime! This easy, screen-free activity uses common household ingredients for hours of gooey fun. Perfect for a rainy day or a fun science experiment, this guide will walk you through creating the perfect slime texture every time. Get ready for some seriously satisfying squishy, stretchy, and sparkly playtime!

Quick answer
To make slime with glue, you need PVA glue, activator (like contact lens solution with boric acid), and optional glitter. Start by mixing glue and baking soda, then gradually add the activator while stirring until the slime forms. Knead until smooth and stretchy. This beginner-friendly activity has 15 steps and is perfect for kids aged 6+.
What you need
Shop on Amazon · As an Amazon Associate we earn from qualifying purchases. Links above are affiliate links — we may earn a commission at no extra cost to you.
Embark on a delightful journey into the world of DIY slime! Making slime with glue is more than just a craft; it's a captivating science experiment that sparks creativity and provides endless tactile enjoyment. This project is perfect for curious minds of all ages, offering a screen-free way to engage with basic chemistry principles. Whether you're looking for a fun activity to do with children, a stress-relieving fidget toy, or simply a way to unleash your inner scientist, this easy-to-follow guide will help you create the most amazing, sparkly slime imaginable.
On this page
Step-by-Step Instructions
- 1
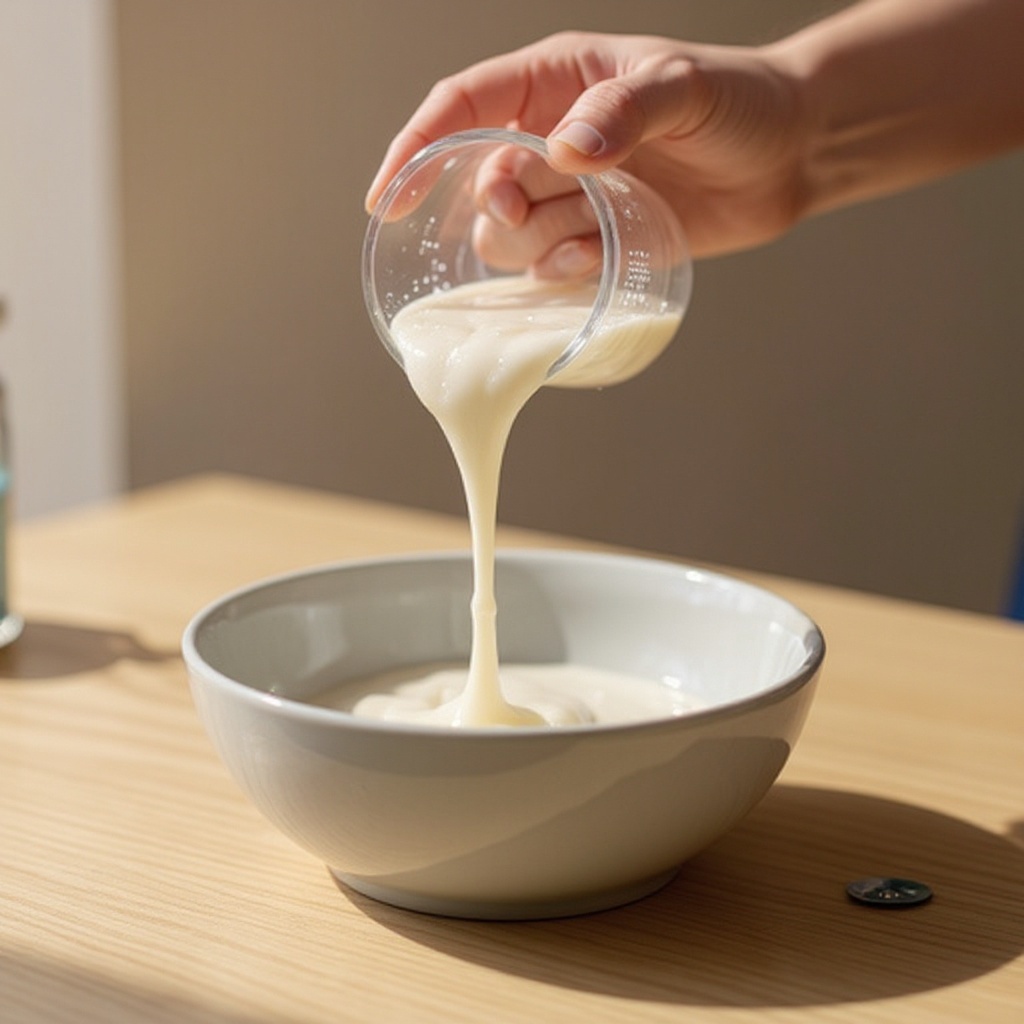
Begin by carefully measuring out 1/2 cup (4 oz) of your chosen PVA school glue into a medium-sized mixing bowl. Ensure you are using PVA-based glue, as other types will not react properly to create slime.
- 2
Next, add 1/2 teaspoon of baking soda to the glue. Baking soda acts as a pH buffer and helps the slime to firm up, so stir it in thoroughly until it is completely dissolved and no clumps remain.
- 3
If you desire a colored slime, now is the time to add your food coloring. Start with just a few drops of gel or liquid food coloring and stir until the color is evenly distributed throughout the glue mixture. You can always add more color for a more vibrant hue.
- 4
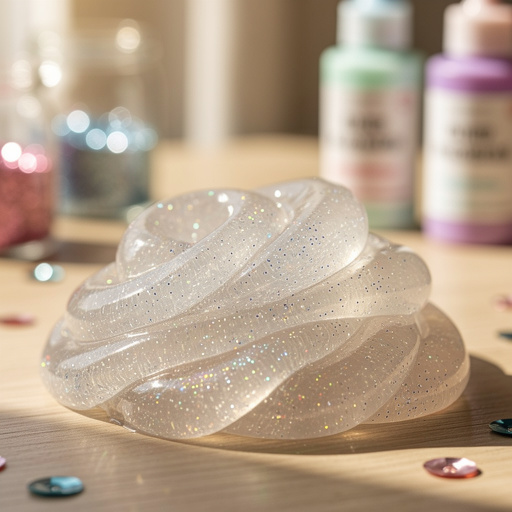
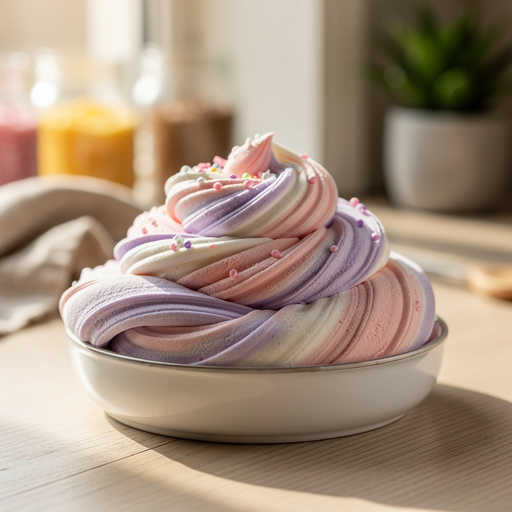
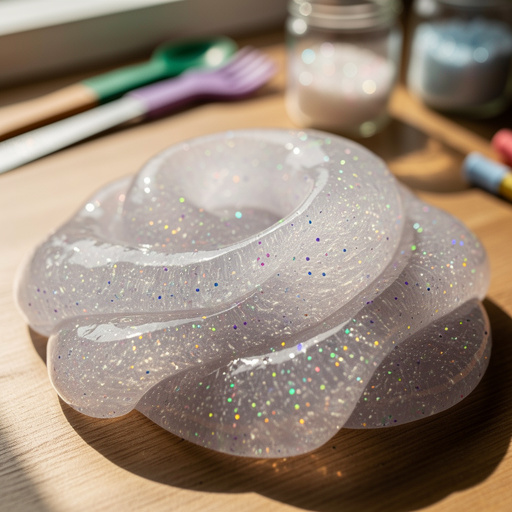
For that extra sparkle, sprinkle in your desired amount of glitter. Whether you prefer fine, chunky, or holographic glitter, mix it in well to ensure it's dispersed evenly throughout the glue mixture for maximum shimmer in your final slime.
- 5
If you're aiming for a stretchier slime, you can now add 1/4 cup of water to the mixture. Stir this in until it's fully incorporated with the glue, baking soda, and any color or glitter you've added.
- 6
Now, it's time to introduce the activator. Begin by adding 1 tablespoon of contact lens solution to the bowl. Make sure your contact lens solution contains boric acid and sodium borate, as these are crucial ingredients for the slime-making reaction.
- 7
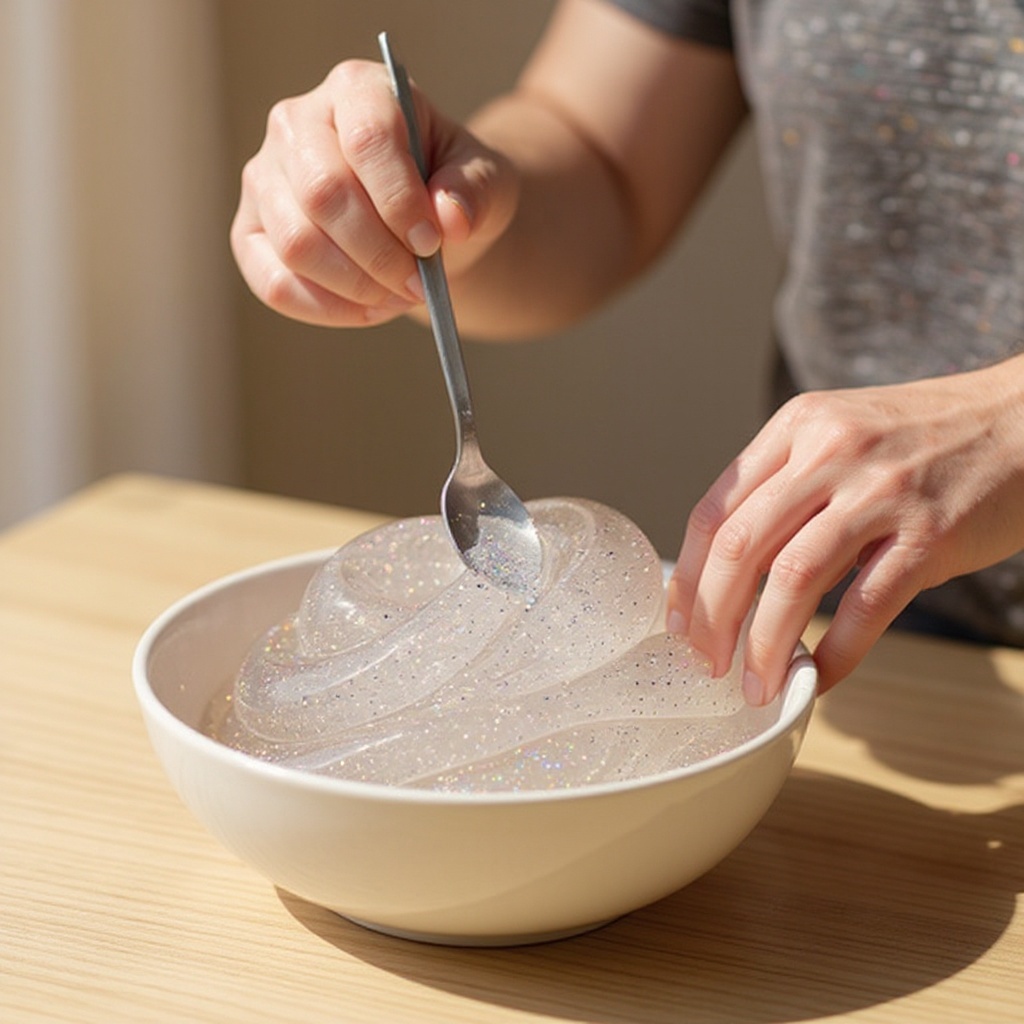
As you add the contact lens solution, start stirring the mixture continuously. You'll notice the mixture beginning to thicken and pull away from the sides of the bowl, indicating the slime is starting to form. Keep stirring vigorously.
- 8
Continue adding more contact lens solution, but do so very gradually. Add it a little at a time, perhaps another 1/2 tablespoon, and keep stirring. The goal is to add just enough activator to achieve a slime consistency that is no longer sticky.
- 9
Observe the texture closely as you stir. The slime should start to clump together and become less stringy. If it's still very wet and sticking to the bowl, add a tiny bit more activator. Be cautious not to over-activate at this stage.
- 10
Once the slime has mostly pulled away from the sides of the bowl and is less sticky, it's time to get your hands involved. Lightly grease your hands with a tiny bit of contact lens solution or lotion to prevent sticking.
- 11
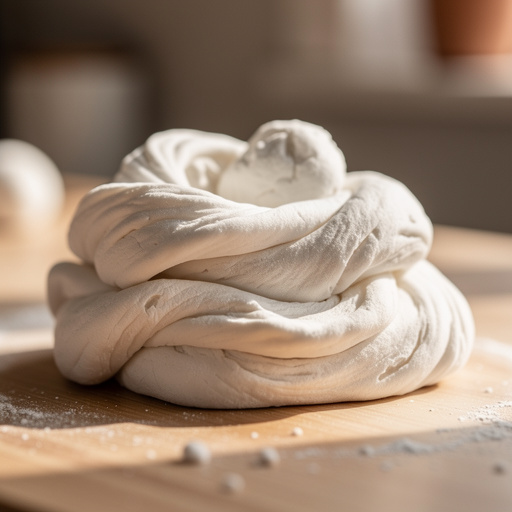
Gently pick up the slime from the bowl and begin kneading it with your hands. This process is crucial for developing the slime's texture, making it smooth, stretchy, and less sticky. Fold, stretch, and press the slime repeatedly.
- 12
Continue kneading the slime for at least 2-3 minutes. You'll feel it transform from a sticky mass into a pliable, cohesive, and satisfyingly stretchy material. If it remains too sticky after a few minutes of kneading, add just a few more drops of contact lens solution and continue kneading.
- 13
If, by chance, your slime becomes too stiff or breaks easily, it's a sign that you've added too much activator. Don't worry, you can often fix this by adding a little more glue and kneading it in thoroughly until the desired elasticity is restored.
- 14
Once your slime has reached the perfect smooth and stretchy consistency, it's ready for play! Stretch it, poke it, swirl it, and enjoy the satisfying sensory experience.
- 15
When you're finished playing, store your slime in an airtight container or a zip-top bag at room temperature. This will prevent it from drying out and keep it fresh for your next slime-making adventure.
Tips & Troubleshooting
- 1If your slime is consistently too sticky even after thorough kneading, the solution is to add a tiny bit more activator. Add just a few drops of contact lens solution at a time, kneading it in thoroughly after each addition, until the slime reaches your desired, manageable consistency. Patience is key here to avoid over-activating.
- 2Conversely, if your slime feels too stiff, breaks easily, or is rubbery, you've likely added too much activator. The best way to remedy this is to add a little more PVA glue to the mixture and knead it in thoroughly. This will help to reintroduce the necessary flexibility.
- 3Experiment with different types of glitter to create truly unique slime variations. Try using fine holographic glitter for an iridescent sheen, chunky glitter for a bolder look, or even mixing different sizes and colors for a multi-dimensional sparkle effect.
- 4Don't be afraid to get creative with colors! Gel food coloring provides more vibrant and concentrated colors than liquid coloring. You can also mix colors to create custom shades, or even add a touch of white glue to pastelize brighter colors.
- 5For an added sensory experience, consider incorporating small, waterproof additions into your slime. Tiny plastic toys, colorful beads, shiny sequins, or even miniature foam balls can add interesting textures and visual appeal to your creation.
- 6If you don't have contact lens solution readily available, you can use other activators. Liquid starch is a good alternative, or you can make a borax solution by dissolving 1/4 teaspoon of borax powder in 1/2 cup of warm water (ensure it's fully dissolved before use). Always supervise children when using borax.
- 7Always store your finished slime in an airtight container or a sturdy zip-top bag. Keeping it sealed at room temperature will prevent it from drying out and becoming hard, ensuring it remains stretchy and playable for an extended period.
- 8Clean up is part of the fun! Have a damp cloth or paper towels handy to wipe down your workspace and hands after your slime-making session. Any residual slime can usually be washed off with soap and water.
Related Activities You Might Enjoy
Frequently Asked Questions
What kind of glue do I need for slime?
For the most successful slime, you absolutely need PVA-based school glue. Brands like Elmer's white glue or Elmer's clear glue are perfect choices because they contain polyvinyl acetate, which is the key ingredient that reacts with activators to form slime. Avoid using craft glues that are not specifically labeled as PVA, as they may not have the right chemical properties. Super glues are also not suitable for slime making. Always check the label to ensure it's a PVA glue for optimal slime results.
Why isn't my slime activating?
The most common reason for slime not activating, or becoming a sticky mess, is that your contact lens solution doesn't contain the essential ingredients: boric acid and sodium borate. These are the magic components that cross-link the polymer chains in the PVA glue, turning it into slime. Carefully check the ingredients list on your contact lens solution bottle. If these are not present, the solution will not work as an activator. Other activators like liquid starch or a borax solution are also effective if your contact lens solution isn't working.
How do I make slime less sticky?
If your slime is too sticky, it likely needs a little more activator to complete the chemical reaction. The best approach is to add your activator (usually contact lens solution) a few drops at a time. After each addition, knead the slime thoroughly with your hands. This allows the activator to distribute evenly and react with the glue. Continue this process until the slime is no longer sticking excessively to your hands or the bowl, and it reaches your desired, manageable consistency.
Can I make slime without contact lens solution?
Yes, you can absolutely make slime without contact lens solution! While contact lens solution is a popular and convenient activator, other household items can also be used. Liquid starch is a common and effective alternative; simply add it gradually to your glue mixture while stirring until slime forms. Another option is to create a borax solution by dissolving 1/4 teaspoon of borax powder in 1/2 cup of warm water. Use this solution sparingly as your activator. Always supervise children when using borax due to its potential for irritation.
How do I make my slime stretchy?
To achieve a super stretchy slime, there are a couple of tricks. Firstly, adding a small amount of water (about 1/4 cup) to your PVA glue before adding the activator can help create a more pliable and stretchy slime. Secondly, the kneading process is crucial. Kneading the slime for a good 2-3 minutes, or even longer, helps to develop its elasticity. If your slime is still not stretchy enough after kneading, you might have added a bit too much activator, so try adding a touch more glue and kneading again.
What if my slime is too stiff or breaks easily?
If your slime is too stiff, breaks easily, or has a rubbery texture, it's a clear sign that you've added too much activator. Don't despair, as this is often fixable! The best solution is to add a little more PVA glue to the stiff slime and knead it in thoroughly. The extra glue will help to reintroduce flexibility and elasticity to the mixture. Continue kneading until the slime becomes smooth and stretchy again. This process might take a few minutes.
How long does homemade slime last?
When stored properly in an airtight container or a sealed zip-top bag at room temperature, homemade slime can last for several days to a couple of weeks. The exact lifespan depends on the ingredients used and the environmental conditions. If the slime starts to dry out, become hard, or develop an unusual odor, it's time to discard it. Keeping it away from direct sunlight and extreme temperatures will help prolong its playability and maintain its desirable texture.
What Next?
Congratulations on creating your very own batch of sparkling slime! The possibilities for customization are truly endless. Consider adding small, waterproof toys like beads or sequins for extra texture, or even glow-in-the-dark paint for a spooky nighttime effect. Once your slime is ready, store it in an airtight container or a resealable bag at room temperature to maintain its perfect consistency for days of play. This slime-making adventure is just the beginning; explore different glue types, activators, and add-ins to discover even more slime variations and continue your creative exploration!
Free: 10 Paper Crafts Anyone Can Make in 5 Minutes
Get our beginner guide + new craft ideas weekly.
No spam. Unsubscribe anytime.
Did you complete this activity?
Related
You might also like
Cloud Dough Slime Creation
Sparkly Borax Slime Fun
Simple Glue and Water Slime
Fluffy Glue Slime Fun
Super Fluffy Cloud Slime