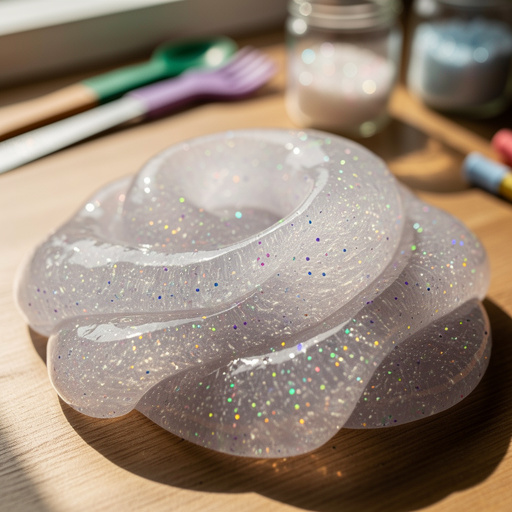
How to Make Fluffy Slime — Easy Step-by-Step Guide
Whip up a batch of incredibly soft and stretchy fluffy slime with this simple, screen-free tutorial. Perfect for hours of tactile fun!
Quick answer
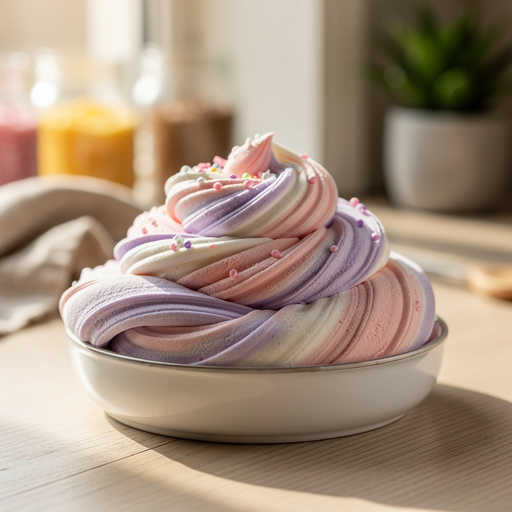
To make fluffy slime, you need shaving cream, white glue, baking soda, and contact lens solution, taking about 15 minutes. Start by mixing glue and shaving cream. This beginner-friendly activity has 8 steps and is perfect for kids aged 6+.
What you need
Shop on Amazon · As an Amazon Associate we earn from qualifying purchases. Links above are affiliate links — we may earn a commission at no extra cost to you.
Dive into the wonderfully tactile world of slime making with this easy guide to creating fluffy slime! This isn't just any slime; its airy, cloud-like texture makes it incredibly satisfying to squish, stretch, and play with. It's a fantastic screen-free activity that sparks creativity and provides a calming sensory experience for children and adults alike. Whether you're looking for a fun afternoon project, a way to de-stress, or a unique party favor, this fluffy slime recipe is your go-to for guaranteed fun and impressive results.
On this page
Step-by-Step Instructions
- 1
In a medium bowl, pour 1 cup of white school glue. Ensure you're using a PVA-based glue, as this is essential for the slime's structure and stretchiness. Measure carefully to avoid altering the slime's consistency.
- 2
Add 1/2 cup of shaving cream to the glue and gently mix until just combined. The key here is to be gentle; overmixing at this stage can deflate the fluffiness. Aim for a marbled appearance initially, as the ingredients will fully incorporate later.
- 3
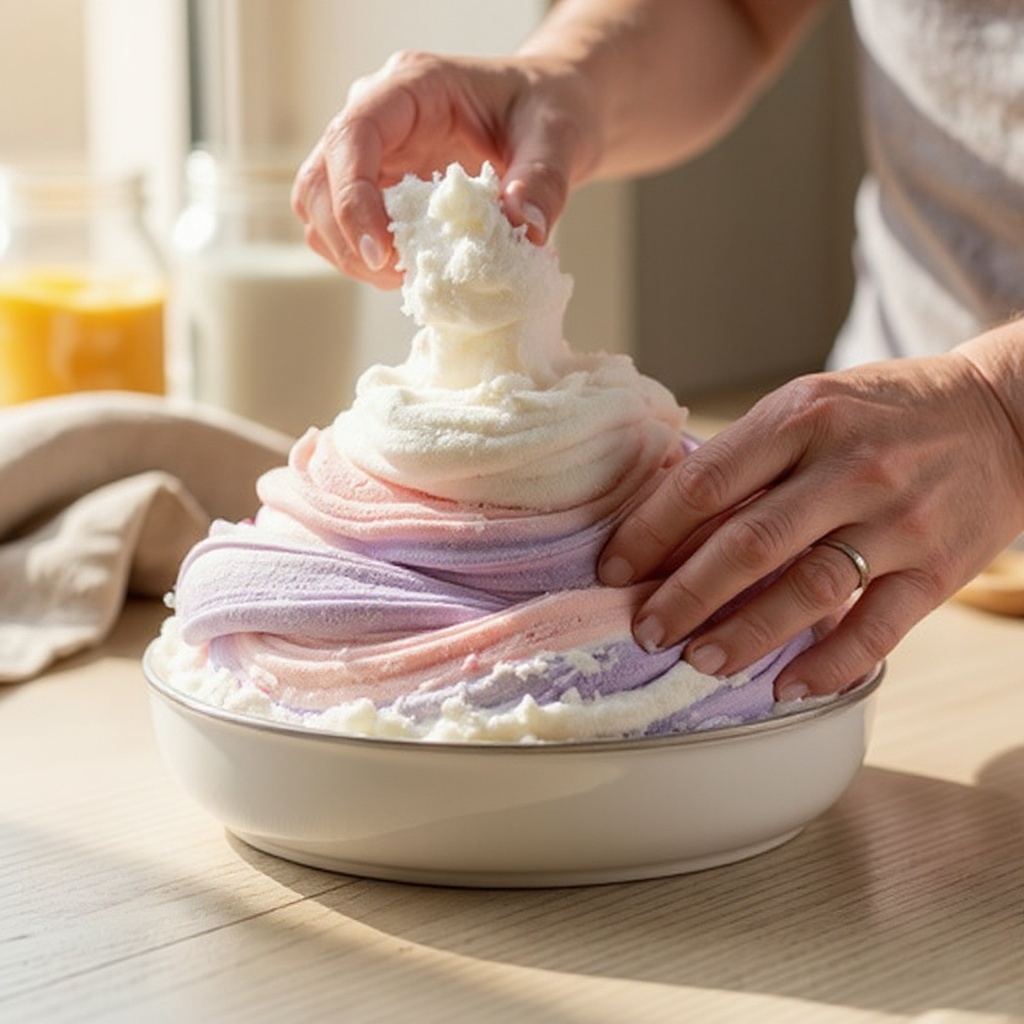
Stir in 1/2 teaspoon of baking soda until it's fully incorporated. Baking soda acts as a pH buffer and helps to thicken the slime, contributing to its final texture. Ensure there are no visible clumps of baking soda remaining.
- 4
If using, add a few drops of food coloring and any glitter, then mix thoroughly. Start with a small amount of food coloring, as it can be intensified later. Distribute the glitter evenly throughout the mixture for a consistent sparkle.
- 5
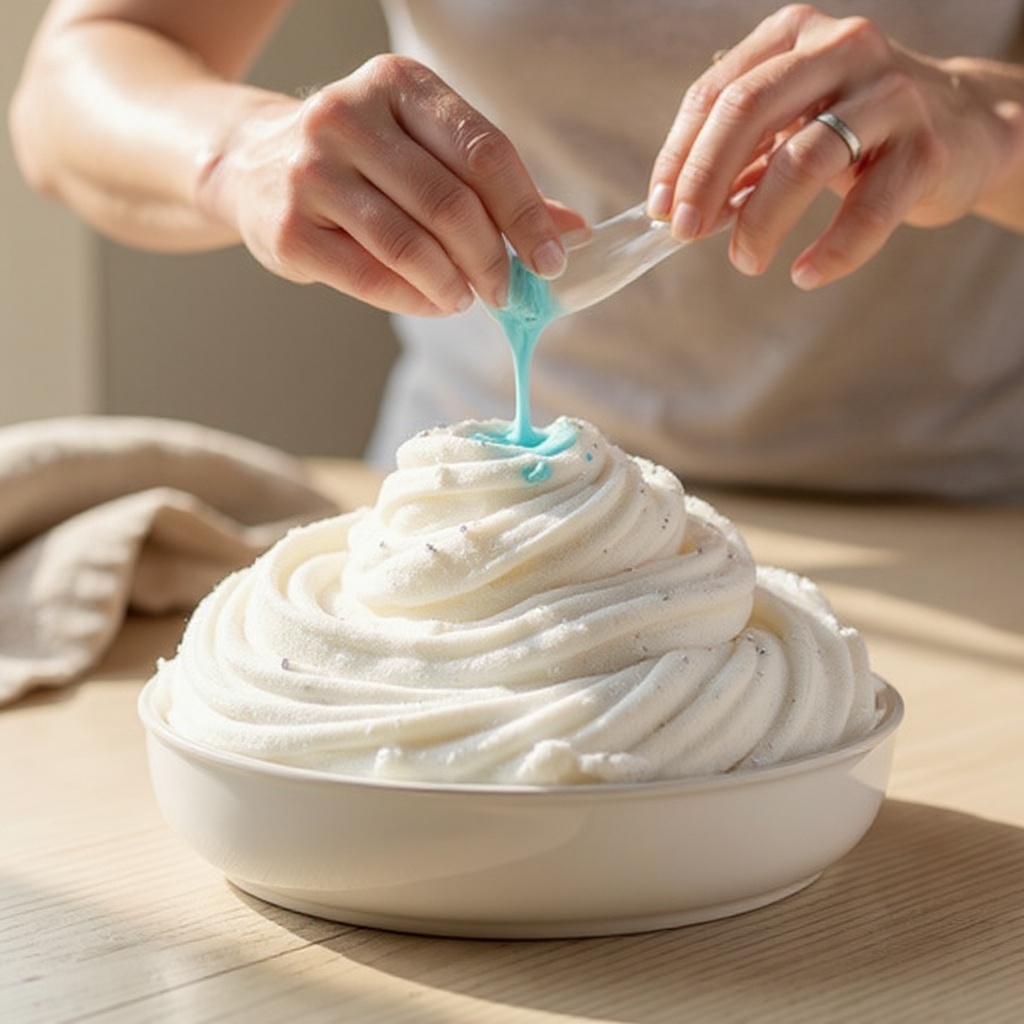
Gradually add 1 tablespoon of contact lens solution, stirring continuously. This is the activator that transforms the liquid mixture into slime. Add it slowly, a little at a time, while stirring vigorously. You'll notice the mixture starting to thicken and pull away from the sides of the bowl.
- 6
Continue stirring until the mixture begins to clump together and form a cohesive mass. At this point, it might still be a bit sticky, which is perfectly normal. Keep stirring until you see it significantly pulling away from the bowl's edges.
- 7
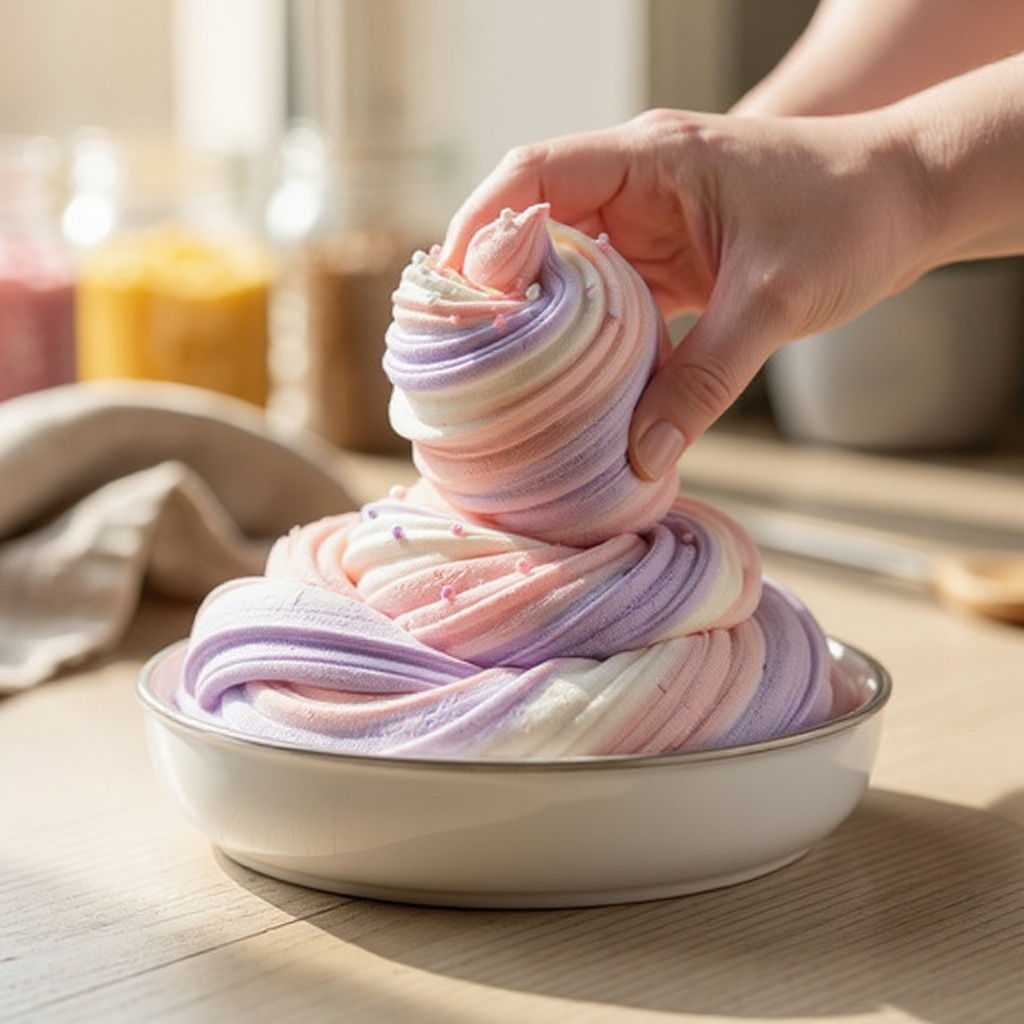
Once the slime begins to form a cohesive ball, take it out of the bowl and knead it with your hands. This is where the magic happens! The warmth and motion of your hands will help the slime come together and develop its final, non-sticky texture.
- 8
Continue kneading for 3-5 minutes until the slime is no longer sticky and has a smooth, fluffy texture. Stretch it, fold it, and squish it. If it's still too sticky, refer to the tips section for adjustments. The goal is a soft, pliable, and airy consistency.
- 9
Check the slime's consistency after the initial kneading. If it feels slightly tacky, continue kneading for another minute or two. The kneading process is crucial for developing the slime's elasticity and smooth finish.
- 10
If the slime is still too sticky after a few minutes of kneading, it's time for a small adjustment. Add an additional 1/2 teaspoon of contact lens solution and knead it in thoroughly. Be cautious not to add too much, as this can make the slime stiff.
- 11
Alternatively, if the slime feels too stiff or is tearing easily, it might be a sign of overmixing or too much activator. Try adding a small amount of white glue (about a teaspoon) and kneading it in. This can help to reintroduce elasticity.
- 12
Assess the fluffiness. For maximum fluffiness, ensure you used a generous amount of shaving cream and that it was the foam variety. The more air incorporated from the shaving cream, the lighter and airier your slime will be.
- 13
Once you've achieved the desired texture, it's time to store your creation. Transfer the fluffy slime into an airtight container or a resealable zip-top bag. This step is vital to prevent the slime from drying out and losing its soft, pliable nature.
- 14
Ensure the container or bag is completely sealed. Air exposure is the enemy of slime, leading to a hard, crumbly texture. Proper storage will significantly extend the lifespan of your fluffy slime.
- 15
Test the stretchiness. Gently pull the slime in opposite directions. It should stretch significantly without breaking. If it breaks easily, it might need a bit more kneading or a tiny addition of glue, as mentioned in the tips.
- 16
Observe the texture. The ideal fluffy slime should feel soft, airy, and slightly squishy. It should hold its shape when you let it rest but be easily moldable.
- 17
If you're adding more color or glitter after the initial mix, ensure it's incorporated evenly. Knead gently to avoid deflating the fluffiness while distributing the new additions.
- 18
Clean up your workspace thoroughly. Slime ingredients can be sticky, so wiping down surfaces and washing your hands is essential after the activity.
Tips & Troubleshooting
- 1If your slime is too sticky, add a tiny bit more contact lens solution (1/2 teaspoon at a time) and knead it in. It's better to add small amounts gradually to avoid making the slime too stiff. Continue kneading until the tackiness subsides.
- 2If your slime is too stiff or breaks easily, it might be from overmixing or too much contact lens solution. Try adding a little more white glue and kneading. The added glue can help to reintroduce elasticity and a smoother texture.
- 3For extra fluffiness, use a generous amount of shaving cream. Ensure it's foam, not gel, for the best results. The airy nature of foam shaving cream is what gives this slime its signature cloud-like feel.
- 4Store your fluffy slime in an airtight container or zip-top bag at room temperature to prevent it from drying out. This simple step will keep your slime soft and playable for much longer.
- 5Always use a contact lens solution that specifically lists boric acid and sodium borate as active ingredients. These are the essential components that act as the slime activator. Without them, your slime will not form.
- 6Be patient during the kneading process. It can take a few minutes for the slime to reach its perfect, non-sticky consistency. The warmth from your hands helps to activate the ingredients and create a smooth, pliable texture.
- 7If you find your slime is not stretchy enough, try adding a small amount of lotion (about a teaspoon) and kneading it in. Lotion can help to make the slime more pliable and less prone to breaking.
- 8Cleanliness is key! Ensure your hands and all your tools are clean before you start. This prevents unwanted debris from getting into your slime and ensures a smooth, pleasant crafting experience.
Related Activities You Might Enjoy
Frequently Asked Questions
Why is my fluffy slime not stretchy?
Your fluffy slime might not be stretchy if you've added too much contact lens solution or overmixed the ingredients. The activator (contact lens solution) hardens the slime, and too much can make it brittle. Overmixing can also break down the structure. To fix this, try adding a little more white glue and kneading it in to improve elasticity. You can also try adding a teaspoon of lotion, which can help to make the slime more pliable and less prone to breaking. Patience during kneading is also important; sometimes, it just needs a bit more time to develop its stretch.
What kind of contact lens solution works for slime?
You need a contact lens solution that contains boric acid and sodium borate as its active ingredients. These specific chemical compounds are crucial because they act as the activator for the slime, causing the PVA in the glue to cross-link and form the slime's structure. Brands like Renu, Equate, or BioTrue often work well, but always check the ingredient list. Solutions that only contain saline or other disinfectants will not activate the slime, so ensure you're looking for those key ingredients.
Can I make fluffy slime without shaving cream?
While shaving cream is key to the 'fluffy' texture, you can make basic slime without it using glue, baking soda, and contact lens solution. However, it won't be as airy or soft. The shaving cream incorporates air into the mixture, creating that signature cloud-like, voluminous feel that makes fluffy slime so unique and satisfying. Without it, you'll end up with a more traditional, denser slime that lacks that characteristic lightness and squishiness.
How long does fluffy slime last?
Fluffy slime can last for about 1-2 weeks if stored properly in an airtight container at room temperature. Exposure to air will cause it to dry out and become hard. Signs that your slime has gone bad include a change in smell (it might start to smell sour or unpleasant), a sticky or slimy residue that doesn't go away with kneading, or a loss of its elasticity. Discard it if it develops an unusual smell or texture to ensure safe play.
My fluffy slime is too stiff, what did I do wrong?
If your fluffy slime is too stiff or breaks easily, it's likely due to one of two common issues: overmixing or adding too much contact lens solution. The contact lens solution is the activator, and adding too much can cause the slime to become rigid and brittle. Overmixing, especially in the early stages, can also work out too much air and make the slime less flexible. To fix this, try adding a little more white glue (about a teaspoon at a time) and kneading it in thoroughly. This can help to reintroduce elasticity and a softer texture.
Can I use gel shaving cream instead of foam?
No, it's highly recommended to use foam shaving cream for this fluffy slime recipe. Gel shaving cream has a different consistency and doesn't incorporate air in the same way that foam does. The foam is what creates the light, airy, and 'fluffy' texture that defines this type of slime. Using gel will result in a denser, less airy slime that won't have the desired cloud-like feel. Always opt for the foam variety for the best fluffy slime results.
What is the role of baking soda in fluffy slime?
Baking soda plays a crucial role in fluffy slime by acting as a pH buffer and a thickening agent. When combined with the glue and the activator (contact lens solution), it helps to stabilize the mixture and contributes to the slime's final texture. It aids in the cross-linking process initiated by the boric acid and sodium borate in the contact lens solution, helping the slime to become less sticky and more cohesive. Without baking soda, the slime might be too sticky or not form properly.
What Next?
Congratulations on creating your own batch of delightful fluffy slime! The possibilities are endless: experiment with different food coloring combinations for unique pastel shades, add fine glitter for a touch of sparkle, or even incorporate small, soft beads for added texture. Once your slime is ready, store it in an airtight container to keep it fresh for up to two weeks. For your next project, consider exploring butter slime or clear slime for a different sensory experience. Enjoy endless hours of squishy, stretchy, fluffy fun!
Free: 10 Paper Crafts Anyone Can Make in 5 Minutes
Get our beginner guide + new craft ideas weekly.
No spam. Unsubscribe anytime.
Did you complete this activity?
Related
You might also like
Fluffy Glue Slime Fun
Super Fluffy Cloud Slime
Sparkly Glue Slime Fun
Edible Gummy Bear Slime
Simple Glue and Water Slime