How to Make Speedy 3-Ingredient Cookies — Easy Step-by-Step Guide
Whip up delicious, homemade cookies in minutes with this incredibly simple 3-ingredient recipe. Perfect for busy families and beginner bakers!
Quick answer
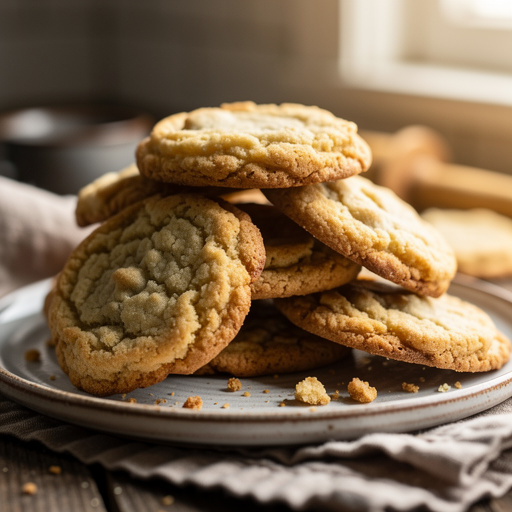
To make speedy 3-ingredient cookies, you need 1 cup peanut butter, 1 cup sugar, and 1 egg, taking about 20 minutes. Start by mixing ingredients and forming balls. This beginner-friendly activity has 7 steps and is perfect for families with kids aged 5+.
What you need
Shop on Amazon · As an Amazon Associate we earn from qualifying purchases. Links above are affiliate links — we may earn a commission at no extra cost to you.
Craving a sweet treat but short on time and ingredients? Look no further than these incredibly simple Speedy 3-Ingredient Cookies! This recipe is a game-changer for busy weeknights, spontaneous baking urges, or introducing little ones to the joy of baking. With just three pantry staples and minimal effort, you can create warm, delicious cookies that taste surprisingly gourmet. It’s the perfect project for families, dorm rooms, or anyone seeking a quick and satisfying dessert solution that requires no fancy techniques or specialized equipment.
On this page
Step-by-Step Instructions
- 1
Preheat your oven to 350°F (175°C). This ensures the cookies bake evenly and achieve the perfect texture. While the oven heats, prepare your baking sheet by lining it with parchment paper if you're using it; this prevents sticking and makes cleanup a breeze. If you don't have parchment paper, you can lightly grease your baking sheet with butter or cooking spray, though parchment is recommended for the best results.
- 2
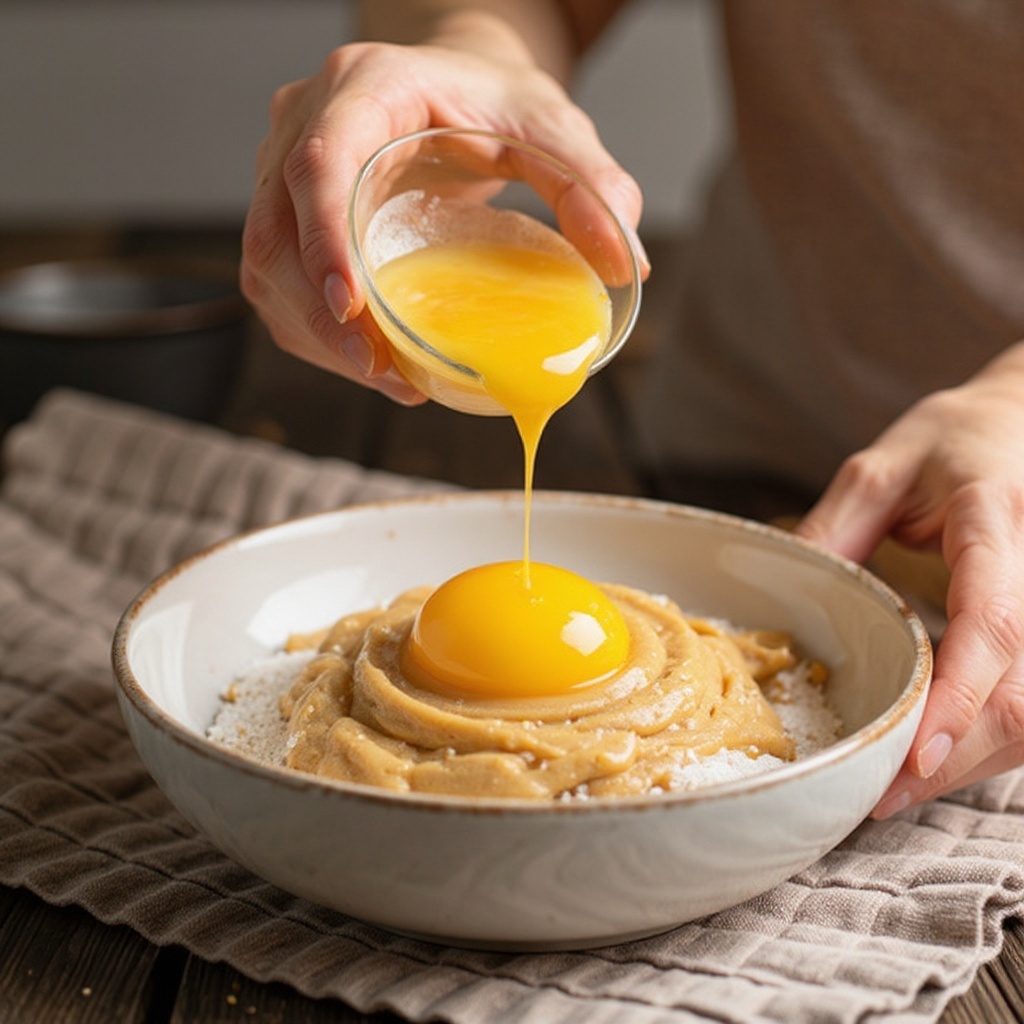
In a medium mixing bowl, combine the creamy peanut butter, granulated sugar, and the large egg. Ensure your peanut butter is at room temperature for easier mixing; if it's too cold, it can make the dough stiff. If you're adding optional salt or vanilla extract, this is the time to incorporate them for an enhanced flavor profile.
- 3
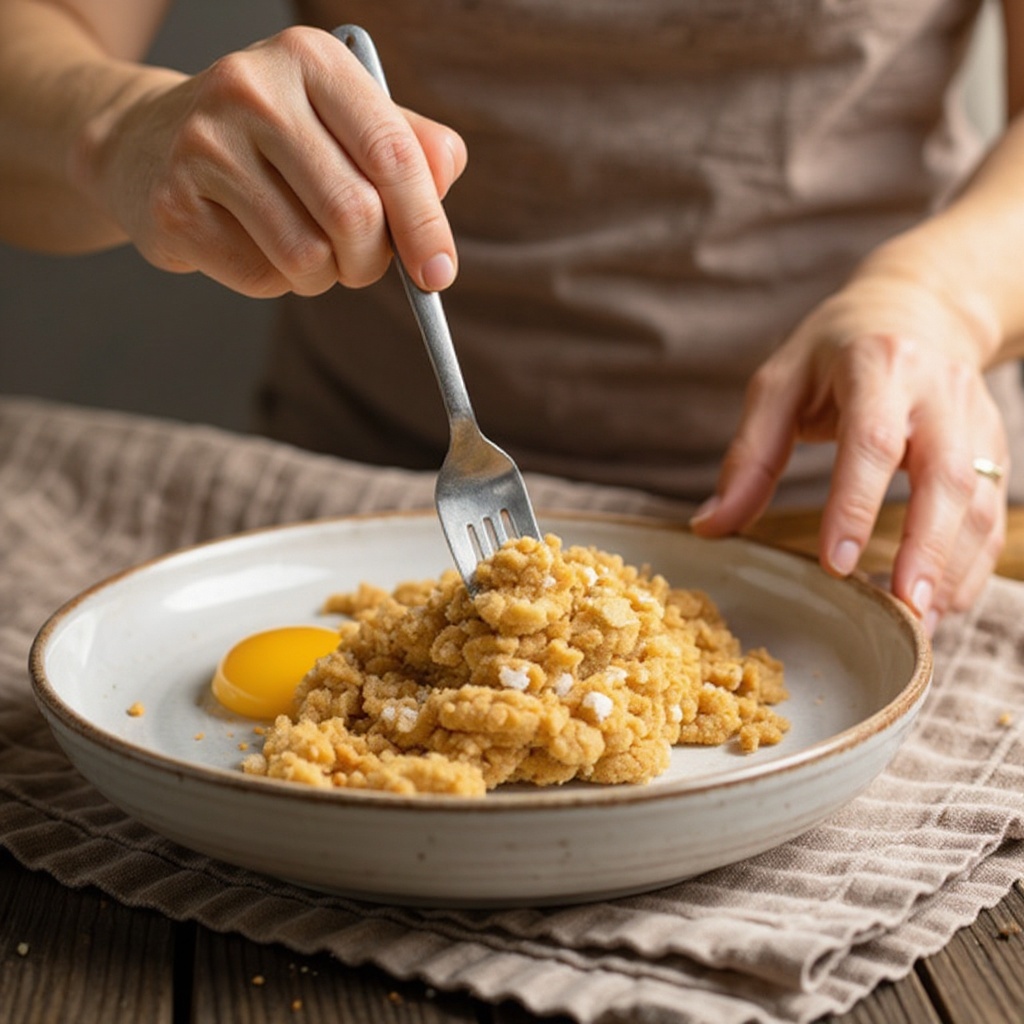
Stir the ingredients together thoroughly with a spatula or wooden spoon until they are well combined and form a cohesive dough. It might seem a bit crumbly at first, but keep mixing until there are no dry pockets of sugar or unincorporated egg. The dough should be thick and slightly sticky, resembling a soft cookie dough.
- 4
Once the dough is formed, begin to roll it into small balls, aiming for a diameter of about 1 inch. Use your hands to gently shape each portion into a uniform sphere. Placing these dough balls onto the prepared baking sheet, ensure you leave about 2 inches of space between each one to allow for spreading during baking.
- 5
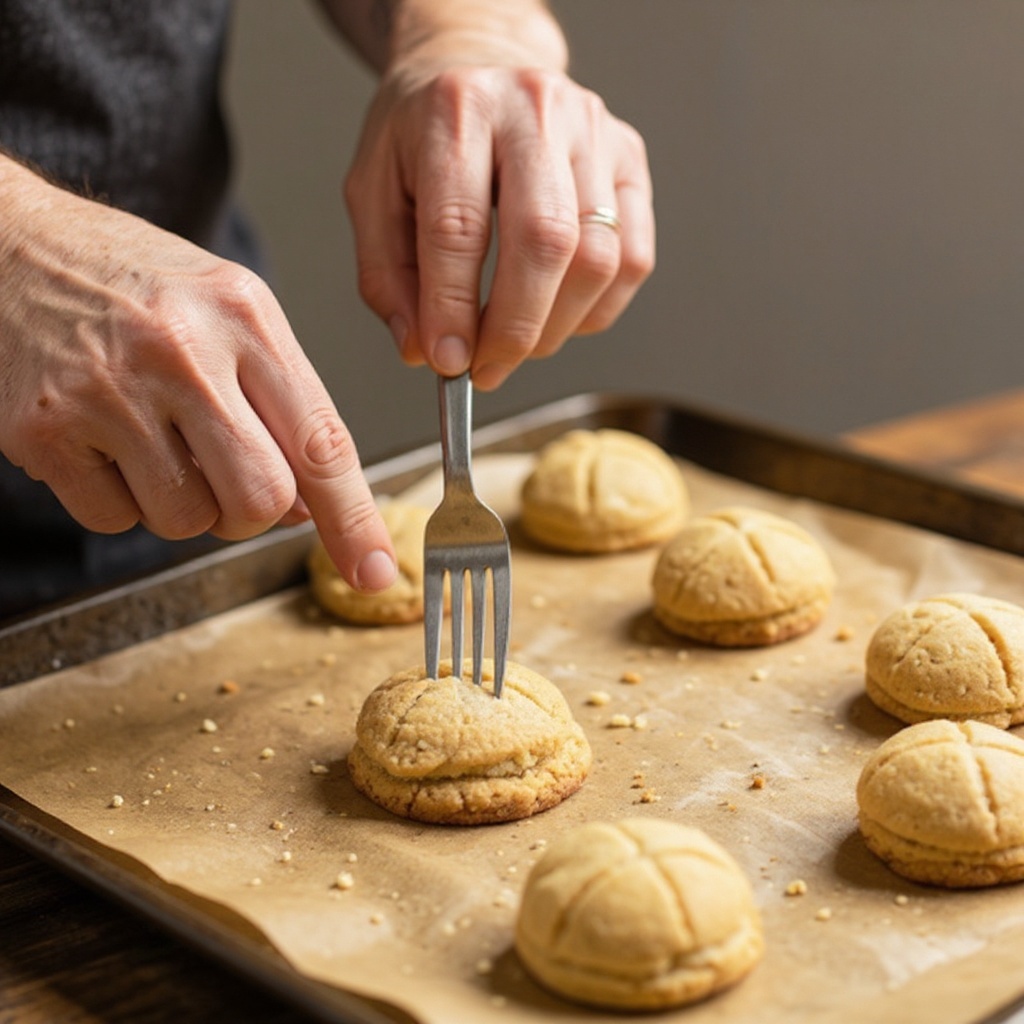
Using the tines of a fork, gently press down on the top of each cookie ball to flatten it slightly. This not only creates the classic criss-cross pattern that peanut butter cookies are known for but also helps the cookies bake more evenly. Apply gentle pressure to avoid crushing the cookie entirely.
- 6
Bake the cookies in the preheated oven for 10-12 minutes. Keep a close eye on them during the last few minutes; you're looking for the edges to be lightly golden brown and the centers to appear set but not overly browned. Overbaking can lead to dry, hard cookies.
- 7
Once baked, remove the baking sheet from the oven and let the cookies cool on the sheet for about 5 minutes. This initial cooling period on the warm baking sheet allows them to firm up slightly, making them less likely to break when you move them. They will still be quite delicate at this stage.
- 8
After the initial cooling on the baking sheet, carefully transfer the cookies to a wire rack. Allow them to cool completely on the wire rack. This ensures air circulation around the cookies, preventing the bottoms from becoming soggy and allowing them to reach their final, delicious texture. Once fully cooled, they are ready to be enjoyed or stored.
Tips & Troubleshooting
- 1For a slightly softer, chewier cookie, bake for the shorter end of the time range, around 10 minutes. The centers should still look slightly underdone when you remove them from the oven, as they will continue to cook as they cool. For a crispier cookie with a more pronounced crunch, bake for a minute or two longer, until the edges are a deeper golden brown.
- 2Elevate the flavor profile by adding a teaspoon of vanilla extract to the dough mixture before combining. For a delightful textural surprise and a burst of sweetness, fold in about 1/4 cup of mini chocolate chips into the dough just before rolling into balls. You could also sprinkle a few chocolate chips on top of each cookie before baking.
- 3If your dough seems unusually dry and crumbly, it might be due to the dryness of your peanut butter or humidity. Add a tiny splash of milk, about 1/2 teaspoon at a time, and mix until the dough just comes together. Conversely, if the dough feels too wet and sticky, incorporate an additional tablespoon of granulated sugar and mix well.
- 4Ensure the cookies have cooled sufficiently on the wire rack before stacking them or storing them in an airtight container. Warm cookies are fragile and can easily break or stick together, ruining their appearance and texture. Patience during the cooling process is key to perfect presentation.
- 5For an extra touch of elegance and flavor, consider adding a pinch of flaky sea salt on top of each cookie before baking. The salt crystals will melt slightly, creating pockets of savory contrast that beautifully complement the sweet peanut butter flavor. This simple addition can make your cookies stand out.
- 6If you don't have a fork readily available, don't worry! You can use the tines of a spoon, the back of a small spatula, or even your fingertips to gently press down and create a pattern. The pattern is primarily for aesthetics, so feel free to get creative with your imprints.
- 7To achieve perfectly uniform cookie balls, use a small cookie scoop or a tablespoon to portion out the dough. This ensures that each cookie is roughly the same size, leading to more consistent baking times and a visually appealing batch. Consistency is key for a professional-looking result.
Related Activities You Might Enjoy
Frequently Asked Questions
Can I make these cookies without peanut butter?
Absolutely! While peanut butter is the classic choice for this recipe, you can certainly substitute other nut or seed butters. Almond butter or cashew butter will yield a similar texture and a slightly different, but equally delicious, nutty flavor. For a nut-free option, sunflower seed butter is an excellent alternative, offering a unique taste that works wonderfully in cookies. Keep in mind that the consistency of different butters can vary, so you might need to make minor adjustments to the sugar or add a touch more binder if the dough seems too wet or dry. Experimentation is part of the fun!
How long do these 3-ingredient cookies last?
These Speedy 3-Ingredient Cookies are best enjoyed fresh, ideally within 3-4 days of baking. Store the completely cooled cookies in an airtight container at room temperature to maintain their texture and prevent them from drying out or becoming stale. If you find they are becoming a bit too hard after a couple of days, you can gently warm them in a microwave for a few seconds to soften them up. For longer storage, you can freeze the cooled cookies in a single layer on a baking sheet until firm, then transfer them to a freezer-safe bag or container for up to 2-3 months.
What if I don't have a fork for the pattern?
Don't let a missing fork stop your baking! The iconic criss-cross pattern on peanut butter cookies is mostly for visual appeal and tradition. You can achieve a similar effect using other kitchen utensils or even your hands. Try using the tines of a spoon to press down and create lines, or use the back of a small spatula to make indentations. You can also simply press down with your thumb or fingertips to flatten the cookies, creating a rustic, homemade look. The most important part is that they taste delicious!
Can kids help make these cookies?
Yes, absolutely! These Speedy 3-Ingredient Cookies are a fantastic baking project for kids of all ages, with appropriate adult supervision. Younger children (around age 5 and up) can help with measuring ingredients, stirring the dough (with a sturdy spoon!), and rolling the dough into balls. Older children can assist with more precise tasks like cracking the egg and pressing the patterns with a fork. It's a wonderful way to teach them basic cooking skills, encourage teamwork, and create lasting memories in the kitchen.
Why are my cookies spreading too much?
Cookie spread can be influenced by several factors. If your peanut butter was very oily or at room temperature, it can cause the dough to be softer and spread more. Ensure your oven temperature is accurate; an oven that's too hot can cause the cookies to spread quickly before they set. Using too much sugar can also contribute to excessive spreading. For future batches, try chilling the dough balls for about 15-20 minutes before baking, which helps them hold their shape better. Also, make sure you're not overmixing the dough, as this can develop gluten and lead to spread.
Can I make these cookies gluten-free?
Yes, these cookies are naturally gluten-free as they contain no flour! The base ingredients are peanut butter, sugar, and egg, all of which are gluten-free. This makes them a fantastic option for individuals with gluten sensitivities or celiac disease. Just ensure that your peanut butter is certified gluten-free if you have a severe intolerance, as some brands may have cross-contamination risks. Enjoy these simple, delicious, and worry-free treats!
What Next?
These Speedy 3-Ingredient Cookies are a testament to the magic of simplicity. Once you've mastered the basic recipe, don't hesitate to experiment with variations! Consider adding a sprinkle of sea salt on top before baking for a delightful sweet and salty contrast, or perhaps a few mini chocolate chips folded into the dough for an extra burst of indulgence. Store your cooled cookies in an airtight container at room temperature for a few days, or freeze them for longer enjoyment. For your next baking adventure, try a simple sugar cookie recipe or explore no-bake options to keep the kitchen cool!
Free: 10 Paper Crafts Anyone Can Make in 5 Minutes
Get our beginner guide + new craft ideas weekly.
No spam. Unsubscribe anytime.
Did you complete this activity?
Related
You might also like
3-Ingredient Peanut Butter Drops
3-Ingredient Peanut Butter Delights
3-Ingredient Peanut Butter Cookies
3-Ingredient Peanut Butter Puffs
5-Ingredient Peanut Butter Drops