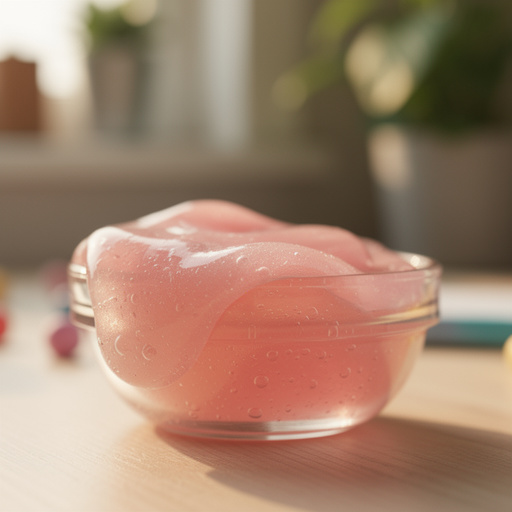
How to Make Super Fluffy Cloud Slime — Easy Step-by-Step Guide
Whip up a batch of incredibly soft and stretchy fluffy slime with this simple recipe. It's the perfect screen-free activity for creative kids!

Quick answer
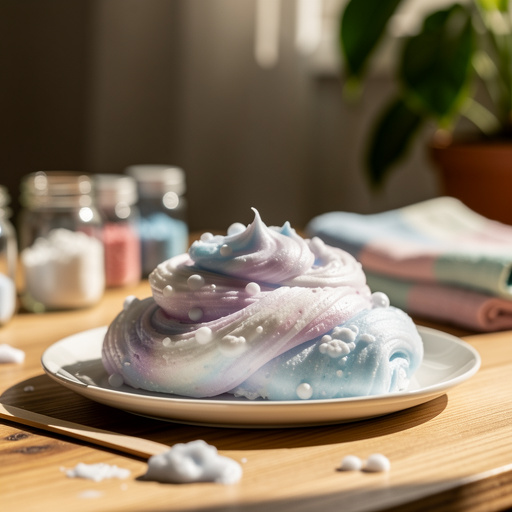
To make fluffy slime, you need shaving cream, white glue, contact lens solution, baking soda, and lotion, taking about 15 minutes. Start by mixing glue, baking soda, and lotion. This beginner-friendly activity has 10 steps and is perfect for kids aged 6+.
What you need
Shop on Amazon · As an Amazon Associate we earn from qualifying purchases. Links above are affiliate links — we may earn a commission at no extra cost to you.
Looking for a fun, hands-on activity that sparks creativity and provides endless sensory delight? Look no further than super fluffy cloud slime! This recipe transforms simple household ingredients into a delightfully soft, airy, and stretchy creation that’s incredibly satisfying to squish and mold. It’s the perfect antidote to screen time, offering a tactile experience that engages young minds and hands. Whether you're a seasoned slime maker or a complete beginner, this easy step-by-step guide will have you creating perfect fluffy slime in no time, making it an ideal project for kids aged 6 and up.
On this page
Step-by-Step Instructions
- 1
In a medium-sized mixing bowl, carefully pour 1 cup of white school glue. Ensure you're using a PVA-based glue, as this is essential for the slime to activate properly and achieve the desired texture.
- 2
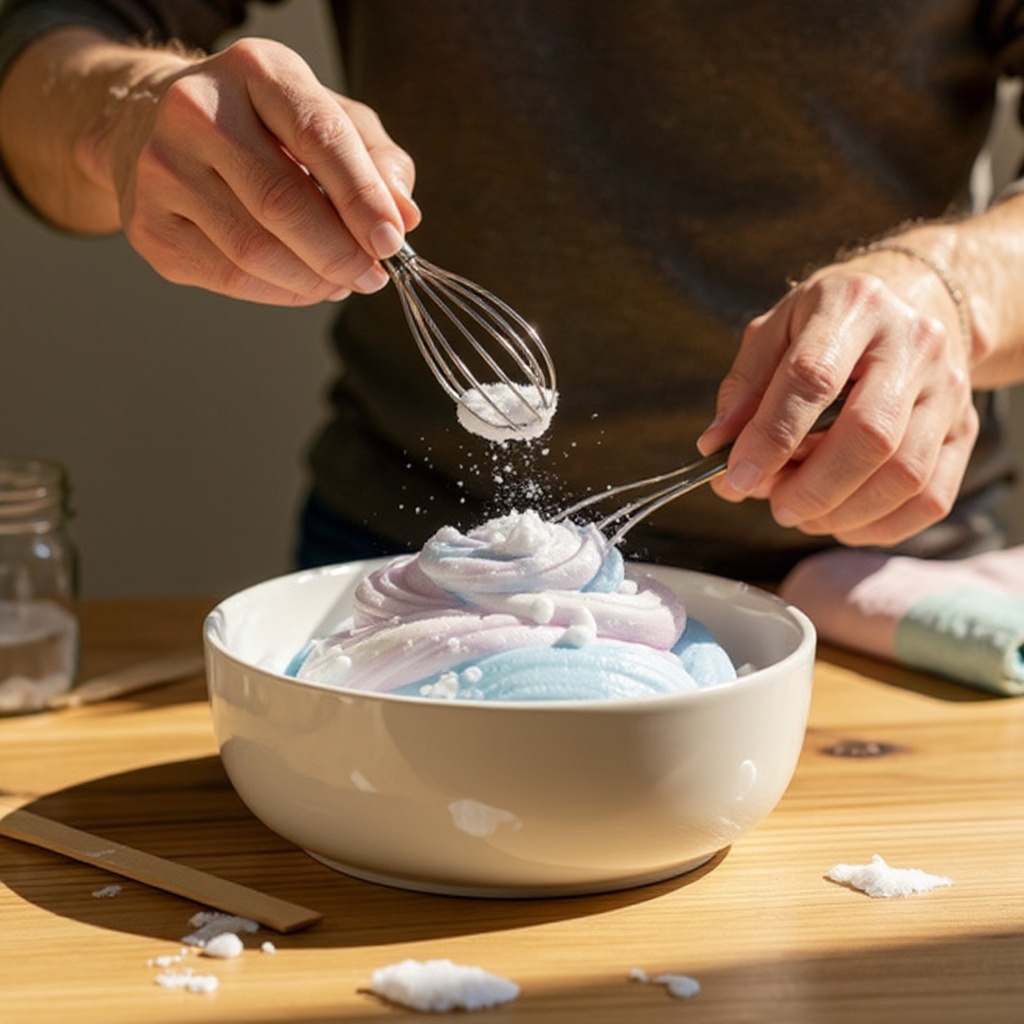
Add 1/2 teaspoon of baking soda to the glue. Baking soda acts as a secondary activator and helps to stabilize the slime, contributing to its stretchy and fluffy nature. Mix thoroughly with a spoon or spatula until the baking soda is completely dissolved and no clumps remain.
- 3
Next, incorporate 1 tablespoon of lotion into the glue and baking soda mixture. Lotion is a secret ingredient that adds incredible softness and stretchiness to your slime, making it feel luxurious and less prone to breaking. Stir until the lotion is fully incorporated and the mixture appears smooth and uniform.
- 4
If you're planning to add color to your slime, this is the perfect time. Add a few drops of your chosen food coloring (liquid or gel) to the mixture. Start with a small amount and gradually add more until you achieve your desired shade. Mix thoroughly, ensuring the color is evenly distributed throughout the glue base.
- 5
Now for the magic ingredient that gives it that signature cloud-like texture: shaving cream! Gently add about 1/2 cup of shaving cream to the bowl. Avoid over-mixing at this stage; instead, gently fold the shaving cream into the glue mixture with a spatula or spoon until it's mostly combined. You want to keep as much air in the shaving cream as possible.
- 6
Begin the activation process by gradually adding the contact lens solution. Start with 1 tablespoon and stir continuously. You'll notice the mixture starting to thicken and pull away from the sides of the bowl as the boric acid and sodium borate in the solution react with the glue.
- 7
Continue stirring vigorously. As the slime begins to form a cohesive mass, keep mixing until it starts to clump together and become less sticky to the touch. This is where patience is key; don't rush the process.
- 8
If the slime is still excessively sticky and clinging to the bowl and your hands, it's time to add a little more activator. Add another 1/2 tablespoon of contact lens solution and continue mixing. Be cautious not to add too much at once, as this can make the slime stiff and rubbery.
- 9
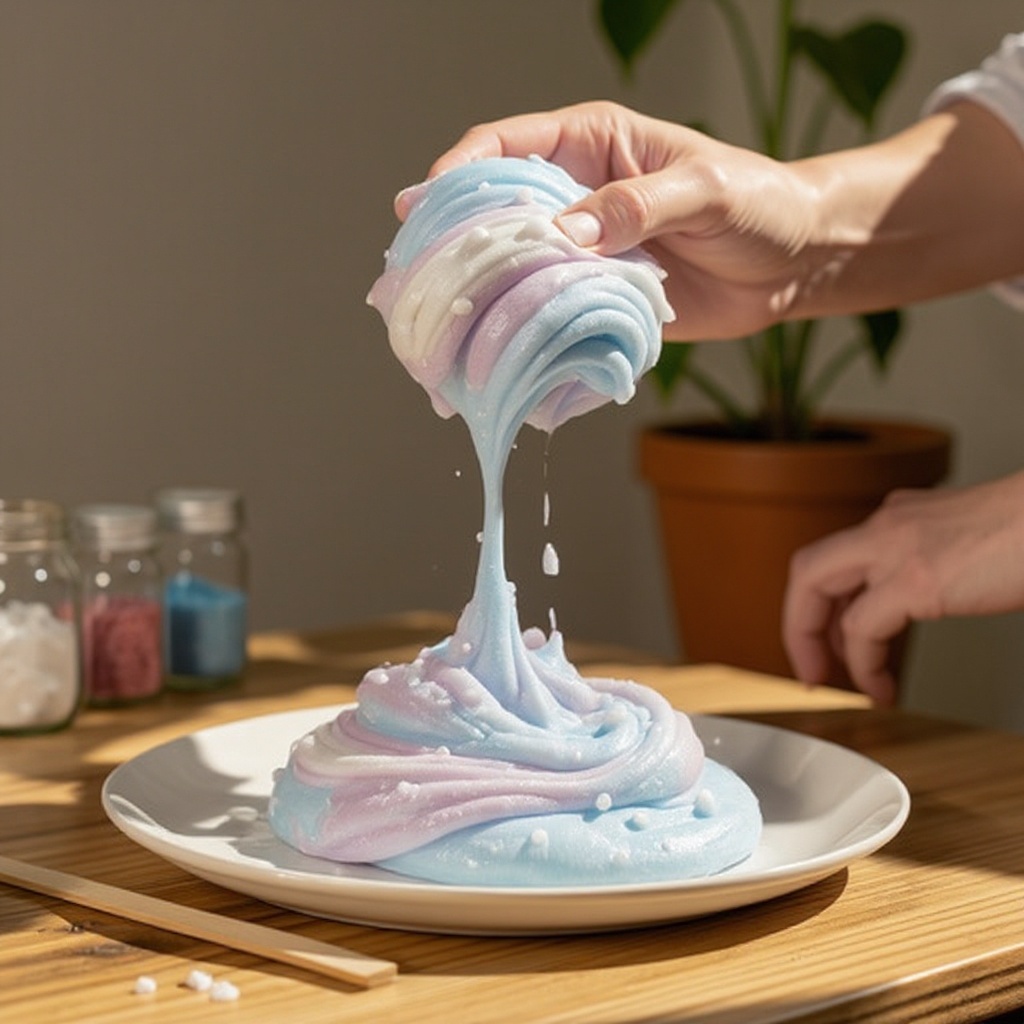
Once the slime is mostly holding together and is less sticky, it's time to get your hands involved. Take the slime out of the bowl and place it on a clean, non-porous surface. It might still feel a bit sticky at this point, which is perfectly normal.
- 10
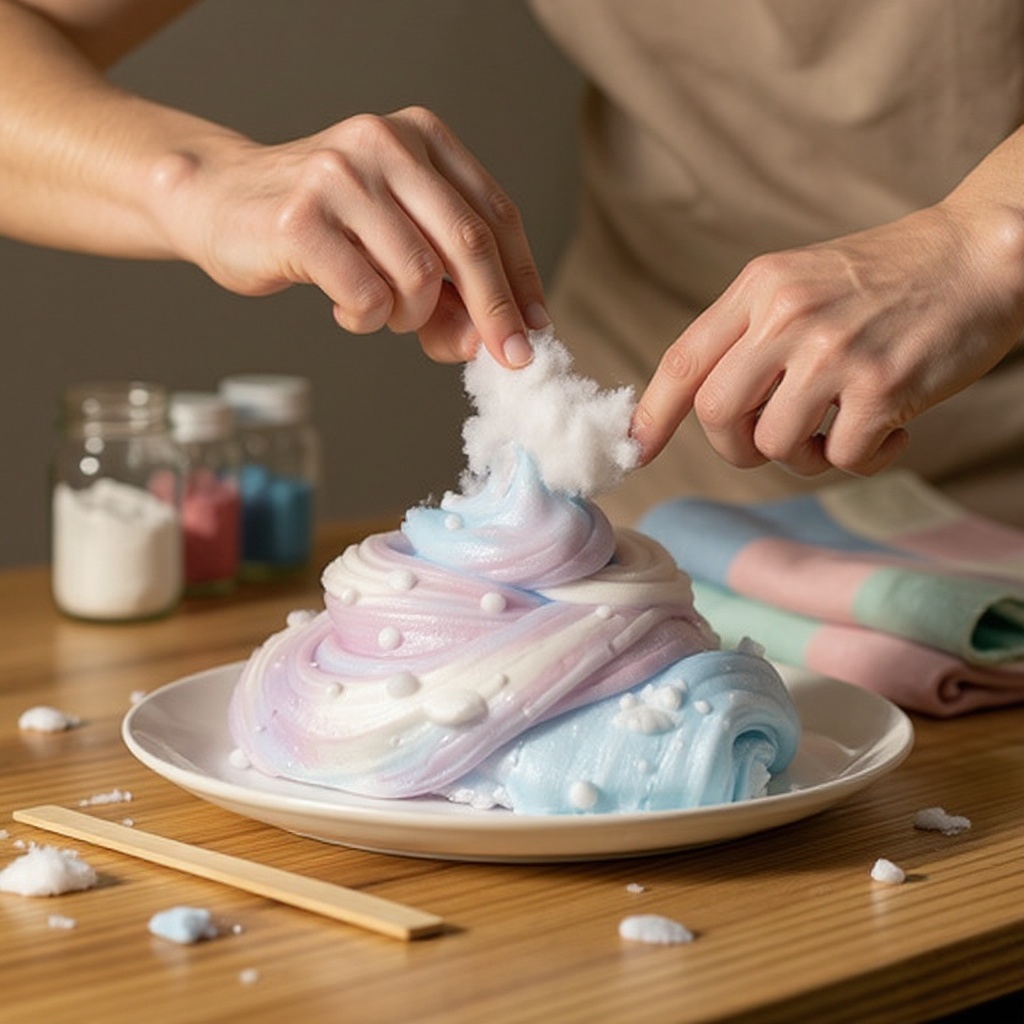
Begin kneading the slime with your hands. This is a crucial step for developing the perfect texture. Stretch, fold, and squish the slime for 3-5 minutes. As you knead, the slime will become smoother, less sticky, and develop its characteristic fluffy, airy texture. The warmth from your hands also helps to activate it further.
- 11
Continue kneading until the slime is no longer sticking to your hands and has a soft, pliable, and wonderfully fluffy consistency. If it still feels a tad sticky after a few minutes of kneading, you can add a tiny drop more contact lens solution directly to your hands and continue kneading.
- 12
Optional: If you desire an even smoother and stretchier slime, you can add a few drops of baby oil during the kneading process. This will enhance the glide and pliability of your finished slime, making it even more enjoyable to play with.
- 13
Once you've achieved the desired fluffy and non-sticky texture, your super fluffy cloud slime is ready for hours of sensory fun! Admire its airy appearance and enjoy the satisfying squishy feel.
Tips & Troubleshooting
- 1If your slime is too sticky after kneading, the best solution is to add a tiny bit more contact lens solution, just a few drops at a time. Work it into the slime by kneading thoroughly. Be extremely careful not to add too much, as an excess of activator can cause the slime to become stiff, rubbery, and prone to breaking, ruining its fluffy texture.
- 2For extra stretchiness and a softer feel, consider adding a little more lotion to the initial mixture along with the glue and baking soda. This will contribute to a more pliable and less breakable slime, enhancing its playability and longevity.
- 3To achieve that signature 'cloud-like' texture, ensure you use a generous amount of shaving cream. The more air you incorporate from the shaving cream, the fluffier and lighter your slime will be. Don't be afraid to really fold it in gently to preserve that airy quality.
- 4Store your fluffy slime in an airtight container or a resealable plastic bag at room temperature. This prevents it from drying out and maintains its soft, fluffy consistency. Properly stored, your slime should last for several days to a week, providing ongoing entertainment.
- 5Always supervise young children during the slime-making process and playtime. Ensure they understand that slime is not for eating and that all materials should be kept away from their mouths to prevent accidental ingestion of ingredients.
- 6Experiment with different types of lotion to see how they affect the texture. Some lotions might make the slime smoother, while others could add a subtle scent. Unscented lotions are generally recommended if you plan to add your own fragrance or essential oils.
- 7If you find your slime is becoming too stiff over time, try kneading in a small amount of lotion or a tiny bit of warm water. This can help to rehydrate the slime and restore its flexibility, bringing it back to its original soft state.
- 8For a truly unique cloud slime, consider adding a small amount of white glue to the shaving cream before mixing it with the glue base. This can sometimes result in a slightly denser but still very fluffy slime with excellent stretch.
Related Activities You Might Enjoy
Frequently Asked Questions
Why is my fluffy slime not forming?
If your fluffy slime isn't forming, the most common culprit is the contact lens solution. Ensure your solution contains boric acid and sodium borate, as these are the essential activators that cause the glue to polymerize. Also, double-check that you've added enough baking soda, as it acts as a secondary activator and stabilizer. Thorough mixing is key; sometimes, ingredients aren't fully incorporated. If it's still not coming together, try adding a little more contact lens solution, a half-tablespoon at a time, while stirring vigorously. Patience and thorough mixing are your best allies here.
How do I make fluffy slime less sticky?
The most common fix for sticky fluffy slime is to add a small amount of contact lens solution. Start with just a few drops and knead it into the slime thoroughly. Continue adding drops and kneading until the slime reaches your desired consistency. It's crucial to add the activator very gradually, as too much can make the slime stiff and breakable. If it's still a bit sticky after kneading, a tiny bit of baby oil on your hands can also help reduce tackiness without making it stiff.
What kind of glue is best for fluffy slime?
White school glue, specifically PVA-based glue like Elmer's, is ideal for making fluffy slime. This type of glue contains polyvinyl acetate, which is essential for the slime to activate properly with the contact lens solution. While clear glue can also be used, it will result in a less opaque, more translucent slime, which might not give you the classic 'cloud' look. Avoid glues that are not PVA-based, as they will likely not activate into slime.
Can I make fluffy slime without contact lens solution?
While contact lens solution is the most common, effective, and generally safest activator for fluffy slime at home, some alternative activators exist. Liquid starch or a borax solution (made by dissolving borax powder in water) can also be used. However, contact lens solution is often preferred for its ease of use and reduced risk of skin irritation compared to handling pure borax. Always follow safety precautions if using borax powder, and ensure thorough rinsing afterward.
My slime is too stiff and rubbery, what did I do wrong?
If your fluffy slime has turned out too stiff and rubbery, it's almost always due to adding too much activator (contact lens solution). The boric acid and sodium borate in the solution are what cause the slime to harden. When too much is added, it over-activates the glue, resulting in a less stretchy, more brittle texture. To try and fix this, knead in a small amount of lotion or a few drops of warm water. This can help to reintroduce moisture and flexibility into the slime, making it softer and more pliable again.
How can I make my fluffy slime smell nice?
To give your fluffy slime a pleasant scent, you can add a few drops of essential oils or fragrance oils during the mixing stage, along with the lotion and food coloring. Lavender, vanilla, or citrus scents work wonderfully. Alternatively, you can use scented lotions for the initial mixture. Be sure to use oils that are safe for skin contact and start with just a few drops, as too much can make the slime oily or alter its texture. Test the scent before adding it to the entire batch.
What is the best way to store fluffy slime?
The best way to store your super fluffy cloud slime is in an airtight container or a resealable plastic bag. This is crucial to prevent the slime from drying out and losing its soft, fluffy texture. When exposed to air, the ingredients can evaporate, leading to a stiff and crumbly slime. Store the container at room temperature, away from direct sunlight or extreme heat, which can also degrade the slime's quality over time. Properly stored, your slime should remain playable for several days to a week.
What Next?
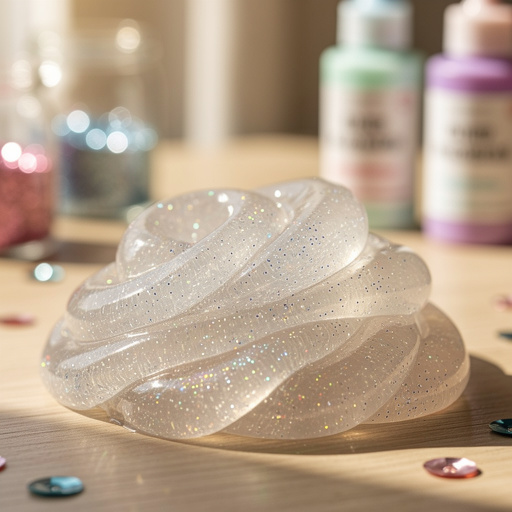
Congratulations on creating your super fluffy cloud slime! The possibilities for play are endless, from stretching and poking to creating satisfying ASMR sounds. For a truly cloud-like experience, consider adding a touch of white glitter for a subtle shimmer, or even a few drops of blue food coloring to mimic a sky. Once your slime adventures are complete, store it in an airtight container to keep it fresh for days. If you enjoyed this project, why not explore other slime variations like glitter slime, butter slime, or even glow-in-the-dark slime? The world of DIY slime is vast and exciting!
Free: 10 Paper Crafts Anyone Can Make in 5 Minutes
Get our beginner guide + new craft ideas weekly.
No spam. Unsubscribe anytime.
Did you complete this activity?
Related
You might also like
Cloud Dough Slime Creation
Fluffy Glue Slime Fun
Edible Gummy Bear Slime
Sparkly Glue Slime Fun
Sparkle Glue Slime Kit