How to Make Simple Fabric Coasters — Easy Step-by-Step Guide
Create stylish and functional fabric coasters with this beginner-friendly sewing project. Protect your tables from spills and add a handmade touch to your home decor.
Quick answer
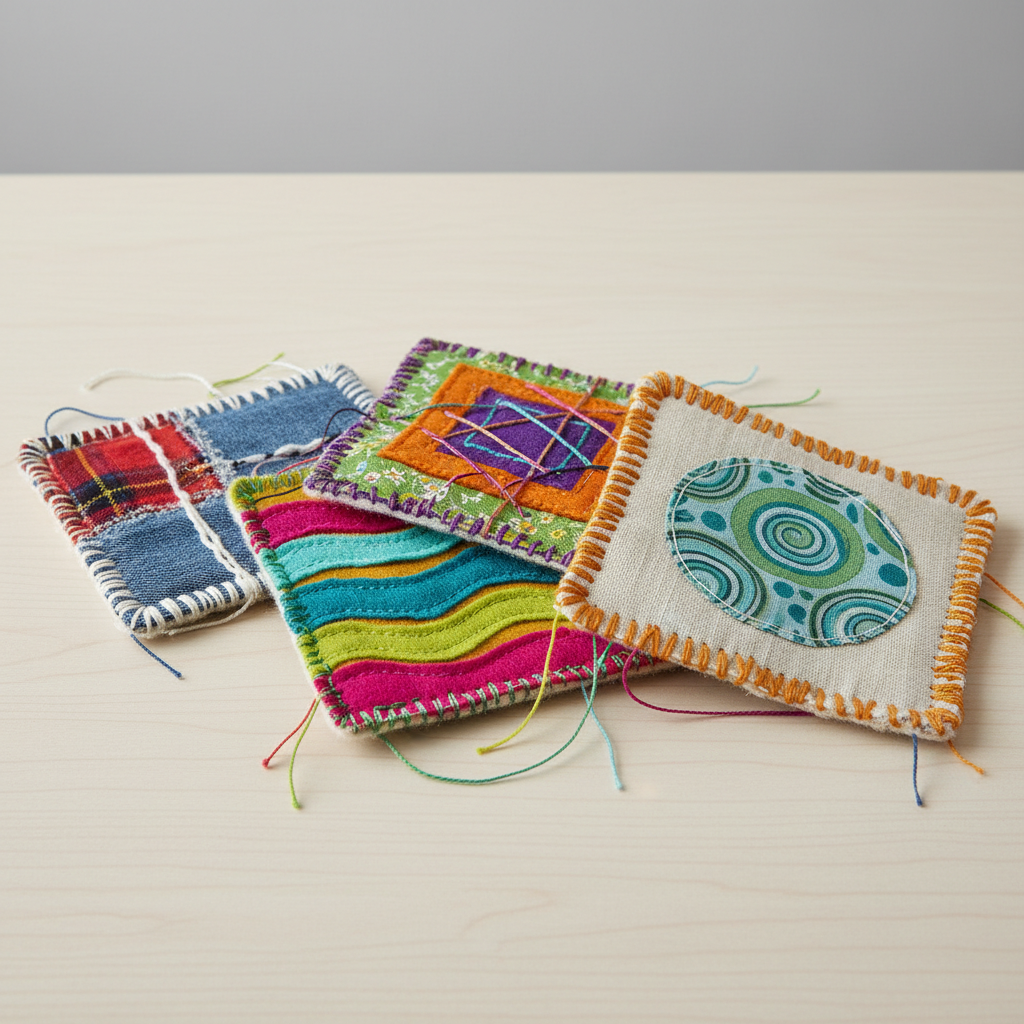
To make simple fabric coasters, you need fabric scraps, batting, and thread, taking about 45 minutes. Start by cutting your fabric and batting into 5-inch squares. This beginner-friendly activity has 10 steps and is perfect for families and kids aged 8+, resulting in four beautiful coasters.
What you need
Shop on Amazon · As an Amazon Associate we earn from qualifying purchases. Links above are affiliate links — we may earn a commission at no extra cost to you.
Welcome to the wonderfully simple world of DIY fabric coasters! This project is an absolute gem for anyone looking to add a personal touch to their home or create thoughtful, handmade gifts. Perfect for beginners, it utilizes common materials and requires minimal sewing skills, making it an ideal family activity or a quick solo craft session. In under an hour, you'll transform fabric scraps into functional art that protects your precious surfaces from condensation rings and spills, all while showcasing your unique style. Get ready to discover the satisfaction of creating something beautiful and useful with your own hands!
On this page
Step-by-Step Instructions
- 1
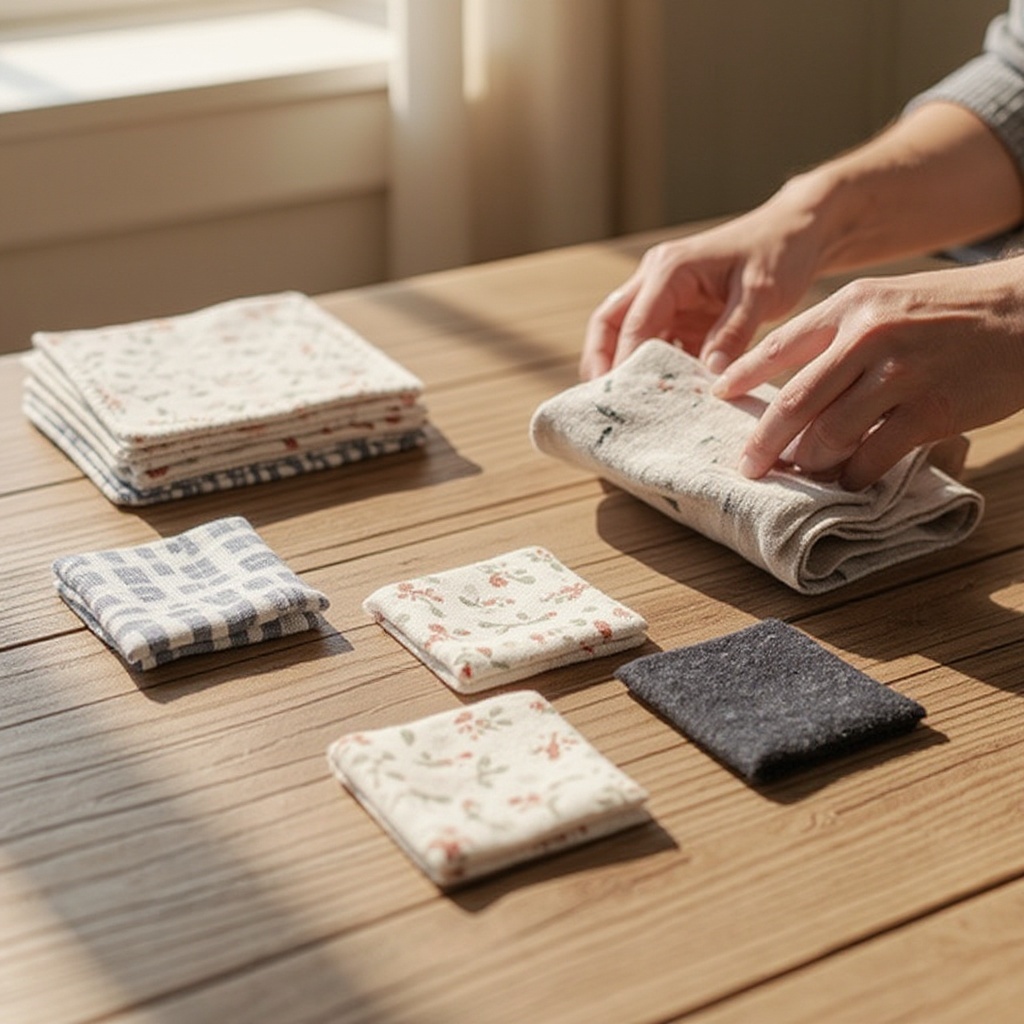
Gather your materials: Ensure you have all your fabric squares, batting, thread, and sewing tools ready before you begin. Having everything within reach will streamline the process and prevent interruptions.
- 2
Prepare your fabric: For each coaster, you will need two 5-inch squares of cotton fabric. Cut a total of eight 5-inch squares from your chosen fabrics. If you're making four coasters, you'll use four squares for the tops and four for the backs. Ensure your cuts are as precise as possible for neat finished edges.
- 3
Prepare your batting: Cut two 5-inch squares of cotton batting or fusible fleece. These will serve as the absorbent inner layer for two of your coasters, making them slightly thicker and more protective. If using fusible fleece, you'll want to follow the manufacturer's instructions for adhering it to fabric later.
- 4
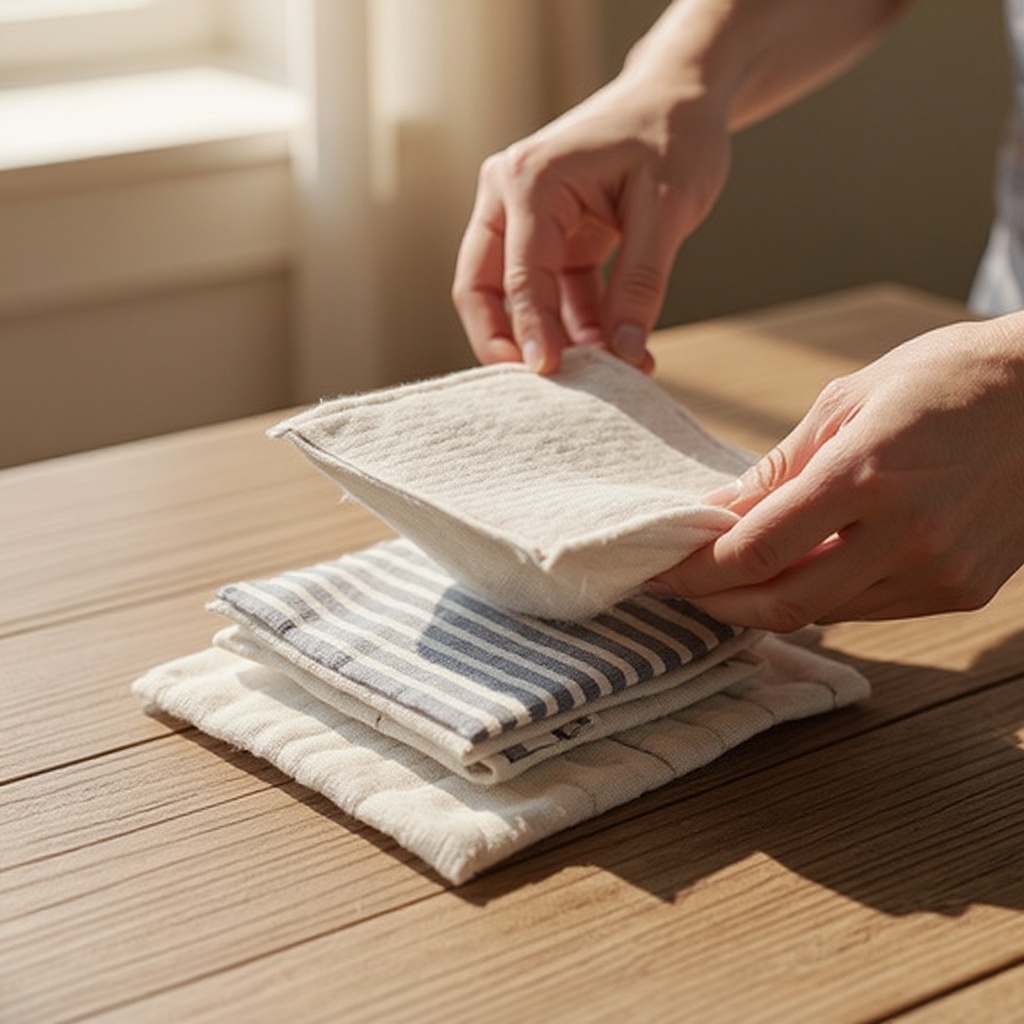
Assemble the first coaster sandwich: Take one 5-inch fabric square for the top and place it right side up on your work surface. Then, place one of the batting squares directly on top of this fabric square, ensuring all edges are aligned. Smooth out any wrinkles or bumps to ensure a flat surface for sewing.
- 5
Add the backing fabric: Place a second 5-inch fabric square, this time right side down, on top of the batting. Carefully align all the edges of the top fabric, batting, and bottom fabric. This layered stack forms your first coaster 'sandwich' with batting.
- 6
Repeat for the second batting coaster: Follow steps 4 and 5 to create a second coaster sandwich using the remaining batting square and another set of fabric squares. This ensures you have two thicker, more absorbent coasters.
- 7
Assemble the thinner coasters: For the remaining two coasters, you will omit the batting. Simply place one 5-inch fabric square right side up, and then layer another 5-inch fabric square right side down on top, aligning all edges. These will be slightly thinner but still functional.
- 8
Prepare for stitching: Before heading to the sewing machine, take a moment to ensure all layers of each coaster sandwich are neatly stacked and aligned. This is crucial for preventing shifting during sewing and for achieving clean seams.
- 9
Stitch the coaster edges: Using your sewing machine, stitch around the perimeter of each coaster sandwich. Maintain a consistent 1/4-inch seam allowance from the raw edge. For the two coasters containing batting, remember to leave a 2-inch opening on one side. This opening is essential for turning the coaster right side out later.
- 10
Trim the corners: Once stitched, carefully trim the excess fabric from each corner of the coasters. Make a diagonal cut close to, but not through, the stitching line. This small step is vital for creating sharp, professional-looking corners when you turn the coasters right side out.
- 11
Turn the coasters: Gently turn all four coasters right side out through the 2-inch opening you left in the batting coasters. Use a blunt object, like a chopstick or a turning tool, to carefully push out the corners from the inside. Be patient to ensure the corners are crisp and well-defined.
- 12
Press the coasters: Using your iron and ironing board, press each coaster flat. For the coasters with batting, carefully tuck in the raw edges of the opening you used for turning, and press them flat to create a clean, seamless finish. This step also helps to flatten the seams and give the coasters a polished look.
- 13
Topstitch for a finished edge: Finally, topstitch around the entire edge of all four coasters, approximately 1/8 inch from the seam. This not only closes the opening on the batting coasters but also adds a decorative element and reinforces the edges, giving your coasters a professional and durable finish.
Tips & Troubleshooting
- 1If you are using fusible fleece instead of cotton batting, it's best to adhere it to the wrong side of one of the fabric squares before you begin assembling the coaster sandwich. Follow the manufacturer's instructions for your specific fusible fleece for best results.
- 2Don't be afraid to get creative with your fabric choices! Experiment with different patterns, colors, and even textures to create a unique set of coasters that reflects your personal style or complements your home decor. You can even mix and match fabrics for a charming patchwork effect.
- 3For coasters that offer extra absorbency and durability, consider quilting the batting layers before assembling the coaster sandwich. Simply stitch a few straight lines or a simple grid pattern across the batting before layering it with your fabric.
- 4If you don't have a sewing machine readily available, these simple fabric coasters can absolutely be made by hand. While it will take a bit longer, using a strong stitch like a backstitch will ensure your seams are secure and your coasters are built to last.
- 5To achieve perfectly square coasters every time, consider using a rotary cutter and a self-healing mat for your fabric cutting. This method, combined with a quilting ruler, offers superior precision compared to fabric scissors.
- 6Consider using a walking foot on your sewing machine, especially if you are working with multiple layers of fabric and batting. A walking foot helps to feed all layers evenly, preventing puckering and ensuring a smoother stitch.
- 7If you want to add a pop of color or a decorative touch, try using a contrasting thread color for your topstitching. This can highlight the edges of your coasters and add a unique handmade detail.
- 8For an extra touch of absorbency, especially for very cold drinks, you can consider using a layer of terry cloth or a more absorbent cotton fabric for the back of your coasters. This will help to wick away moisture more effectively.
Related Activities You Might Enjoy
Frequently Asked Questions
What is the easiest way to sew coasters?
The easiest way to sew coasters involves using simple fabric squares and a layer of batting or fleece for absorbency. You'll create 'sandwiches' of fabric and batting, stitch around the edges with a sewing machine, leaving a small opening to turn them right-side out, and then topstitch around the perimeter to close the opening and provide a neat finish. This method is quick, requires minimal sewing skills, and yields a functional and attractive result, making it ideal for beginners.
Can I make fabric coasters without a sewing machine?
Yes, you can absolutely make fabric coasters by hand! While it will take a bit longer than using a machine, the process is still quite straightforward. Use a strong stitch like a backstitch to sew the fabric pieces together, ensuring your seams are secure. You'll still follow the same steps of layering fabric and batting, stitching around the edges, turning them right-side out, and then hand-stitching the opening closed before topstitching. The result will be just as lovely and a testament to your hand-sewing skills.
What kind of fabric is best for coasters?
100% cotton quilting fabric is ideal for making coasters. It's durable, easy to work with, and holds its shape well after washing and use, making it perfect for everyday items. Cotton has good absorbency and is stable, meaning it doesn't stretch much, which is crucial for neat sewing. Avoid stretchy fabrics like knits or very slippery fabrics like silk, as they can be more challenging to sew neatly and may not offer the best protection for your furniture.
How do I make my fabric coasters more absorbent?
To make your fabric coasters more absorbent, you can use a thicker batting or add an extra layer of cotton fabric inside the coaster. Another effective method is to use terry cloth on the back of your coasters, as terry cloth is highly absorbent and excellent at wicking away moisture. Ensure that any additional absorbent layers are also made from natural fibers like cotton to prevent moisture from getting trapped and potentially damaging your furniture.
What size should fabric coasters be?
The size of your fabric coasters can vary, but a common and practical size is around 4 to 5 inches square. This size is large enough to accommodate most standard glasses, mugs, and small bottles, providing ample protection for your surfaces. The 5-inch squares used in this tutorial create a generous coaster size. You can adjust this slightly based on your preference or the types of drinkware you most commonly use.
How do I prevent my coasters from fraying?
To prevent your fabric coasters from fraying, the key is to properly finish the edges. The topstitching step in this tutorial is crucial for this, as it encloses the raw edges and secures them. Additionally, using a 1/4-inch seam allowance and trimming the corners before turning helps to reduce excess fabric that could fray. If you're concerned about extra fraying, you could also consider using pinking shears to trim the raw edges of the fabric before sewing, although this is often not necessary with good quality quilting cotton and proper stitching.
Can I use different types of batting for coasters?
Yes, you can use different types of batting for coasters, but cotton batting is generally recommended for its absorbency and ease of use. Fusible fleece is another excellent option, as it adheres to the fabric with heat, making assembly very straightforward and preventing shifting. You could also experiment with polyester batting, though it might not be as absorbent as cotton. Avoid very thick or bulky battings, as they can make the coasters difficult to turn and topstitch neatly.
What Next?
Congratulations on creating your set of charming fabric coasters! You've not only protected your furniture but also added a delightful handmade element to your living space. Feel free to experiment further by using different fabric combinations, perhaps a theme for a holiday or a specific room. For a more advanced project, consider adding decorative stitching or even creating a small fabric basket to store your finished coasters. These coasters make fantastic gifts, so consider making an extra set for friends and family. Display them proudly on your coffee table or side tables, ready to catch those inevitable drips and add a pop of personality.
Free: 10 Paper Crafts Anyone Can Make in 5 Minutes
Get our beginner guide + new craft ideas weekly.
No spam. Unsubscribe anytime.
Did you complete this activity?
Related