How to Make a Pillowcase Dress — Easy Step-by-Step Guide
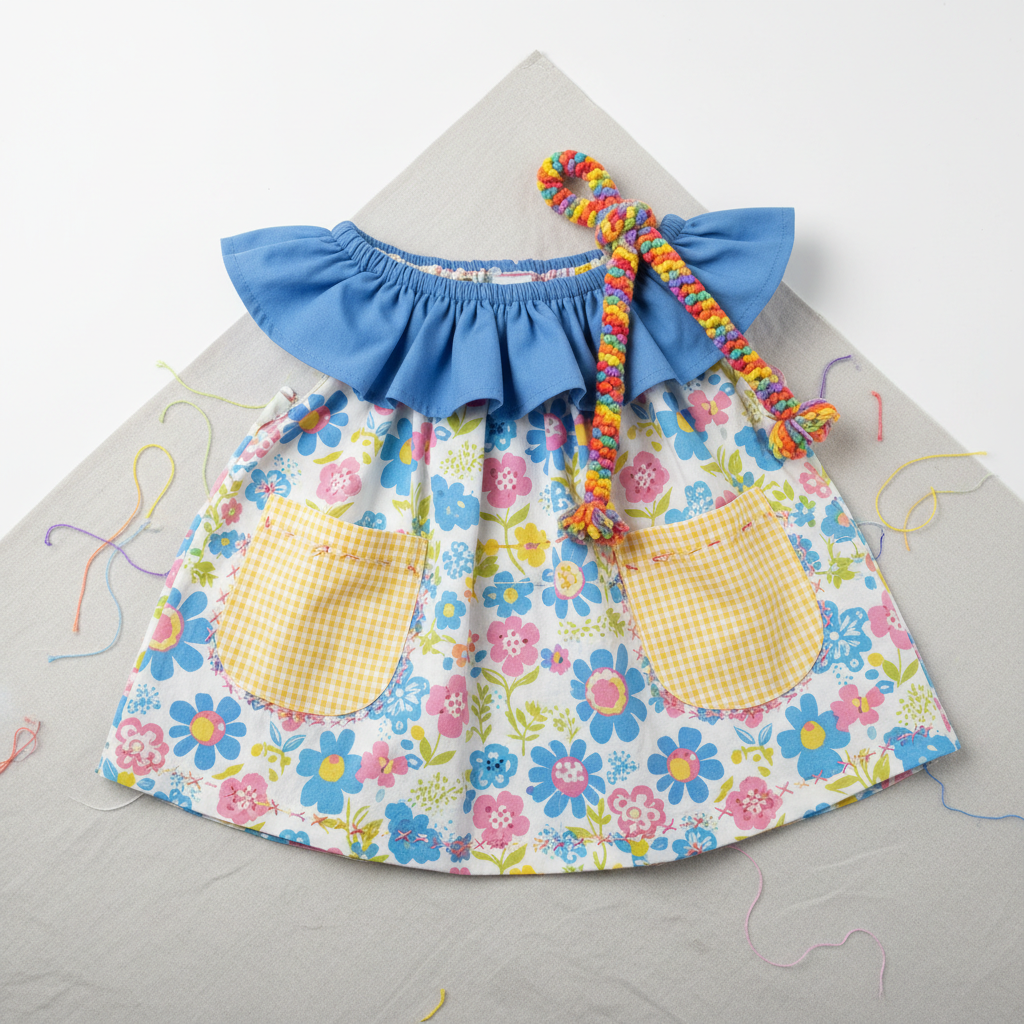
Create a charming pillowcase dress with just a few simple sewing steps. This project is ideal for introducing kids to sewing and results in a wearable garment. It's a fantastic way to upcycle a pillowcase into something special and is perfect for a quick, satisfying sewing project.

Quick answer
To make a pillowcase dress, you need a standard pillowcase, about 1 yard of ribbon, and basic sewing supplies. The process involves hemming the pillowcase opening to create a casing for the ribbon straps, taking approximately 45 minutes to an hour. This beginner-friendly activity has around 15 steps and is perfect for families with kids aged 6 and up, offering a fun and rewarding sewing experience.
What you need
Shop on Amazon · As an Amazon Associate we earn from qualifying purchases. Links above are affiliate links — we may earn a commission at no extra cost to you.
Embark on a delightful sewing journey with this incredibly simple pillowcase dress tutorial! This project is a true gem for anyone dipping their toes into the world of sewing, especially children eager to create their own wearable art. What makes it so special is its minimal material requirement and remarkably quick turnaround time, transforming a humble pillowcase into a charming, ready-to-wear dress in less than an hour. It’s the perfect blend of creativity and practicality, offering a sense of accomplishment with every stitch.
On this page
Step-by-Step Instructions
- 1
Wash and dry the pillowcase before starting. This step is crucial as it pre-shrinks the fabric, preventing your finished dress from shrinking unexpectedly after washing and ensuring a clean, professional finish.
- 2
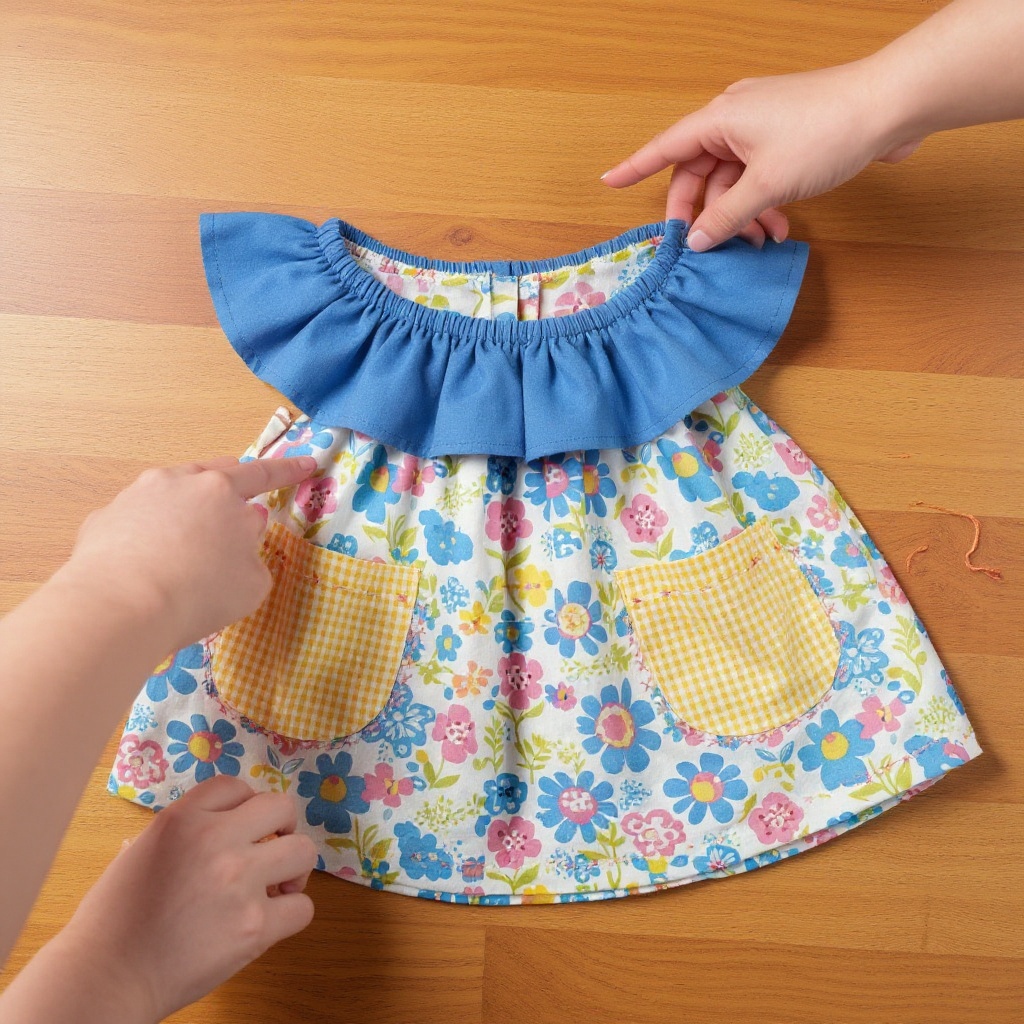
Lay the pillowcase flat on your work surface, ensuring it's smooth and free of wrinkles. Decide which end will be the top of the dress; this will be the original opening of the pillowcase.
- 3
Determine the desired length of your dress. Measure from the hemmed end of the pillowcase upwards to your desired length and mark a line with your fabric marker. If the pillowcase is too long, you can trim it at this stage, remembering to account for a new hem if you cut from the bottom.
- 4
Measure down from the open end of the pillowcase by about 6-8 inches (this measurement dictates the depth of your shoulder straps and can be adjusted based on the child's size and desired sleeve length) and mark a line across the width with your fabric marker. This line indicates where the bottom of your ribbon casing will be.
- 5
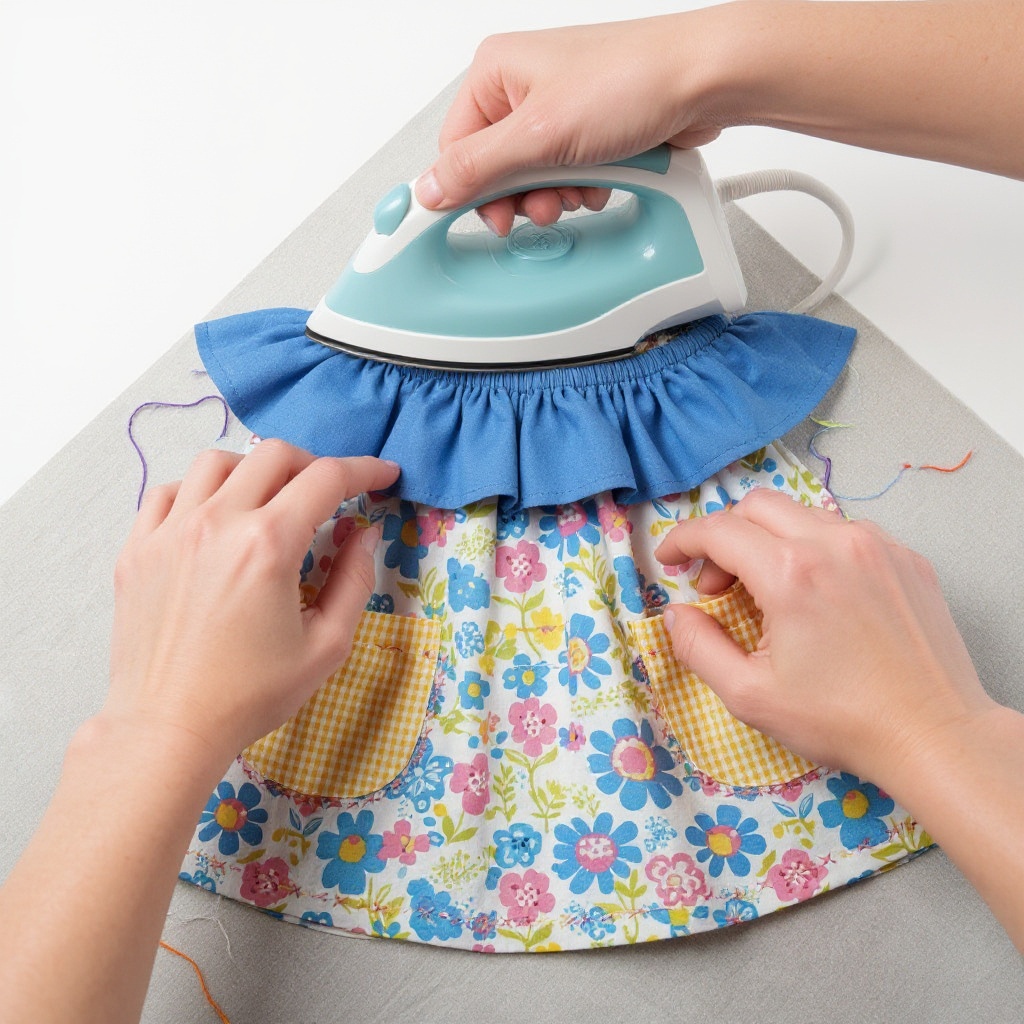
Fold the top edge of the pillowcase down by 1/2 inch towards the inside and press firmly with your iron. This initial fold creates a neat edge for the casing and helps guide your second fold.
- 6
Fold the same edge down again by 1 inch, encasing the raw edge from the previous fold, to create a channel or casing for the ribbon. Press firmly with your iron to create a crisp fold, ensuring the raw edge is completely hidden within the casing.
- 7
Secure the folded casing with straight pins, placing them every few inches to hold the fabric in place while you sew. Ensure the pins are placed perpendicular to the folded edge for easy removal as you sew.
- 8
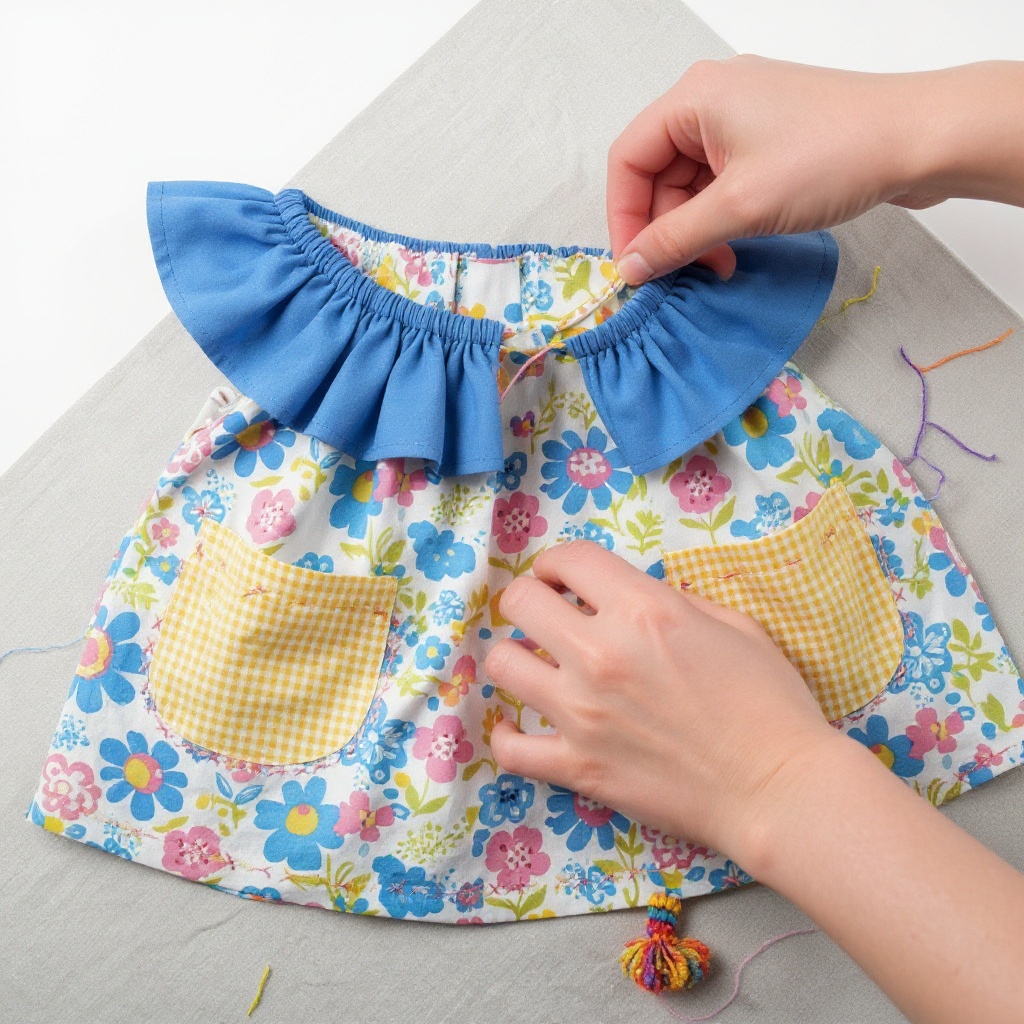
Sew along the bottom folded edge of the casing, all the way around the pillowcase, using your sewing machine or a strong hand stitch like a backstitch. Start and stop your stitching a few inches from the original opening of the pillowcase.
- 9
Crucially, leave a 1-inch opening on one side of the casing, between your start and stop points, to insert the ribbon. This opening is essential for threading the ribbon through the entire channel.
- 10
Carefully cut the ribbon in half using your fabric scissors. You will have two equal lengths of ribbon, each approximately 18 inches long (adjust length as needed for tying comfortable bows).
- 11
Attach a safety pin or bodkin to one end of one half of the ribbon. This tool will help you guide the ribbon smoothly through the fabric casing.
- 12
Insert the safety pin with the ribbon into the 1-inch opening you left in the casing. Begin to carefully thread the ribbon through the entire casing, working it around the pillowcase until it emerges from the same opening.
- 13
Once the ribbon is threaded, tie a secure knot at the end of the ribbon that is still inside the casing. This knot will prevent the ribbon from accidentally pulling all the way through the channel.
- 14
Repeat the ribbon threading process with the other half of the ribbon, starting from the same opening and threading it through the casing on the opposite side of the opening. Ensure this ribbon also emerges from the same 1-inch gap.
- 15
Now, take the two ends of the ribbon that have emerged from the opening on one side and tie them together securely at the shoulder area to create a strap. Adjust the length so the dress fits comfortably and tie a neat bow.
- 16
Repeat the process on the other side of the dress, tying the remaining two ribbon ends together at the opposite shoulder to create the second strap. Ensure both straps are adjusted for symmetry and comfort.
- 17
Turn the dress right side out. The original opening of the pillowcase is now the neckline, and the hemmed end is the bottom of the dress. The ribbon casing will sit at the shoulders, forming adjustable straps.
- 18
Trim any excess ribbon from the tied bows to create a neat and tidy finish. You can leave them long for a more dramatic bow or trim them shorter for a more understated look.
- 19
Try the dress on the child to ensure a comfortable fit. Adjust the ribbon ties at the shoulders as needed for a perfect fit, and make sure the dress hangs nicely.
- 20
Optional: For a more finished look, you can sew the 1-inch opening in the casing closed by hand or machine, being careful not to sew through the ribbon itself.
Tips & Troubleshooting
- 1If your pillowcase is too long for the desired dress length, you can easily shorten it by cutting off the excess length from the hemmed end. After cutting, re-fold and press a new hem to match the original, or simply use the cut edge as the new bottom hem if the fabric doesn't fray excessively.
- 2Experiment with different ribbon colors and textures for a unique look. You could use a vibrant contrasting color, a delicate lace ribbon, or even two different ribbons for each strap to add a playful touch.
- 3If you don't have a sewing machine, hand-sewing is perfectly viable for this project. Use a strong and durable stitch like a backstitch for the casing to ensure it holds up well to wear and washing.
- 4Ensure the ribbon is long enough to comfortably tie into a bow on each shoulder, allowing for adjustments. It's always better to have a little extra ribbon than not enough; you can always trim the excess once the fit is perfect.
- 5For a more structured casing, you can interface the folded edge before sewing. This adds a bit of stiffness and helps the casing maintain its shape, especially with lighter-weight fabrics.
- 6Consider using a decorative stitch on your sewing machine for the casing if you want to add an extra visual element. A zigzag stitch or a simple decorative pattern can make the dress more unique.
- 7If you're making this dress for a very young child, ensure the ribbon ends are tied securely and trimmed to a length that won't pose a choking hazard. You might also consider sewing the ribbon ends directly to the dress after adjusting for fit.
- 8To prevent the ribbon from twisting inside the casing, you can lightly tack it in a few places to the inside of the casing with a few hand stitches. This is especially helpful for longer casings or slippery ribbon types.
Related Activities You Might Enjoy
Frequently Asked Questions
What are the easiest sewing projects for beginners?
The world of beginner sewing is brimming with accessible projects that build confidence and skills. Simple pillowcase dresses, as demonstrated here, are fantastic due to their minimal pattern pieces and straightforward construction. Other excellent choices include tote bags, which involve sewing straight lines and creating handles, and scrunchies, a quick project perfect for using up fabric scraps. These projects typically require minimal fabric, basic tools, and introduce fundamental techniques like hemming and seam construction, making them ideal for learning the ropes of sewing.
Can kids sew clothes?
Absolutely! With adult supervision and guidance, children can indeed sew clothes, and projects like the pillowcase dress are perfect starting points. For younger children, focusing on hand-sewing simple stitches or operating a sewing machine with close supervision is key. Projects with elastic waistbands, like simple skirts, or the pillowcase dress with its ribbon ties, are excellent for developing motor skills and understanding garment construction without complex patterns or techniques. It's a wonderful way to foster creativity and a sense of accomplishment in young aspiring designers.
What materials do I need for a pillowcase dress?
To craft a charming pillowcase dress, you'll primarily need a standard-sized pillowcase that has been pre-washed and ironed for best results. You'll also require about one yard of ribbon, approximately 1 inch wide, which will serve as the adjustable straps. Essential sewing tools include sharp fabric scissors, a measuring tape or ruler for accurate measurements, and a fabric marker or chalk for marking your fabric. Lastly, you'll need a sewing machine or a needle and thread for hand sewing, along with matching thread for a neat finish.
How long does it take to sew a pillowcase dress?
A simple pillowcase dress is renowned for its speed and ease, typically taking about 45 minutes to an hour to complete from start to finish. This timeframe includes all the steps, from preparing the pillowcase to threading the ribbon and tying the final bows. The quick turnaround makes it an ideal project for a rainy afternoon, a crafting session with kids, or even a last-minute gift. Its simplicity means you can enjoy the satisfaction of creating a wearable garment very quickly, making it a highly rewarding beginner project.
Can I make a pillowcase dress without a sewing machine?
Yes, you can absolutely make a pillowcase dress without a sewing machine! Hand-sewing is a perfectly viable and traditional method for this project. You'll want to use a strong stitch, such as a backstitch, for sewing the casing. This stitch creates a durable and secure seam that will hold up well to wear and washing. While it might take a little longer than using a machine, hand-sewing offers a more tactile and meditative sewing experience, and the end result will be just as charming and wearable.
How do I adjust the size of a pillowcase dress?
Adjusting the size of a pillowcase dress is quite straightforward. The length can be easily modified by trimming excess fabric from the hemmed end of the pillowcase before you start creating the ribbon casing. For the width, the ribbon straps allow for significant adjustment. You can tie the bows tighter or looser at the shoulders to accommodate different body shapes. If the pillowcase is exceptionally wide, you could potentially take in the side seams slightly before creating the casing, but for most standard pillowcases, the ribbon adjustment is sufficient.
What Next?
Congratulations on creating your beautiful pillowcase dress! This versatile garment can be adorned further with fabric paint, embroidery, or appliqué for a truly personalized touch. For storage, simply fold it neatly or hang it with its ribbon straps. As a next step, consider making matching doll dresses from smaller pillowcases or exploring other simple garment projects like elastic-waist skirts. This project is a fantastic gateway to a world of creative textile crafts, proving that beautiful things can be made with just a few basic supplies and a little imagination.
Free: 10 Paper Crafts Anyone Can Make in 5 Minutes
Get our beginner guide + new craft ideas weekly.
No spam. Unsubscribe anytime.
Did you complete this activity?
Related